Homemade

Blended With Love Review

In a previous post about self care I’ve mentioned how I love candles and wax melts. They are little luxury items that I buy for myself. I love the cute wax warmers, all the neat wax shapes and how they make my house smell great.

Blended With Love wax brittle

The only problem I had was that most of the store bought scents gave me a headache, so a couple of years ago, I was browsing Etsy for homemade wax melts. I found this small shop that made the cutest cupcake melts. I love anything cupcake, so I bookmarked it and a few weeks later, I placed my first order. I don’t have pictures of my first order, but I remember a heart shaped cupcake, some strawberries and cream wax brittle and a black raspberry vanilla cupcake. Since then, I’ve been addicted, placing orders every few months.

Blended With Love cupcake with strawberries

Here’s what I love about Blended With Love.

First, the owner, Ashley is a work at home mom and I like to support other moms who have a small business when I can. I hope to have a business of my own while being with my child, so I feel supporting other moms on the same mission is a way to pay it forward.

Blended With Love unicorn cup

Friendly Service

Whenever I’ve had a question, Ashley answers promptly and is always friendly. She posts updates regularly in her Facebook group. She shows us new melts she’s working on, beautiful wax creations and of course, there are giveaways. If there’s a problem with your order, she does her best to fix it. There was a mix up with one of my orders and she quickly sent a refund.

Blended With Love mermaid bar

Good Quality

The best part is the wax melts. The Shop is restocked at different times. There was a restock last month and the next one is on February 2nd. To get specific information on restocks, check the Facebook group. Blended With Love offers a variety of wax melts depending on the season or requests from customers. Some of the common melts include owls, penguins, cupcakes, donuts, ice cream scoops, teacups, teapots, flower pots and drip cakes. There are a variety of scents to choose from. Most of them are unique blended creations.

Blueberry muffin cupcake

Blended With Love custom cupcake
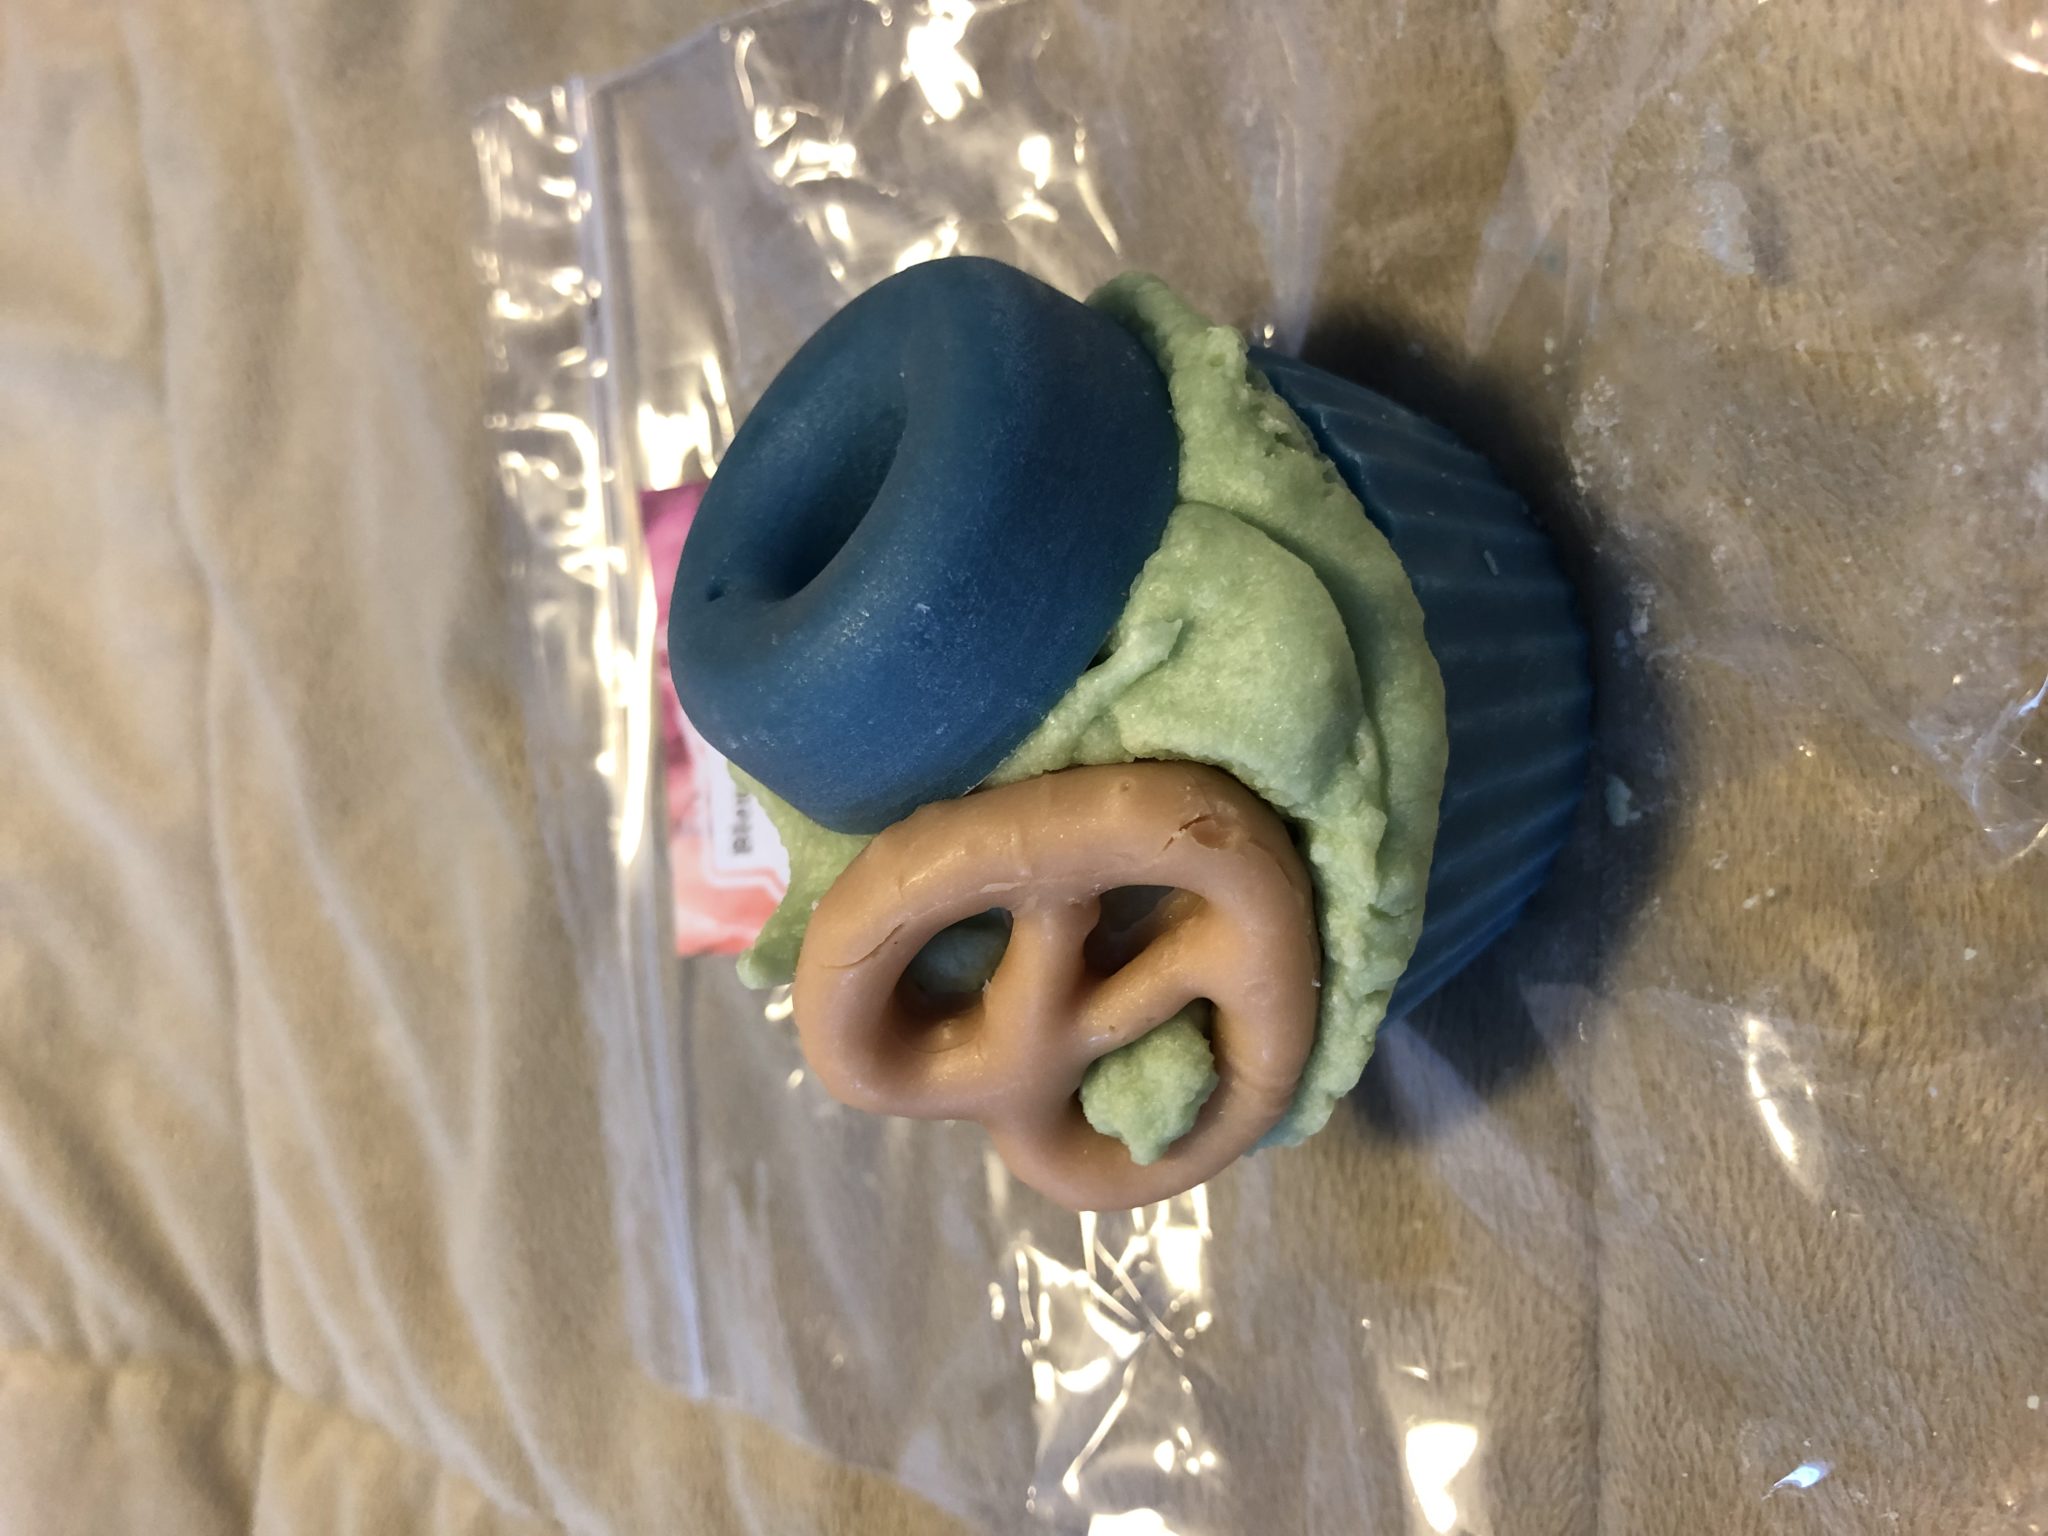
Fruity Pebbles Frosting donuts

Blended With Love donuts

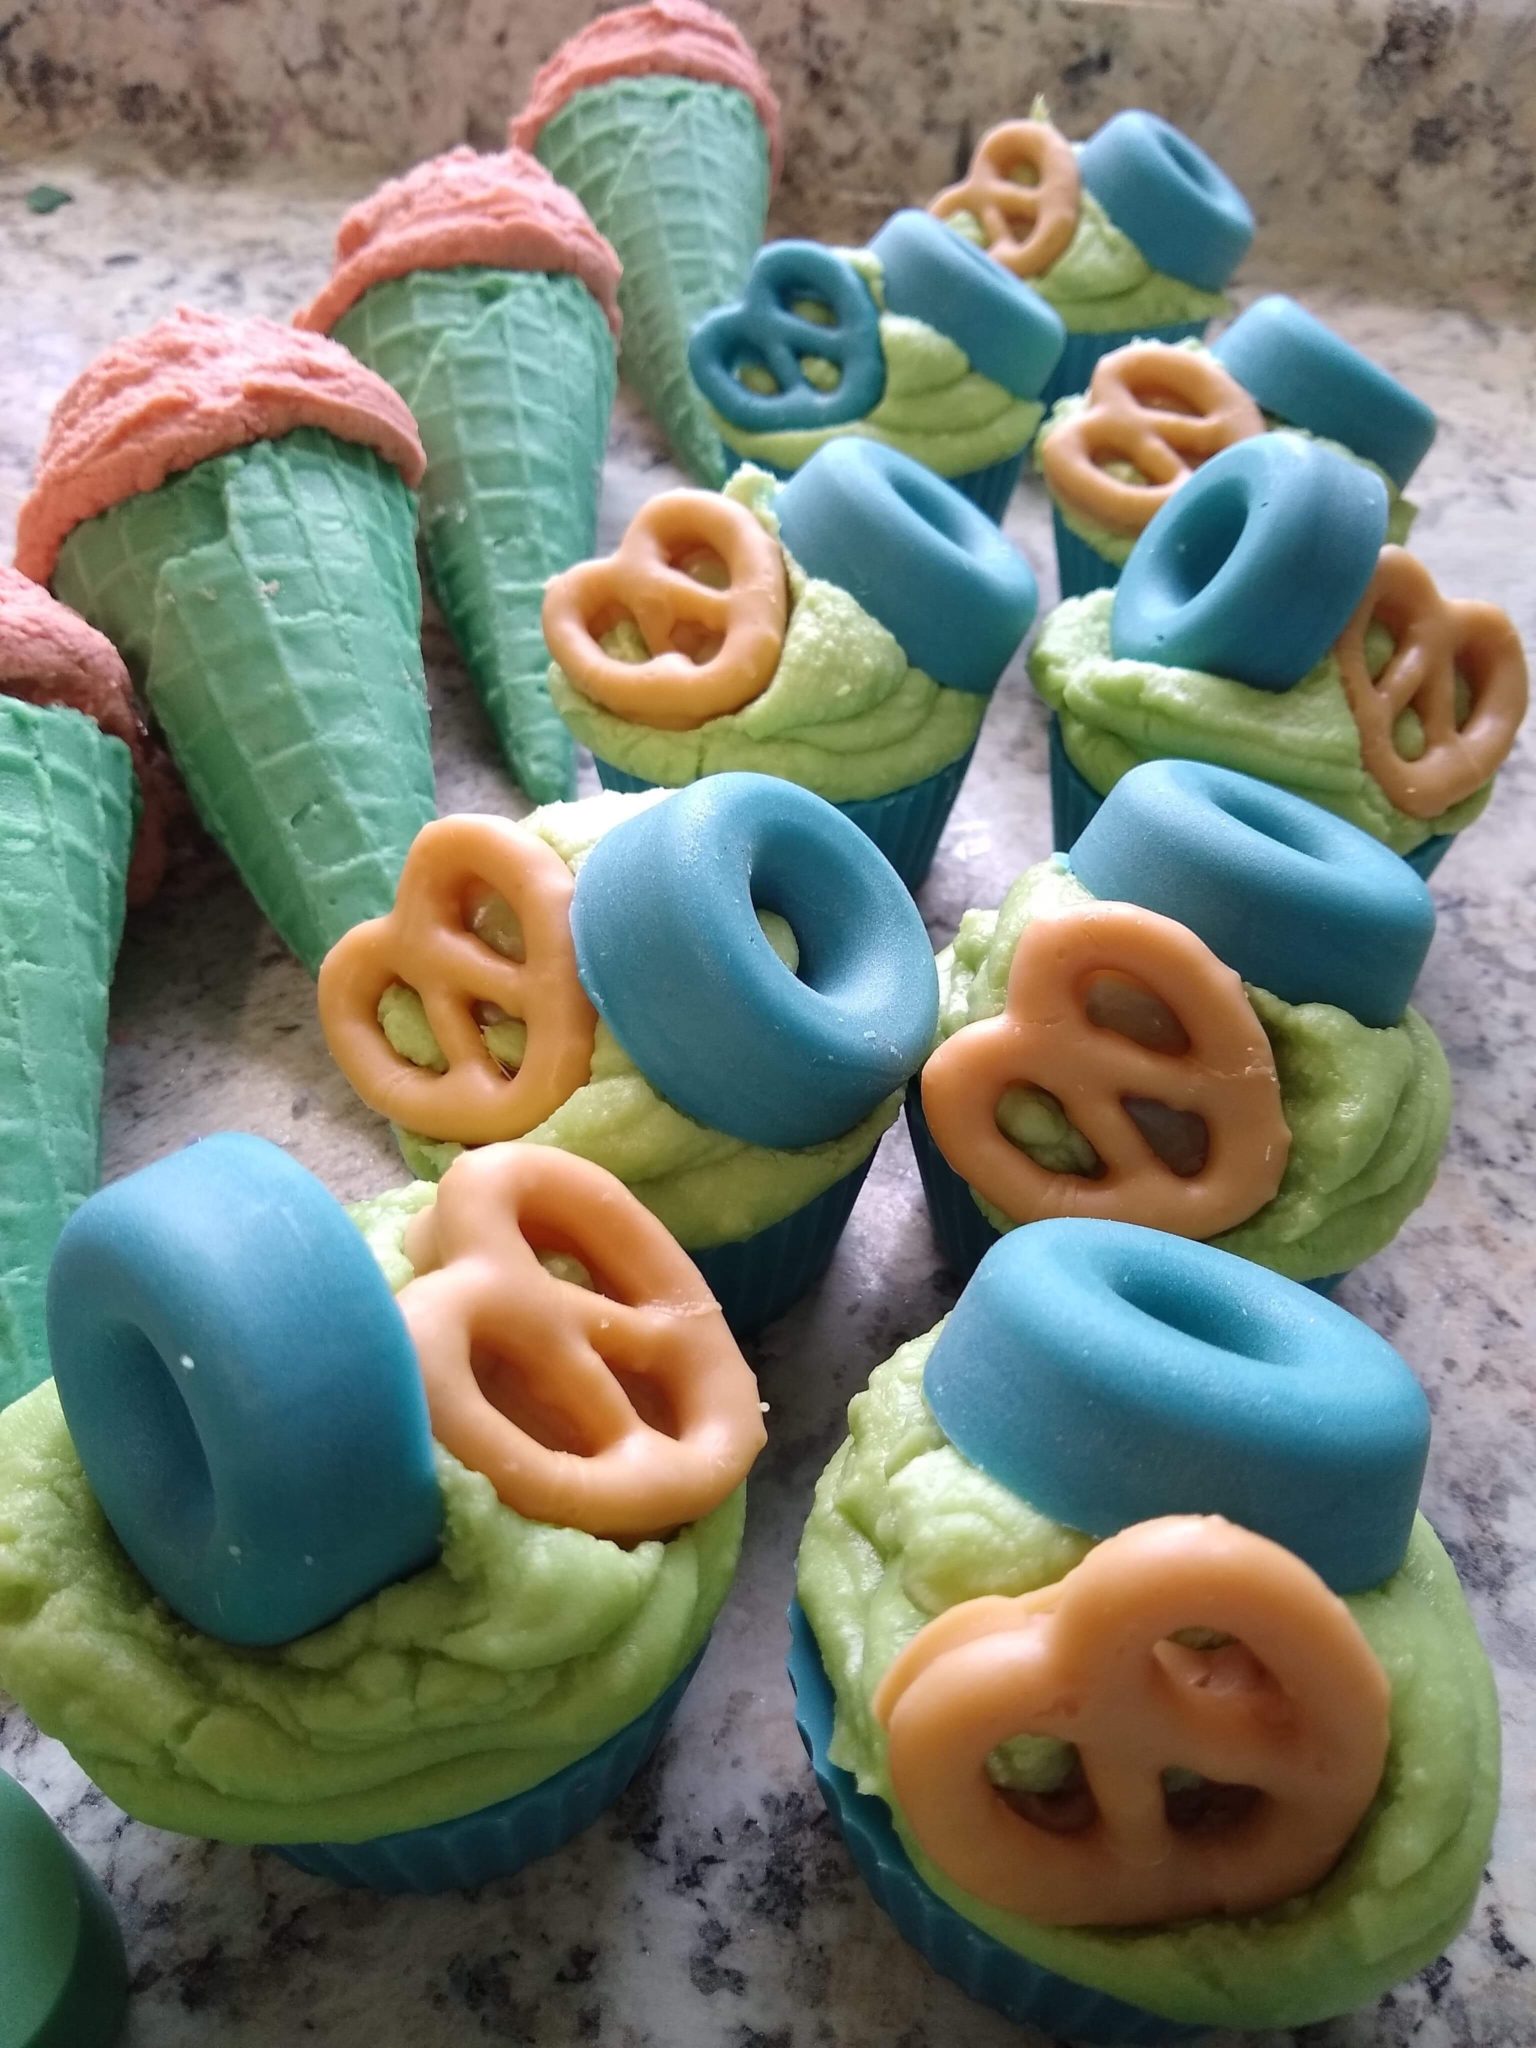
Strawberry Float ice cream scoopsBlended With Love ice cream scoops

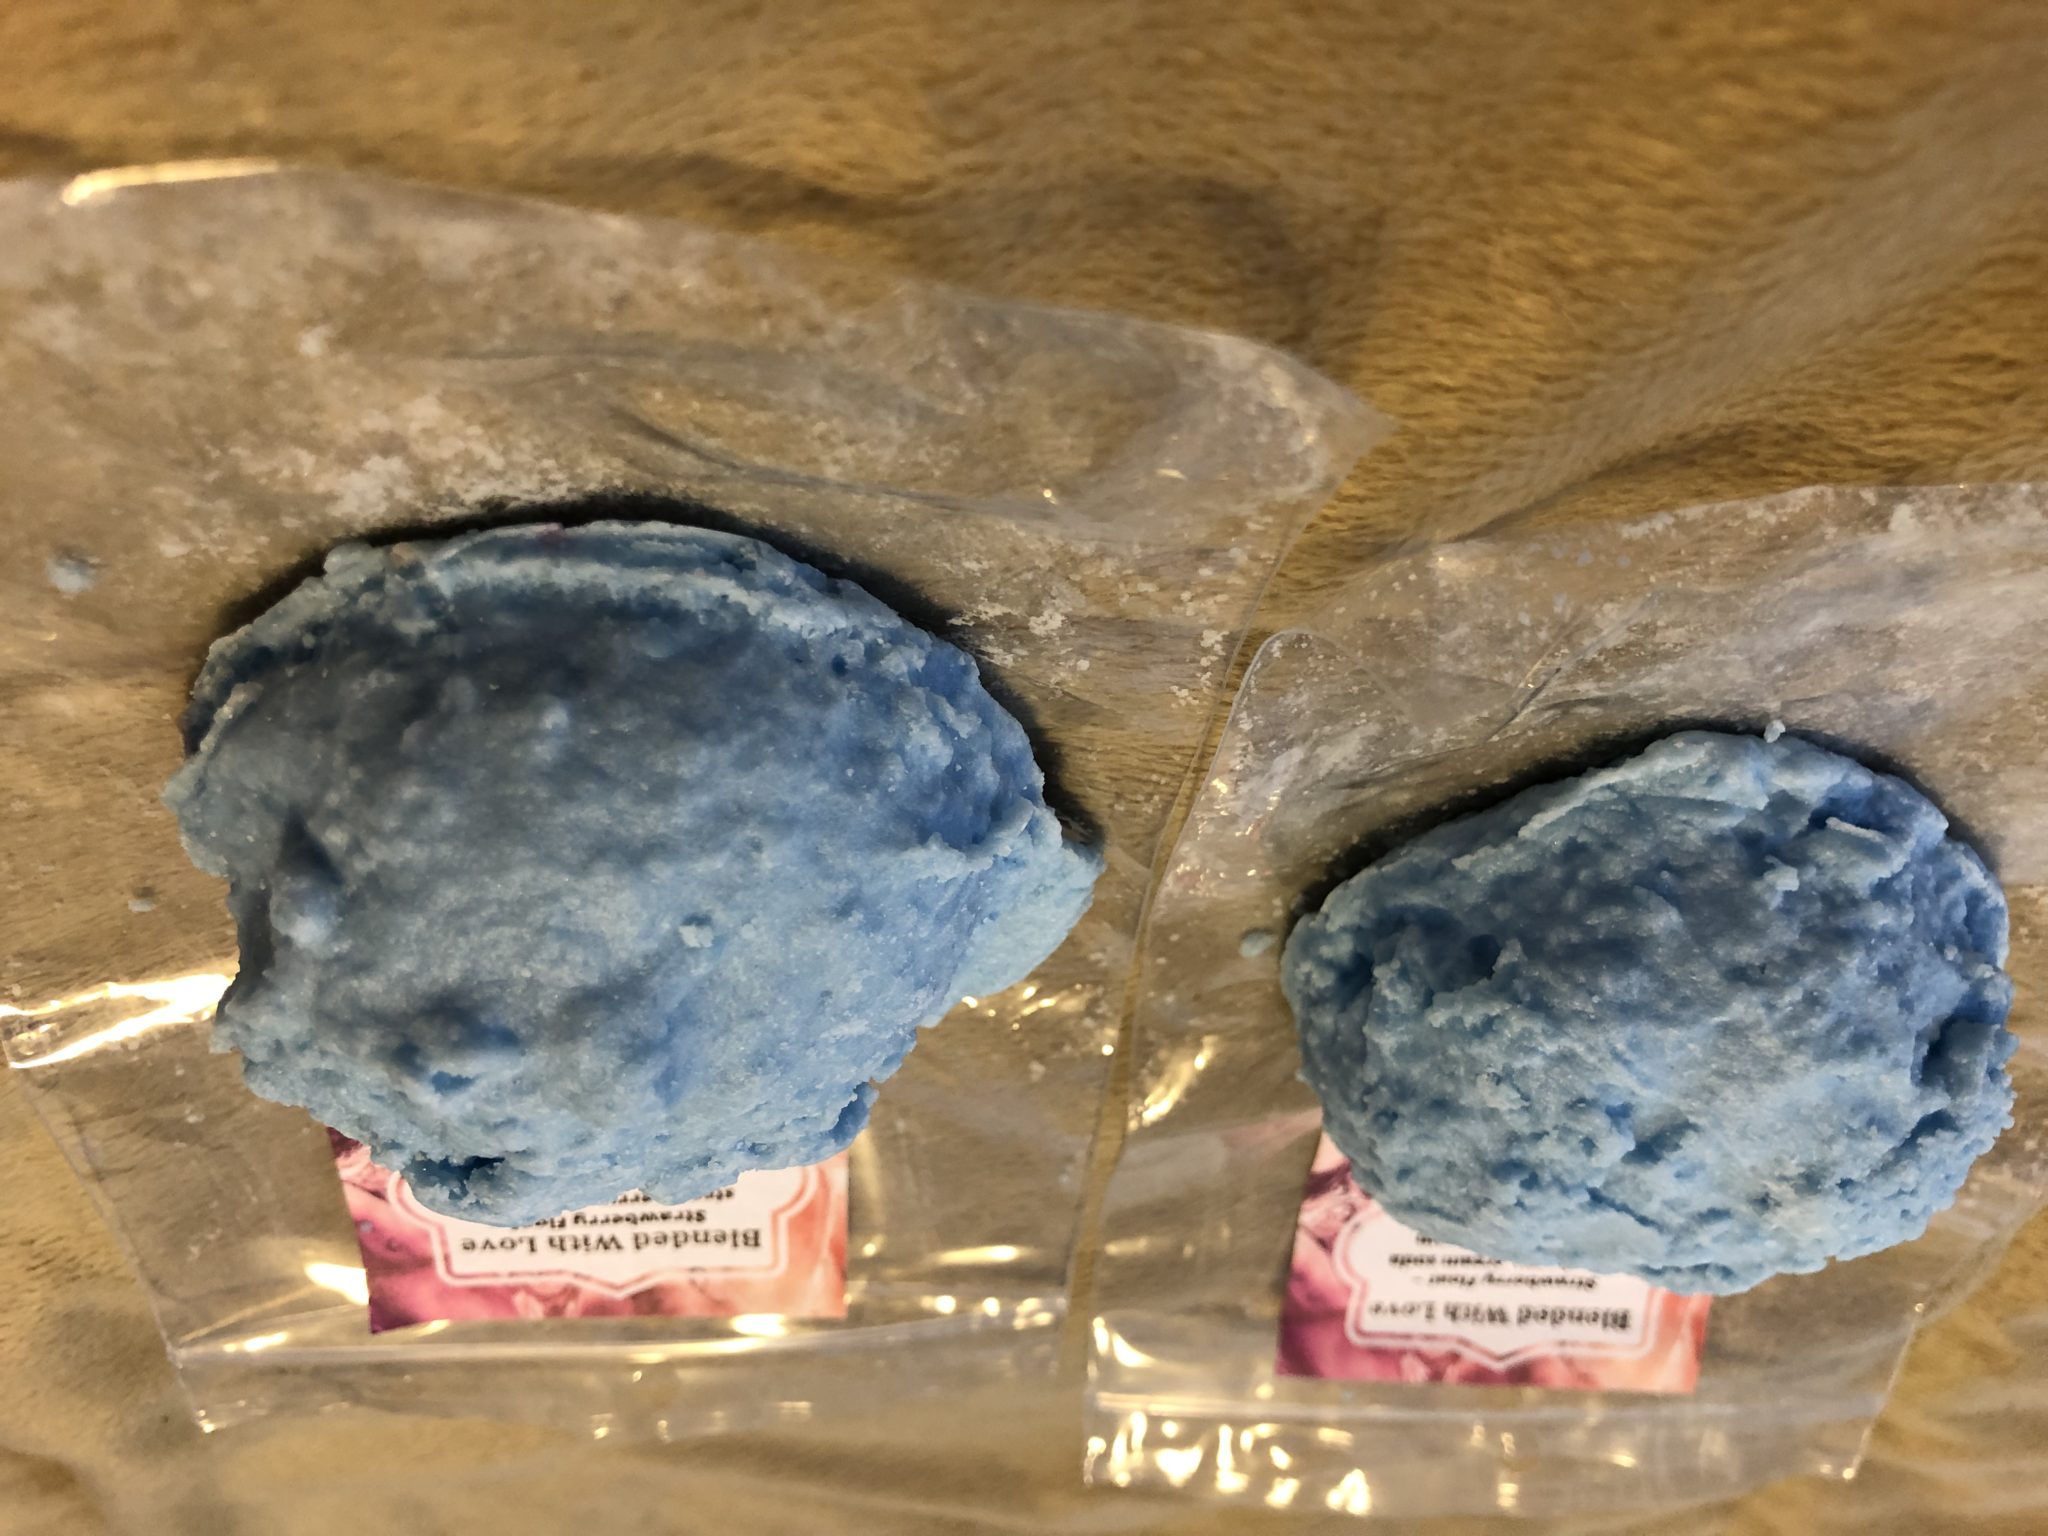
Barbies Tea Party tea potBlended With Love teapot

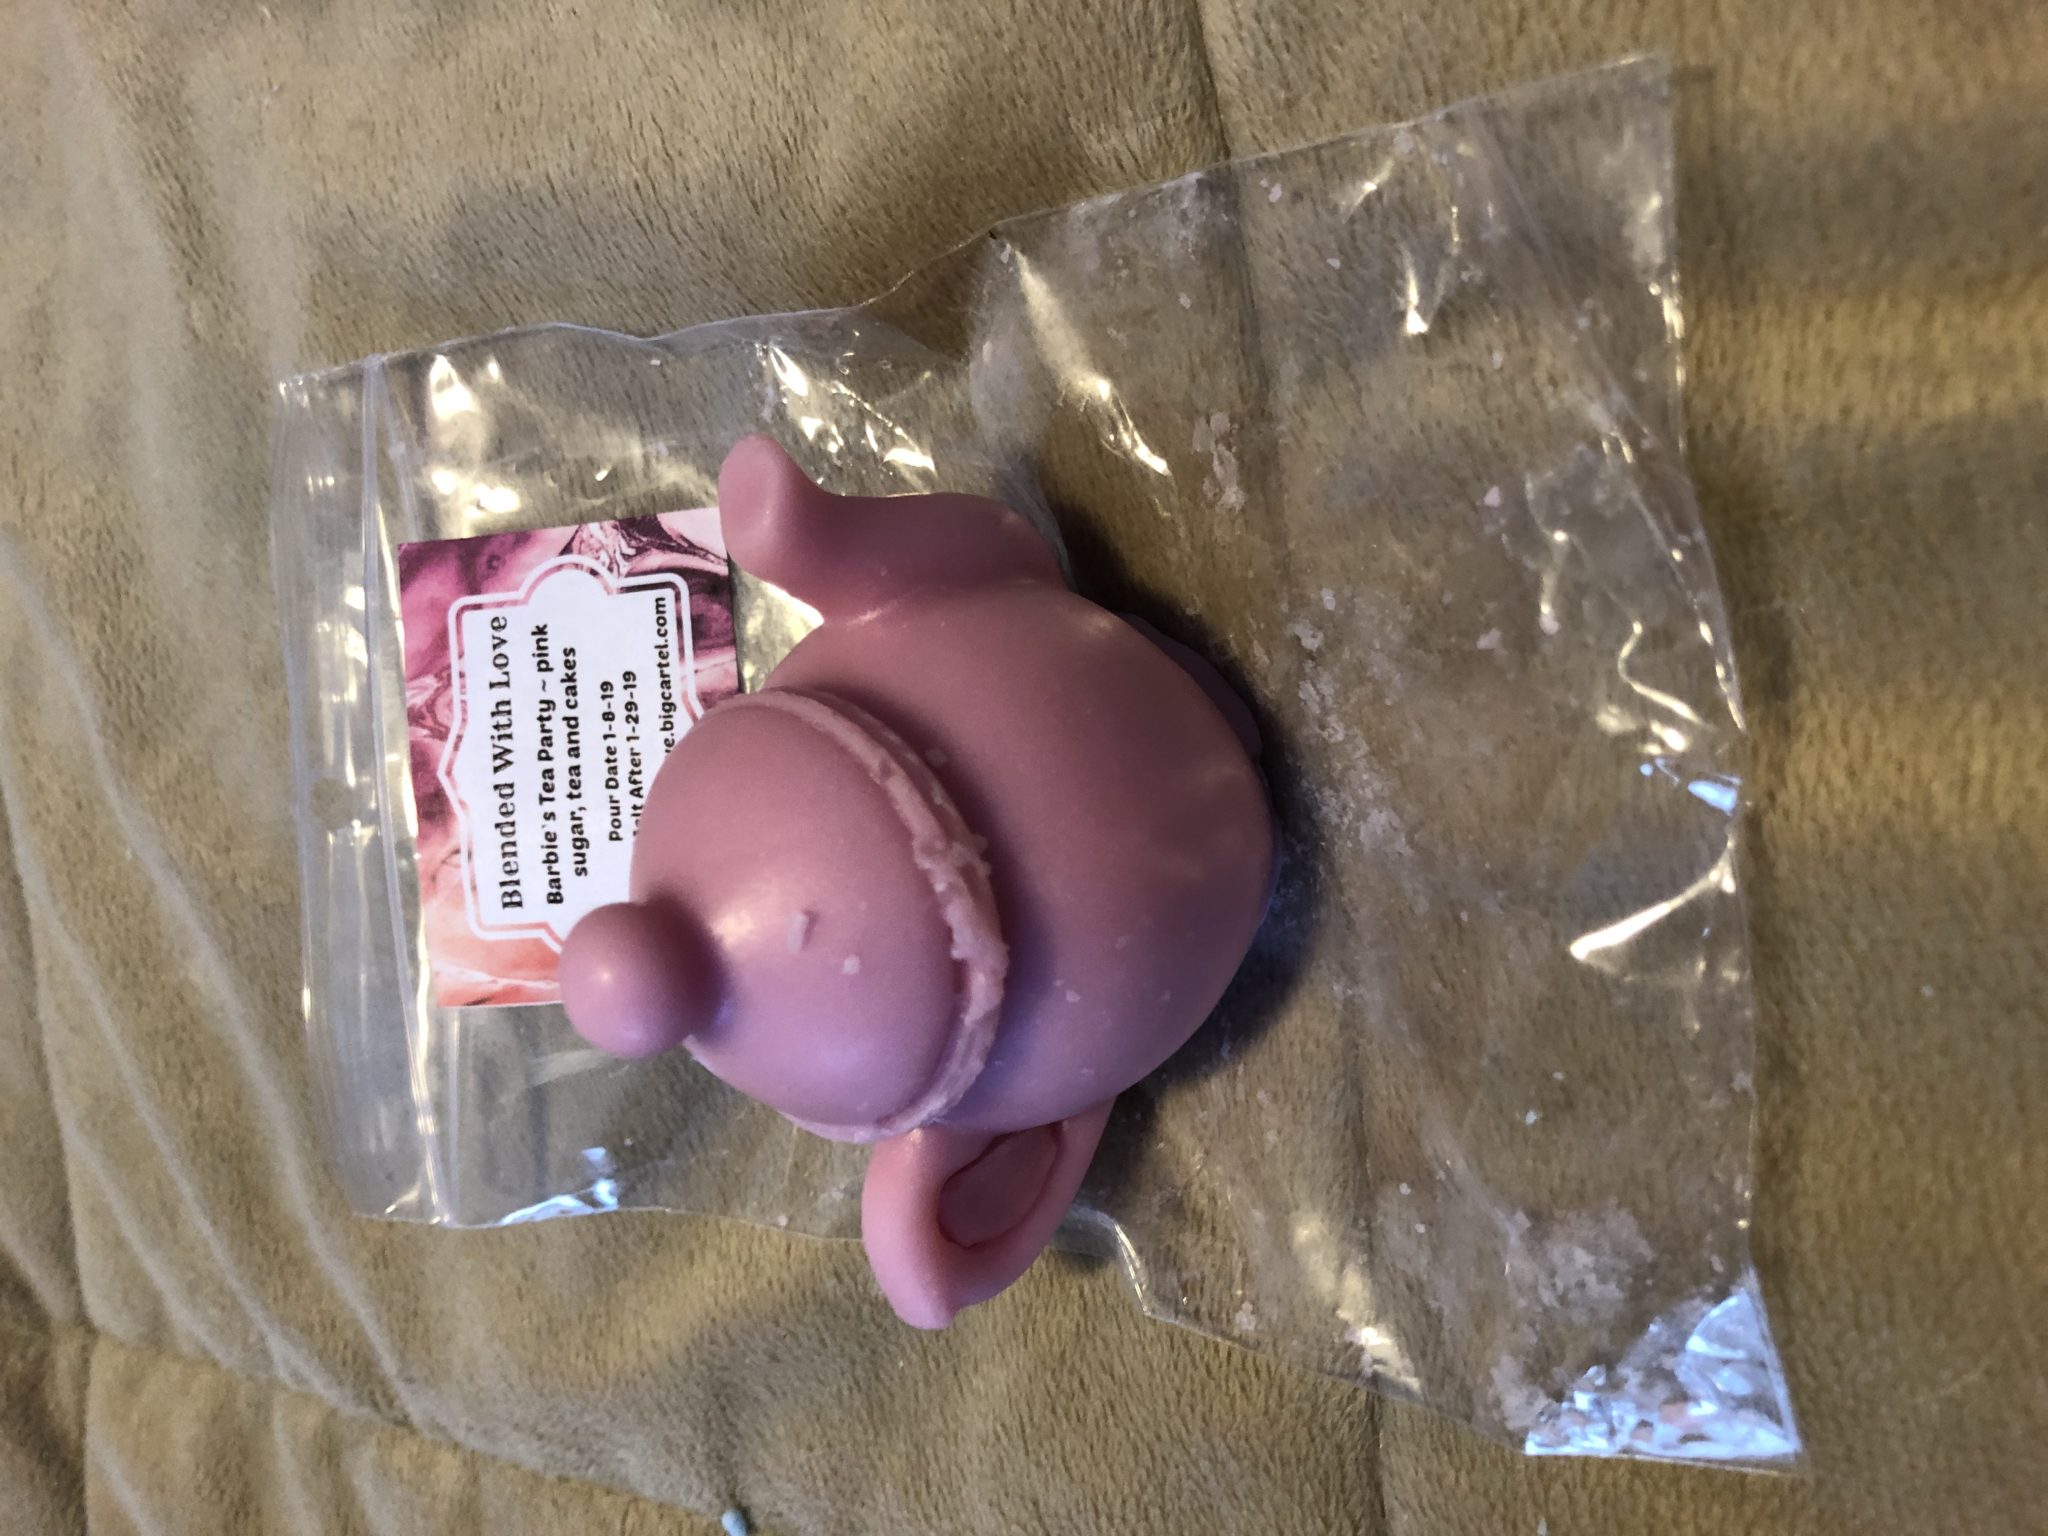
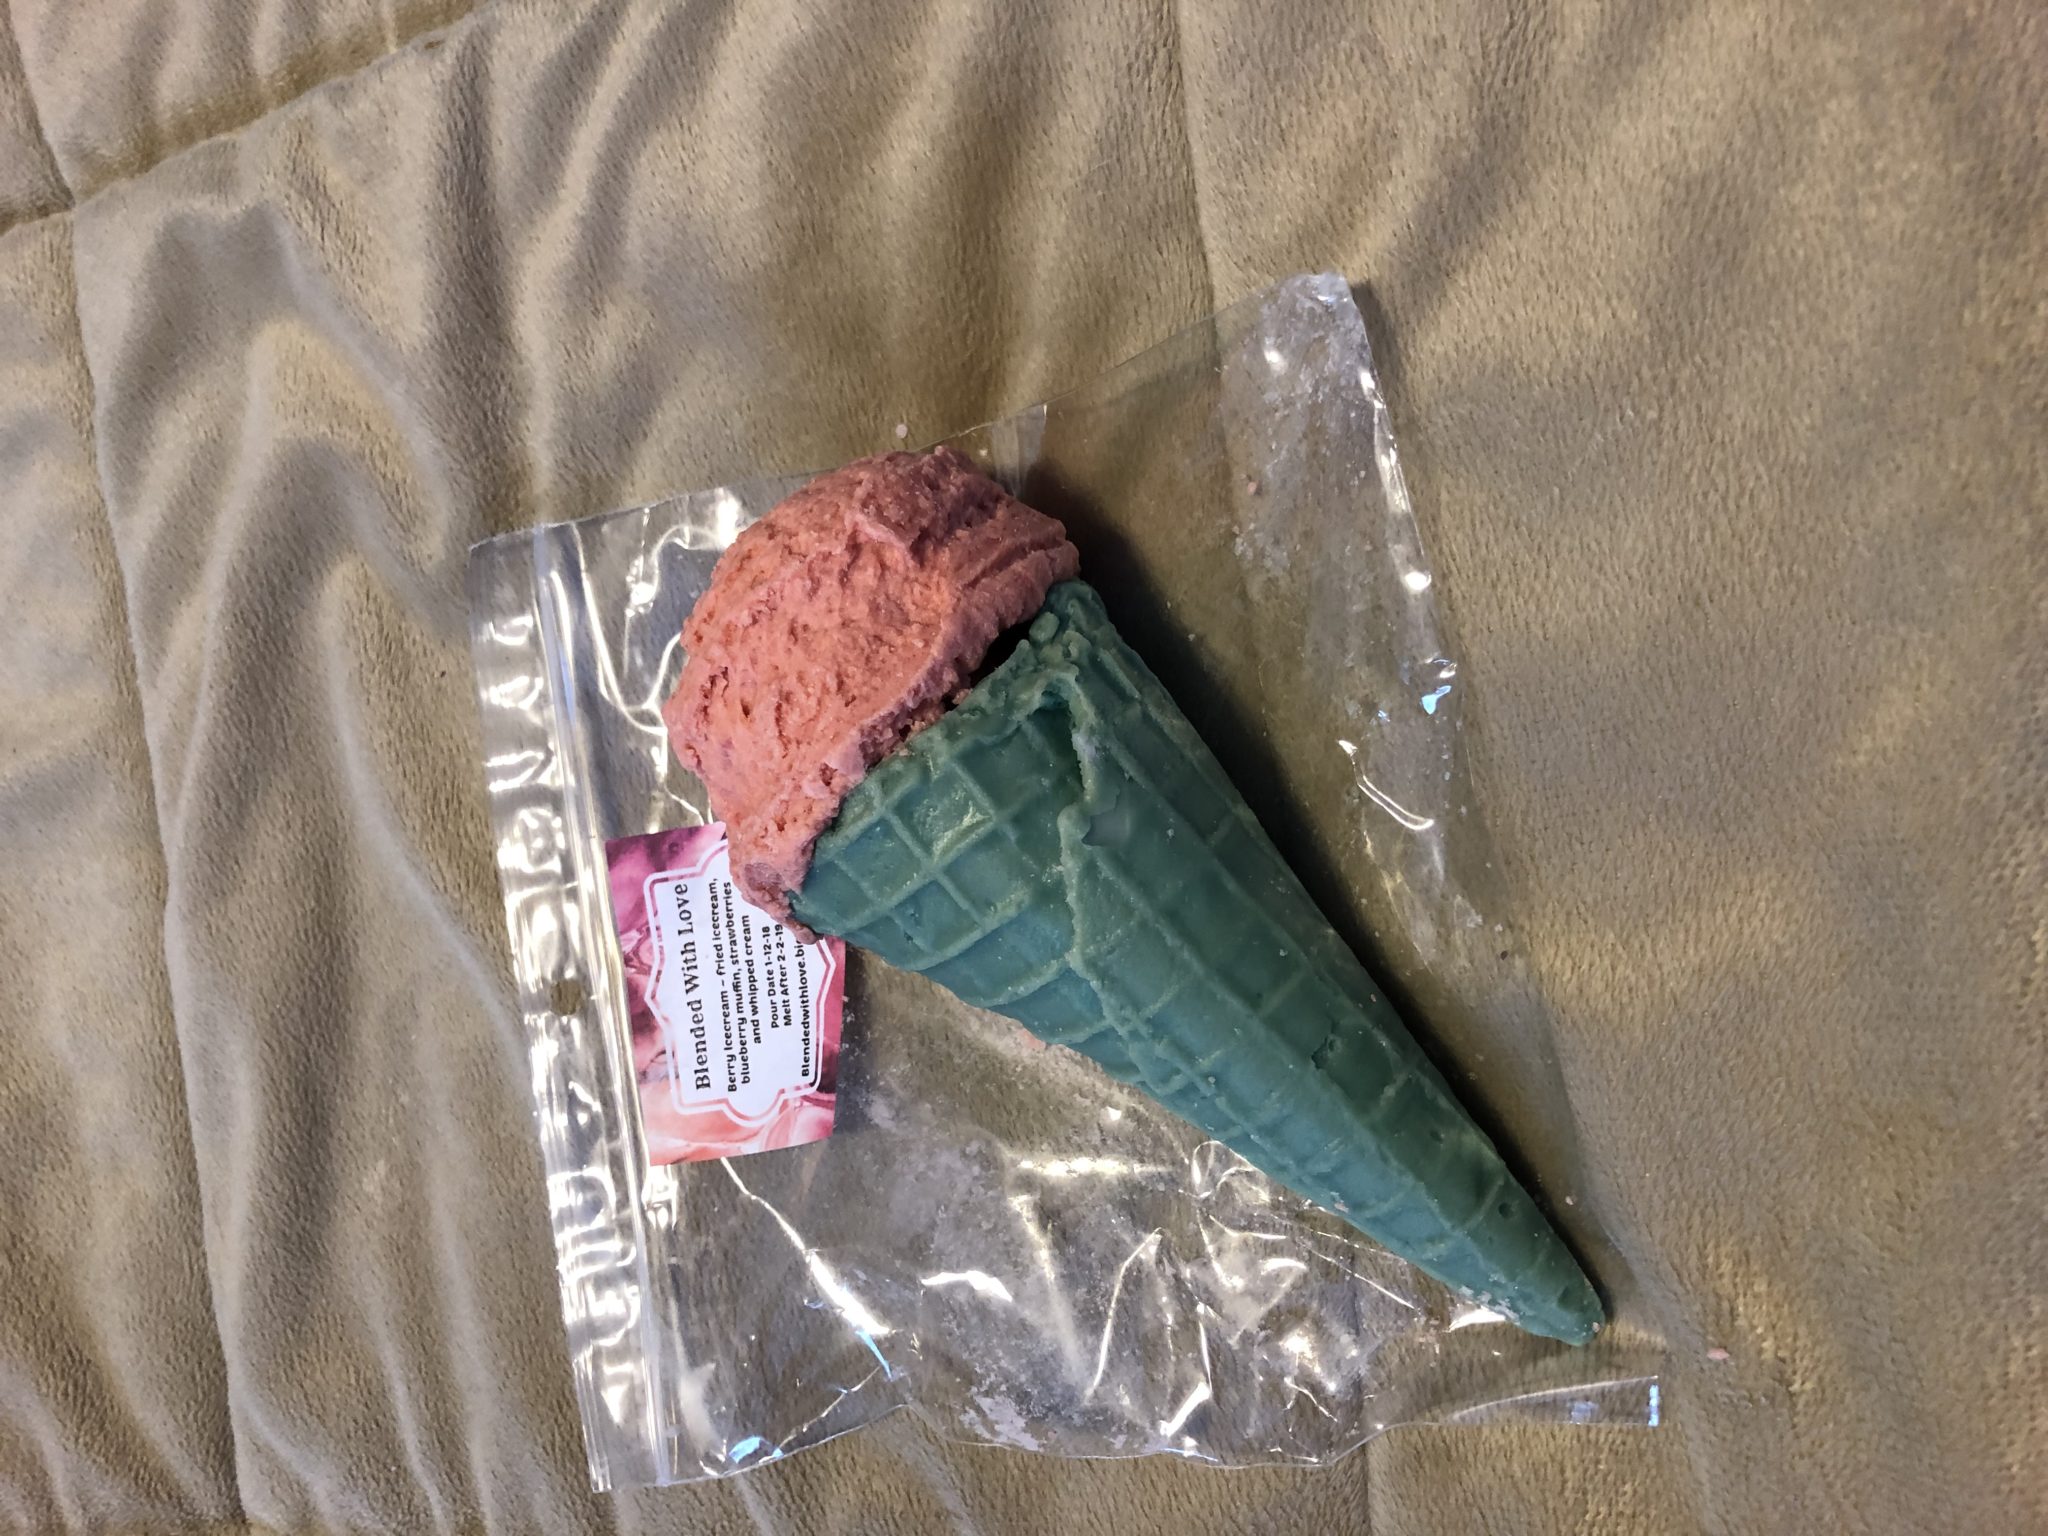
Berry Ice Cream ice cream cone

Blended With Love ice cream coneFree samples

Customization

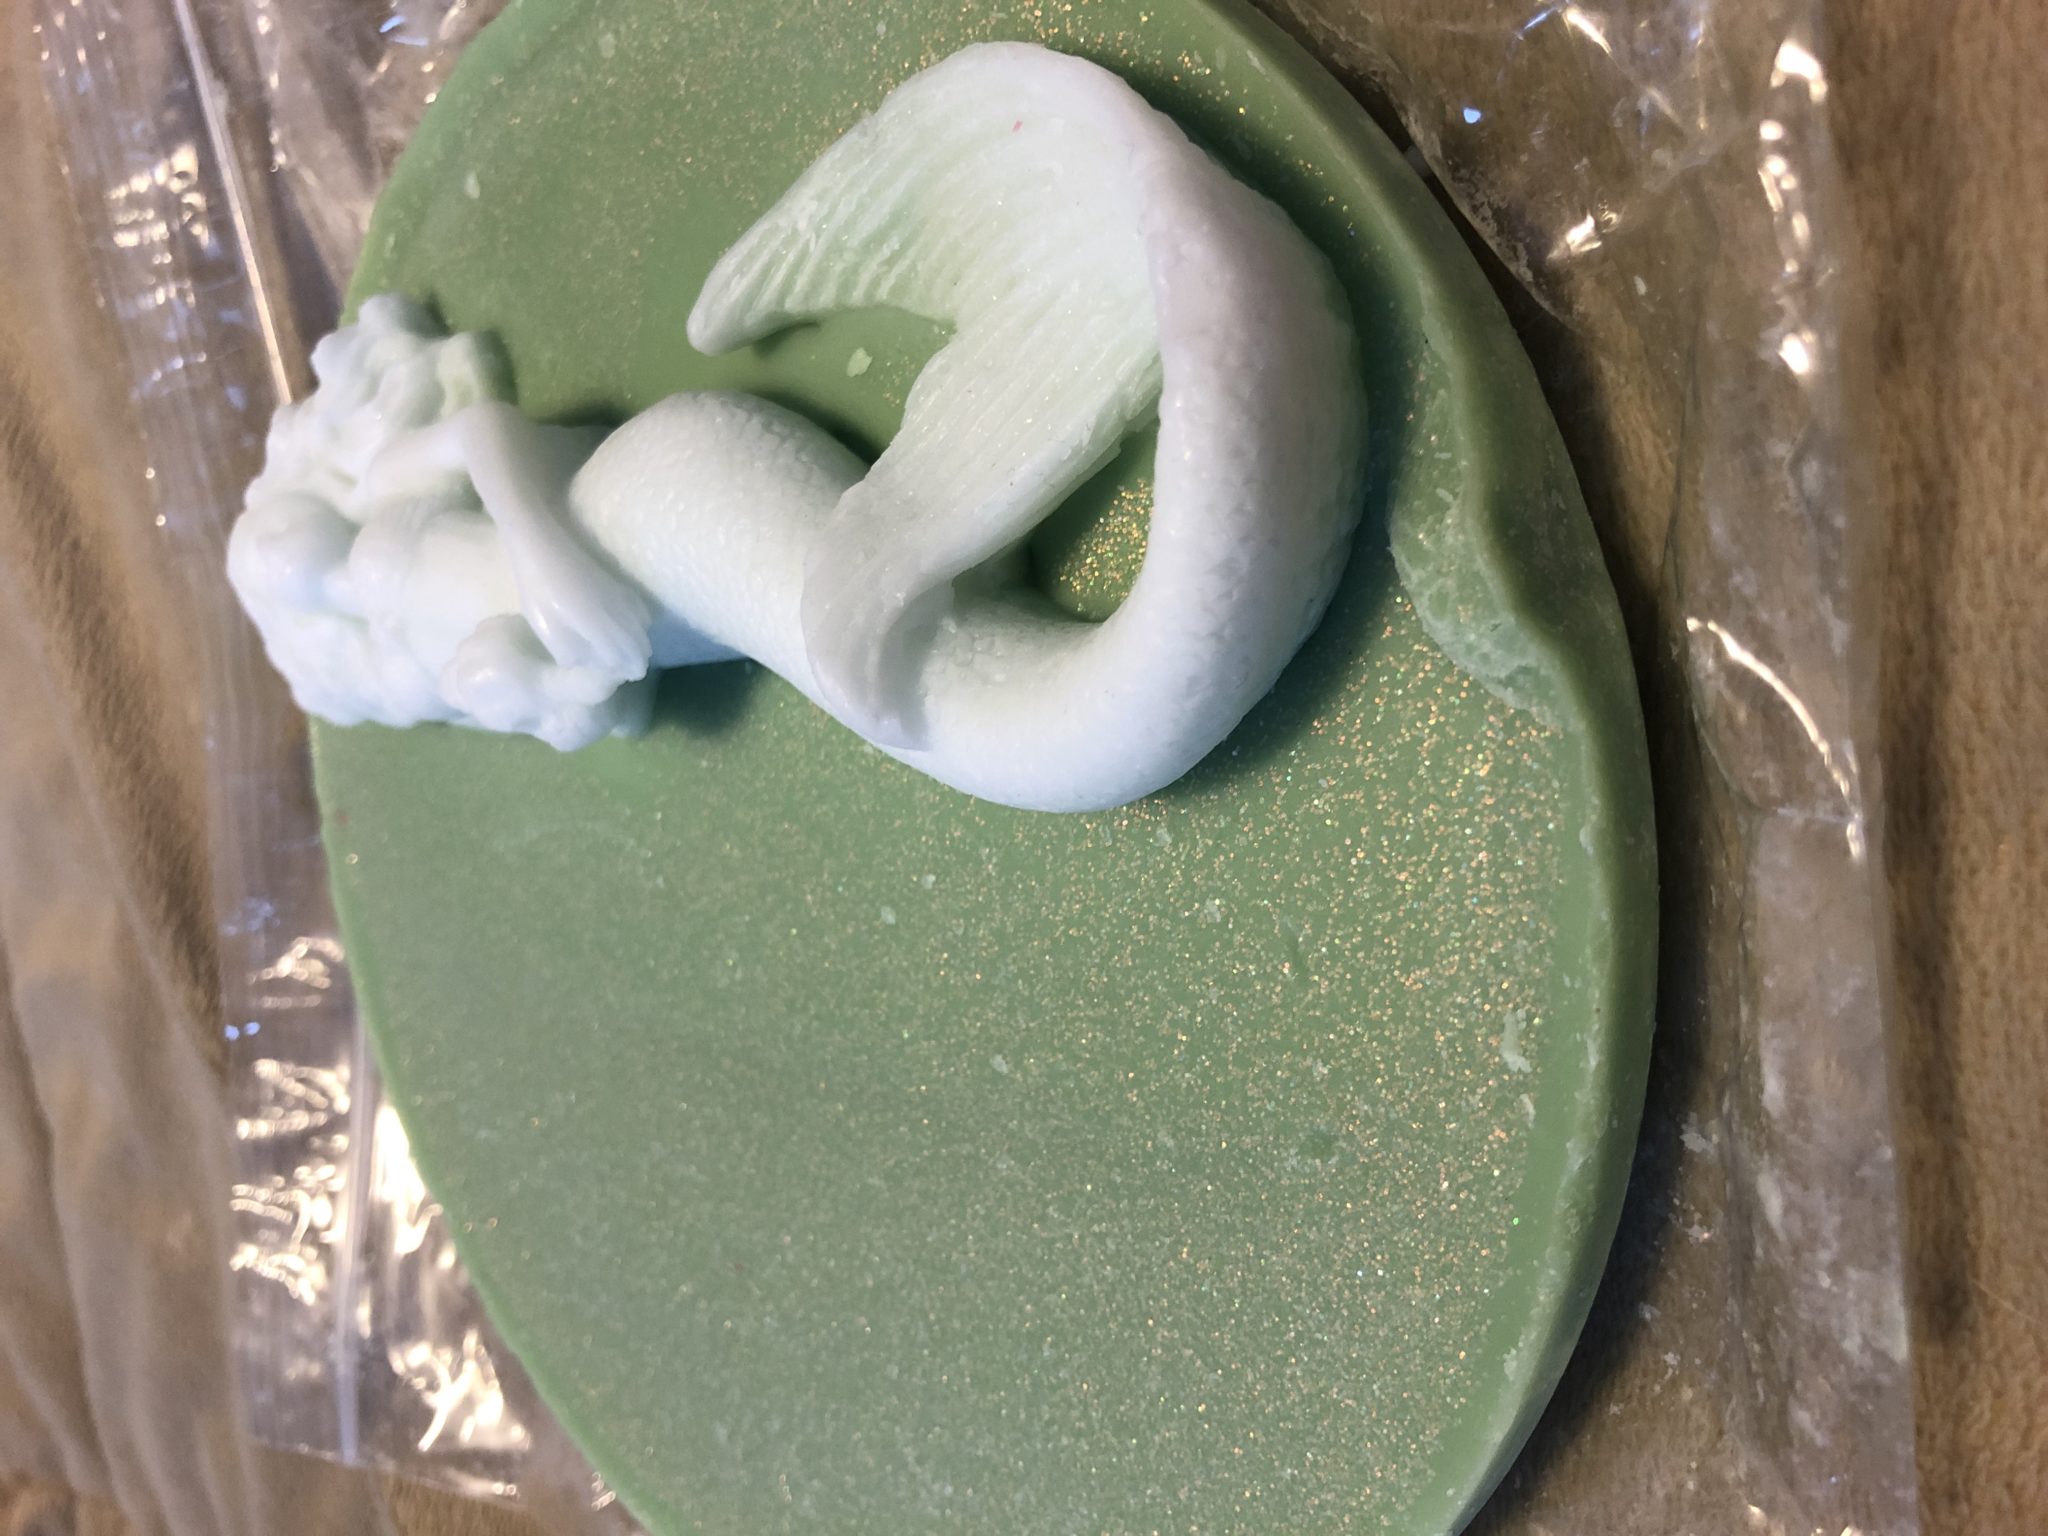
Ashley has a long list of people who are signed up for custom orders. Fortunately, I was recently able to place a custom order and I was impressed with everything I got. I ordered a variety of shapes. Some of them with a single scent and others with blended scents. What I love about these wax melts is I can melt them many times before they lose their scent. Many of the wax melts are large and have to be cut into pieces before melting, but that just means they last longer and I can enjoy the scent multiple times. I also love the little details. They are so pretty and look so much like actual baked goods, that I don’t want to melt them. They are works of art.

Blended With Love unicorn mystery box

Mystery Boxes

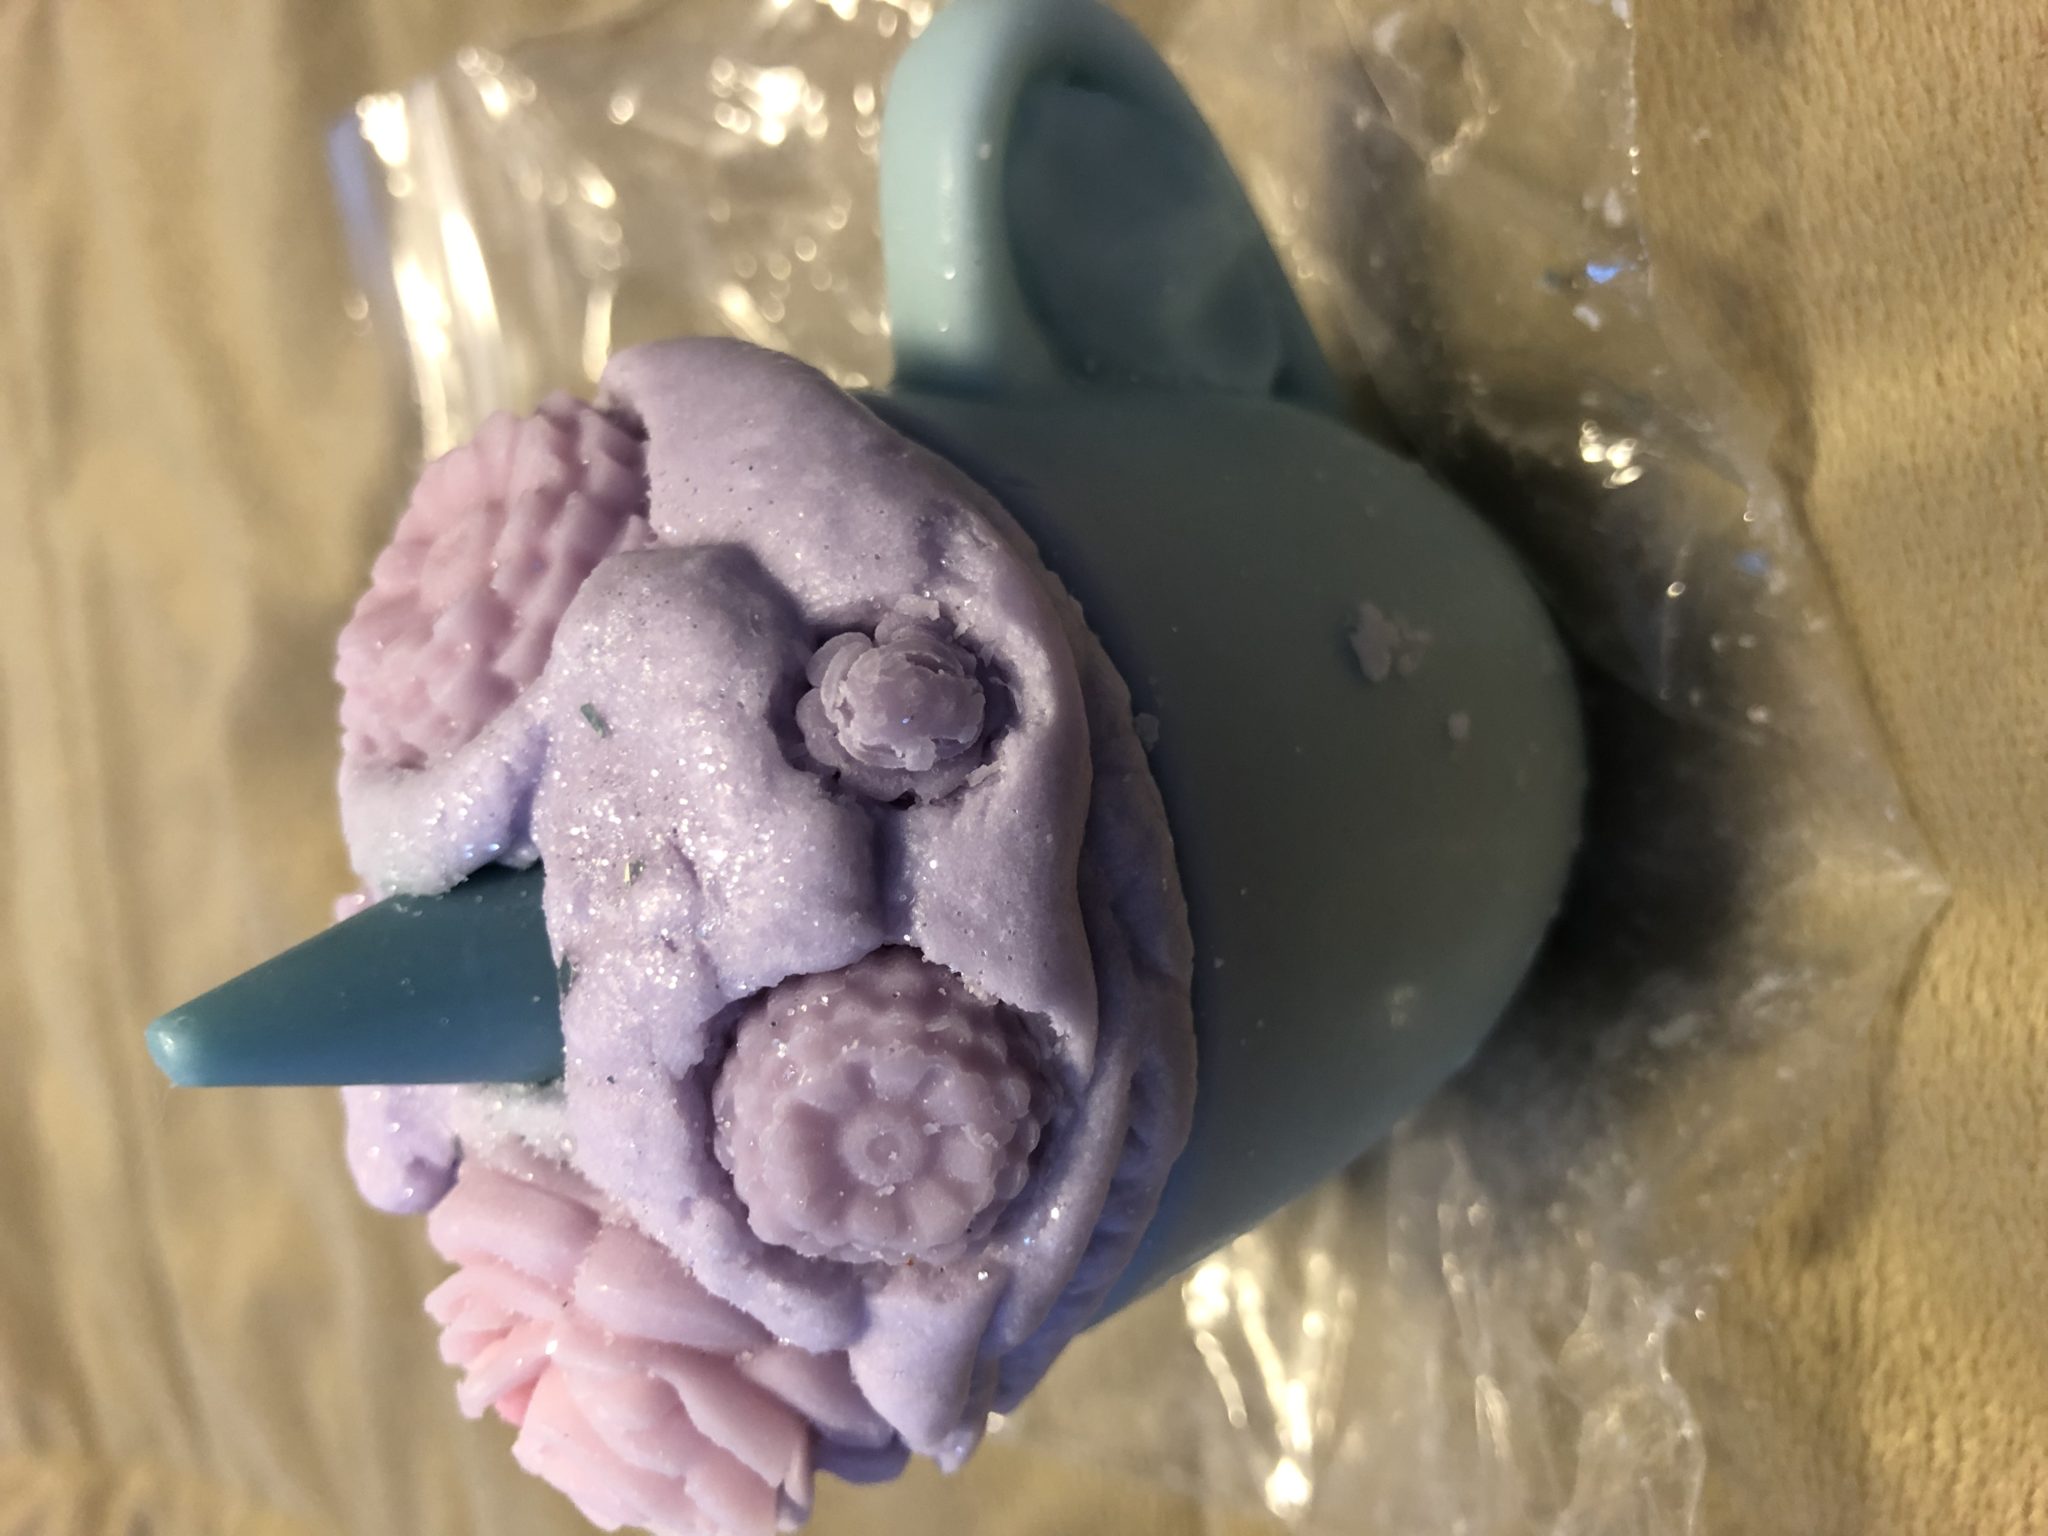
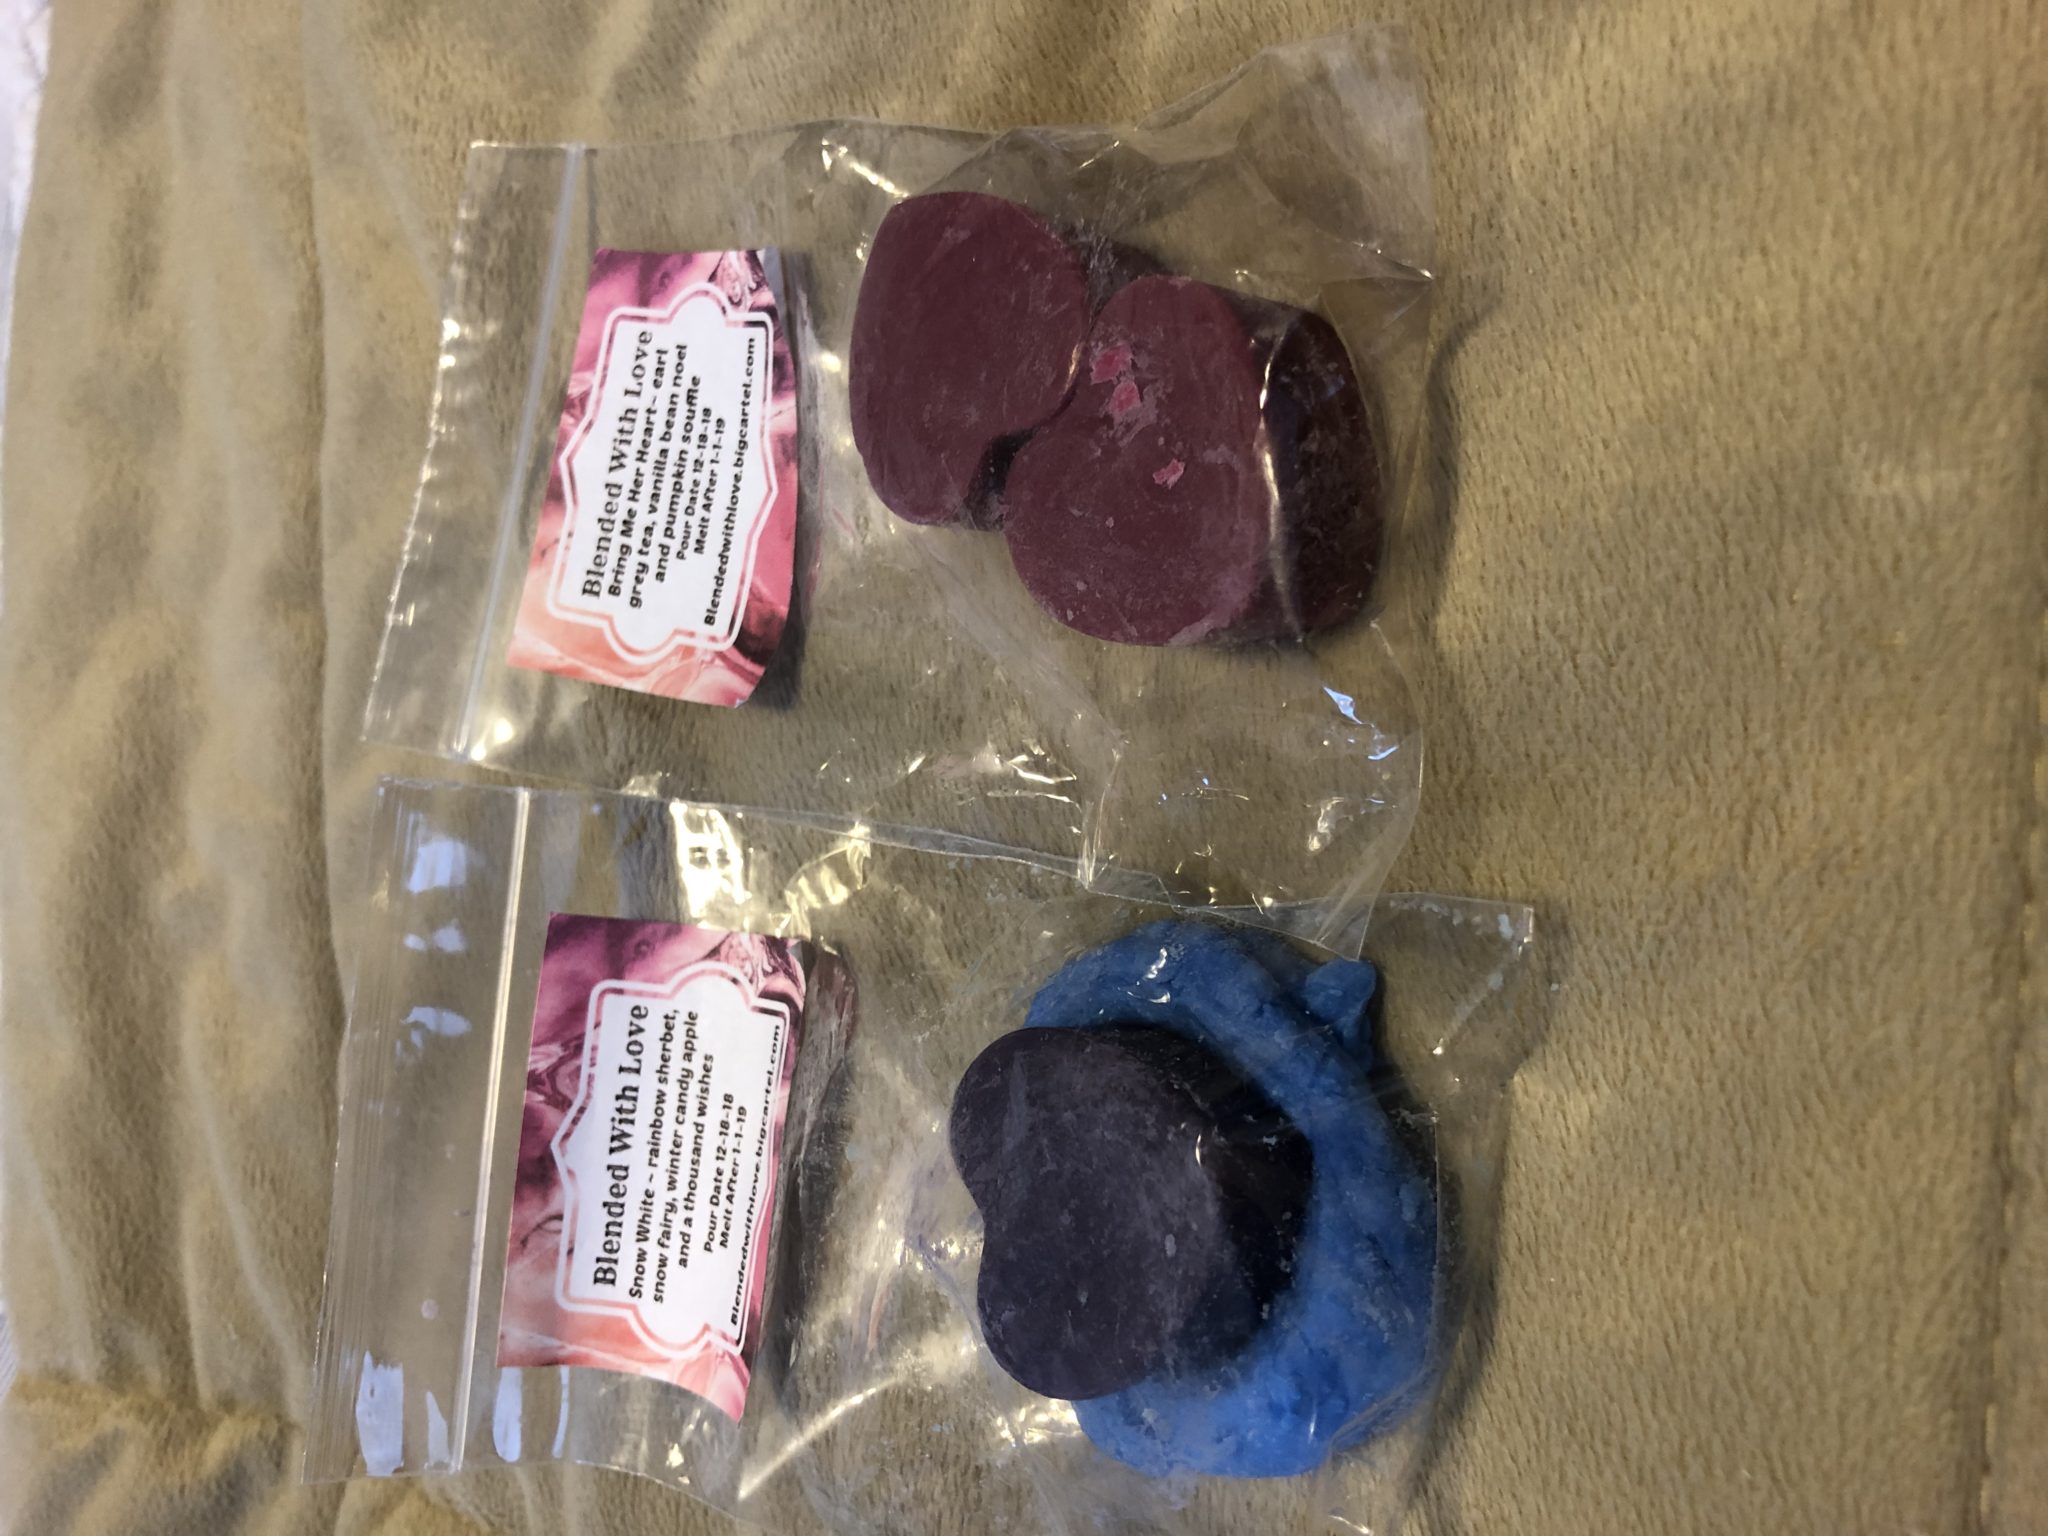
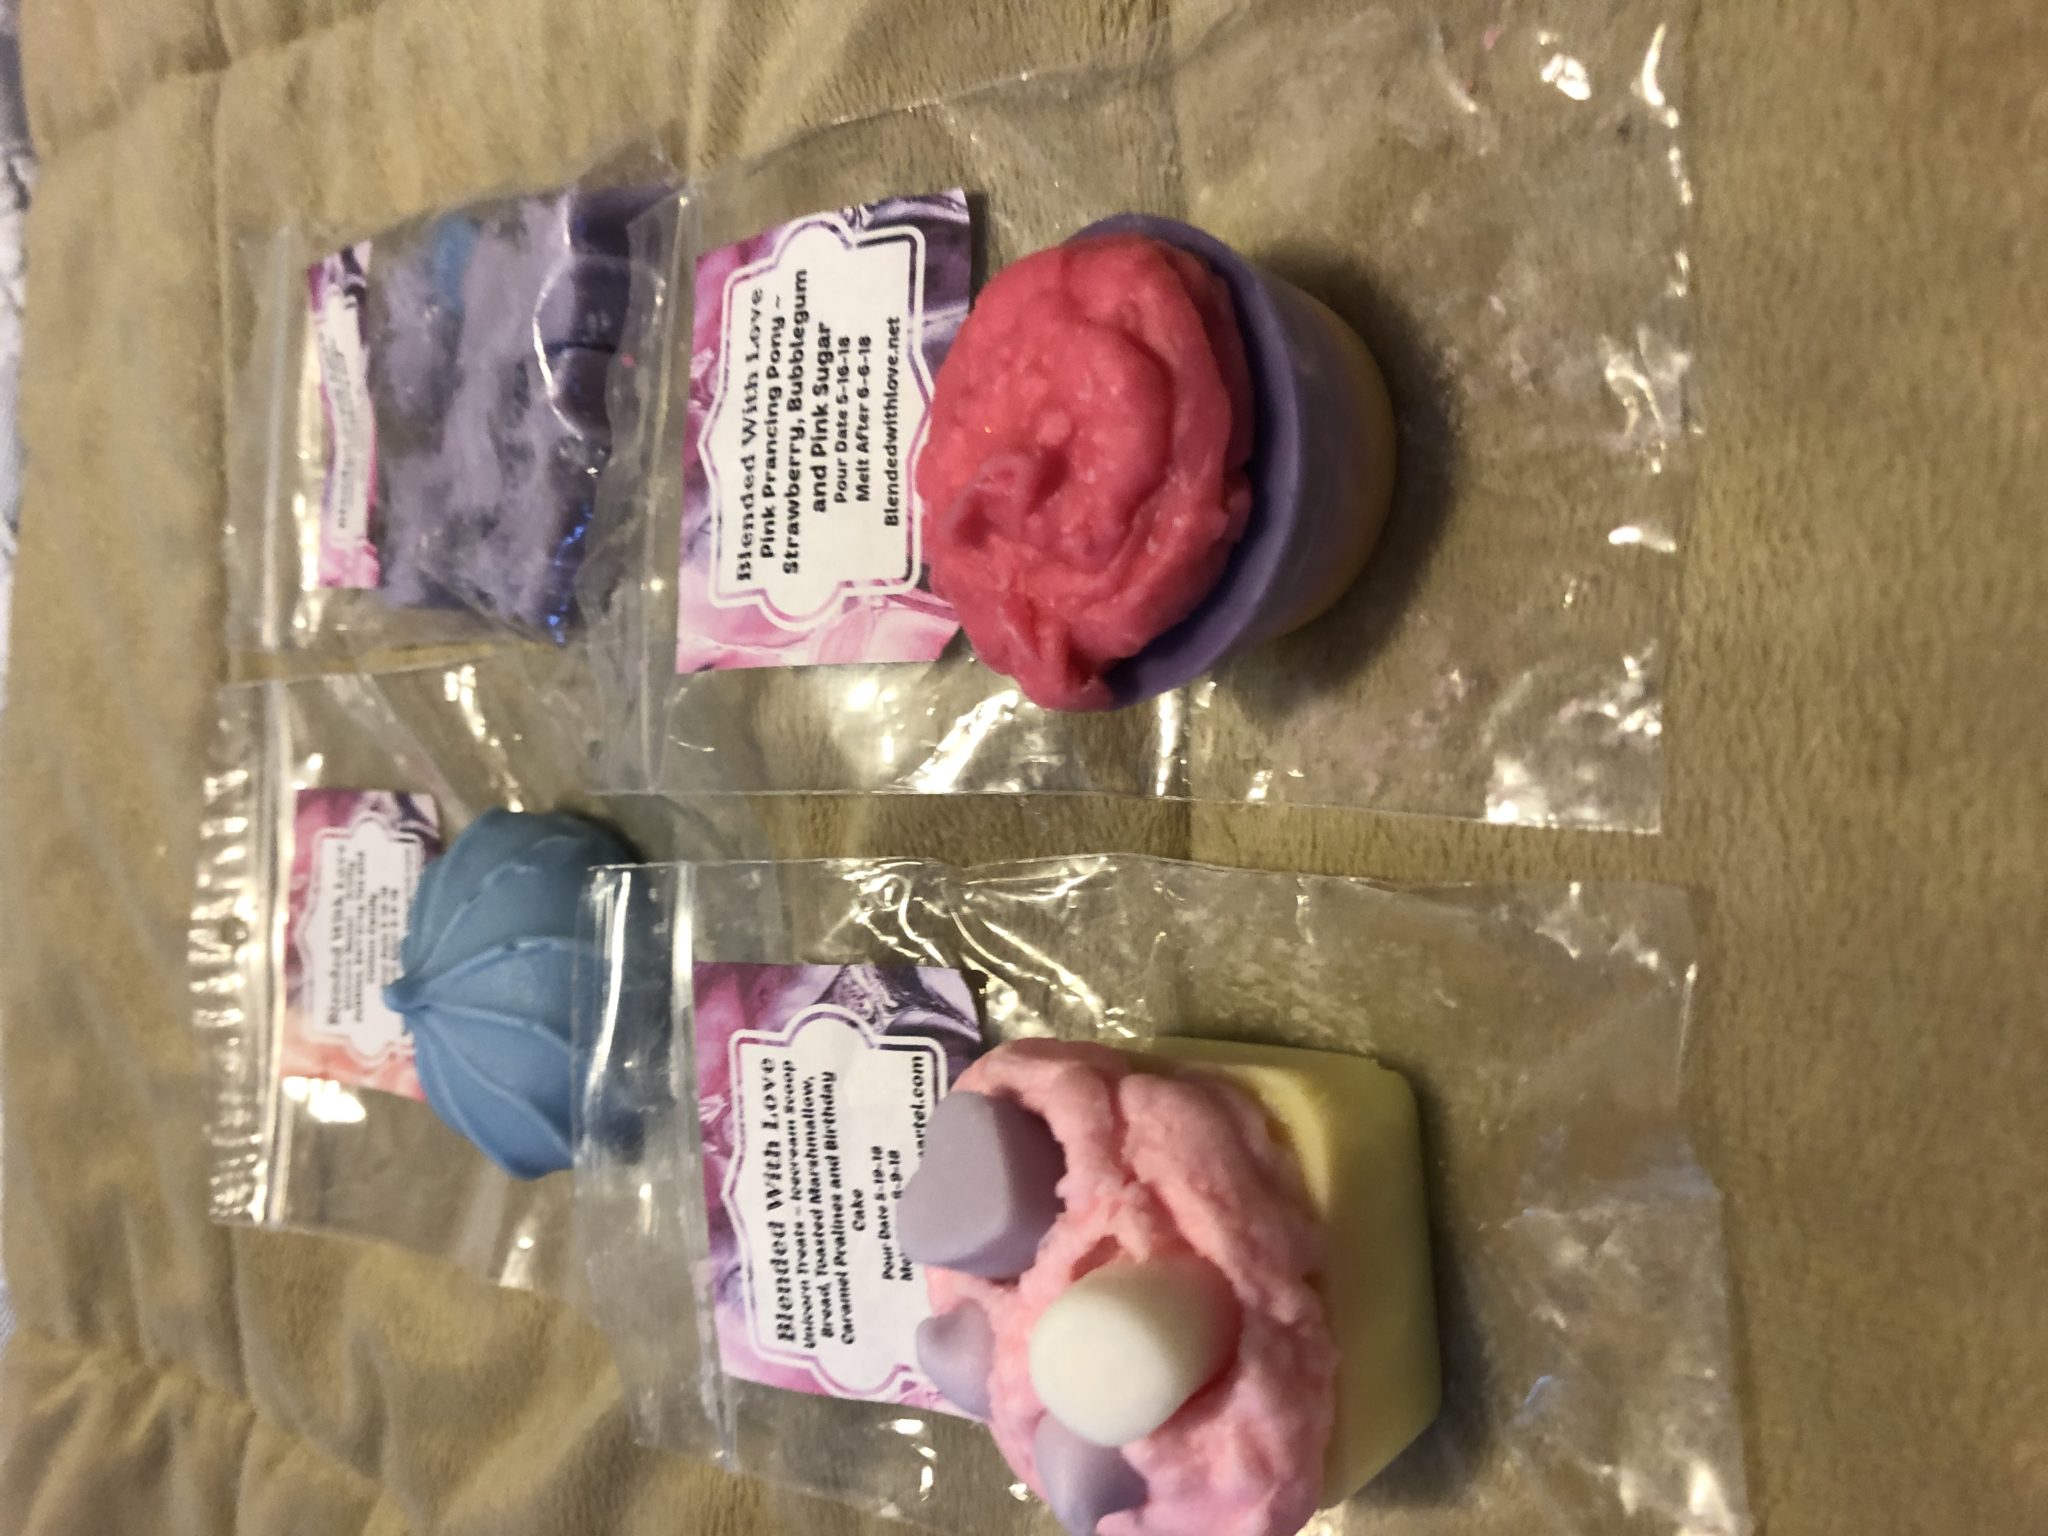
Sometimes Ashley will create mystery boxes based on a theme. I love unicorns, so when she announced a unicorn mystery box, I had to get one. Most of these scents smell like candy and the little cakes are cute. They are the perfect size for my wax warmers and I love the little unicorn shapes. She’s also done a Snow White mystery box.

Blended With Love crystal cupcake

Crystal Creations

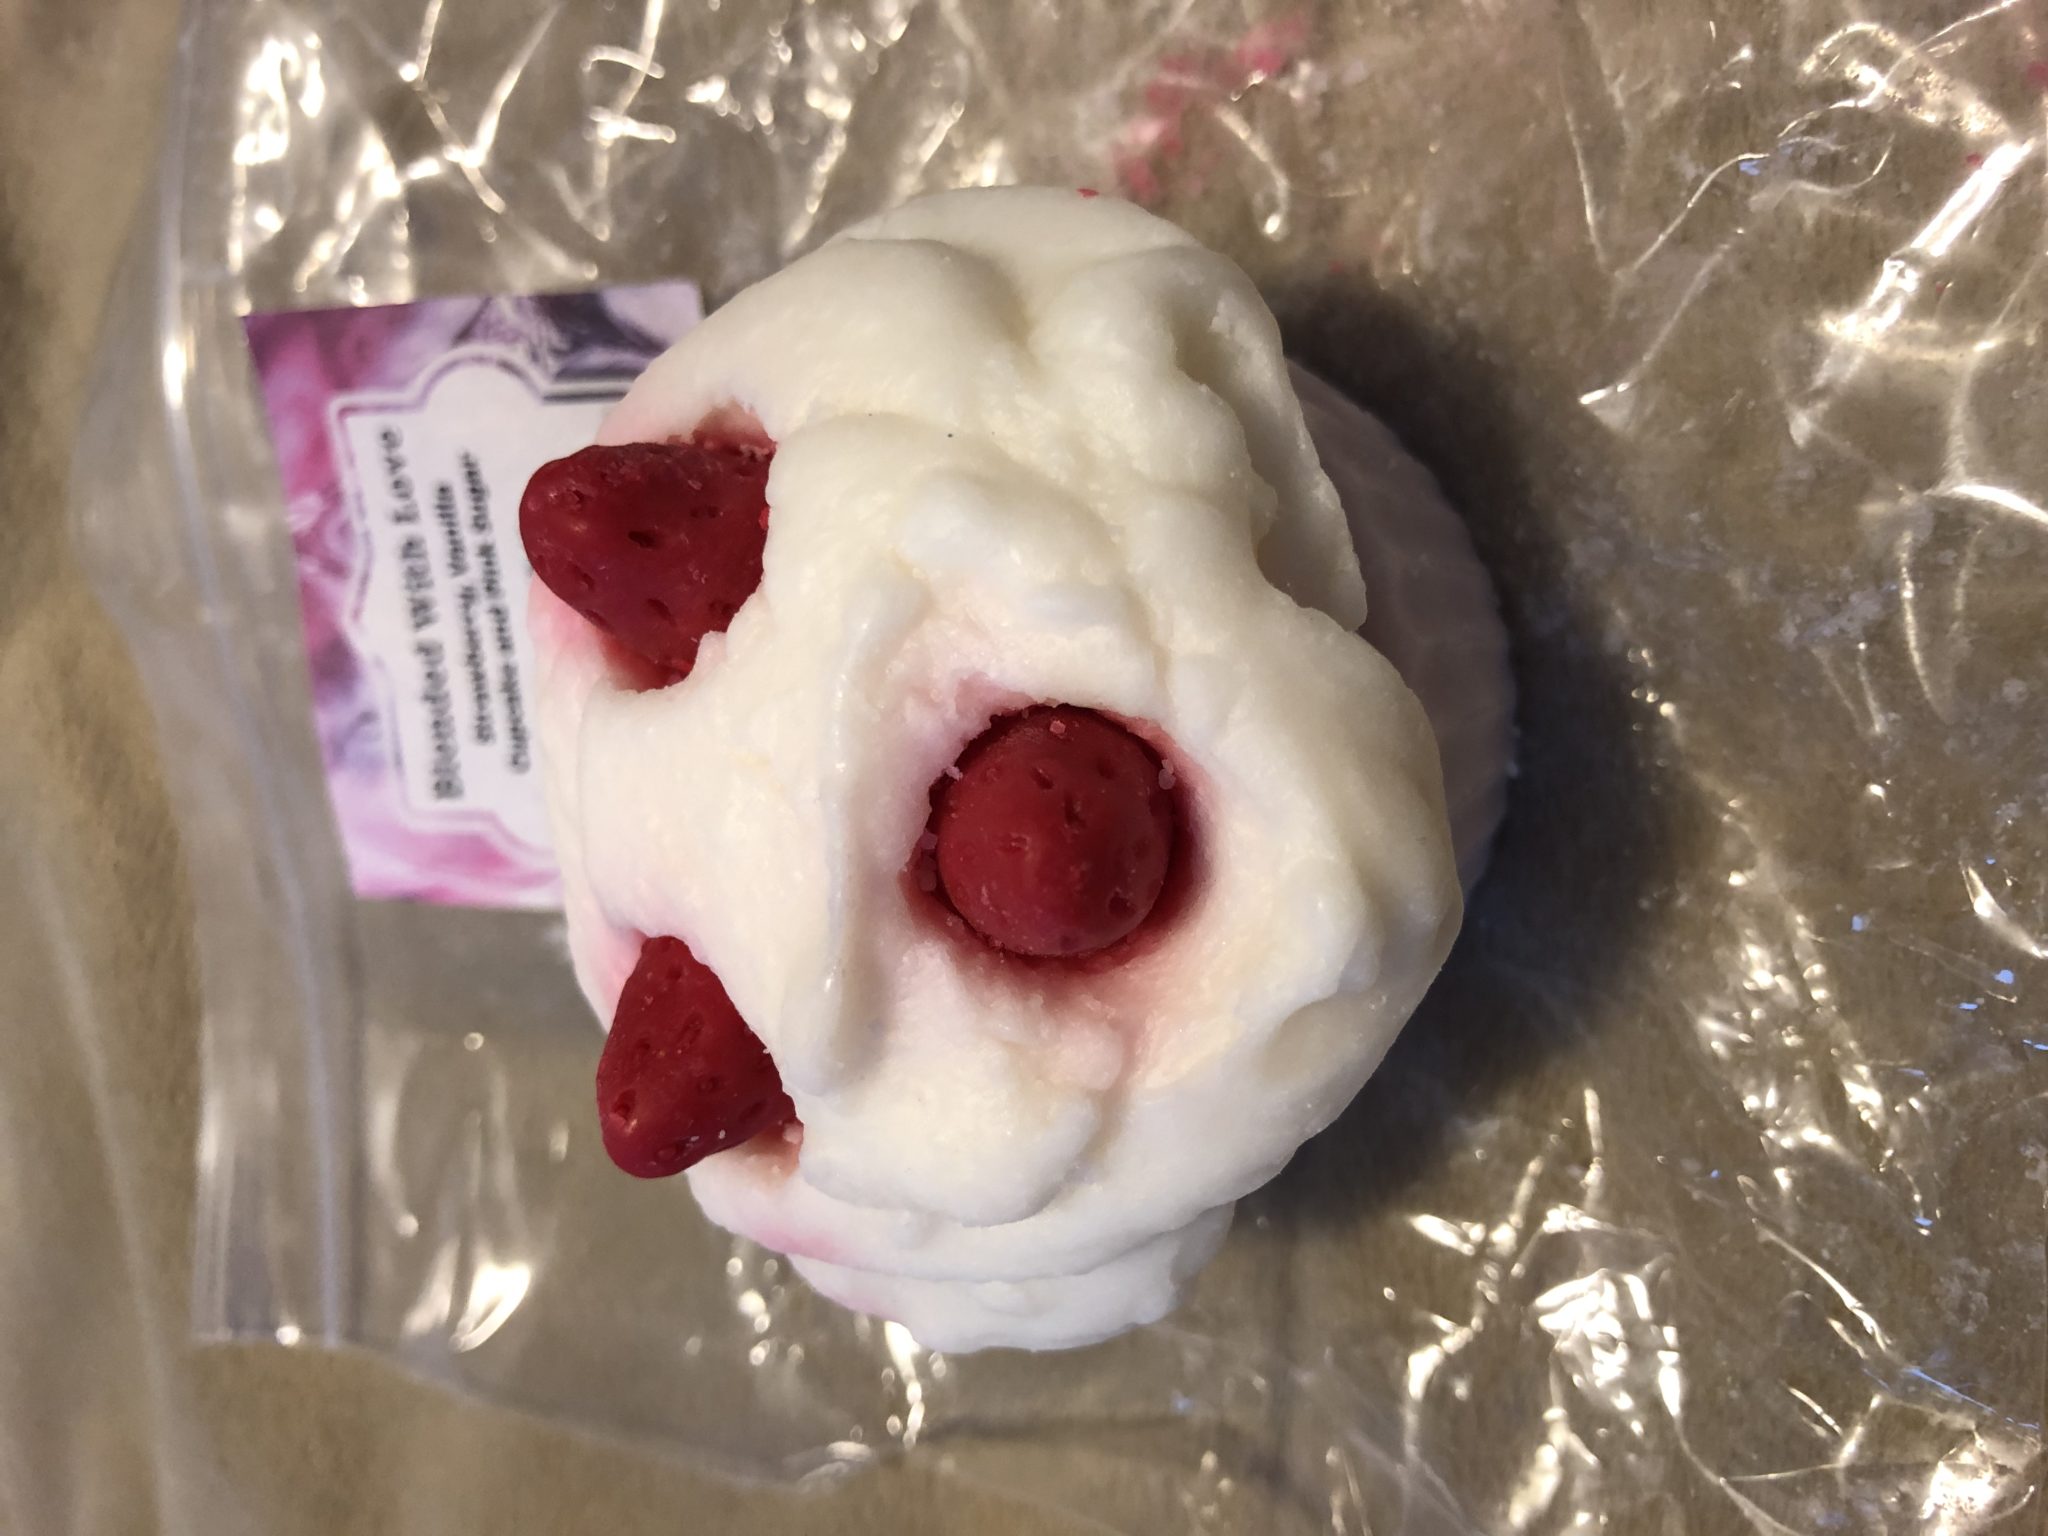
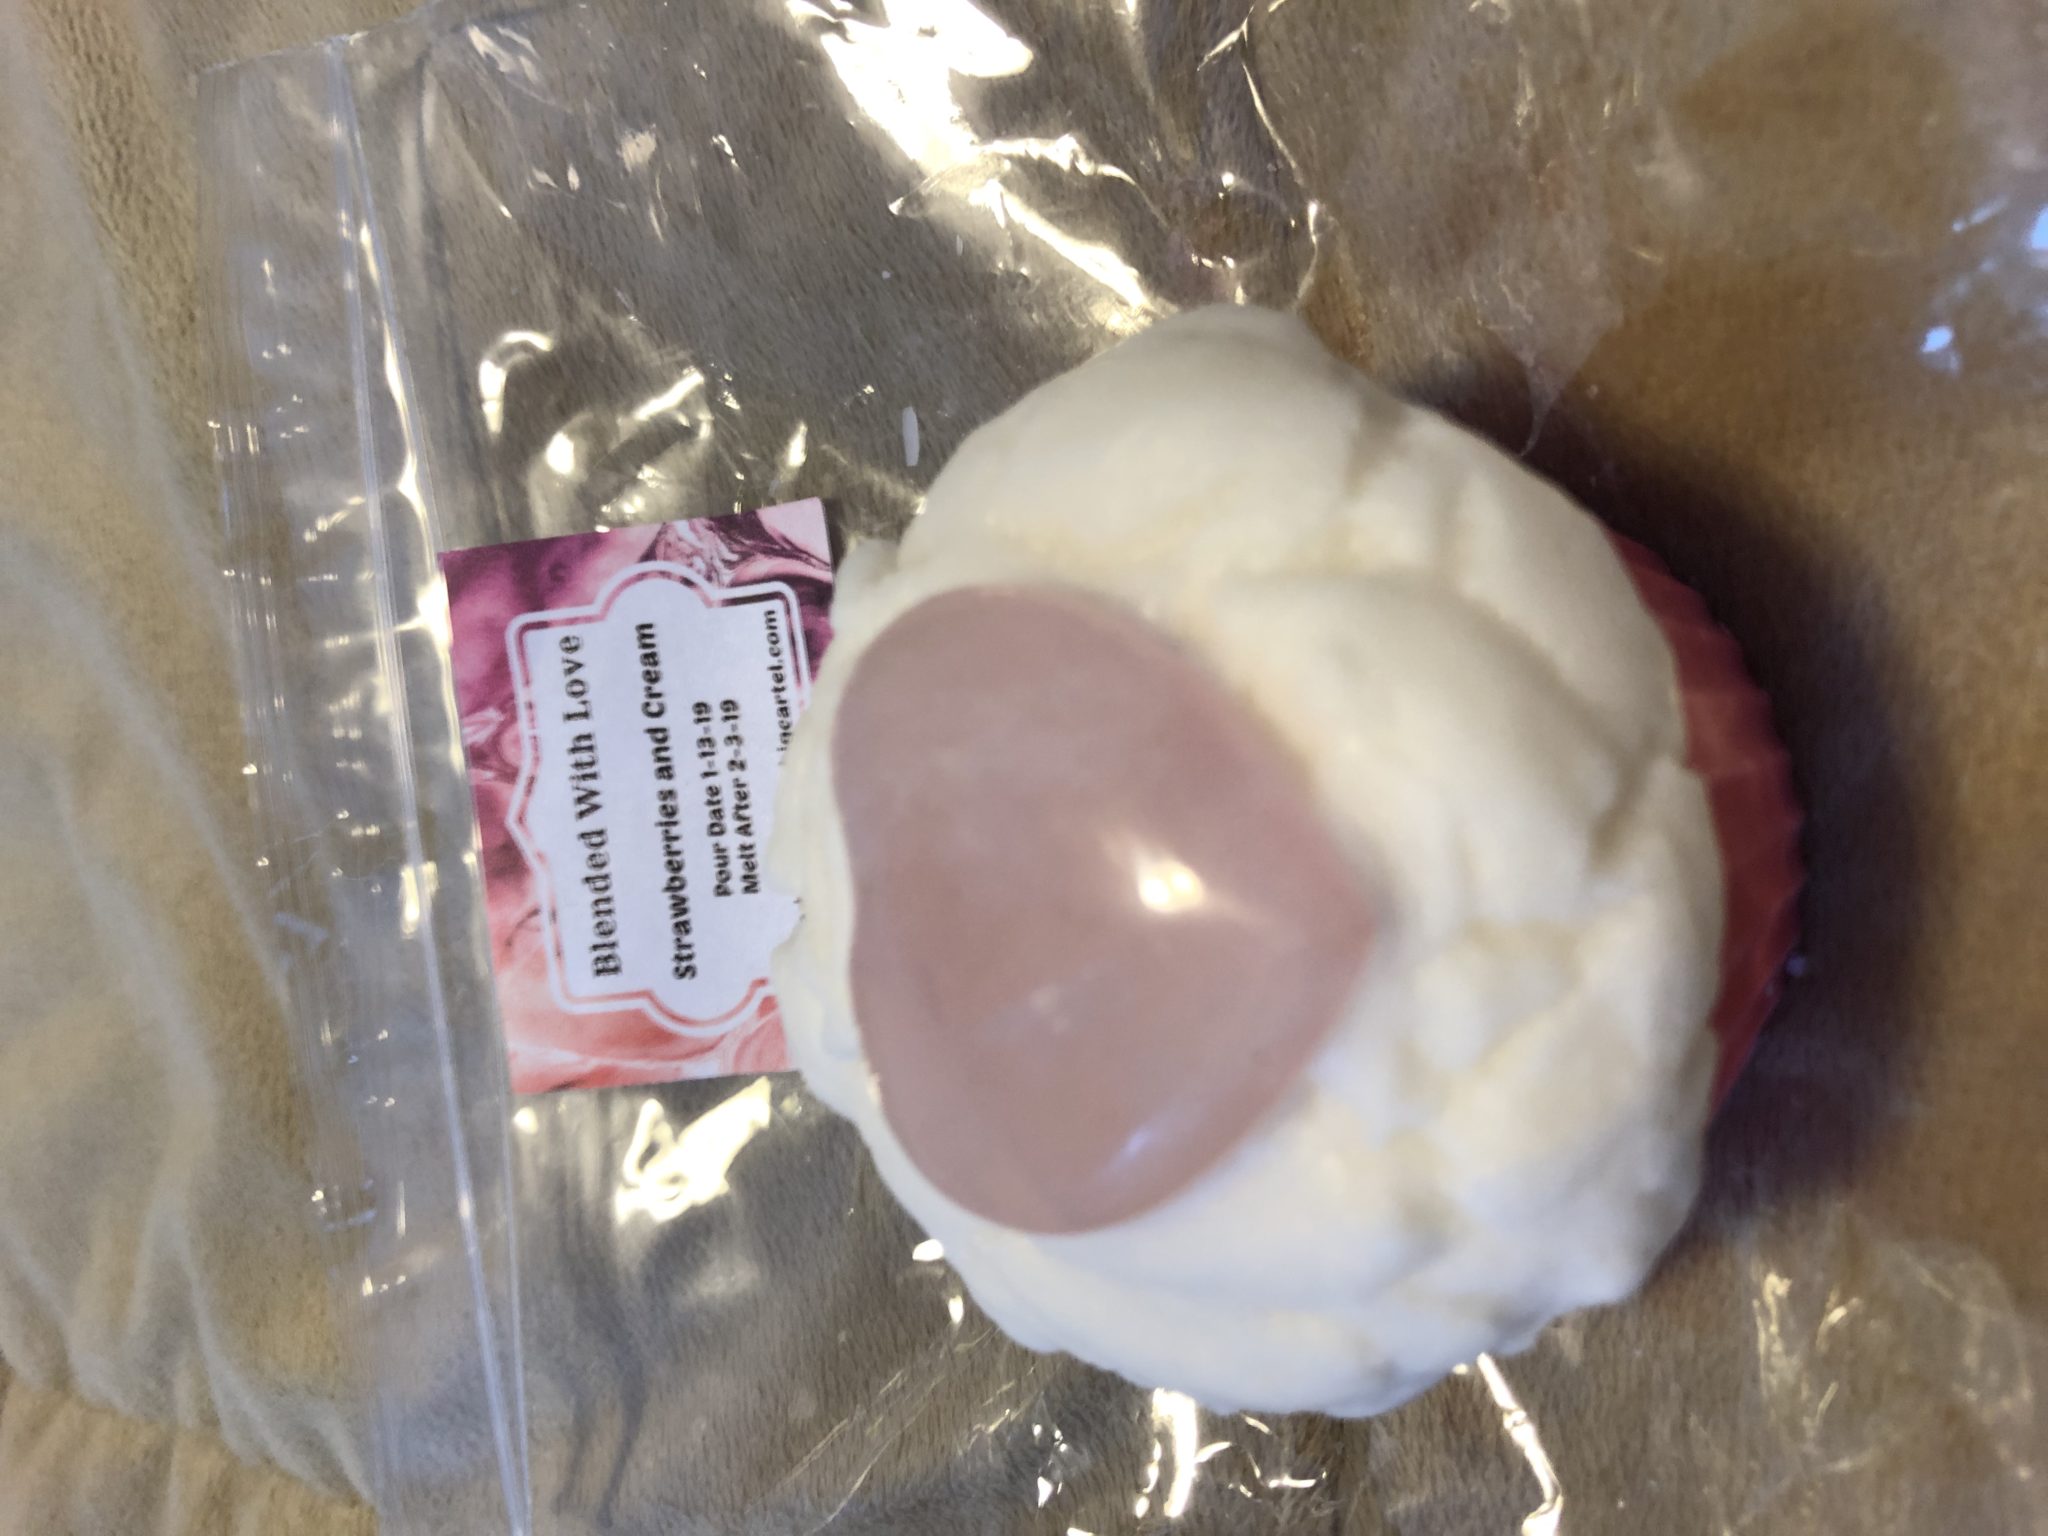
One of Ashley’s most recent additions are the crystal melts. There is another list of people who want crystal orders in the Facebook group. You get to choose your crystal, the shape you want and of course, the scent. I chose a rose quartz heart with a strawberries and cream cupcake. She’s combined three of my favorite things, crystals, cupcakes and things that smell good.

Blended with Love cupcakes and ice cream

I’m sure there is more yet to come. I can’t wait to see what else she creates and I hope you head on over to try some of her wax. You’ll love it! I have not been compensated in any way to do this review. I just love her products and want to support another mom doing amazing work.

Blended With Love, shopBlended With Love on Facebook

Blended With Love on Instagram

7 Comments

Salt Dough Keepsakes

I wanted to come up with an inexpensive and creative gift for my mother’s birthday. I also wanted Rosebud to be involved in making it so I decided to see what we could create with salt dough.

Ingredients:

  • 1 cup salt,
  • 2 cups all purpose flour,
  • 1 cup warm water,
  • A pinch of cinnamon, (Optional)
  • Food coloring or powder paint. (Optional)
  • Homemade salt dough
    Directions:

    • 1. Mix salt and flour together in a bowl.
    • If you are using powder paint to add coloring, you’ll want to mix it with the dry ingredients.
    • I added the pinch of cinnamon at this stage for a hint of scent, but that is totally optional.
    • 2. Gradually add the warm water and stir until dough forms.
    • If you are using food coloring, add it into the water before mixing with the dry ingredients.
    • 3. Once you have your dough, shape it into a ball and kneed for five minutes. the more you kneed, the softer it gets.
    • 4. Time to have fun and see what you can create.

    Salt dough heart ornament

    It took several tries, but I shaped the dough into a flat heart and Rosebud pushed her hand in the center to make the handprint. Trying to get a tired child to do something like this can be pure torture, but after the sixth try, we got our final product. The other handprints were missing fingers, missing part of the hand itself or barely noticeable.

    Salt dough heart, dried

    To add some sparkle, I put some glitter on the heart. Finally, I poked two holes in the top so the heart can be hung as a decoration. I used a pencil to get good sized holes.

    Salt dough rose

    Next, I worked on the small rose. I roled out a coil for the stem and then made the leaf and rose petals by hand. You role the dough into tiny balls, shape them like a fingerprint and then smooth and bend the pointy ends into the stem. I start out with the outside petals which are larger and then work my way into the smallest center petals.

    I baked the decorations for one hour at 200F and covered them with foil to avoid browning. The heart could’ve been baked a bit longer, but it air dried the rest of the way.

    When it was cool, I painted them. For the heart and flower, I mixed white paint with a tiny drop of red food coloring. For the stem and leaf, I mixed the white paint with some green food coloring. When the paint was dry, I covered it with a coat of modpoj.

    Rosebud was proud to give the birthday gifts and I was happy that we created something together. Have you made anything with salt dough? If so, what are your best creations?

    6 Comments

    Sparkly Lemon Play-dough

    I am a big fan of play-dough. There are so many things you can do with it and so many ways to make it. I’ve used it for a sensory play activity, to teach numbers and shapes, to build fine motor skills and for pretend play. Also, I love to make homemade versions of things whenever possible. In the case of play-dough, it is cheeper to make your own, it lasts longer and you get a whole lot more of it.

    I decided to make lemon scented play-dough. Something fresh and bright for spring. Here in the northeast, we have the feeling that spring will never come this year.

    Rosebud was excited when I brought out the container of new play-dough that I had made the night before. As soon as I opened it, she said that it smelled good. She immediately got to work squishing, pounding and making holes in the play-dough. She used the play-dough cutters to cut pieces and the rolling pins to flatten it. I sat with her and first I made things to see if she could guess what they were. I made hearts, squares, circles and stars. She loves when I make balls, but then she is tempted to throw them. Fortunately, she usually squishes them before she gets the chance. Rosebud loves cooking in her pretend kitchen and loves to help me cook on occasion. She gets very excited about food, so she was thrilled when I started making play-dough ice cream cones. She guessed it correctly right away and then asked for more ice cream cones. We had fun playing with play-dough for about 45 minutes and towards the end, I was thinking about how great it is to just be in the moment. You’re in the present creating something with your hands and enjoying the company. It’s important to be open to moments like these. They will recharge you.

    Here is the recipe I used.

    2 cups flour,

    1 cup salt,

    2 table spoons cream of tarter,

    2 table spoons vegetable oil,

    1&1/2 cups boiling water,

    A couple drops lemon extract,

    Glitter to make it sparkly,

    A couple drops of glycerin to add shine,

    Food coloring if desired.

    How to make it:

    1. Mix together dry ingredients.

    2. Stir in oil.

    3. Add water and stir until the lumps are gone and it comes together.

    4. Kneed. Add food coloring, scent, glitter and or glycerin at this stage.

    Store in an air tight container. All of my batches of play-dough have stayed good for a couple months at least.

    2 Comments