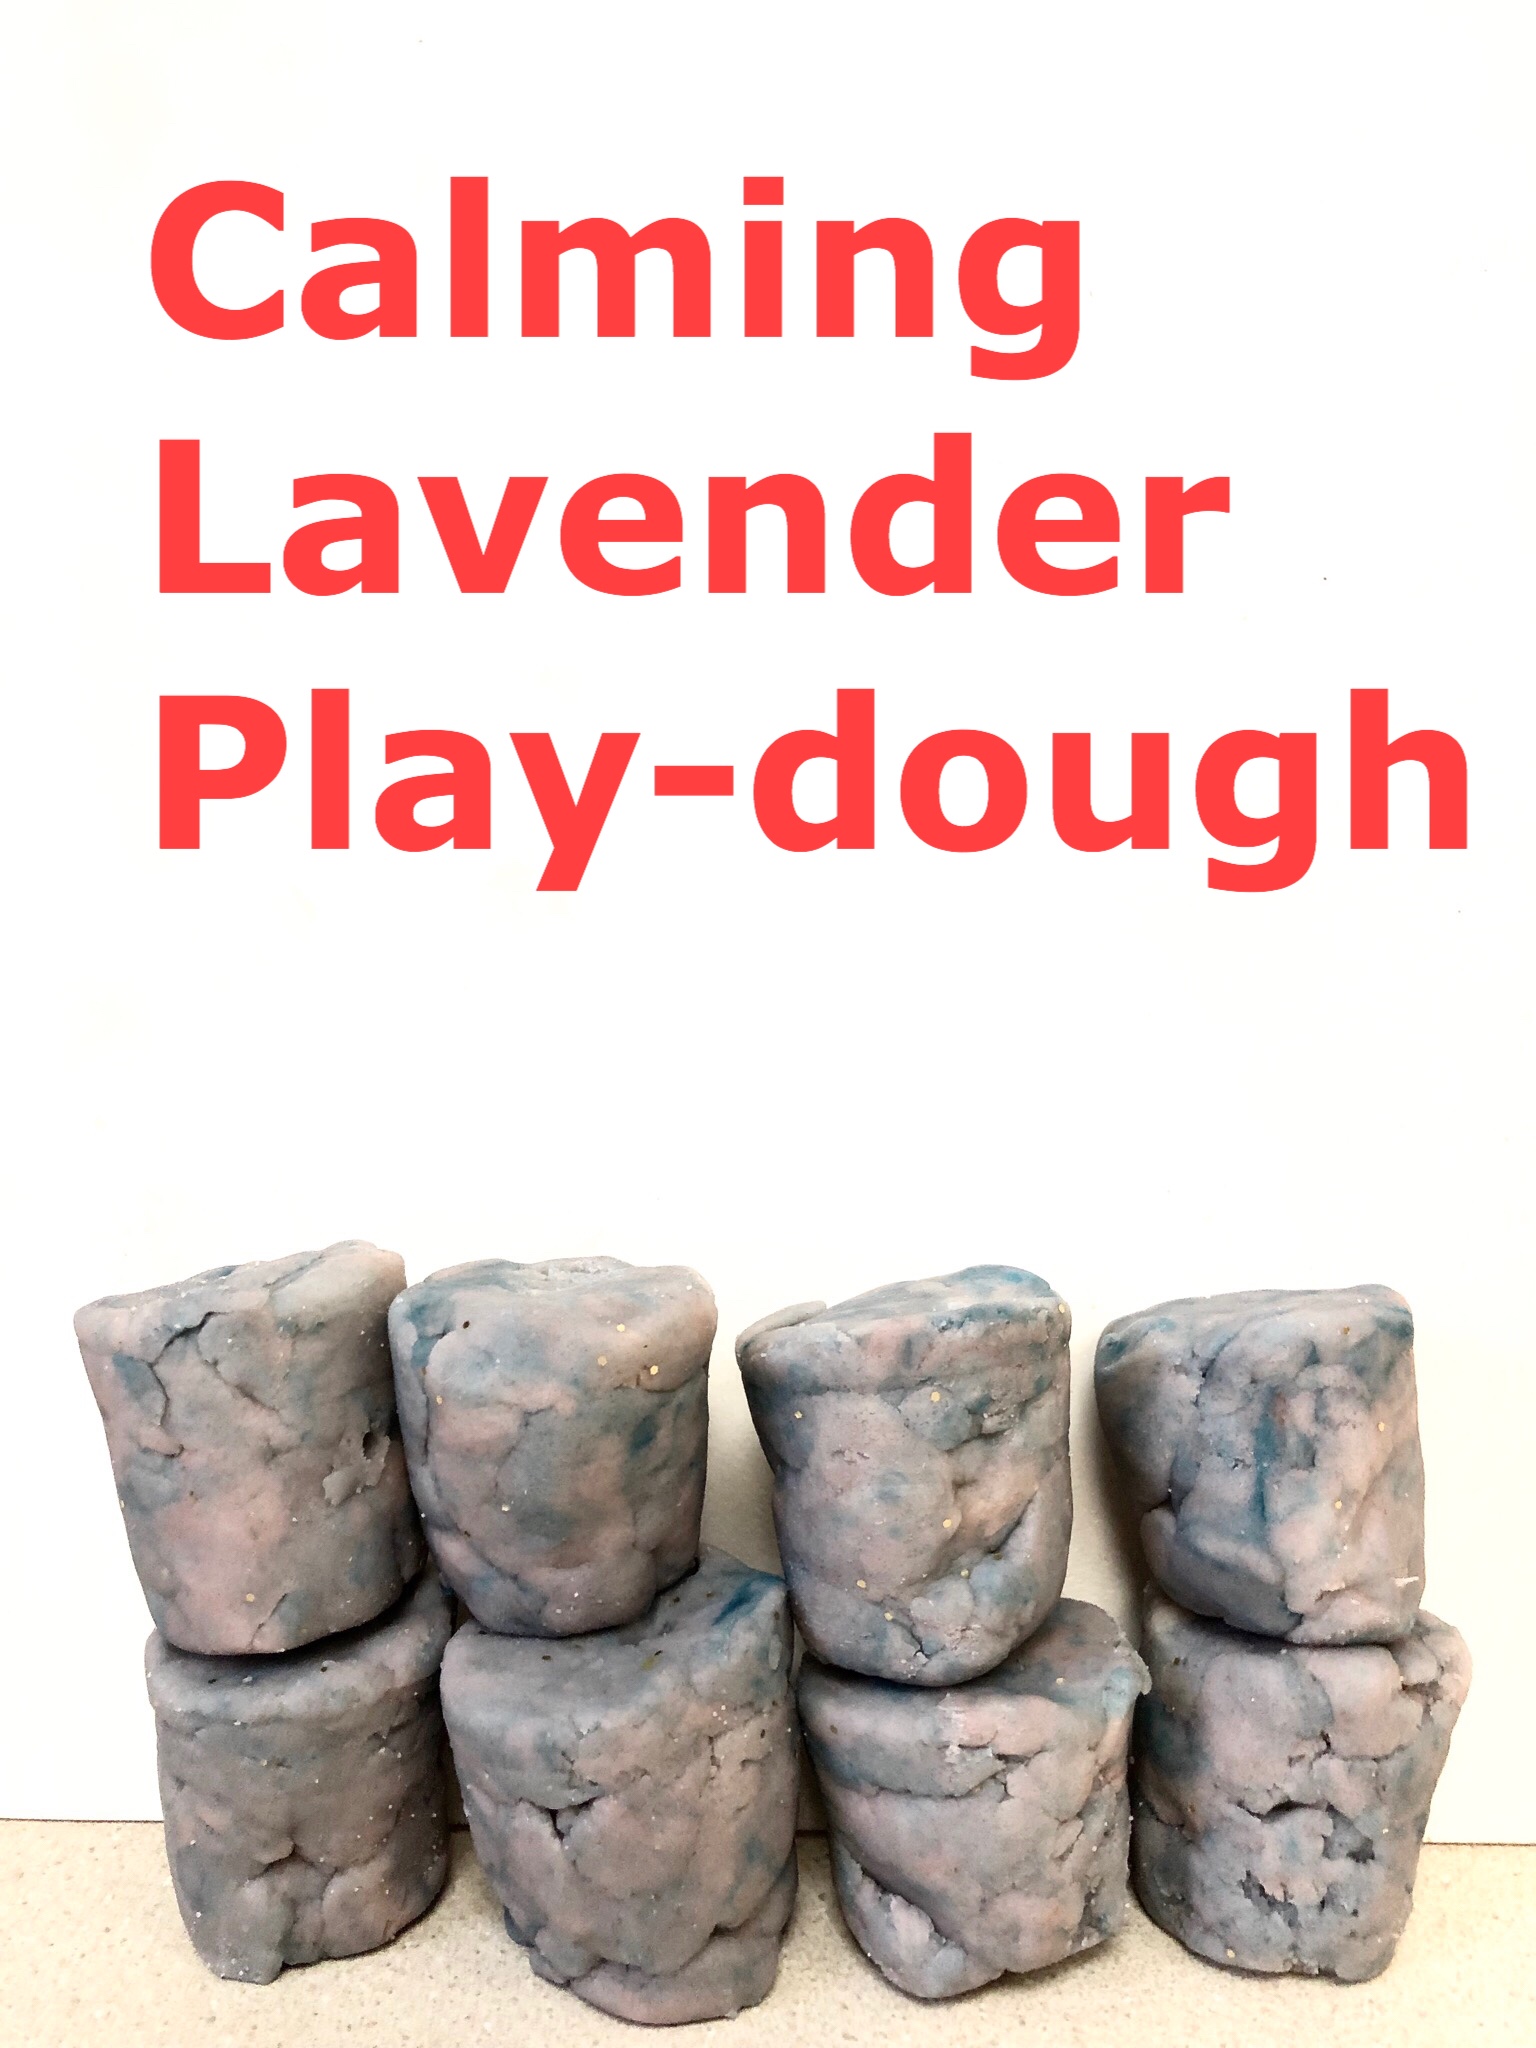
I made a fresh batch of play-dough for spring and I decided to add some lavender essential oil. Lavender is supposed to be calming, so I thought it’d be good for Rosebud to play with in the evenings.
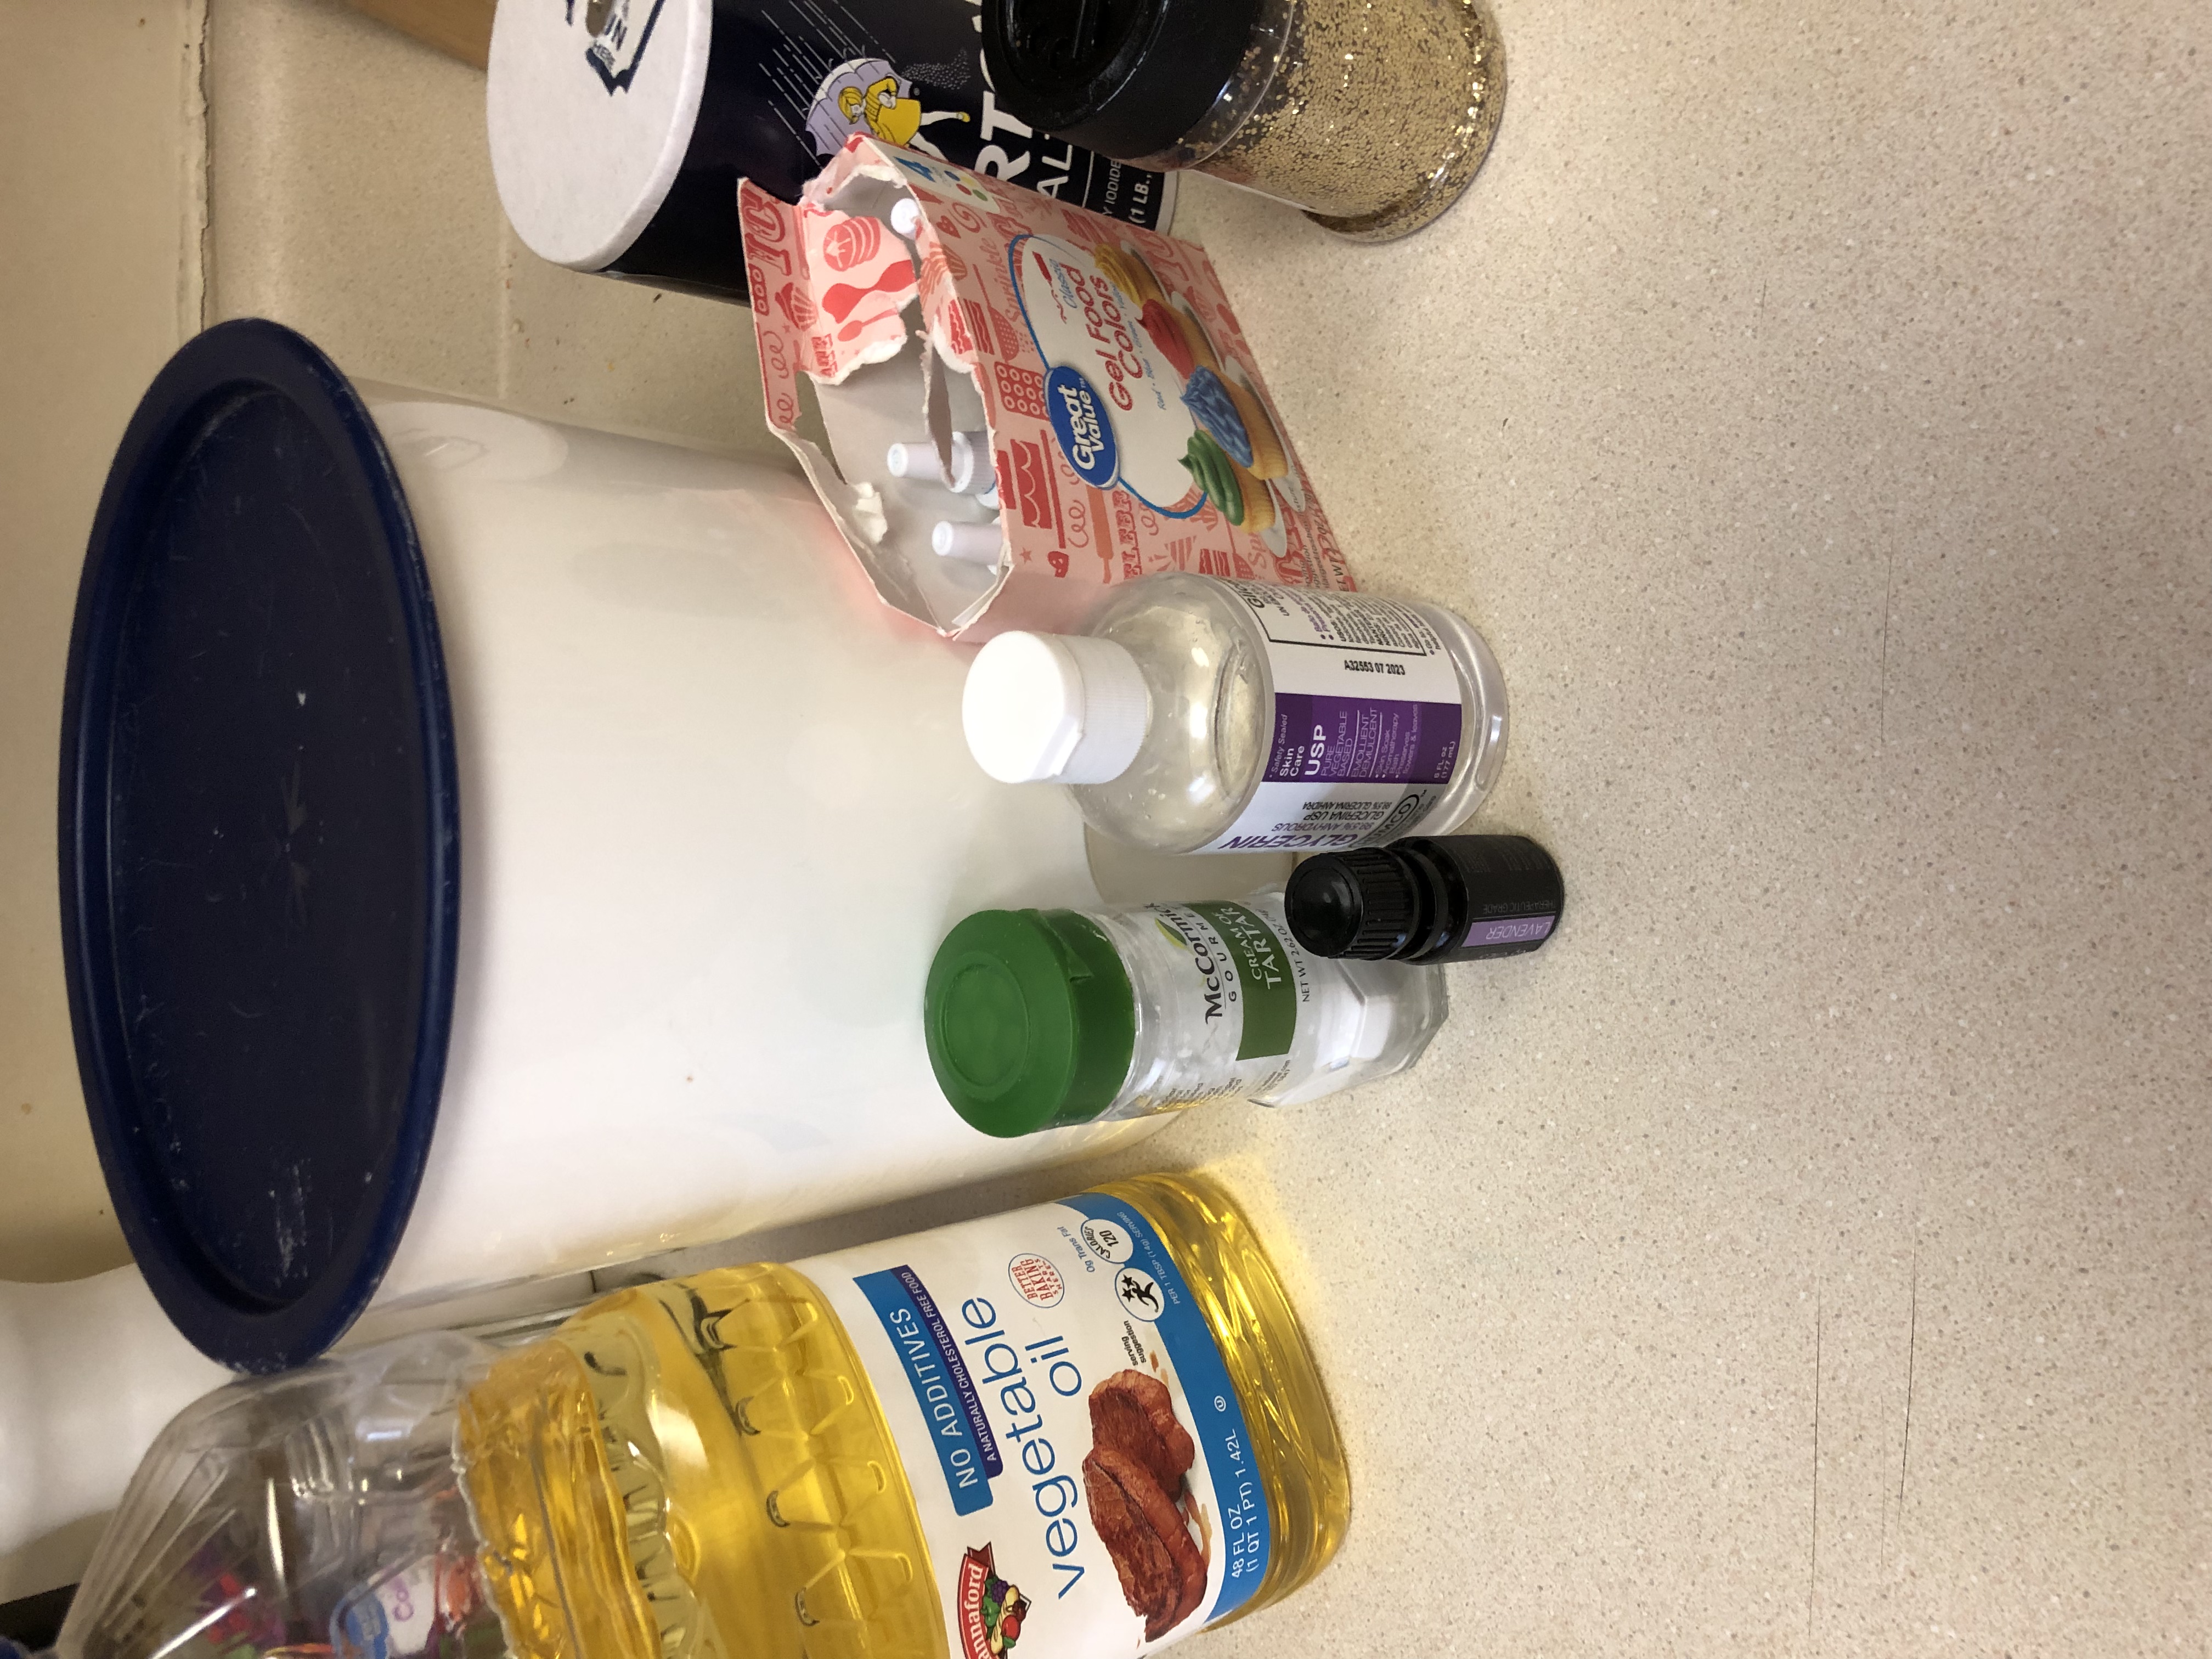
This time, I thought it would be fun to make the play-dough with her. I usually use the same recipe, but will switch up the food coloring, glitter, or scent. This time I used blue and red food coloring, glitter and lavender essential oil.
Ingredients:
2 cups flour,
1 cup salt,
2 table spoons cream of tarter,
2 table spoons vegetable oil,
1&1/2 cups boiling water,
A couple drops of glycerin to add shine,
A couple drops lavender essential oil,
Red and blue food coloring, (optional)
Glitter to make it sparkly, (optional)
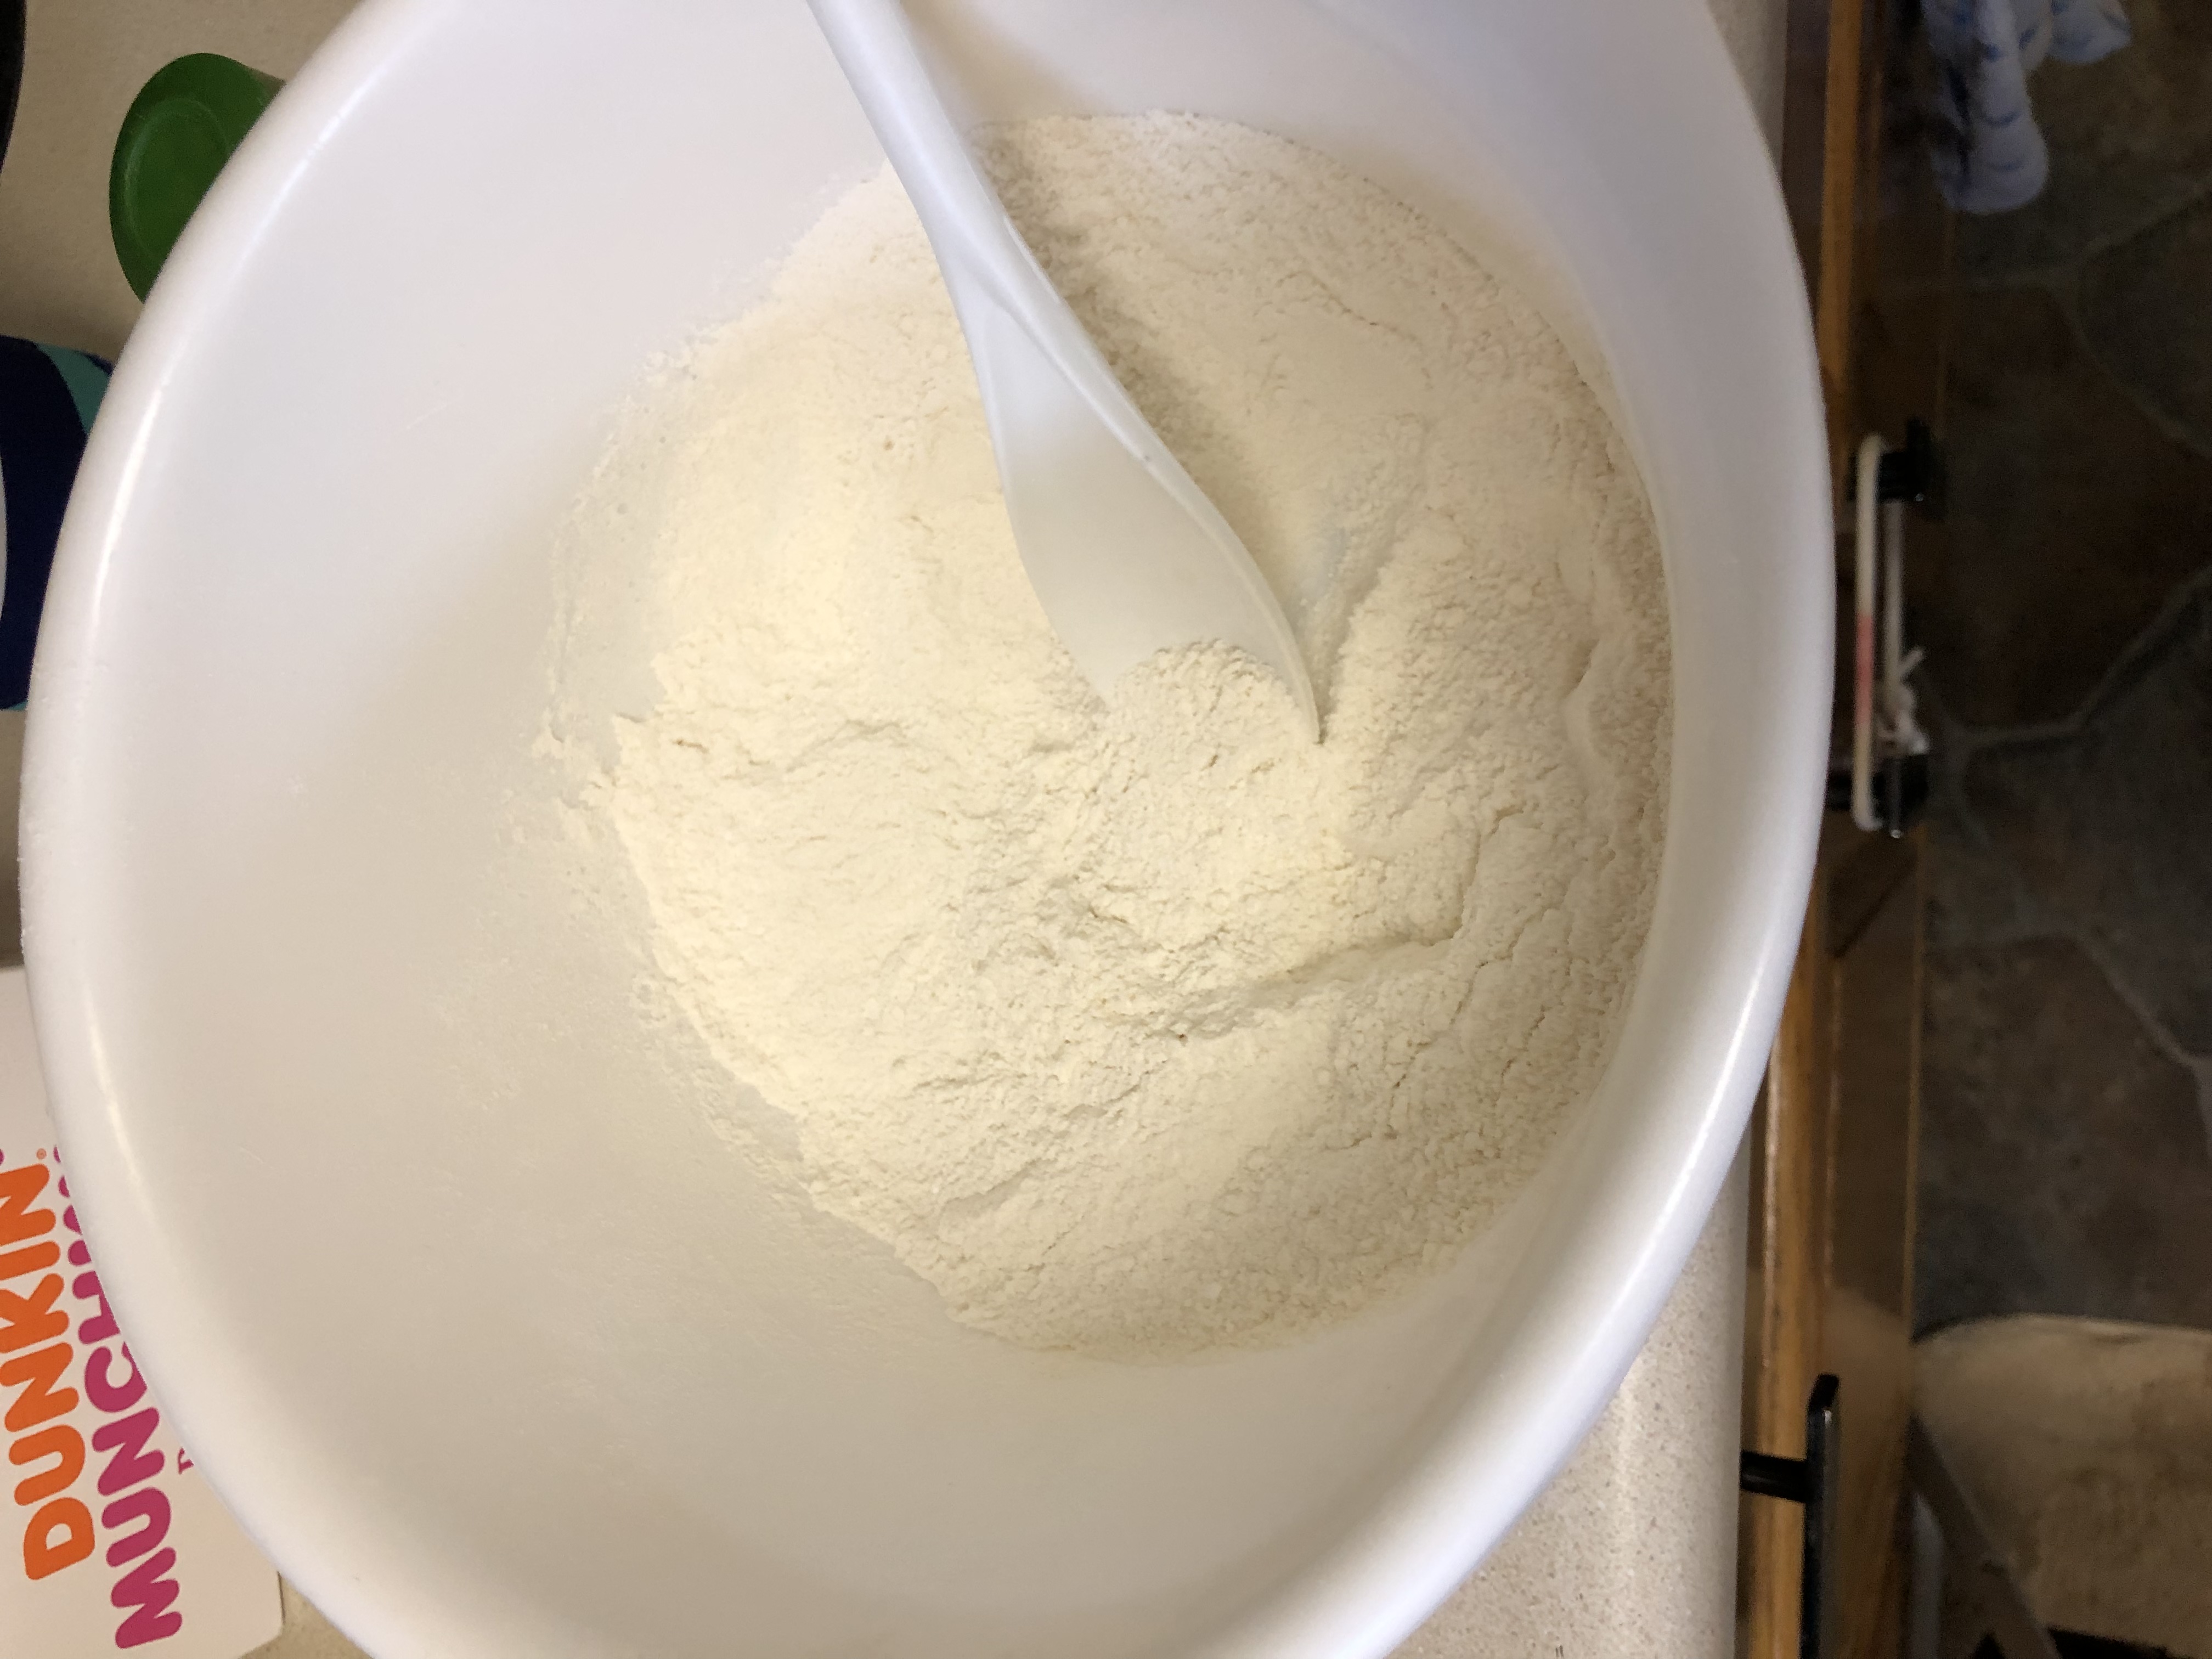
We started with the dry ingredients which she mixed. Of course, quite a bit ended up on the counter, but it could’ve been worse.
Next, we added the wet ingredience. The water and vegetable oil. If you need a substitute, you can use coconut oil instead. I also add the drops of glycerin at this stage. This is where it starts to get clumpy.
Before you start kneeding, add your food coloring, glitter or essential oils or extract. Sometimes I use vanilla or other fruit extract to add scent. You’ll want to kneed it until it is smooth and sticks together. If it’s too wet, add flour. If it’s too dry and falling apart, add a little water until you get the desired consistency.
Directions:
1. Mix together dry ingredients.
2. Stir in oil.
3. Add water and stir until the lumps are gone and it comes together.
4. Kneed. Add food coloring, scent, glitter and or glycerin at this stage.
5. Store in an air tight container.
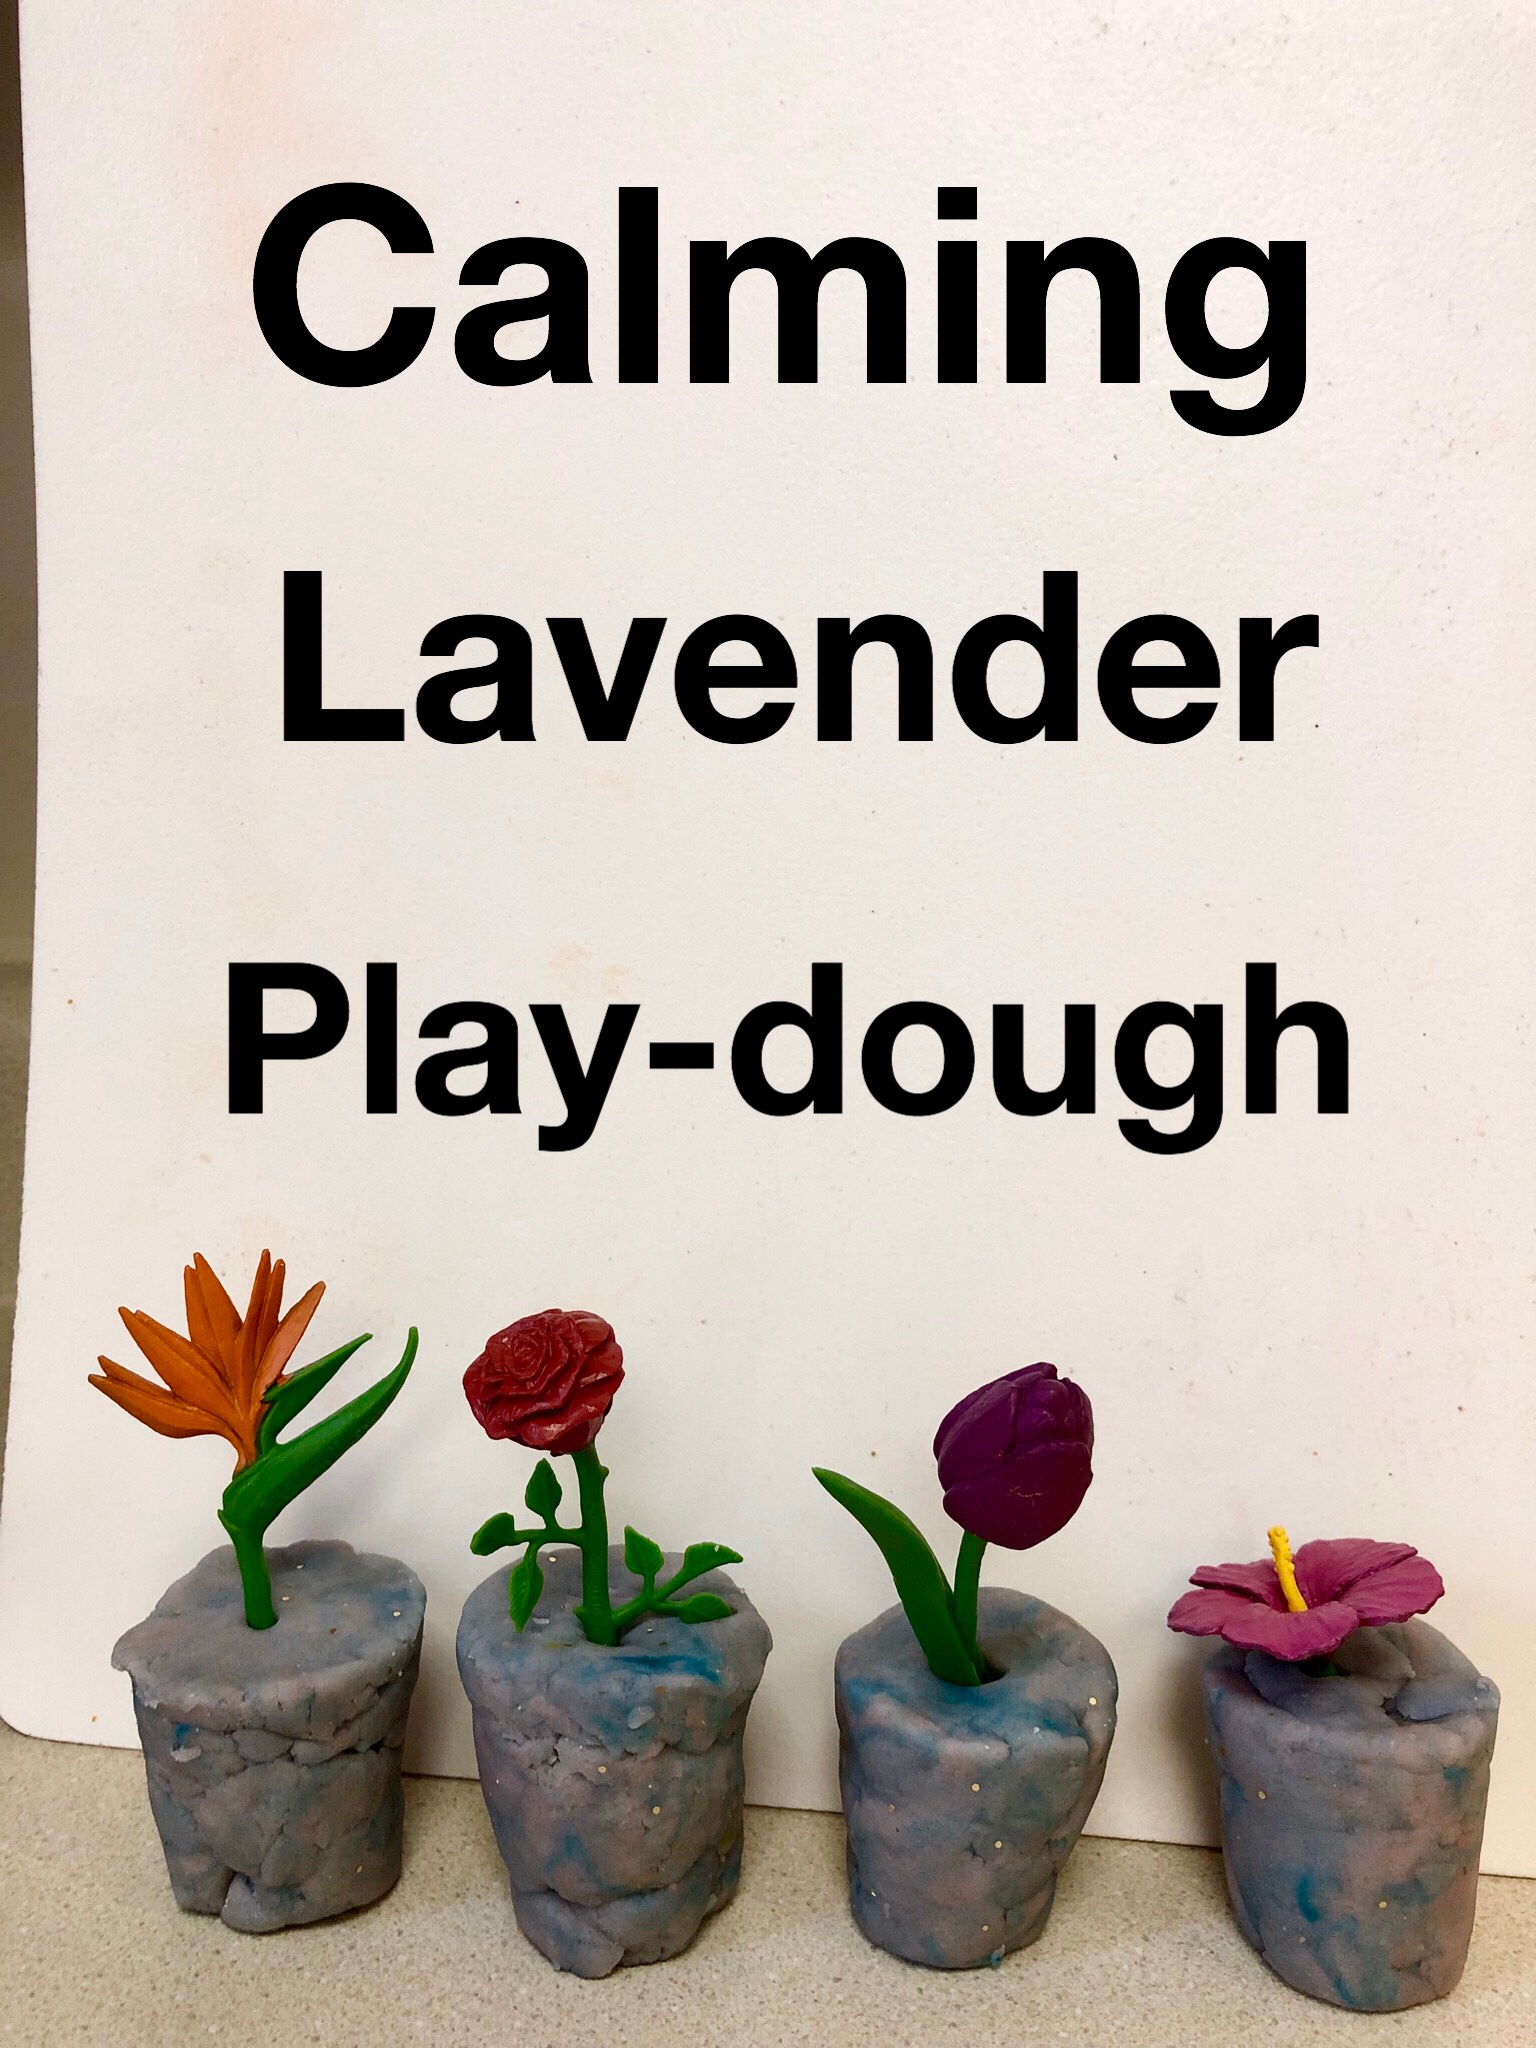
This is the final product. As always, the texture was great and Rosebud played for quite a while, but she wouldn’t let me take pictures of her creations. I will have to sneak and try to get some next time.
What are your favorite things to add to your play-dough? Tell me in the comments.
It’s better late than never, right? Here are my favorite things and blog accomplishments for the month of April. This time, I have another book, a fruit smoothie recipe, Peeps play-dough and several articles.
Blog Accomplishments
I’m so excited! I made enough Amazon affiliate sales to get my account approved. For those who don’t know, you need three sales within the first six month period or your account gets closed. My first time around, I only got 11 clicks and no sales. This time, I’ve gotten 69 clicks and five sales. While the clicks are minimal compared to a lot of bloggers out there and the commissions are small, it’s something. I have to start somewhere. My second accomplishment this month is the increase in traffic. It’s not a huge amount, but it’s slow progress.
Fruit Smoothie Recipe
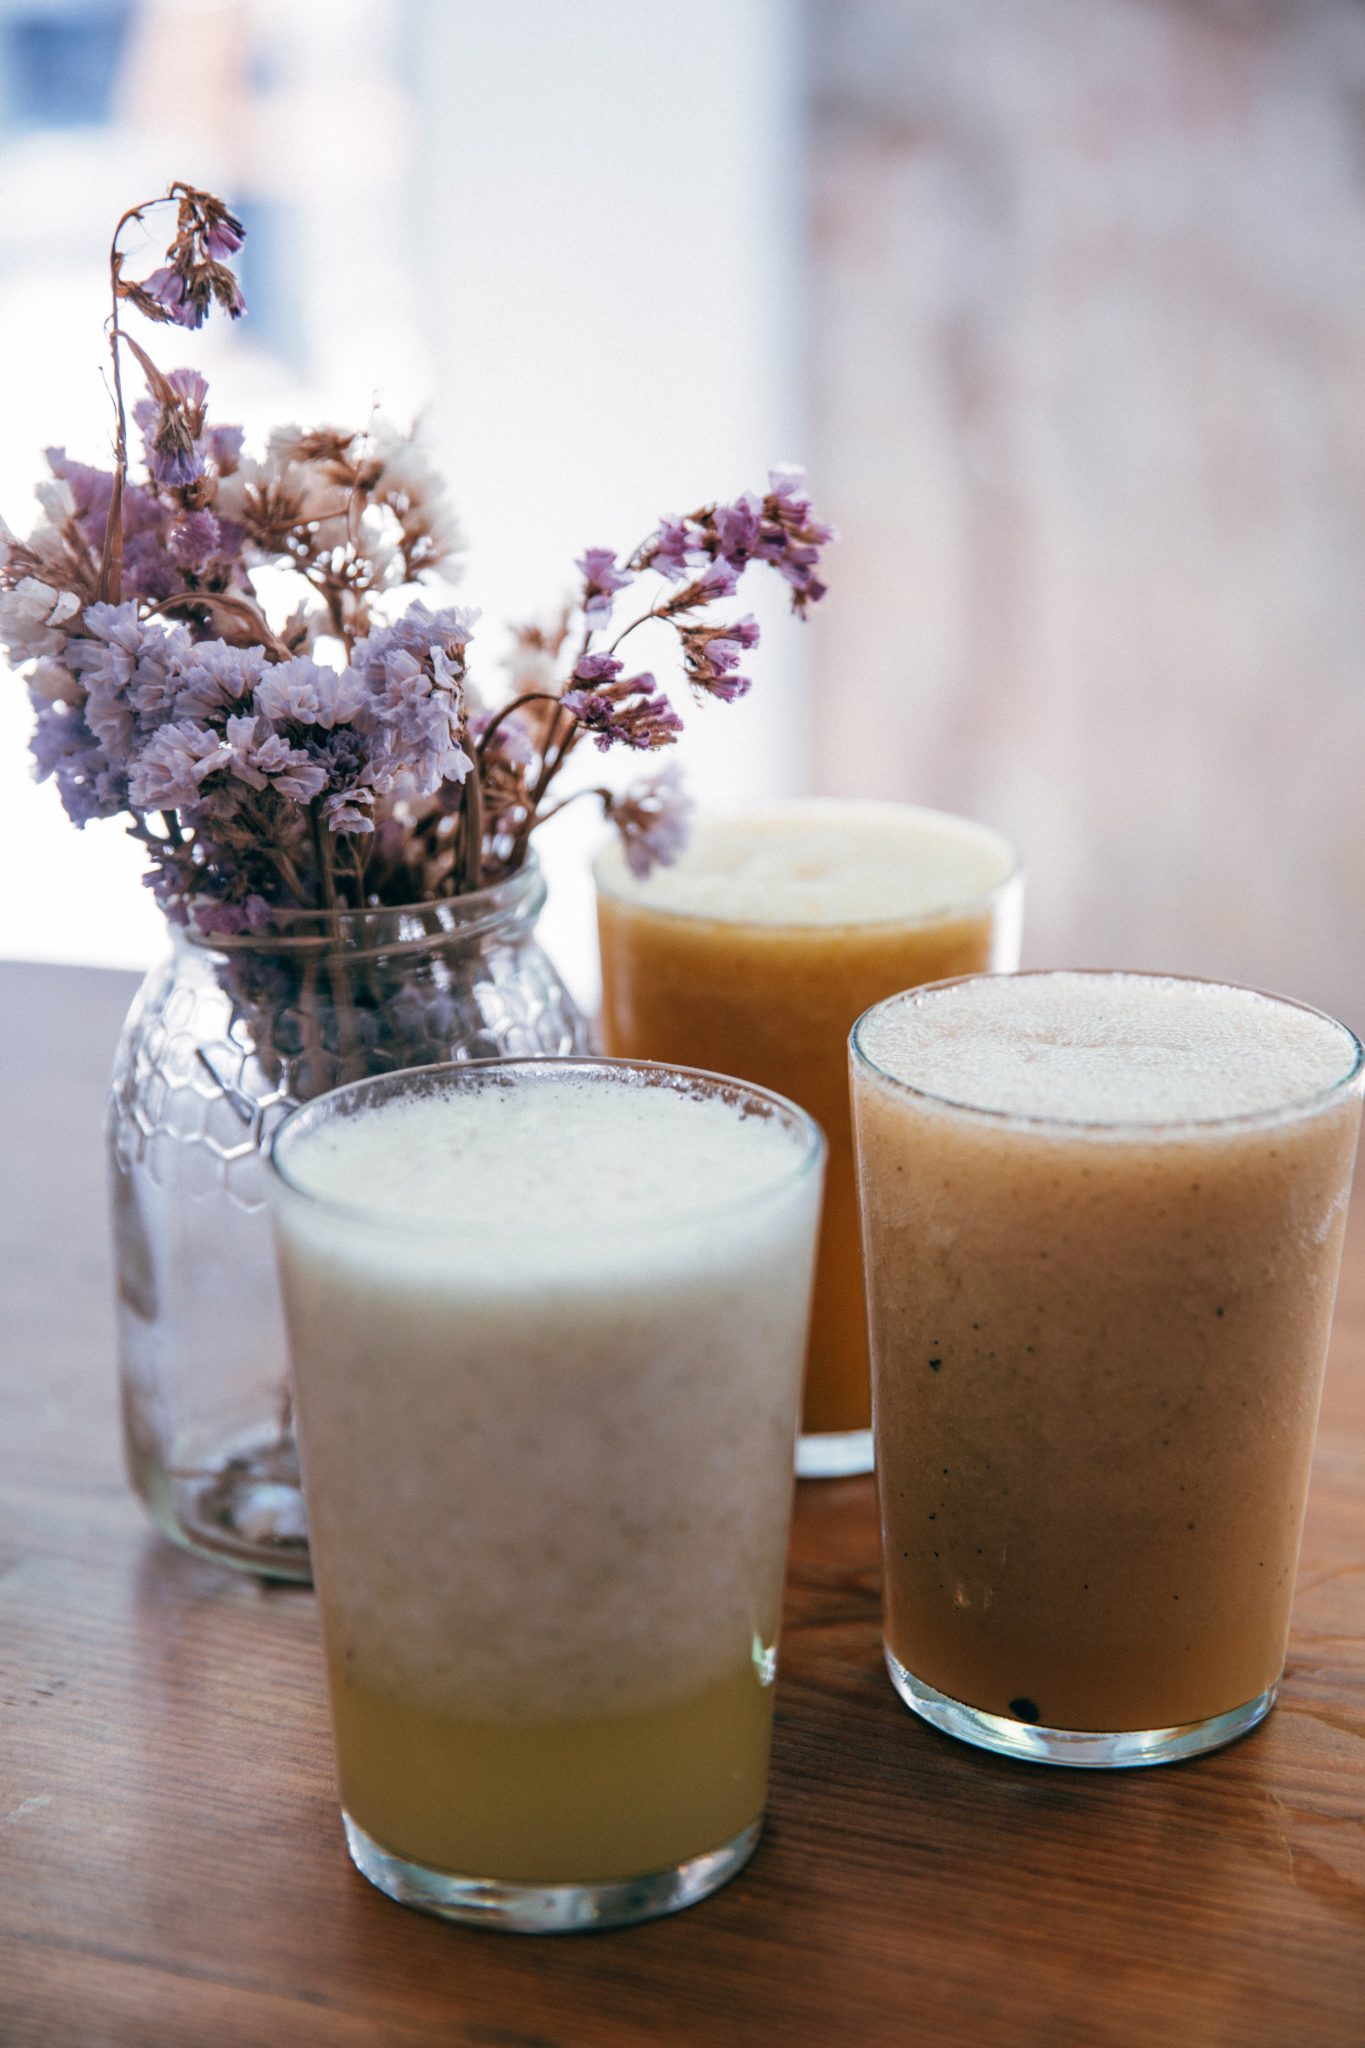
I’m always looking for tasty recipes that Rosebud will love and if she can help me in the kitchen, it’s a bonus. We were making pretend smoothies in her toy blender and I had just bought a bunch of fresh fruit. She had never had a smoothy before, so I asked if she wanted a real one and she did. I made smoothies often before she was born and here’s the recipe we came up with.
Ingredients:
1 cup yogurt,
1 cup almond milk,
1 banana,
1 half cup blueberries,
5 strawberries,
A handful of grapes.
Directions:
Chop fruits into smaller pieces and add to blender.
Blend until you get the desired consistency. I have a smoothie setting on my blender. It took less than a minute. I’ll try it with different fruits next time.
Book
I only read two books in the month of April, so there wasn’t much to choose from when picking my favorite. I enjoyed Me Talk Pretty One Day by David Sedaris. There were a variety of stories. Everything from his speech therapy lessons as a little boy to his days living in France while trying to learn the language.
Peeps Play-dough
I had been seeing Peeps play-dough pins on Pinterest for a couple months now and knew that we had to try it. Here is the recipe we used.
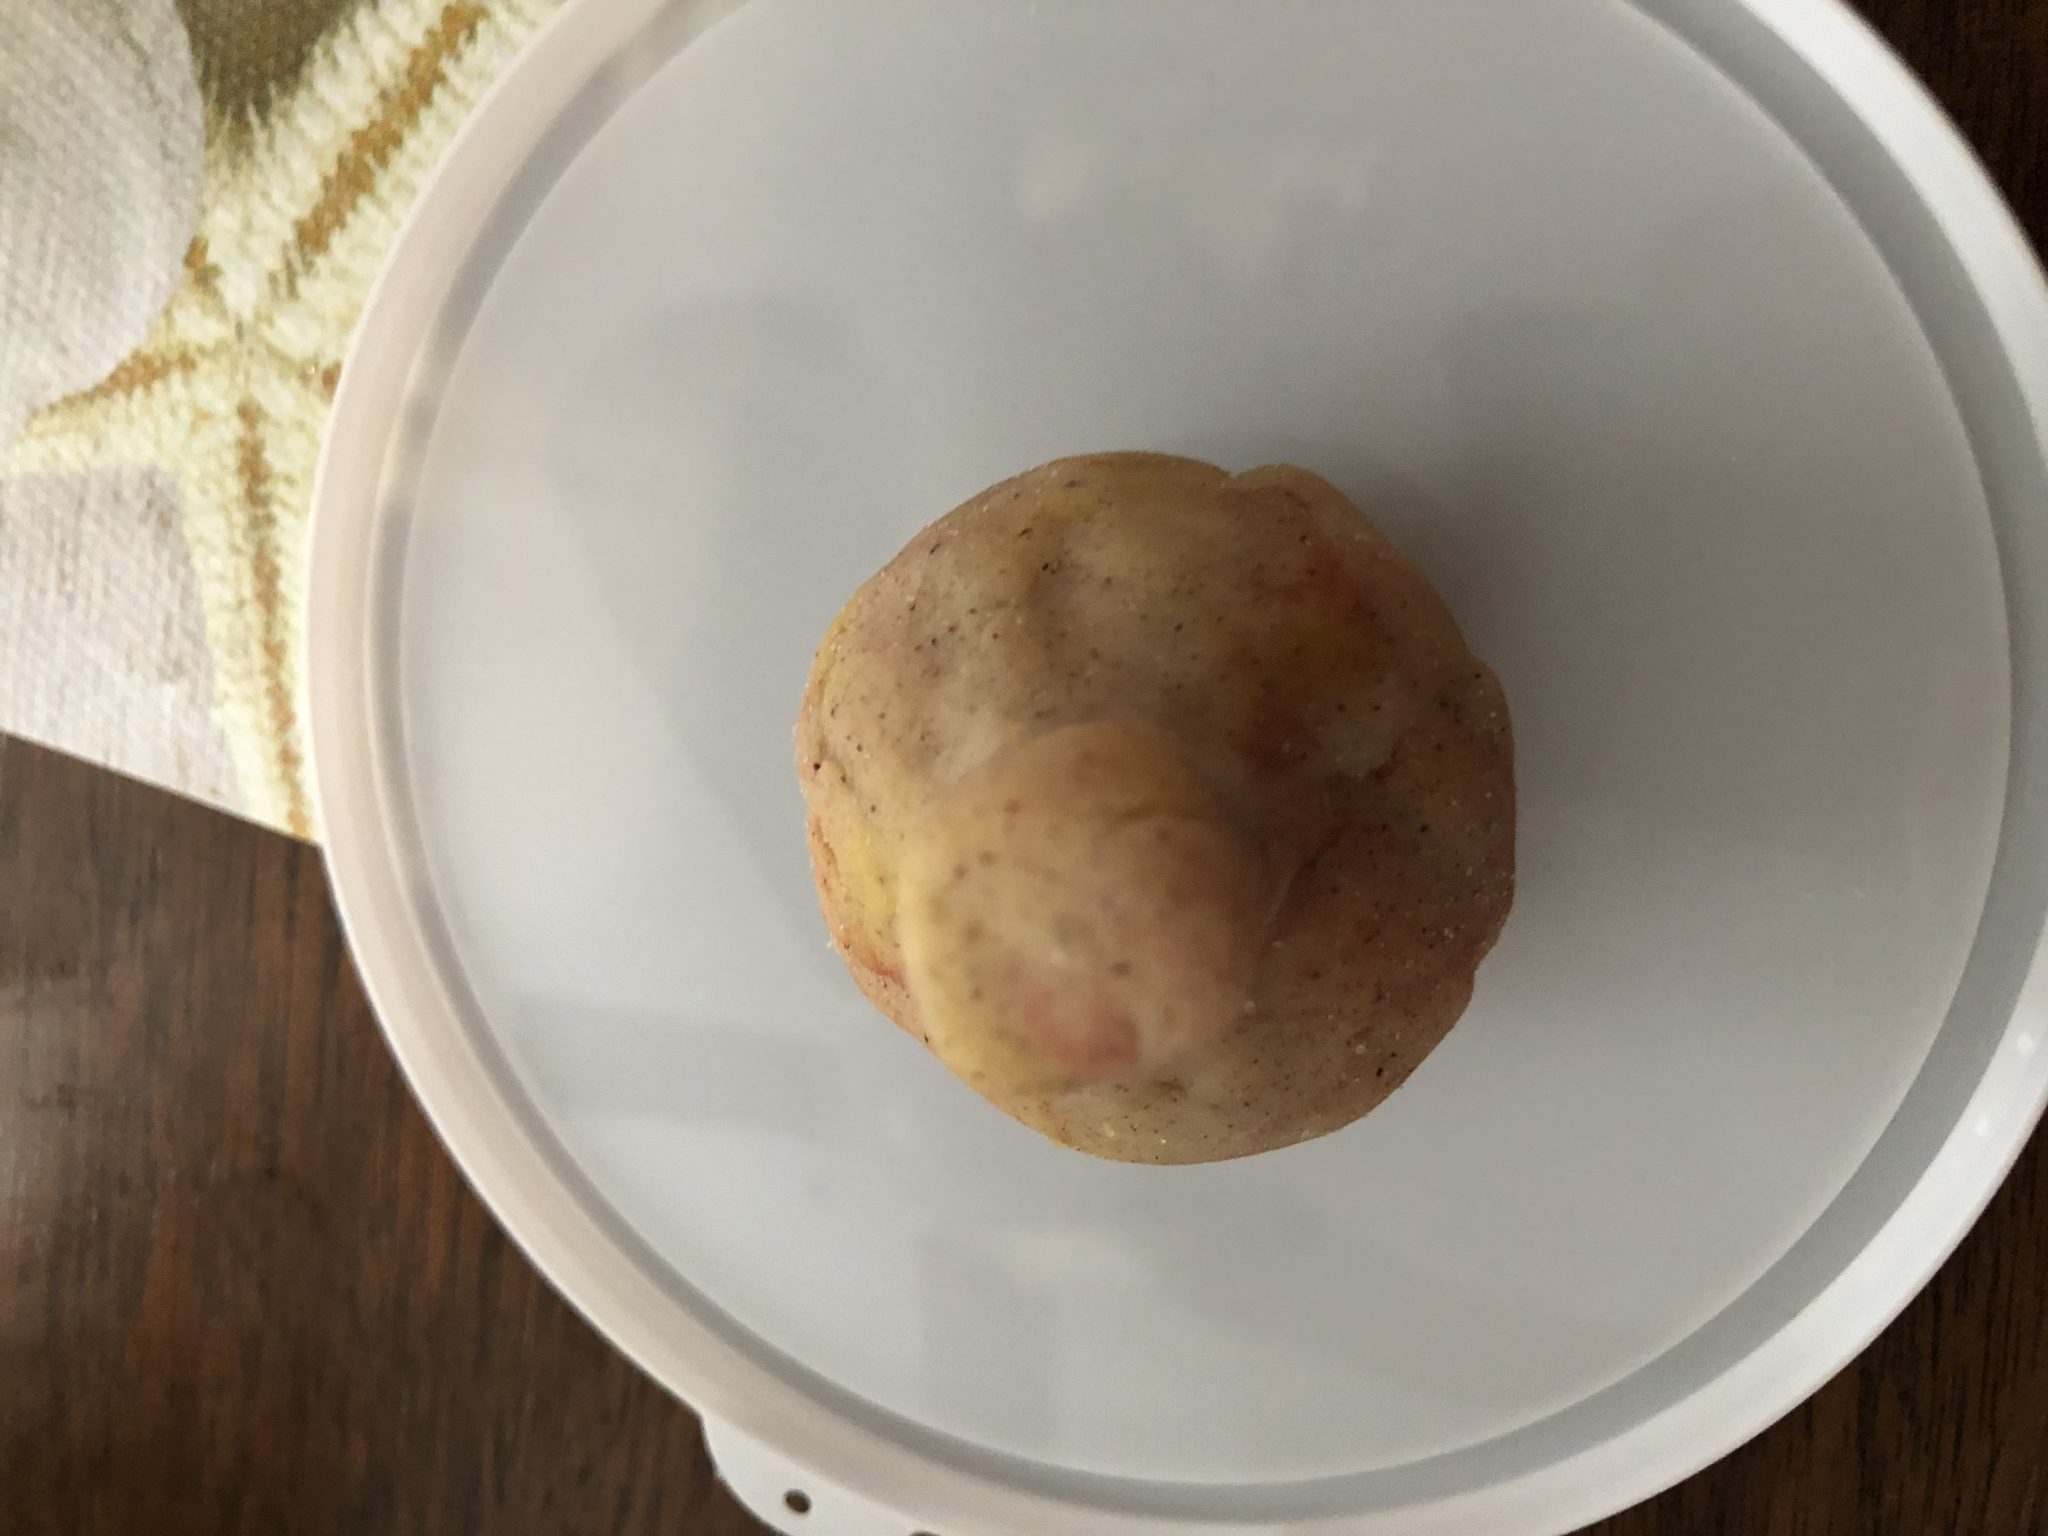
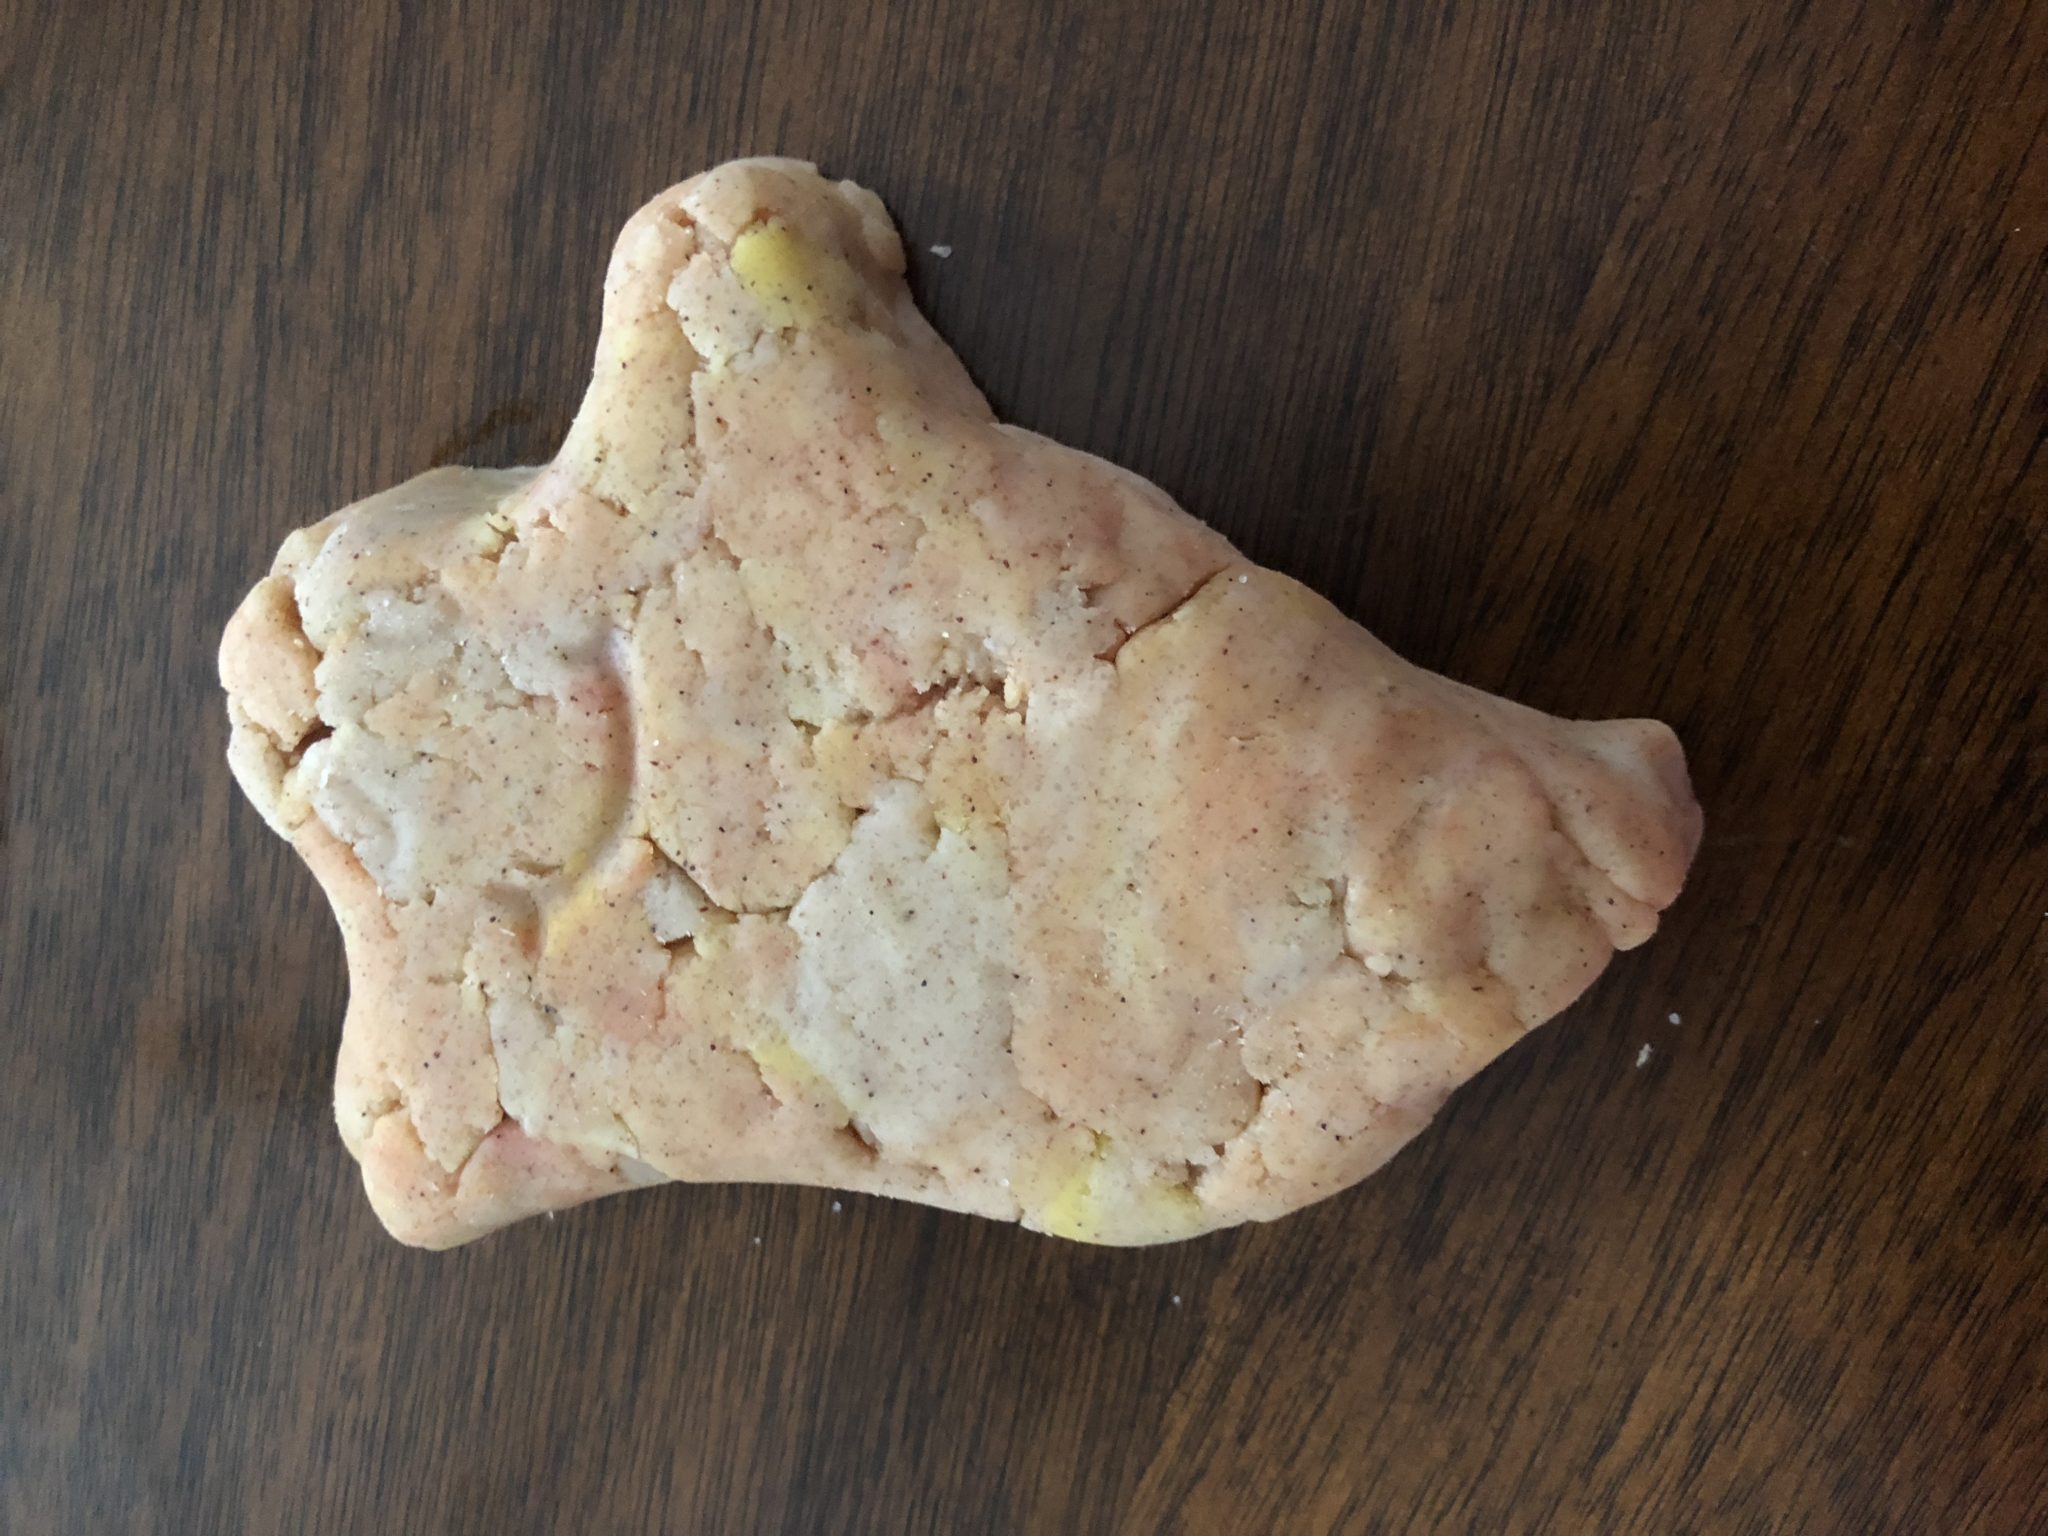
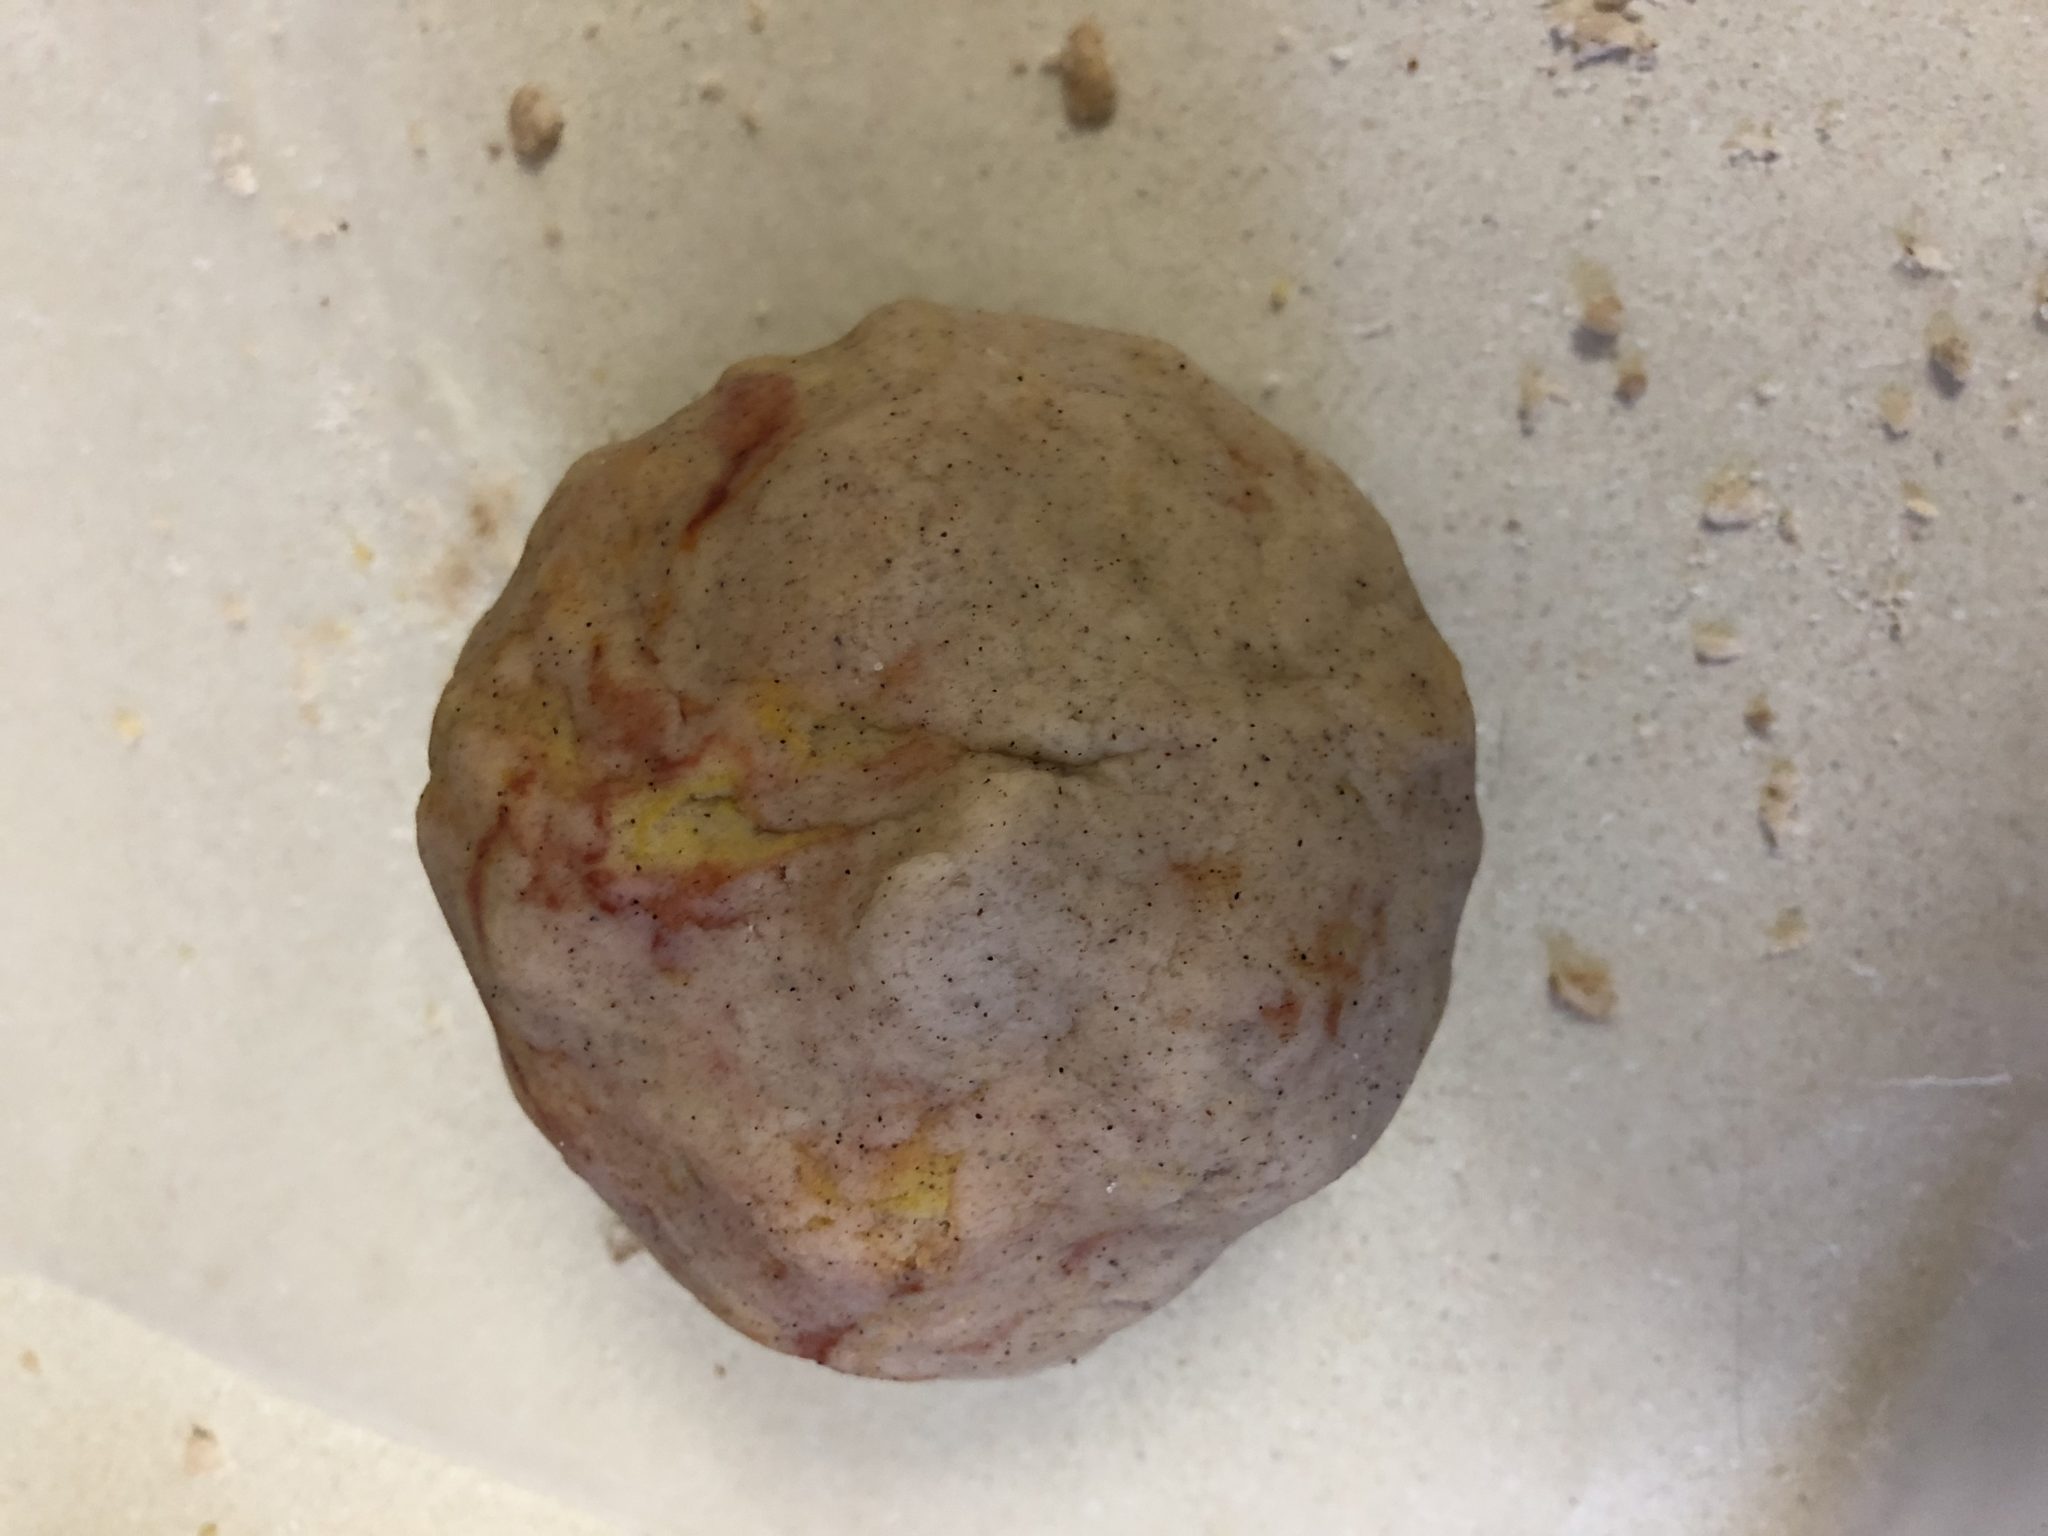
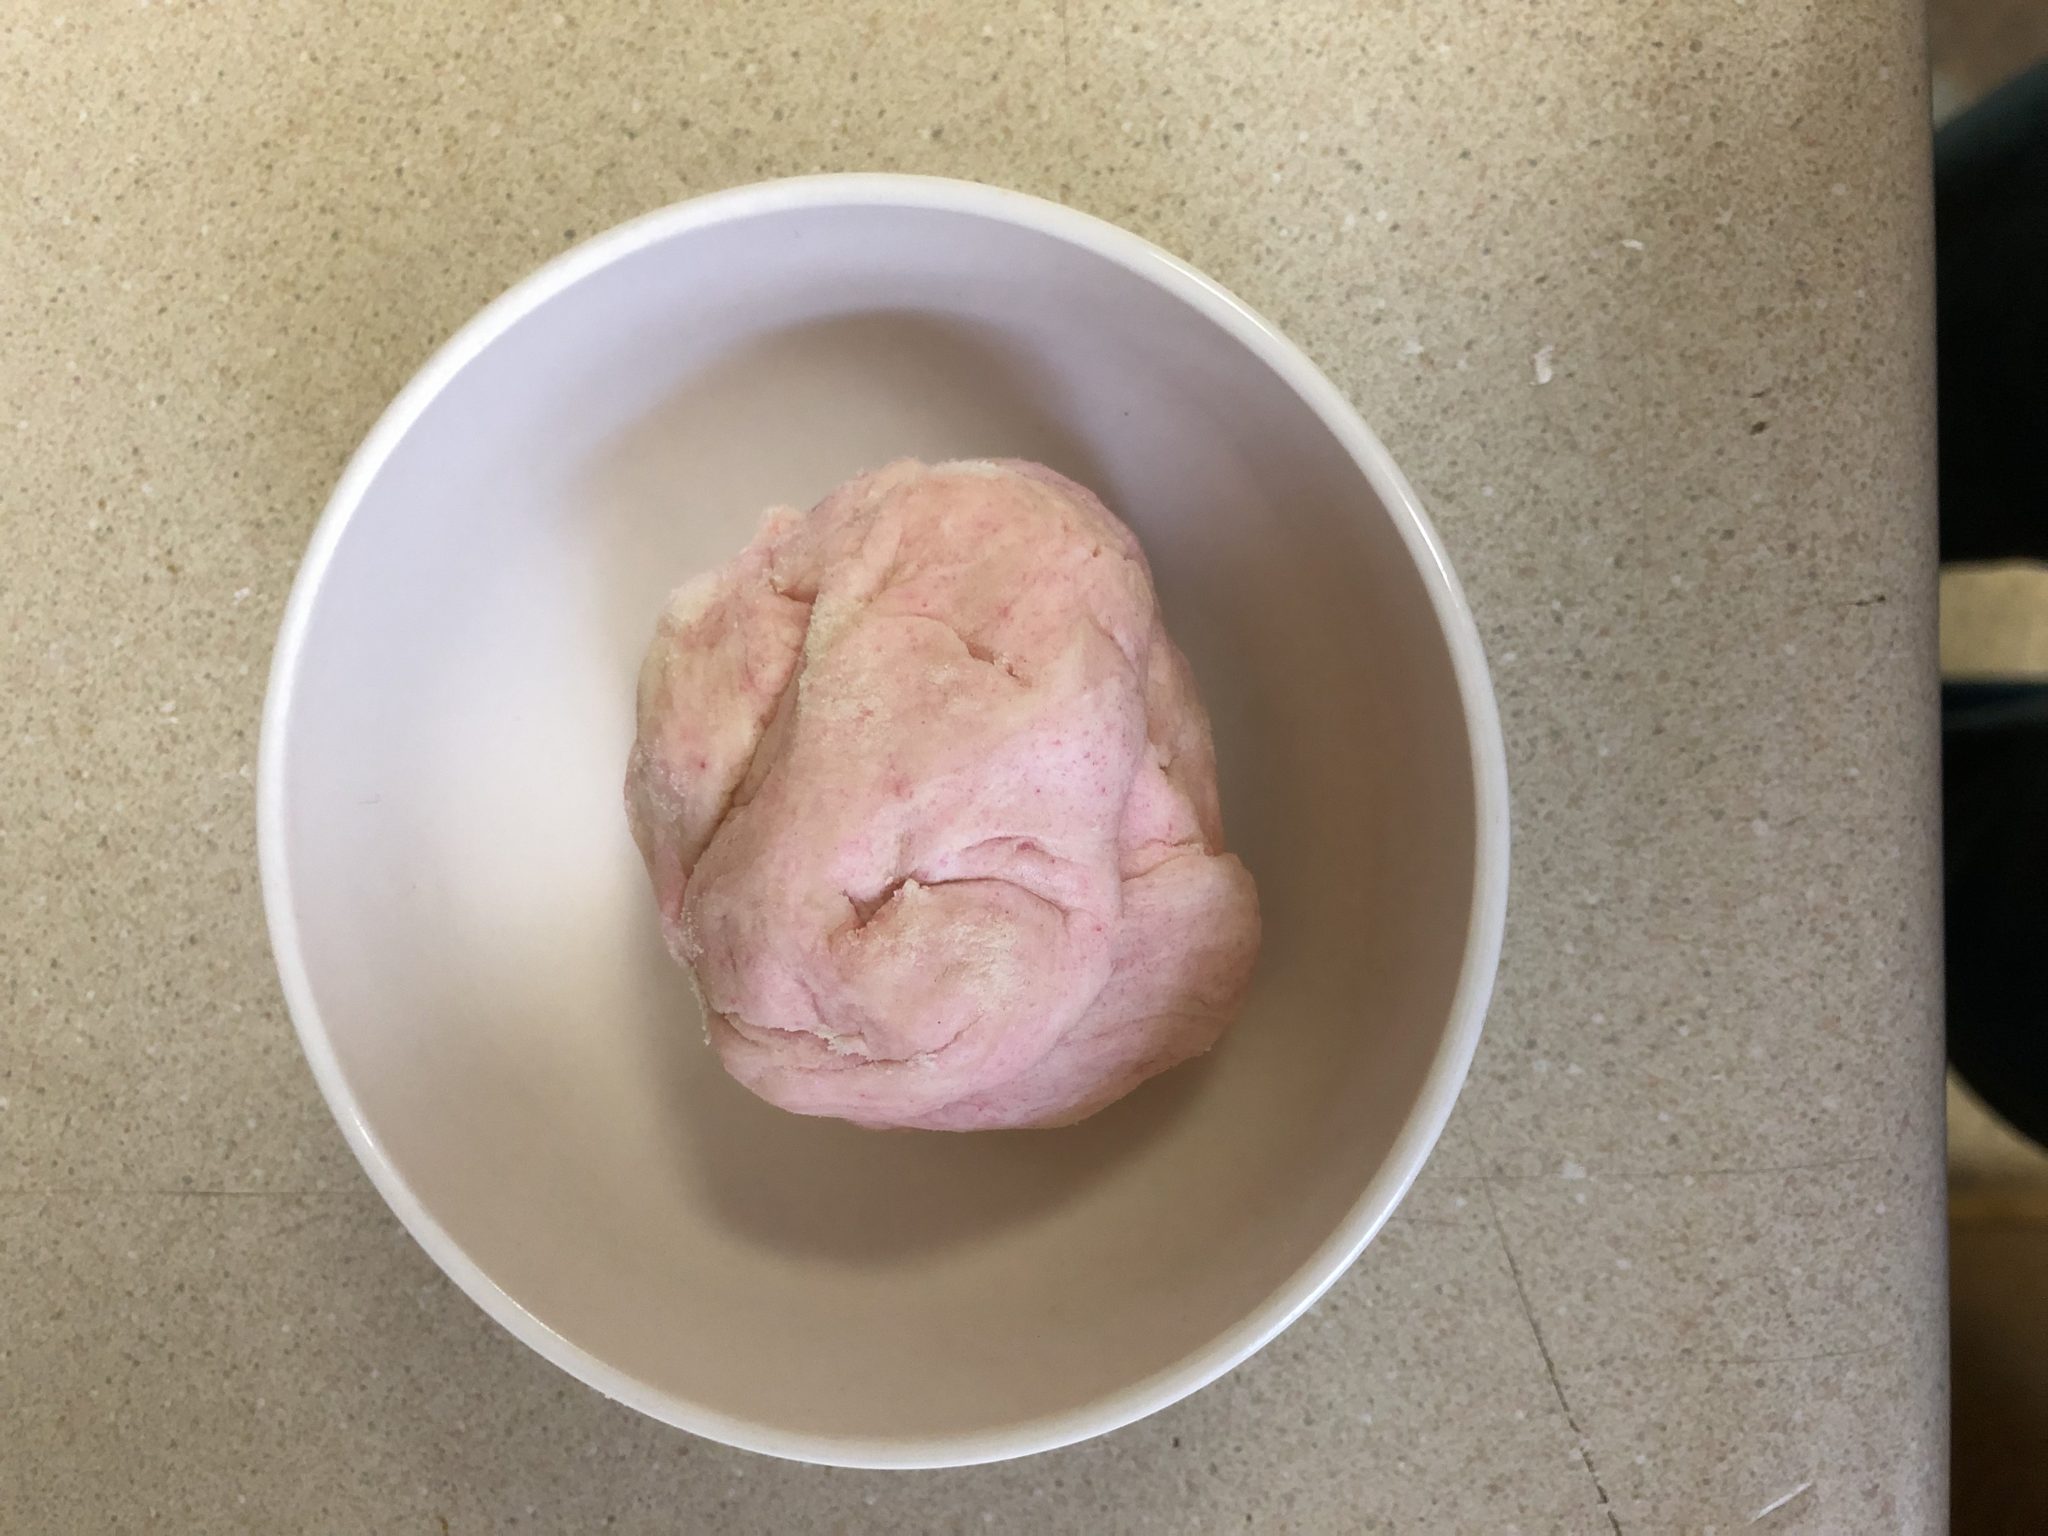
I used five of the pink bunny peeps. I added four table spoons flour and one table spoon crisco. Melted it in the microwave for 30 seconds and then mixed it up. We ended up with a small ball. I was hoping there would be more play-dough, but there was enough to try it out.
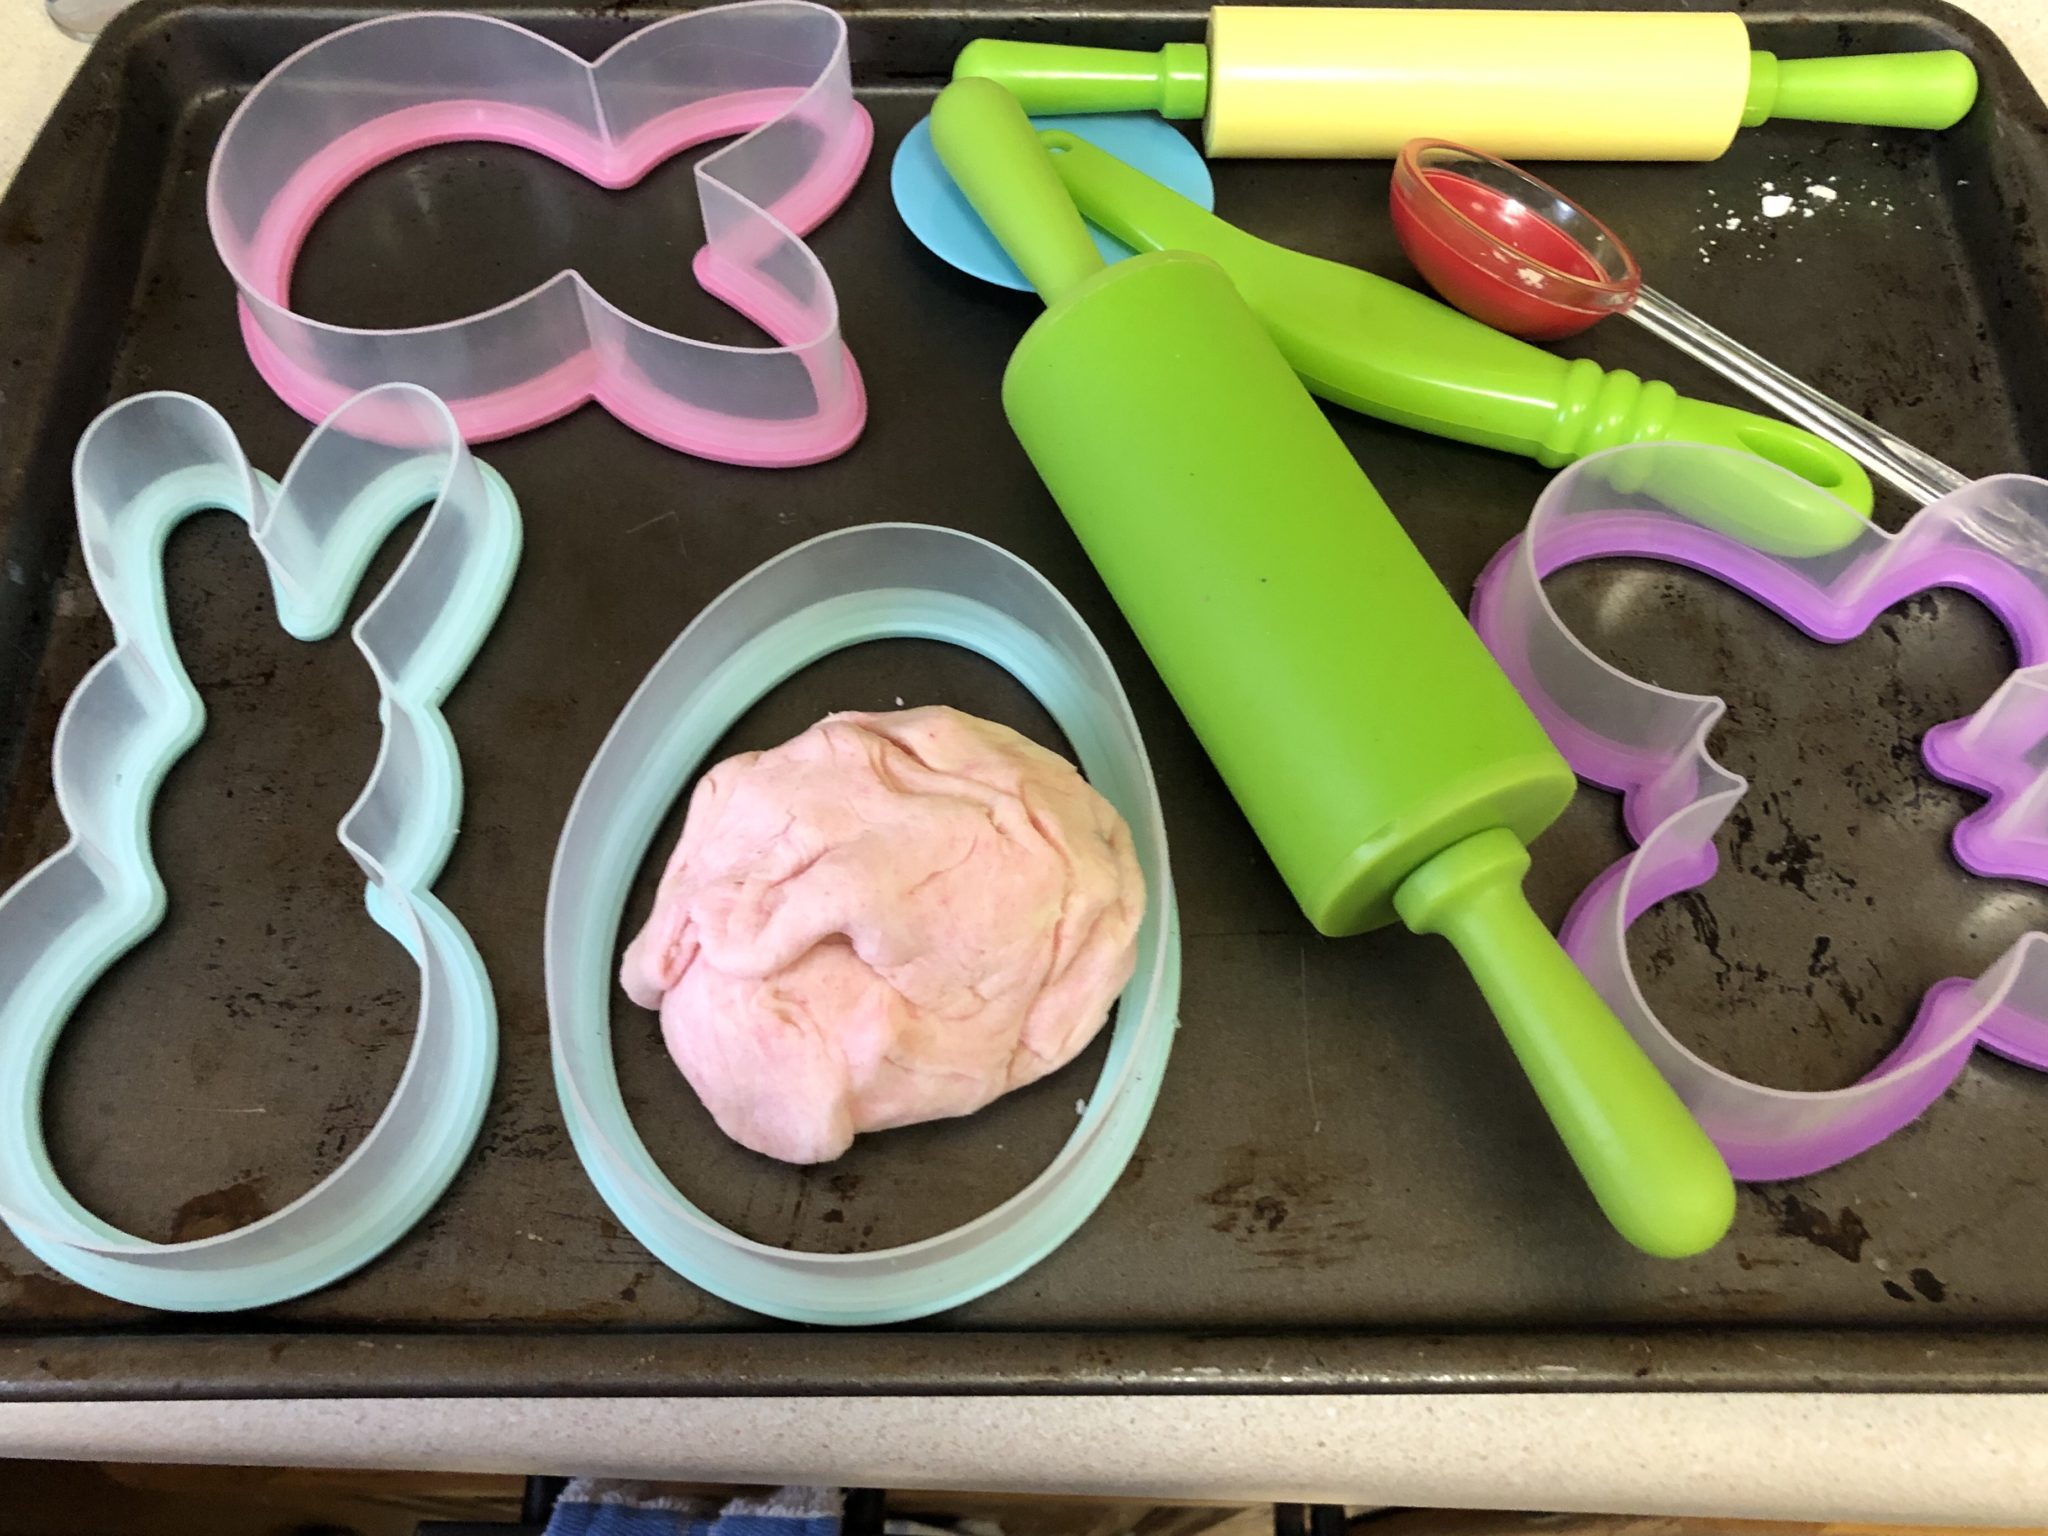
I started out with big Easter themed cookie cutters, but there wasn’t enough play-dough for that, so I took out the plastic eggs instead. We have two different sized eggs and she liked rolling balls and putting them in the eggs. Eventually, she was pretending to cook, breaking up the play-dough and putting it in her mixing bowl. This play-dough dried out quickly, but it was a different texture and fun to experiment with.
Favorite Links
This first link definitely struck a chord with me. As an early childhood educator, I see the consequences of this every day. I see the kids who have no idea how to play. They wander from place to place not sure what to do with the toys. they don’t understand that they can pretend. A box doesn’t have to be a box. The kids get frustrated quickly, have super short attention spans and for some of them, their time in our program is the only time they play outside. This article is a good read.
I could totally relate as it was a throw-back to the 90’s. I wrote a similar post last year. If you grew up in the 80’s or 90’s, I’m sure it would take you down memory lane.
One of my sensory bins was featured in this post. Are you not sure what to do with all those Easter eggs? Check out this post for some fun ways to repurpose those plastic Easter eggs.
Since many of us have lost the fine art of socializing, I thought this article about internet friendships was a good read. I think that you can develop a real friendship online, but of course it helps if you can eventually meet them. There’s nothing like sitting down with a friend for a chat. Online friends can be a good source of support and sometimes they can break some of the isolation.
Since spring is finally here, I’ll leave you with this amazing list of 60 fun summer activities for kids. There are so many cool ideas that I’d love to try with Rosebud. There’s something for every family and I was lucky enough to be included in the round up.
As always, thank you for reading. I’ll be back next month with another round of my favorite things.
It’s better late than never, right? Here are my favorite things and blog accomplishments for the month of April. This time, I have another book, a fruit smoothie recipe, Peeps play-dough and several articles.
Blog Accomplishments
I’m so excited! I made enough Amazon affiliate sales to get my account approved. For those who don’t know, you need three sales within the first six month period or your account gets closed. My first time around, I only got 11 clicks and no sales. This time, I’ve gotten 69 clicks and five sales. While the clicks are minimal compared to a lot of bloggers out there and the commissions are small, it’s something. I have to start somewhere. My second accomplishment this month is the increase in traffic. It’s not a huge amount, but it’s slow progress.
Fruit Smoothie Recipe
I’m always looking for tasty recipes that Rosebud will love and if she can help me in the kitchen, it’s a bonus. We were making pretend smoothies in her toy blender and I had just bought a bunch of fresh fruit. She had never had a smoothy before, so I asked if she wanted a real one and she did. I made smoothies often before she was born and here’s the recipe we came up with.
Ingredients:
1 cup yogurt,
1 cup almond milk,
1 banana,
1 half cup blueberries,
5 strawberries,
A handful of grapes.
Directions:
Chop fruits into smaller pieces and add to blender.
Blend until you get the desired consistency. I have a smoothie setting on my blender. It took less than a minute. I’ll try it with different fruits next time.
Book
I only read two books in the month of April, so there wasn’t much to choose from when picking my favorite. I enjoyed Me Talk Pretty One Day by David Sedaris. There were a variety of stories. Everything from his speech therapy lessons as a little boy to his days living in France while trying to learn the language.
Peeps Play-dough
I had been seeing Peeps play-dough pins on Pinterest for a couple months now and knew that we had to try it. Here is the recipe we used.
I used five of the pink bunny peeps. I added four table spoons flour and one table spoon crisco. Melted it in the microwave for 30 seconds and then mixed it up. We ended up with a small ball. I was hoping there would be more play-dough, but there was enough to try it out.
I started out with big Easter themed cookie cutters, but there wasn’t enough play-dough for that, so I took out the plastic eggs instead. We have two different sized eggs and she liked rolling balls and putting them in the eggs. Eventually, she was pretending to cook, breaking up the play-dough and putting it in her mixing bowl. This play-dough dried out quickly, but it was a different texture and fun to experiment with.
Favorite Links
This first link definitely struck a chord with me. As an early childhood educator, I see the consequences of this every day. I see the kids who have no idea how to play. They wander from place to place not sure what to do with the toys. they don’t understand that they can pretend. A box doesn’t have to be a box. The kids get frustrated quickly, have super short attention spans and for some of them, their time in our program is the only time they play outside. This article is a good read.
I could totally relate as it was a throw-back to the 90’s. I wrote a similar post last year. If you grew up in the 80’s or 90’s, I’m sure it would take you down memory lane.
One of my sensory bins was featured in this post. Are you not sure what to do with all those Easter eggs? Check out this post for some fun ways to repurpose those plastic Easter eggs.
Since many of us have lost the fine art of socializing, I thought this article about internet friendships was a good read. I think that you can develop a real friendship online, but of course it helps if you can eventually meet them. There’s nothing like sitting down with a friend for a chat. Online friends can be a good source of support and sometimes they can break some of the isolation.
Since spring is finally here, I’ll leave you with this amazing list of 60 fun summer activities for kids. There are so many cool ideas that I’d love to try with Rosebud. There’s something for every family and I was lucky enough to be included in the round up.
As always, thank you for reading. I’ll be back next month with another round of my favorite things.
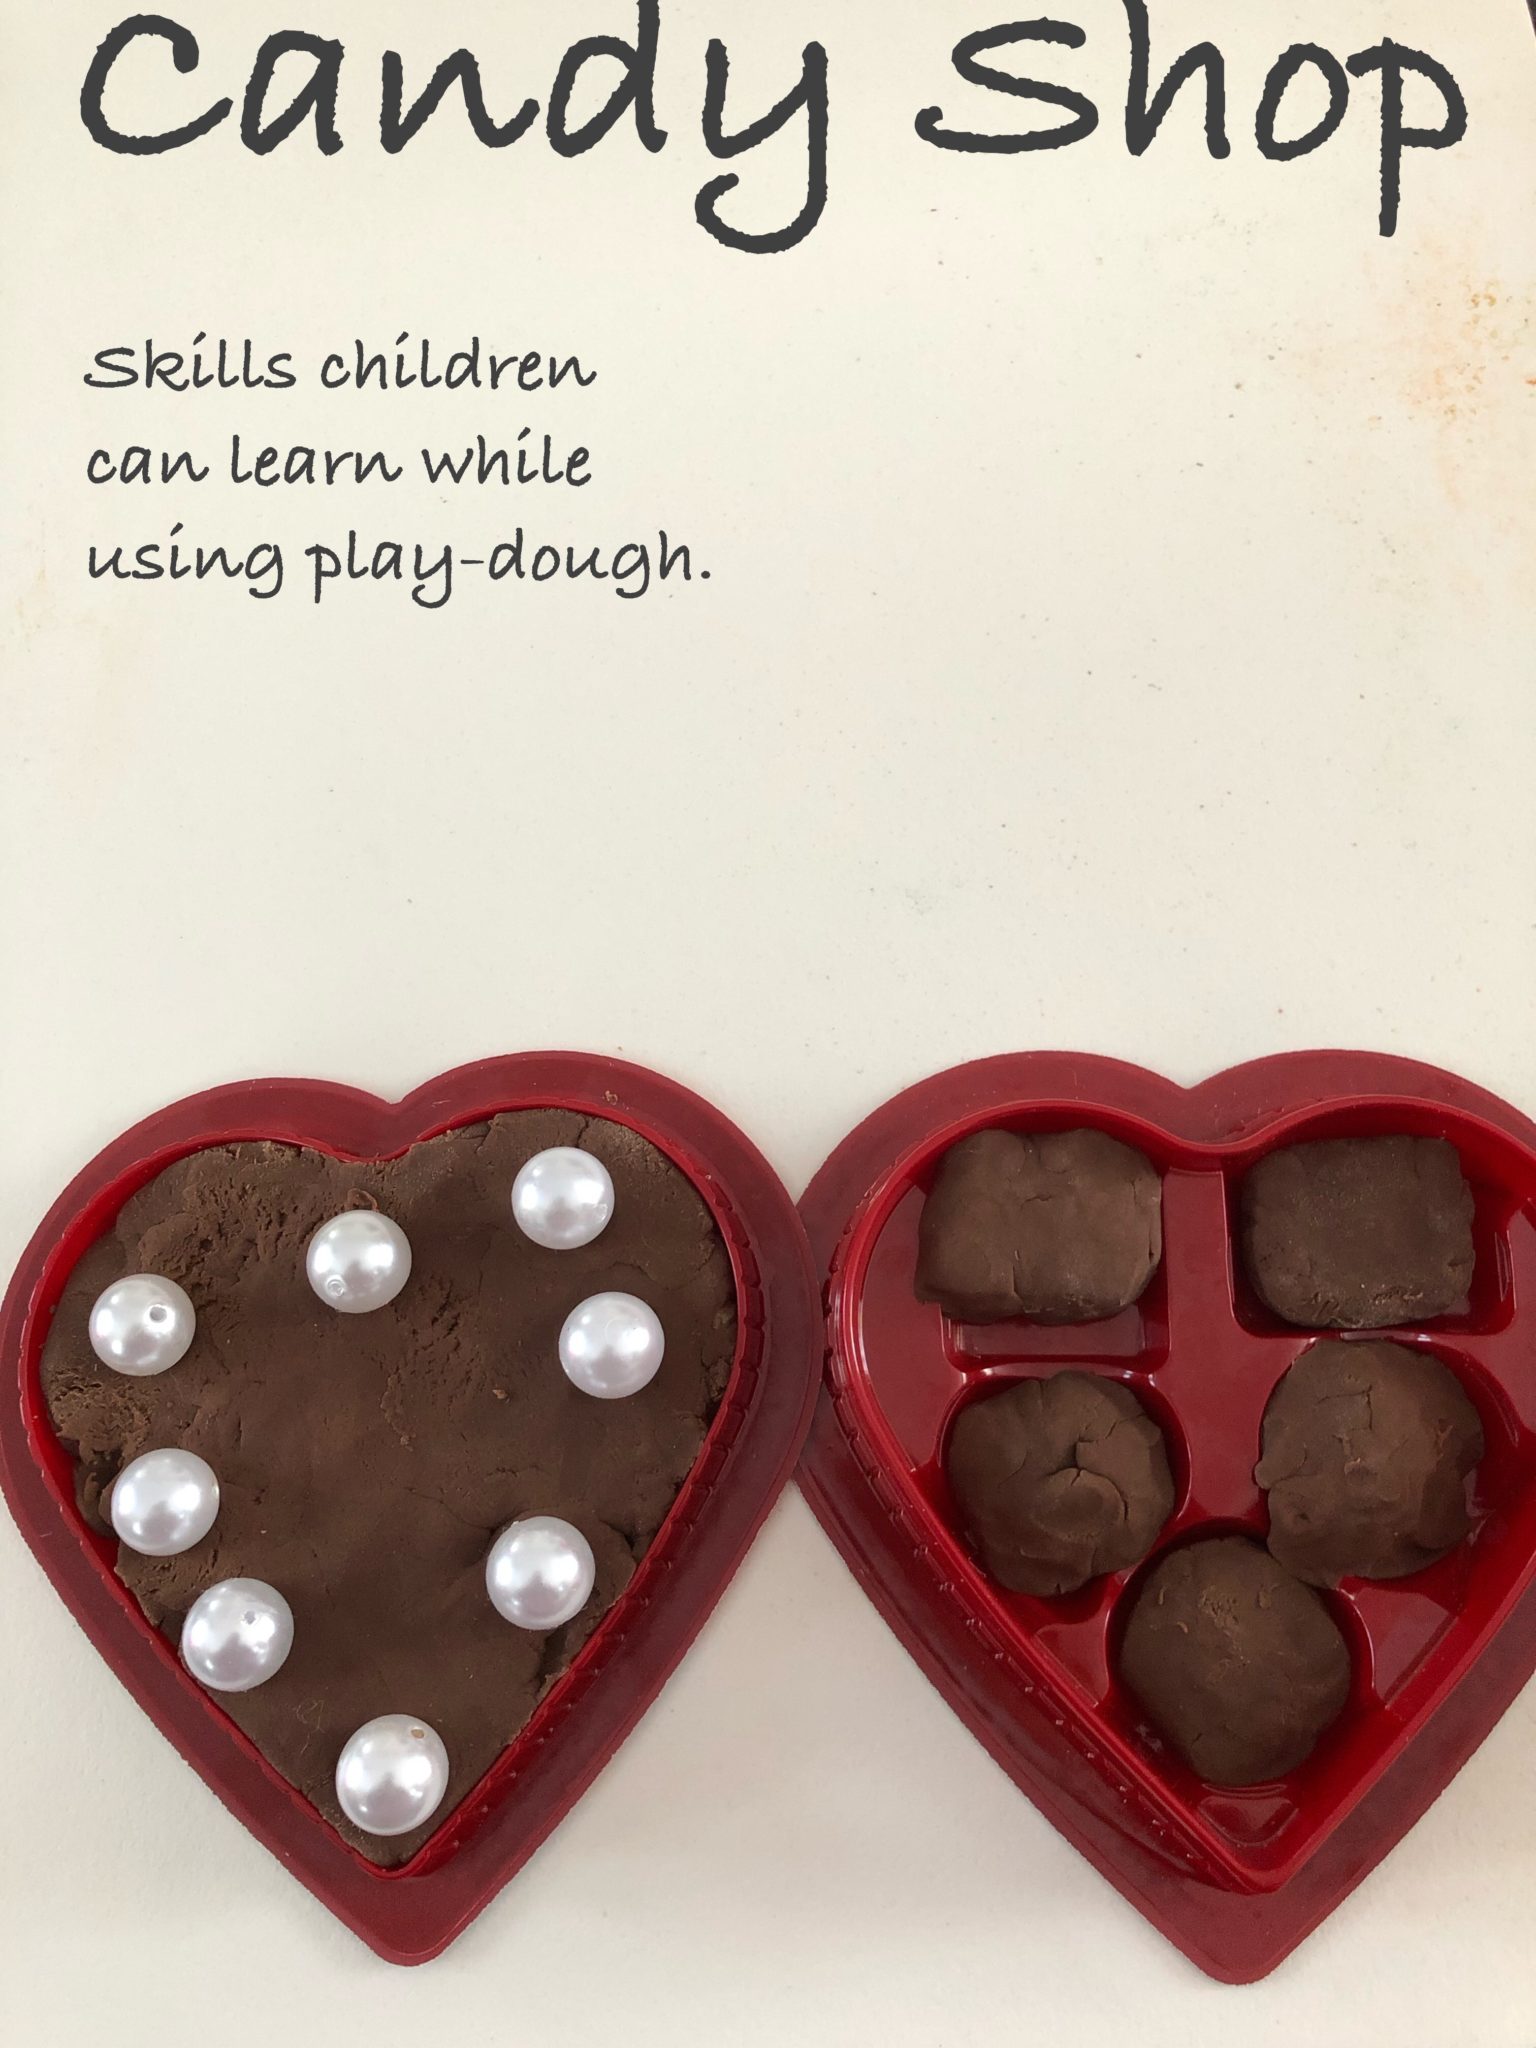
This was a left over activity from Valentine’s Day. We used the candy boxes with the chocolate play-dough to make some pretend treats. Here are some of the things we made and the skills we are working on using play-dough.
What’s on the tray:
Chocolate play-dough,
Candy boxes,
Measuring cup and spoons,
Rolling pin,
Play-dough tools
Cookie cutters.
Fine Motor Skills
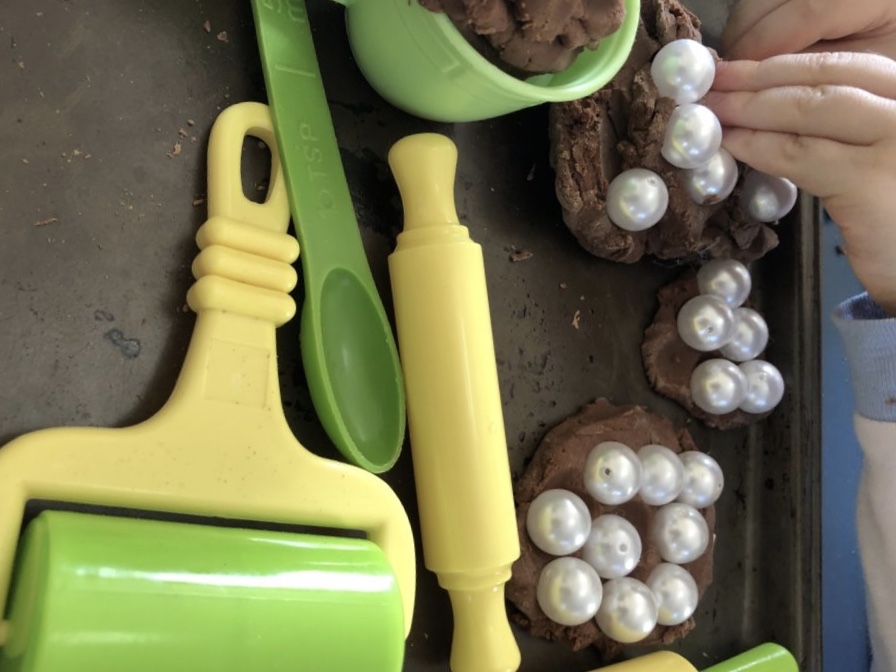
There is a lot of talk these days about children not getting enough practice developing their fine motor skills. For those who don’t know, fine motor skills is the early childhood education jargon for saying the things you do with your hands. Basically the smaller muscle groups. These are the skills children need for writing, cutting with scissors, tying shoes etc. Gross motor skills use the larger muscles for running, climbing etc. There are many ways for children to practice these skills like stringing beads, using stickers, popping bubblewrap or scooping water or sand. Play-dough is great though because you can role it out, squeeze it, mold it, use tools to cut it and so on. All of those actions strengthen the hands and fingers. Rosebud rolled out circles, hid beads in the play-dough to find and cut it into pieces using the play-dough cutter.
Pretend Play
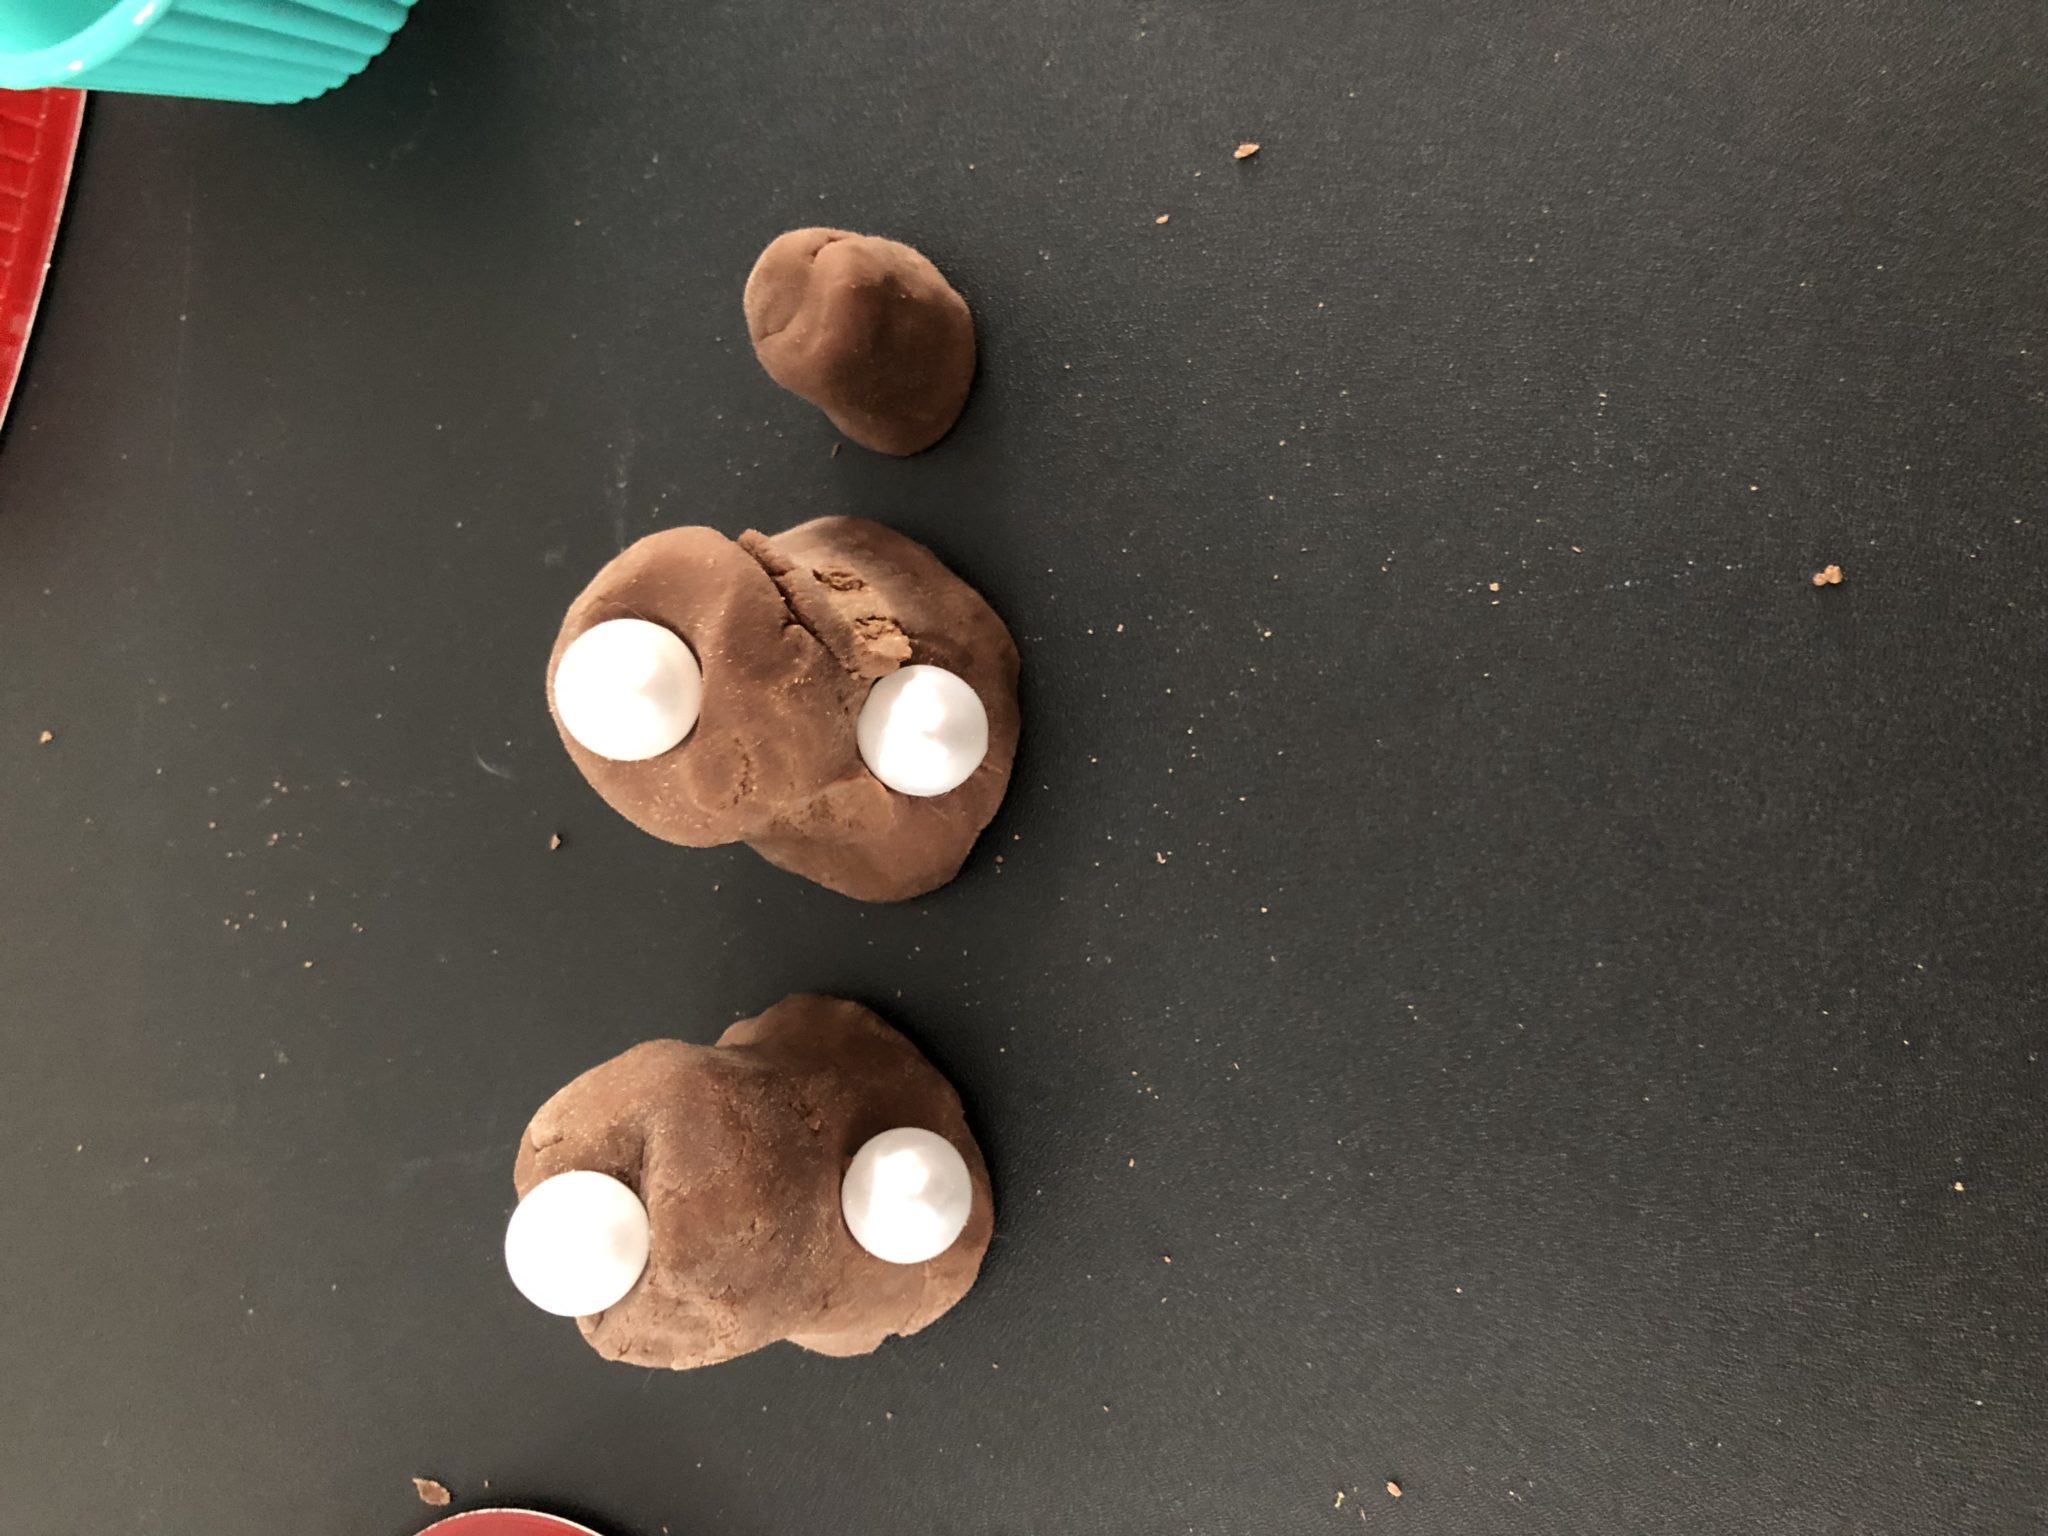
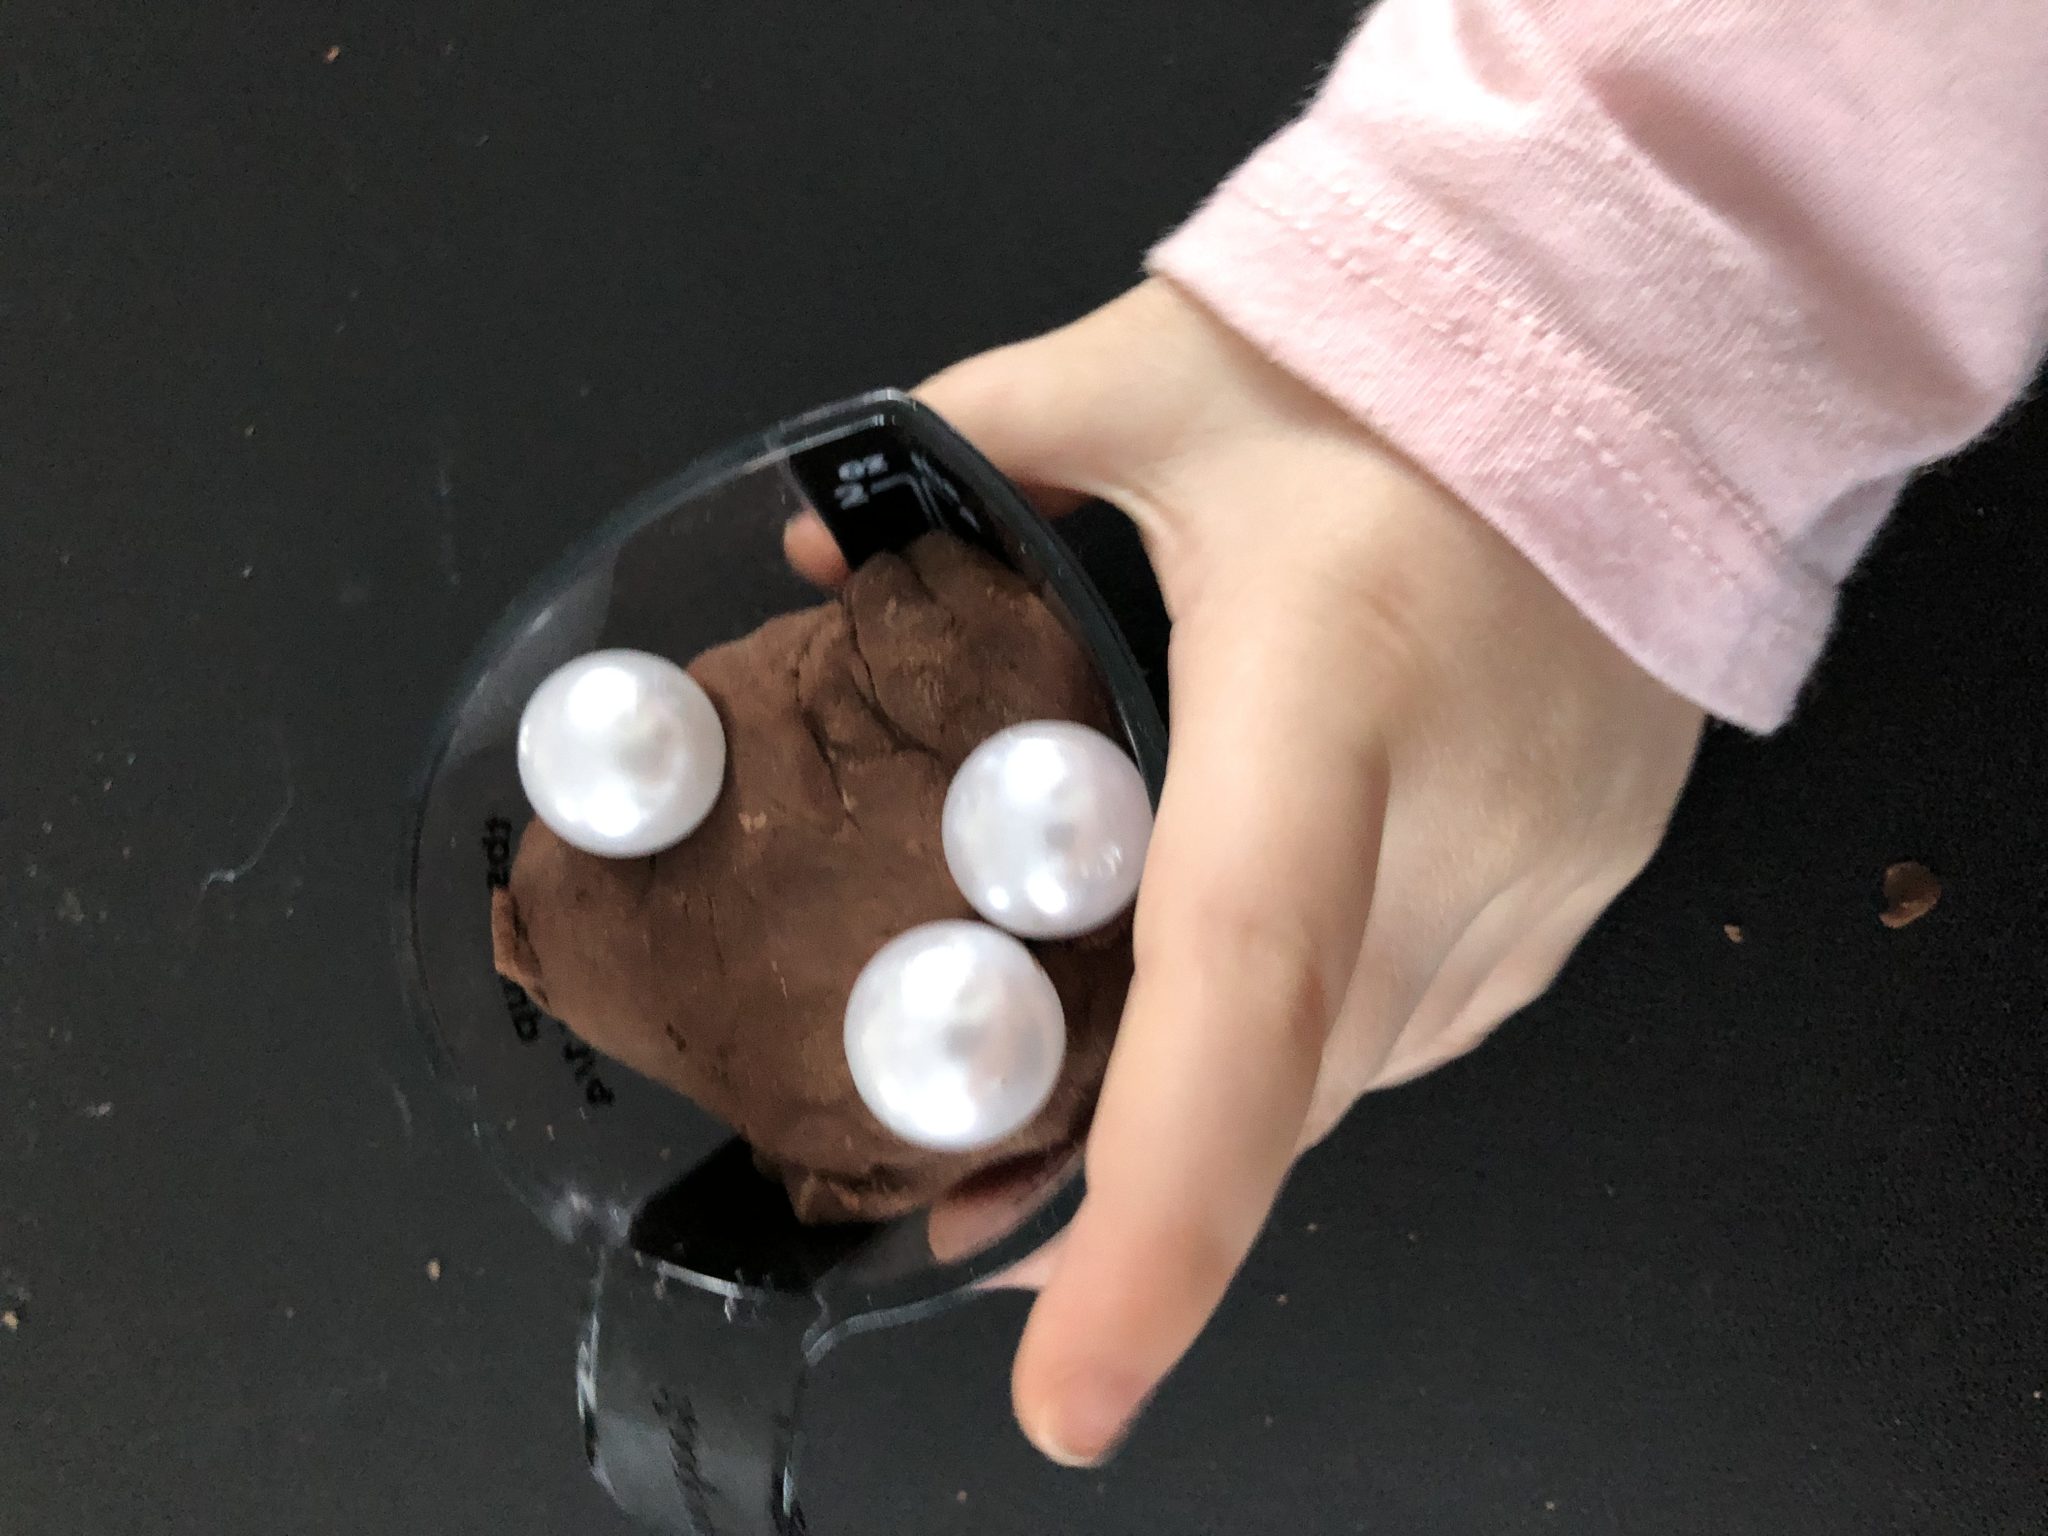
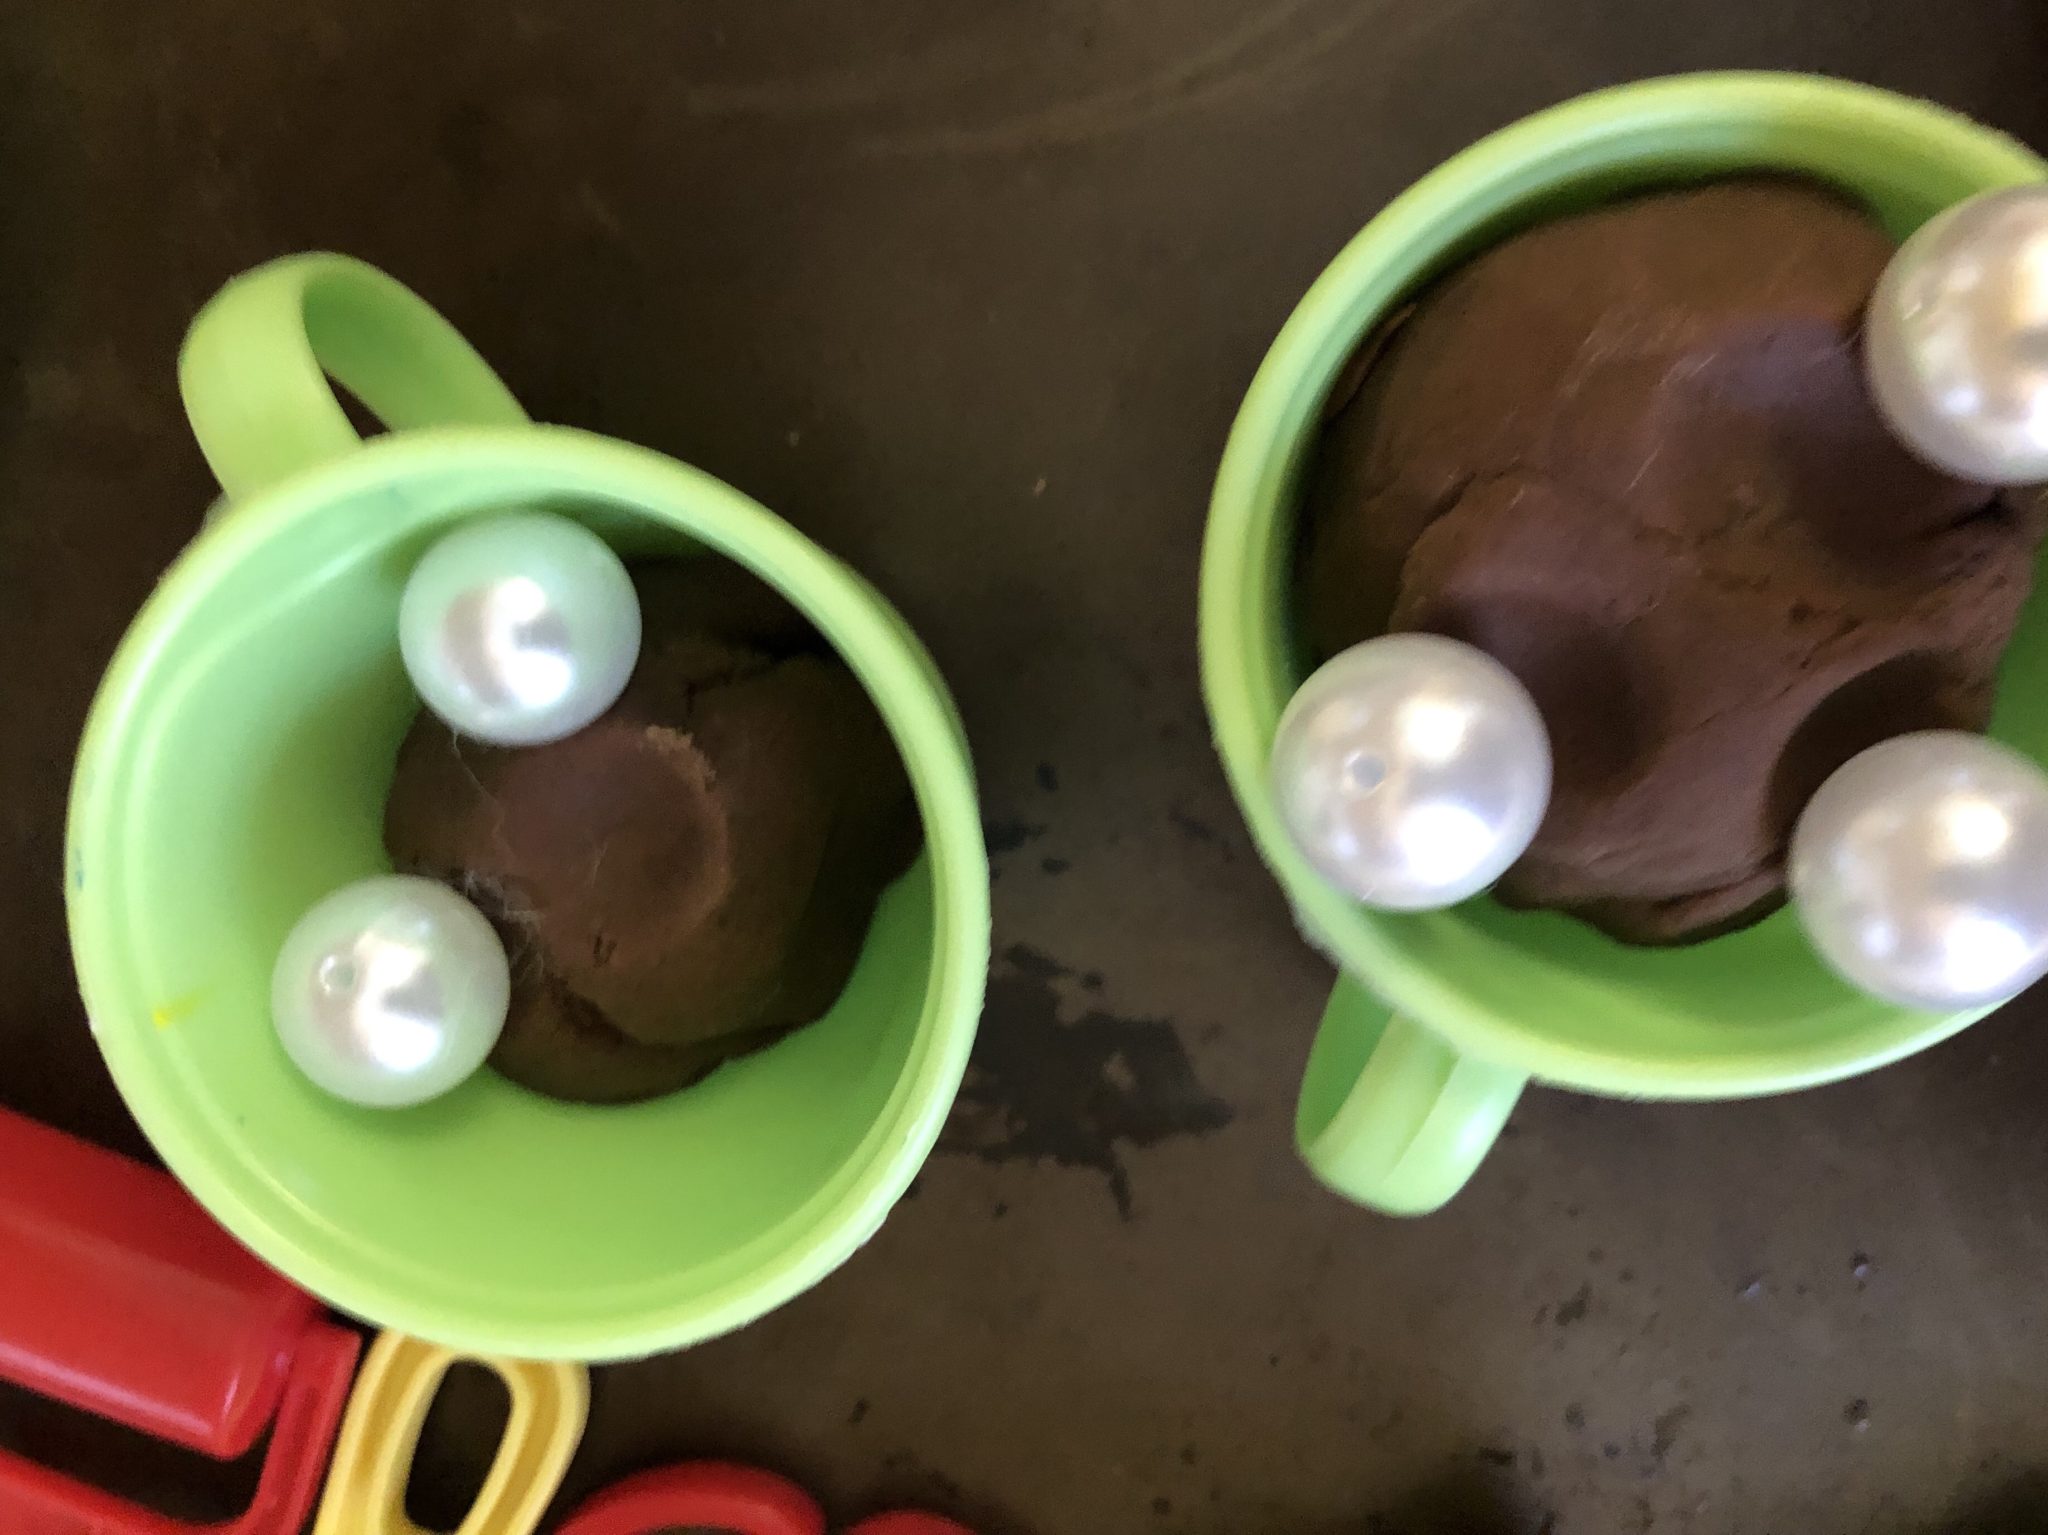
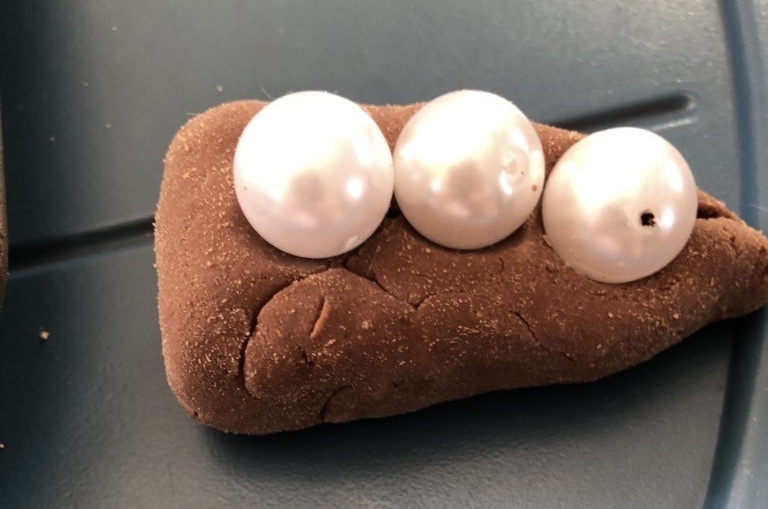
Another wonderful thing about play-dough is you can turn it into whatever you want it to be. Since we had the candy boxes, we decided to make pretend candy. Some of our candies were circles and squares. We also made cakes and decorated them with the beads. As with other pretend play, it helps expand a child’s imagination and allows them to try out different roles. Pretend play can also help children work out issues they may be having difficulty with. It also helps enhance social skills. We pretended to make cups of hot chocolate. Rosebud grabbed out of my hand, so we worked on sharing and asking for turns. We worked as a team to decorate the cakes.
Math
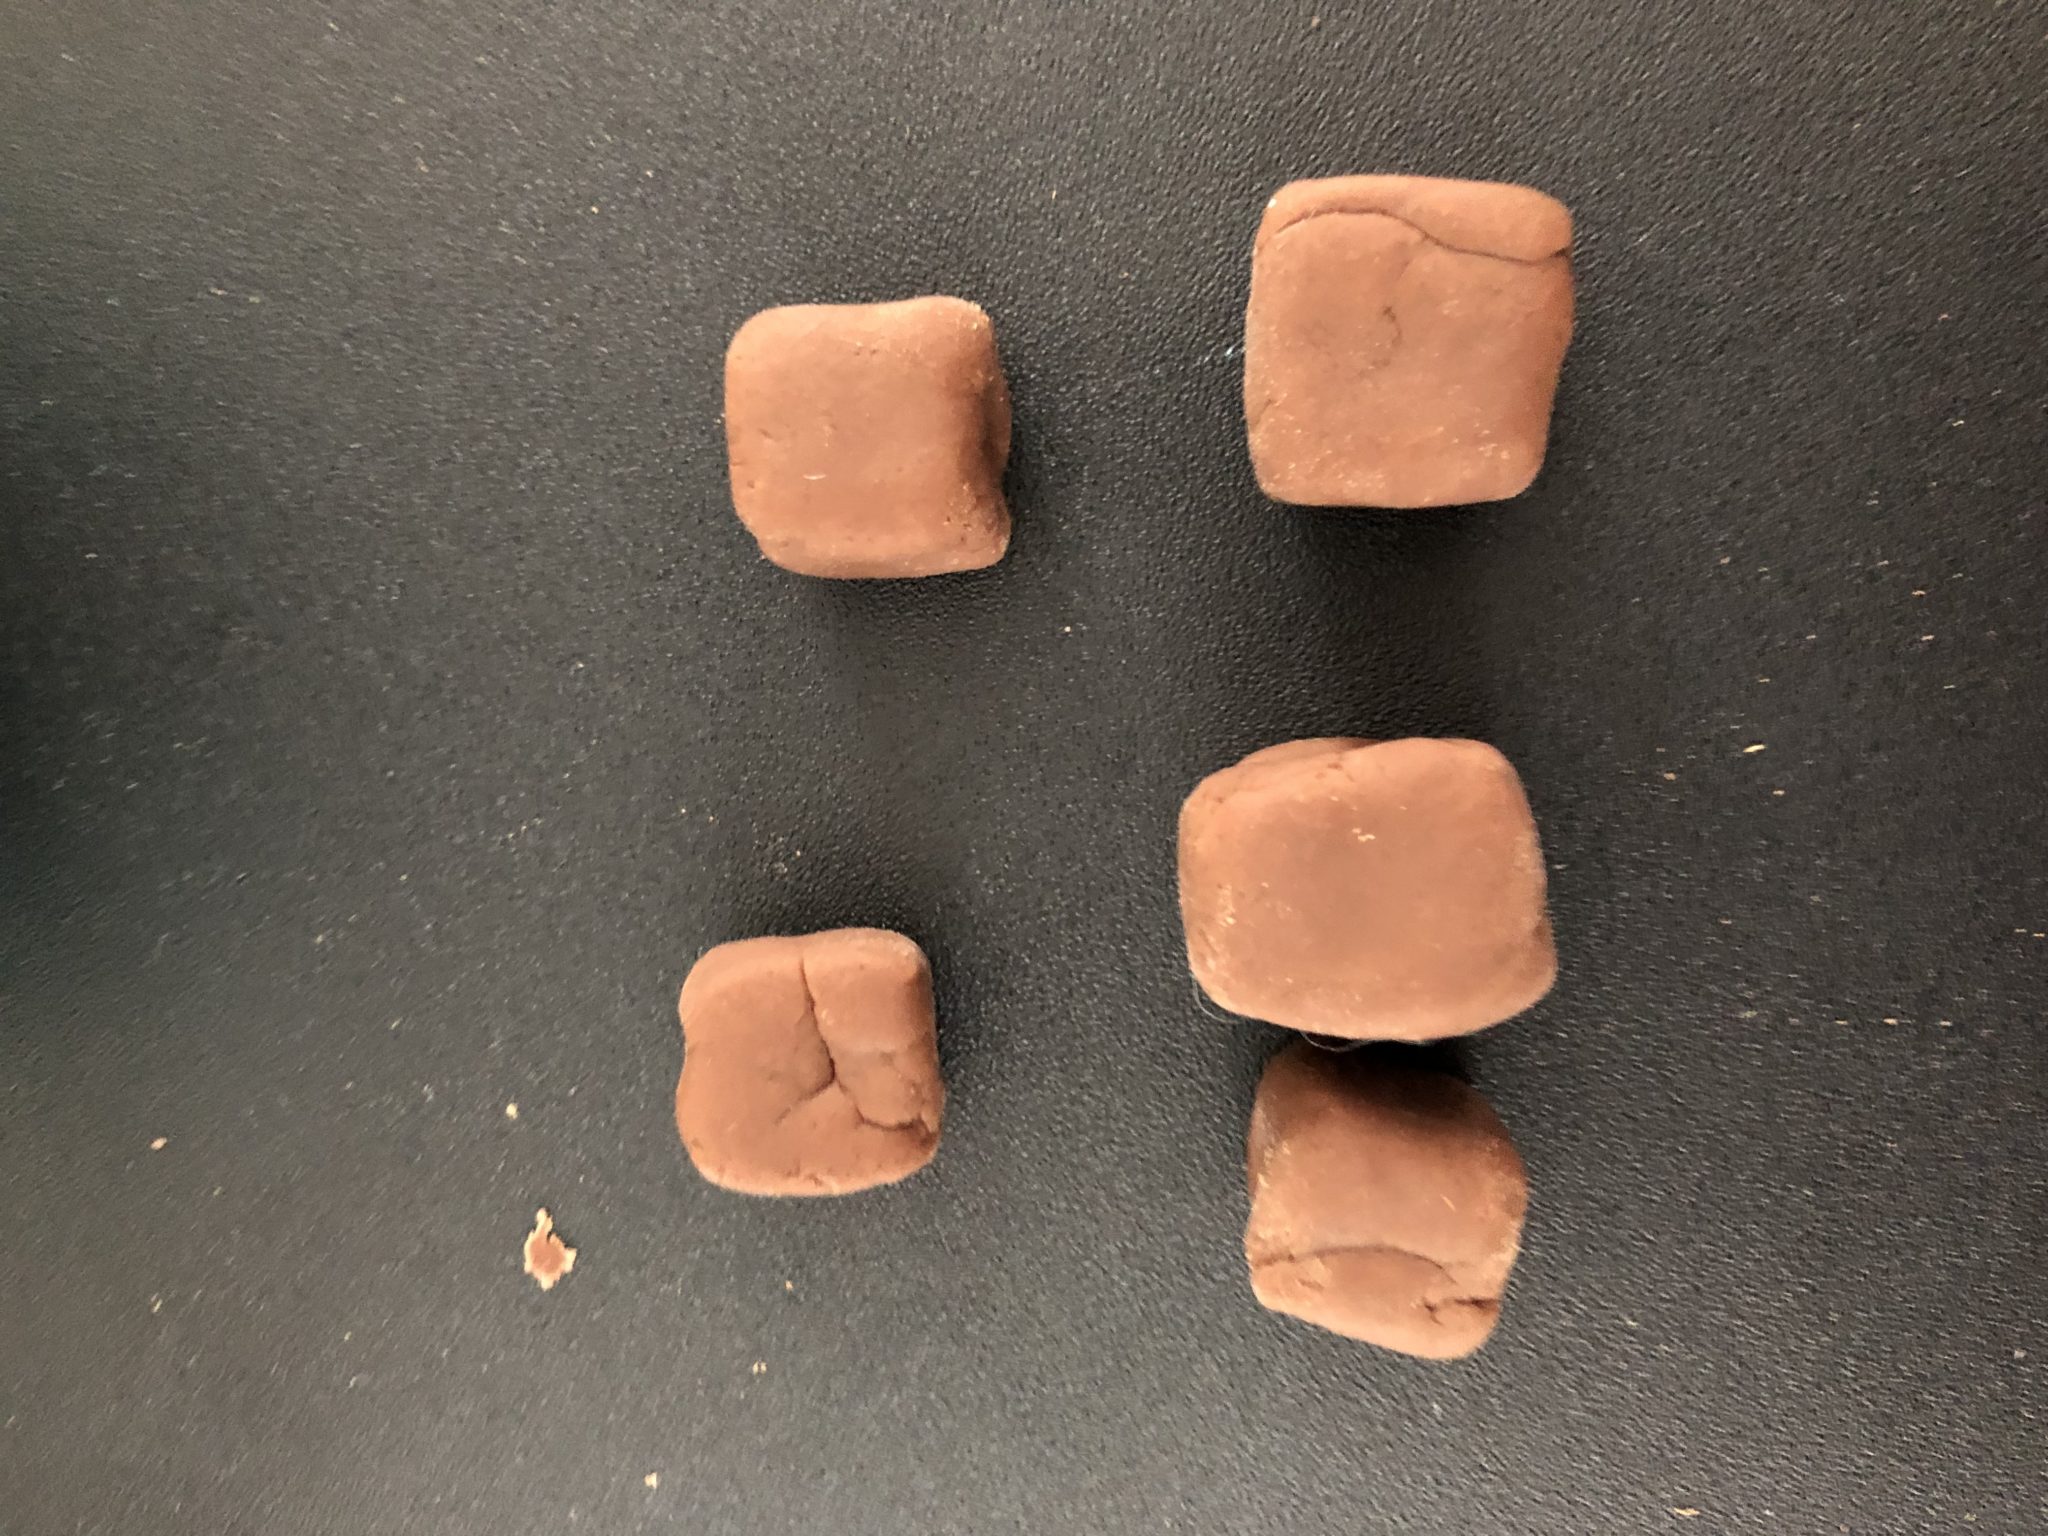
I asked Rosebud which shape I should make and she suggested I make squares. I’ve used play-dough often to help her with shape recognition. She’s gotten really good at identifying most shapes. Sorting, classifying and identifying shapes are all necessary pre-math skills.
Literacy
On the literacy side, I made some letters and asked if she knew what they were. She has become interested in letters, but cannot name them yet. she has started asking me what they are and what they are for. If we are playing with letters, I’ll point out the letter, tell her its name and a word that it starts with. In this case, I first made her initials and then did a simple abc. This is a fun way to practice some of the pre-reading skills.
The best part is the kids are simply having fun without worrying about what they are learning or haven’t learned yet. What are some of your go to activities with play-dough? Tell me in the comments.
I found this chocolate play-dough recipe several years ago and it smells good enough to eat. When you cook it, it smells so much like brownies. I’ve never tried eating it, but I’m guessing it doesn’t taste as good as it smells. Anyway, I love using this play-dough for a Valentine’s Day or hot coco theme.
Ingredients
1 1/4 cups flour,
1/2 cup cocoa powder
1/2 cup salt,
1/2 Tablespoon cream of Tartar,
1/2 Tablespoon oil,
1 1/2 cups water,
A couple drops of glycerin for shine.
Directions
1. Mix dry ingredients in a medium size saucepan.
2. Add wet ingredients and stir together over low heat until a ball of dough forms.
3. Remove play dough from the saucepan and knead by hand until dough is smooth and evenly colored. You’ll want to add the drops of glycerin at this stage. If you are kneading and find the play-dough is still too wet, add a little flour.
Store in an airtight container.
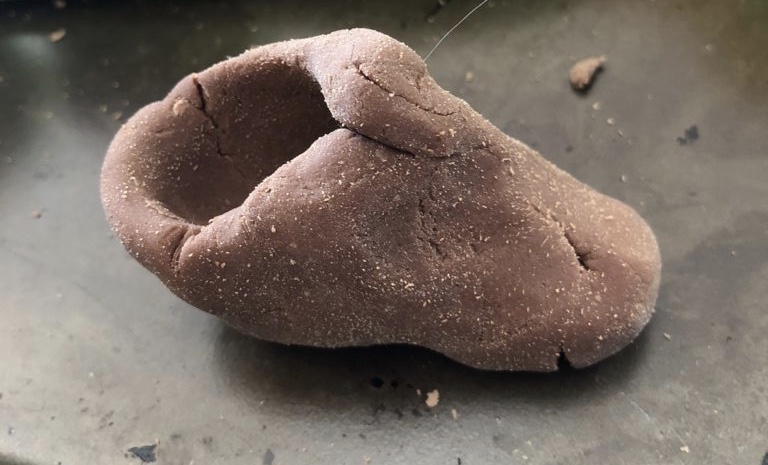
Rosebud loved this play-dough. She kept saying how yummy it smelled and she said it was very squishy. We made cups of coco with marshmallows. I used white beads.
We made cakes and brownies.
I made chocolate covered strawberries and chocolate roses that were quickly squished. I made objects for Rosebud to guess, even this silly shoe.
What are your favorite play-dough recipes? Tell me in the comments.
I wanted to come up with an inexpensive and creative gift for my mother’s birthday. I also wanted Rosebud to be involved in making it so I decided to see what we could create with salt dough.
Ingredients:
1 cup salt,
2 cups all purpose flour,
1 cup warm water,
A pinch of cinnamon, (Optional)
Food coloring or powder paint. (Optional)
Directions:
1. Mix salt and flour together in a bowl.
If you are using powder paint to add coloring, you’ll want to mix it with the dry ingredients.
I added the pinch of cinnamon at this stage for a hint of scent, but that is totally optional.
2. Gradually add the warm water and stir until dough forms.
If you are using food coloring, add it into the water before mixing with the dry ingredients.
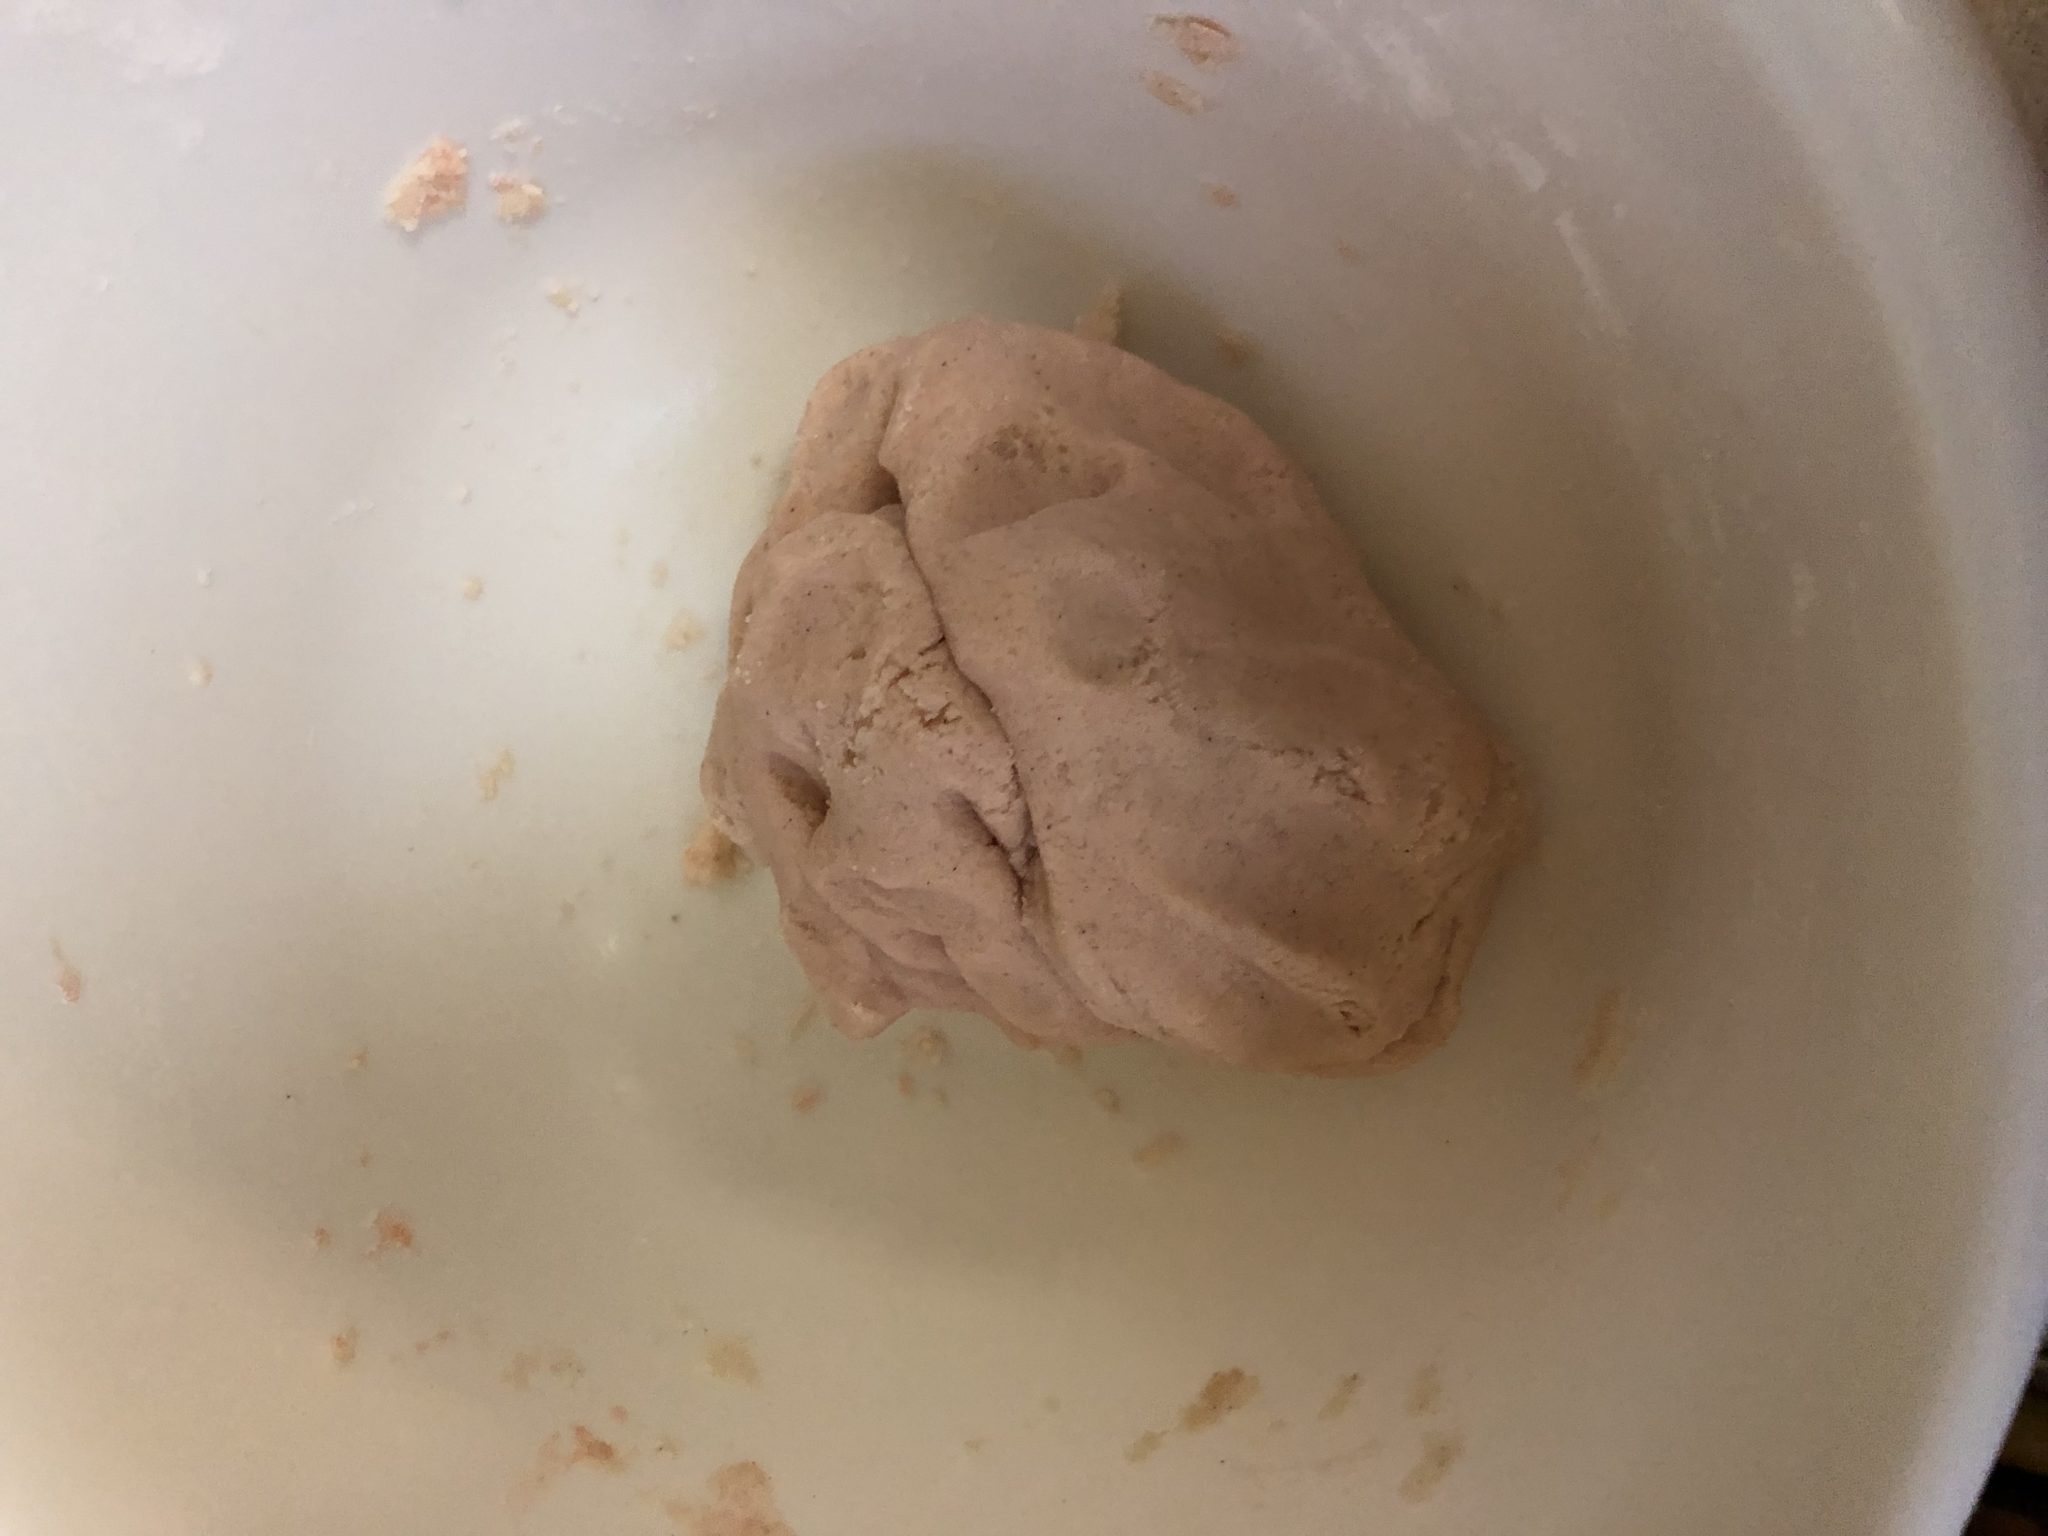
3. Once you have your dough, shape it into a ball and kneed for five minutes. the more you kneed, the softer it gets.
4. Time to have fun and see what you can create.
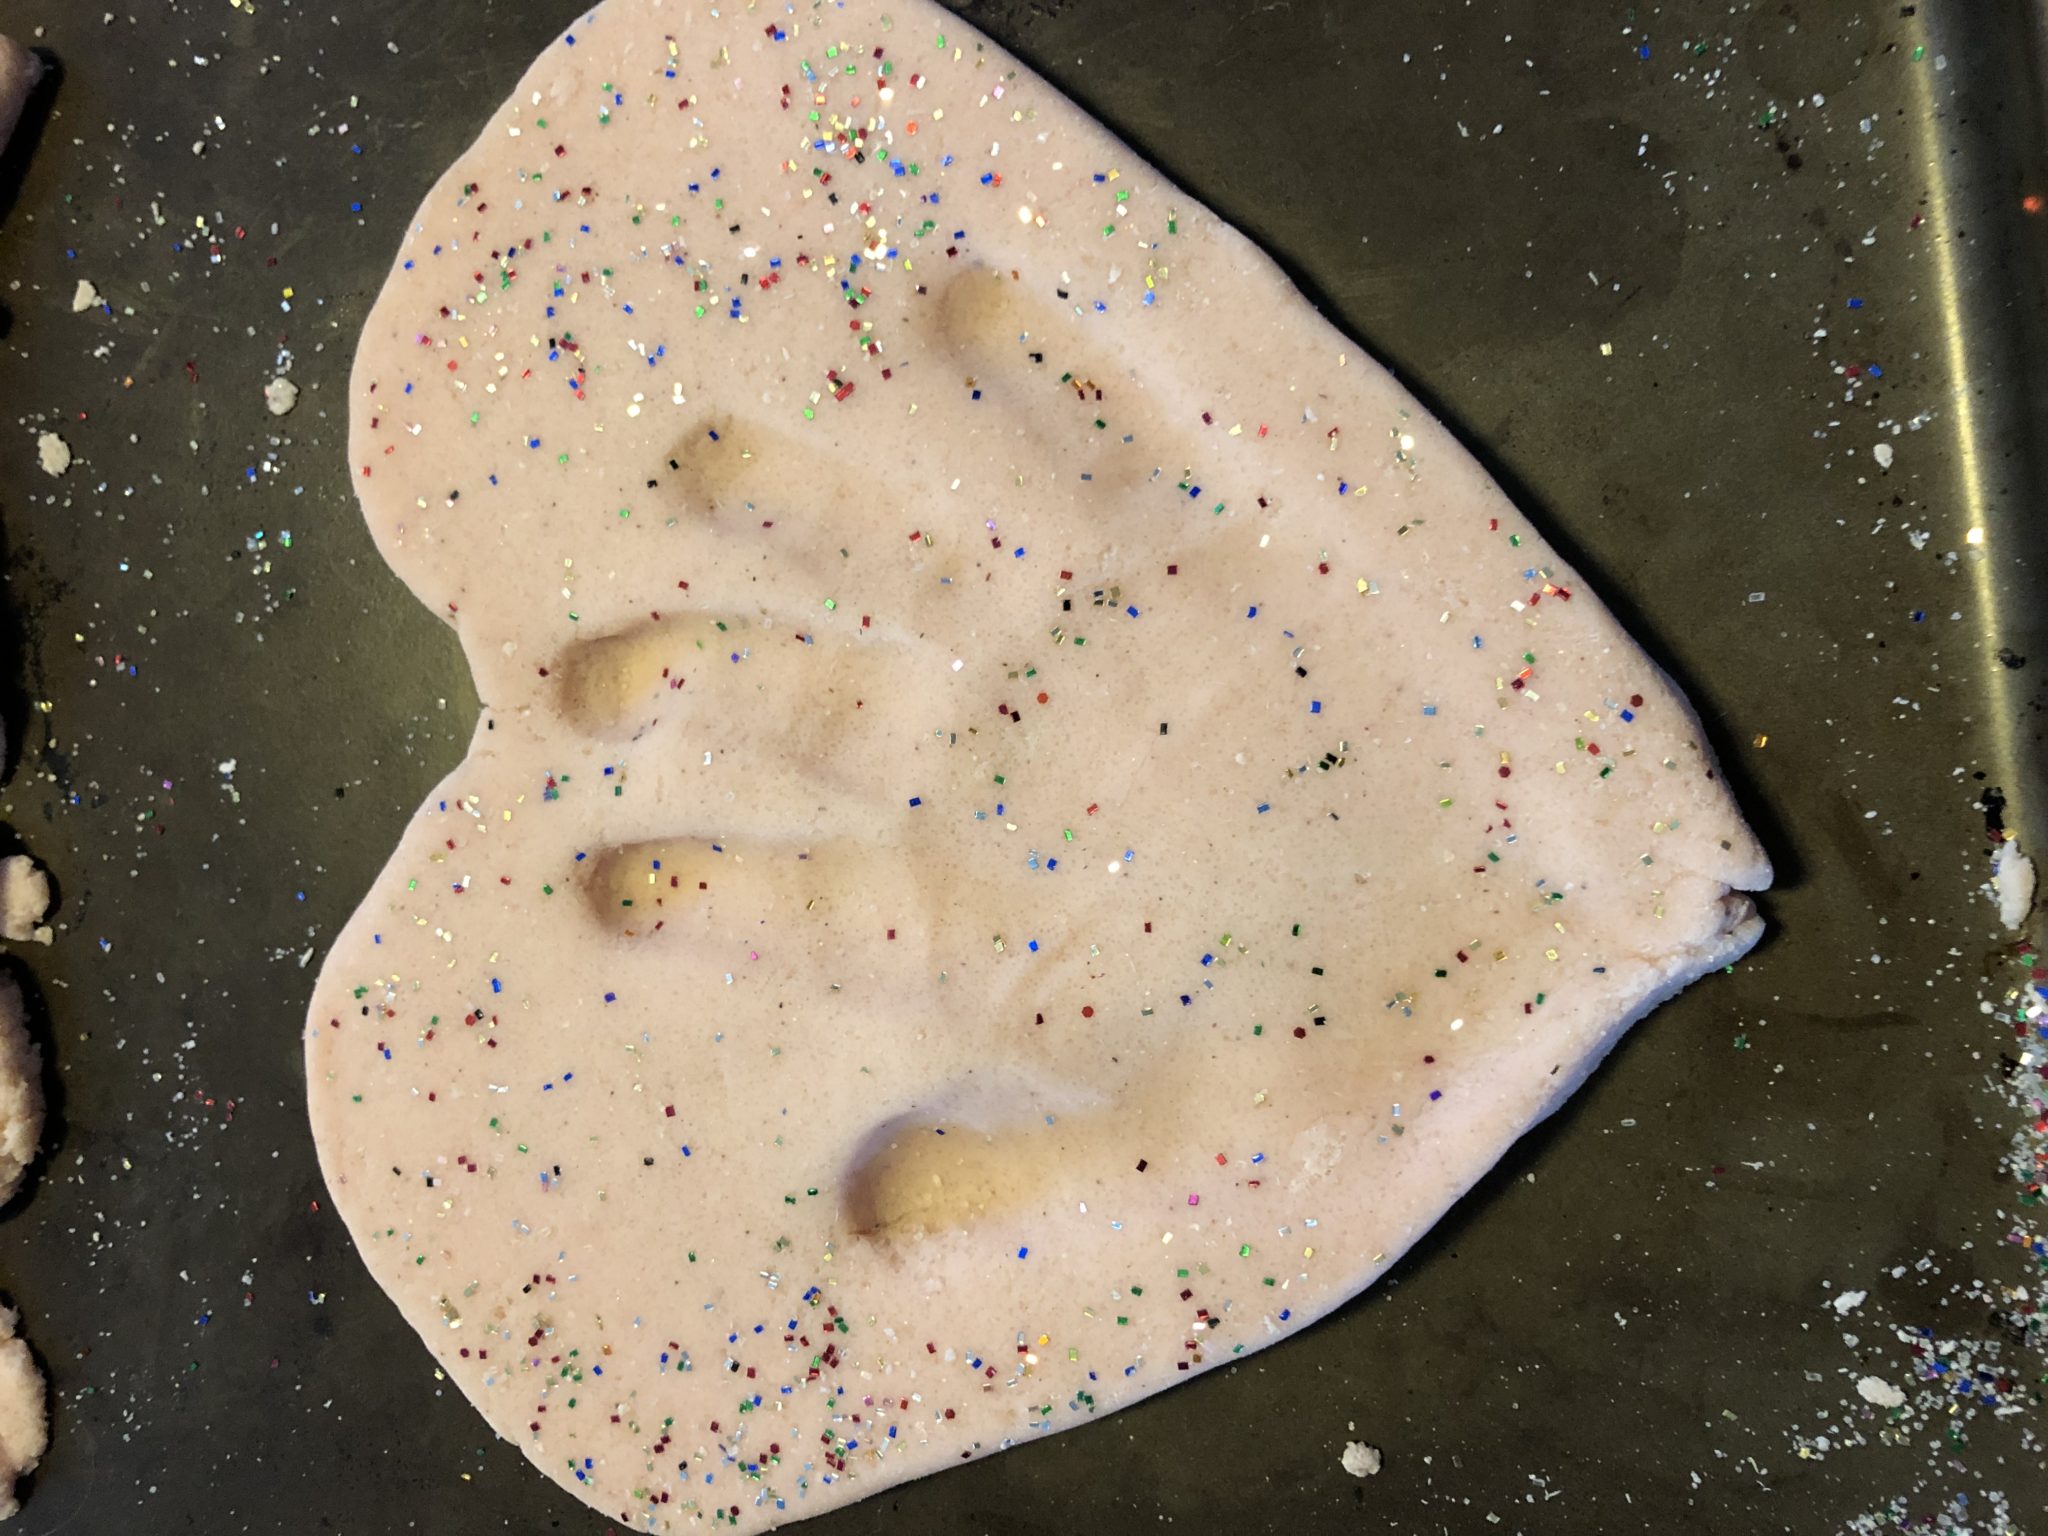
It took several tries, but I shaped the dough into a flat heart and Rosebud pushed her hand in the center to make the handprint. Trying to get a tired child to do something like this can be pure torture, but after the sixth try, we got our final product. The other handprints were missing fingers, missing part of the hand itself or barely noticeable.
To add some sparkle, I put some glitter on the heart. Finally, I poked two holes in the top so the heart can be hung as a decoration. I used a pencil to get good sized holes.
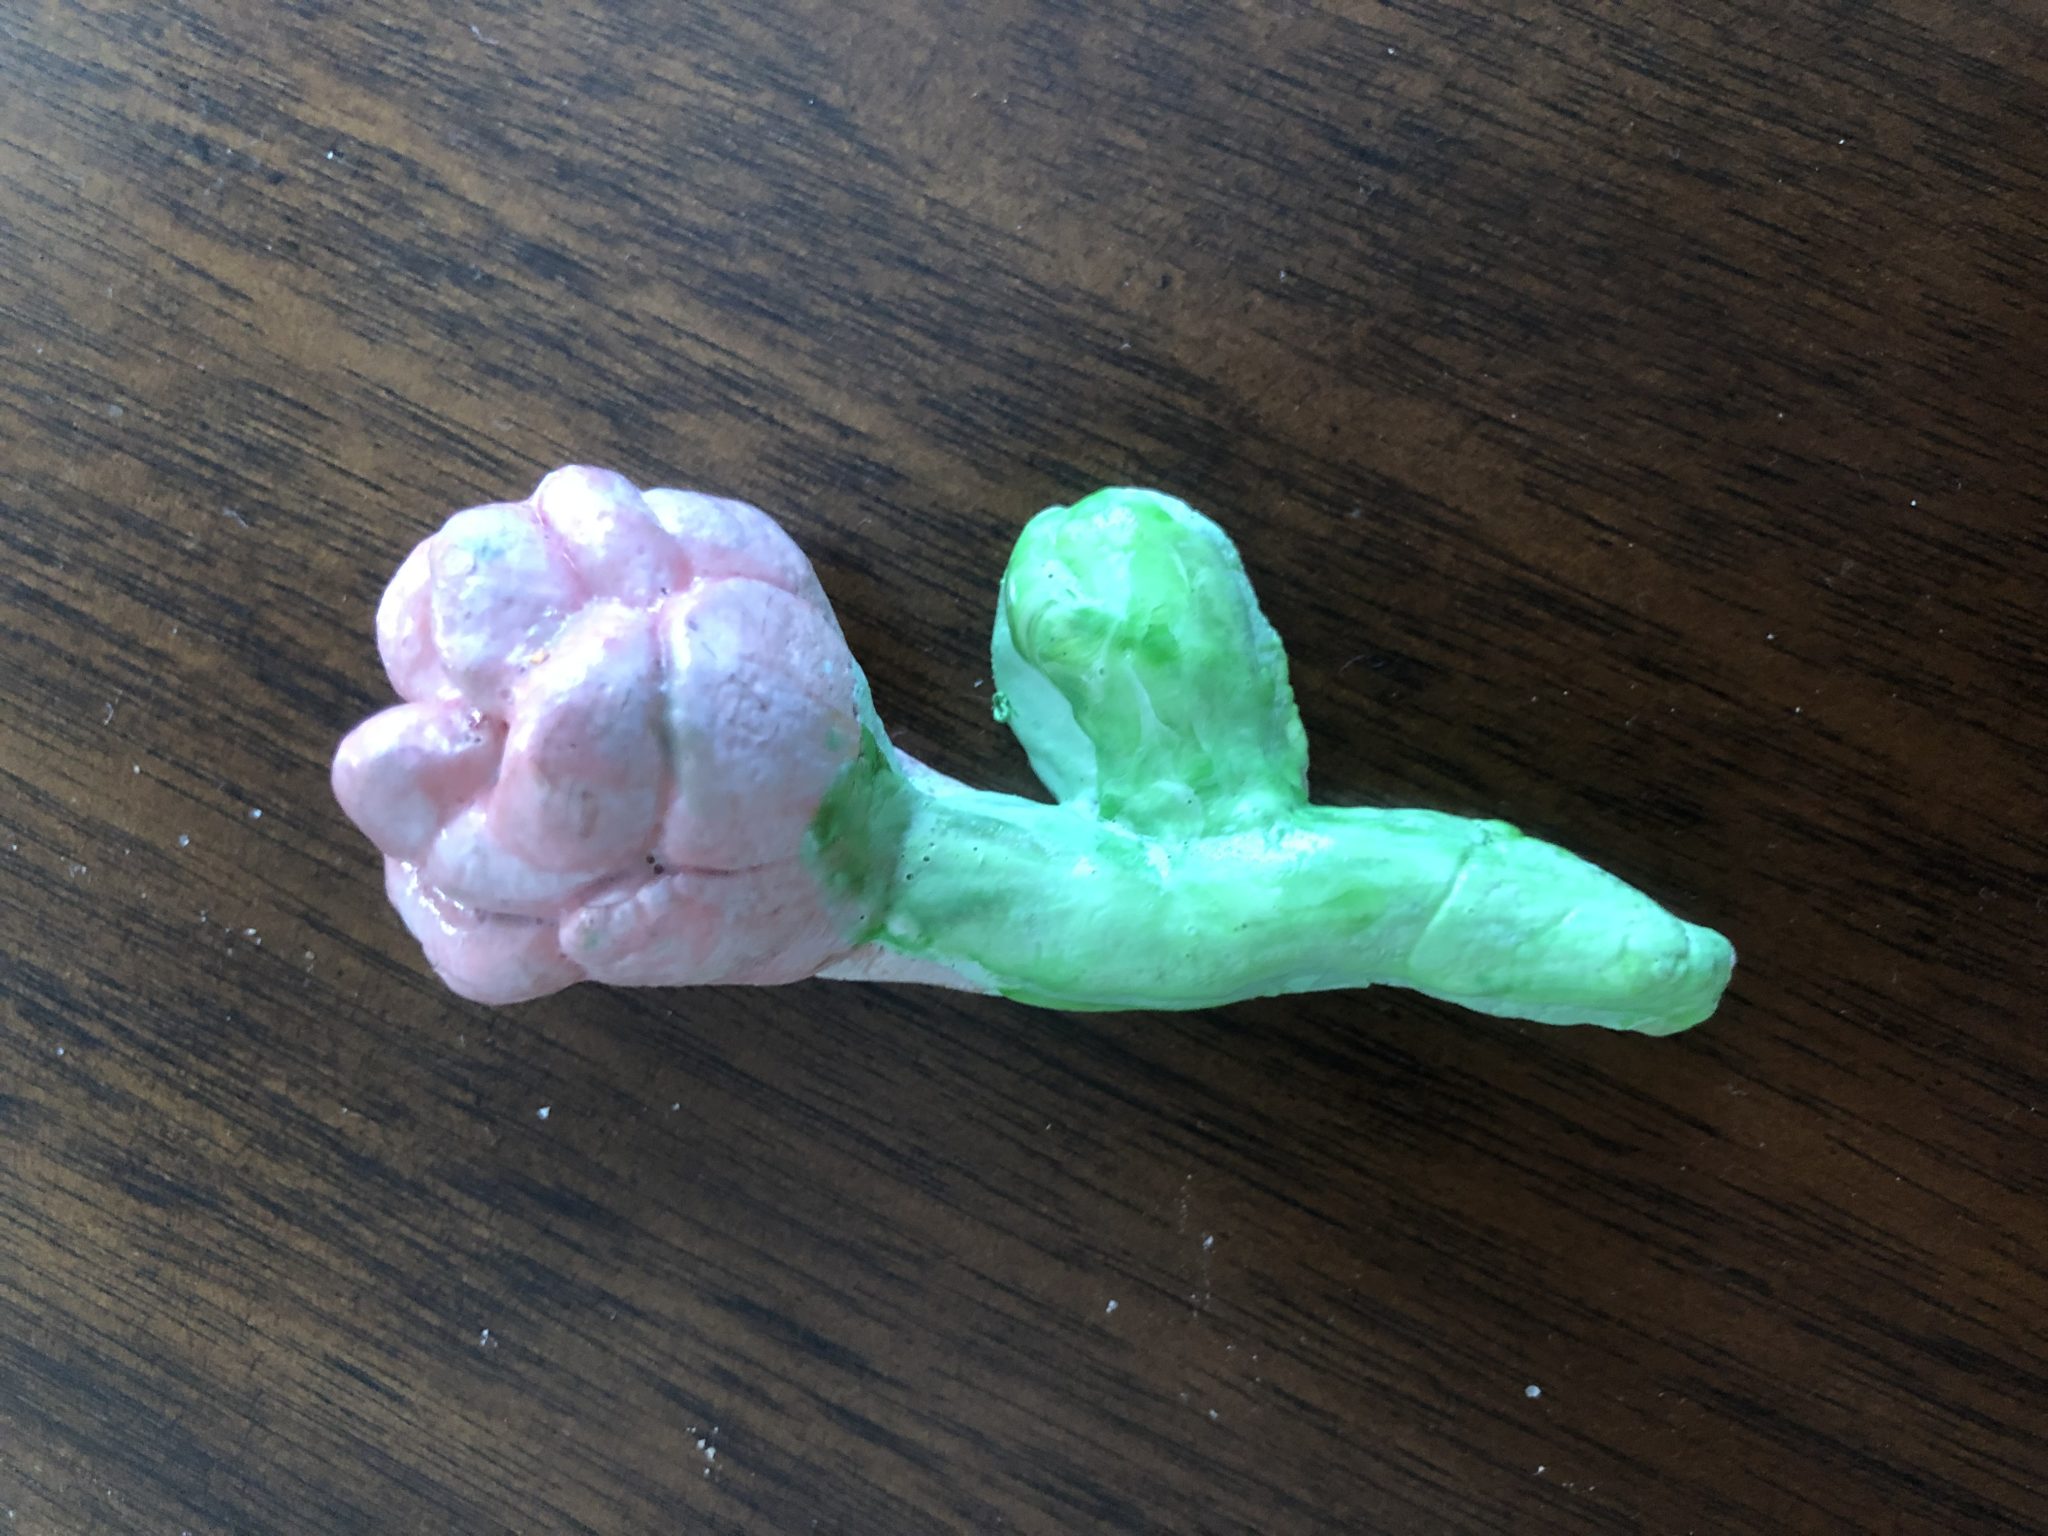
Next, I worked on the small rose. I roled out a coil for the stem and then made the leaf and rose petals by hand. You role the dough into tiny balls, shape them like a fingerprint and then smooth and bend the pointy ends into the stem. I start out with the outside petals which are larger and then work my way into the smallest center petals.
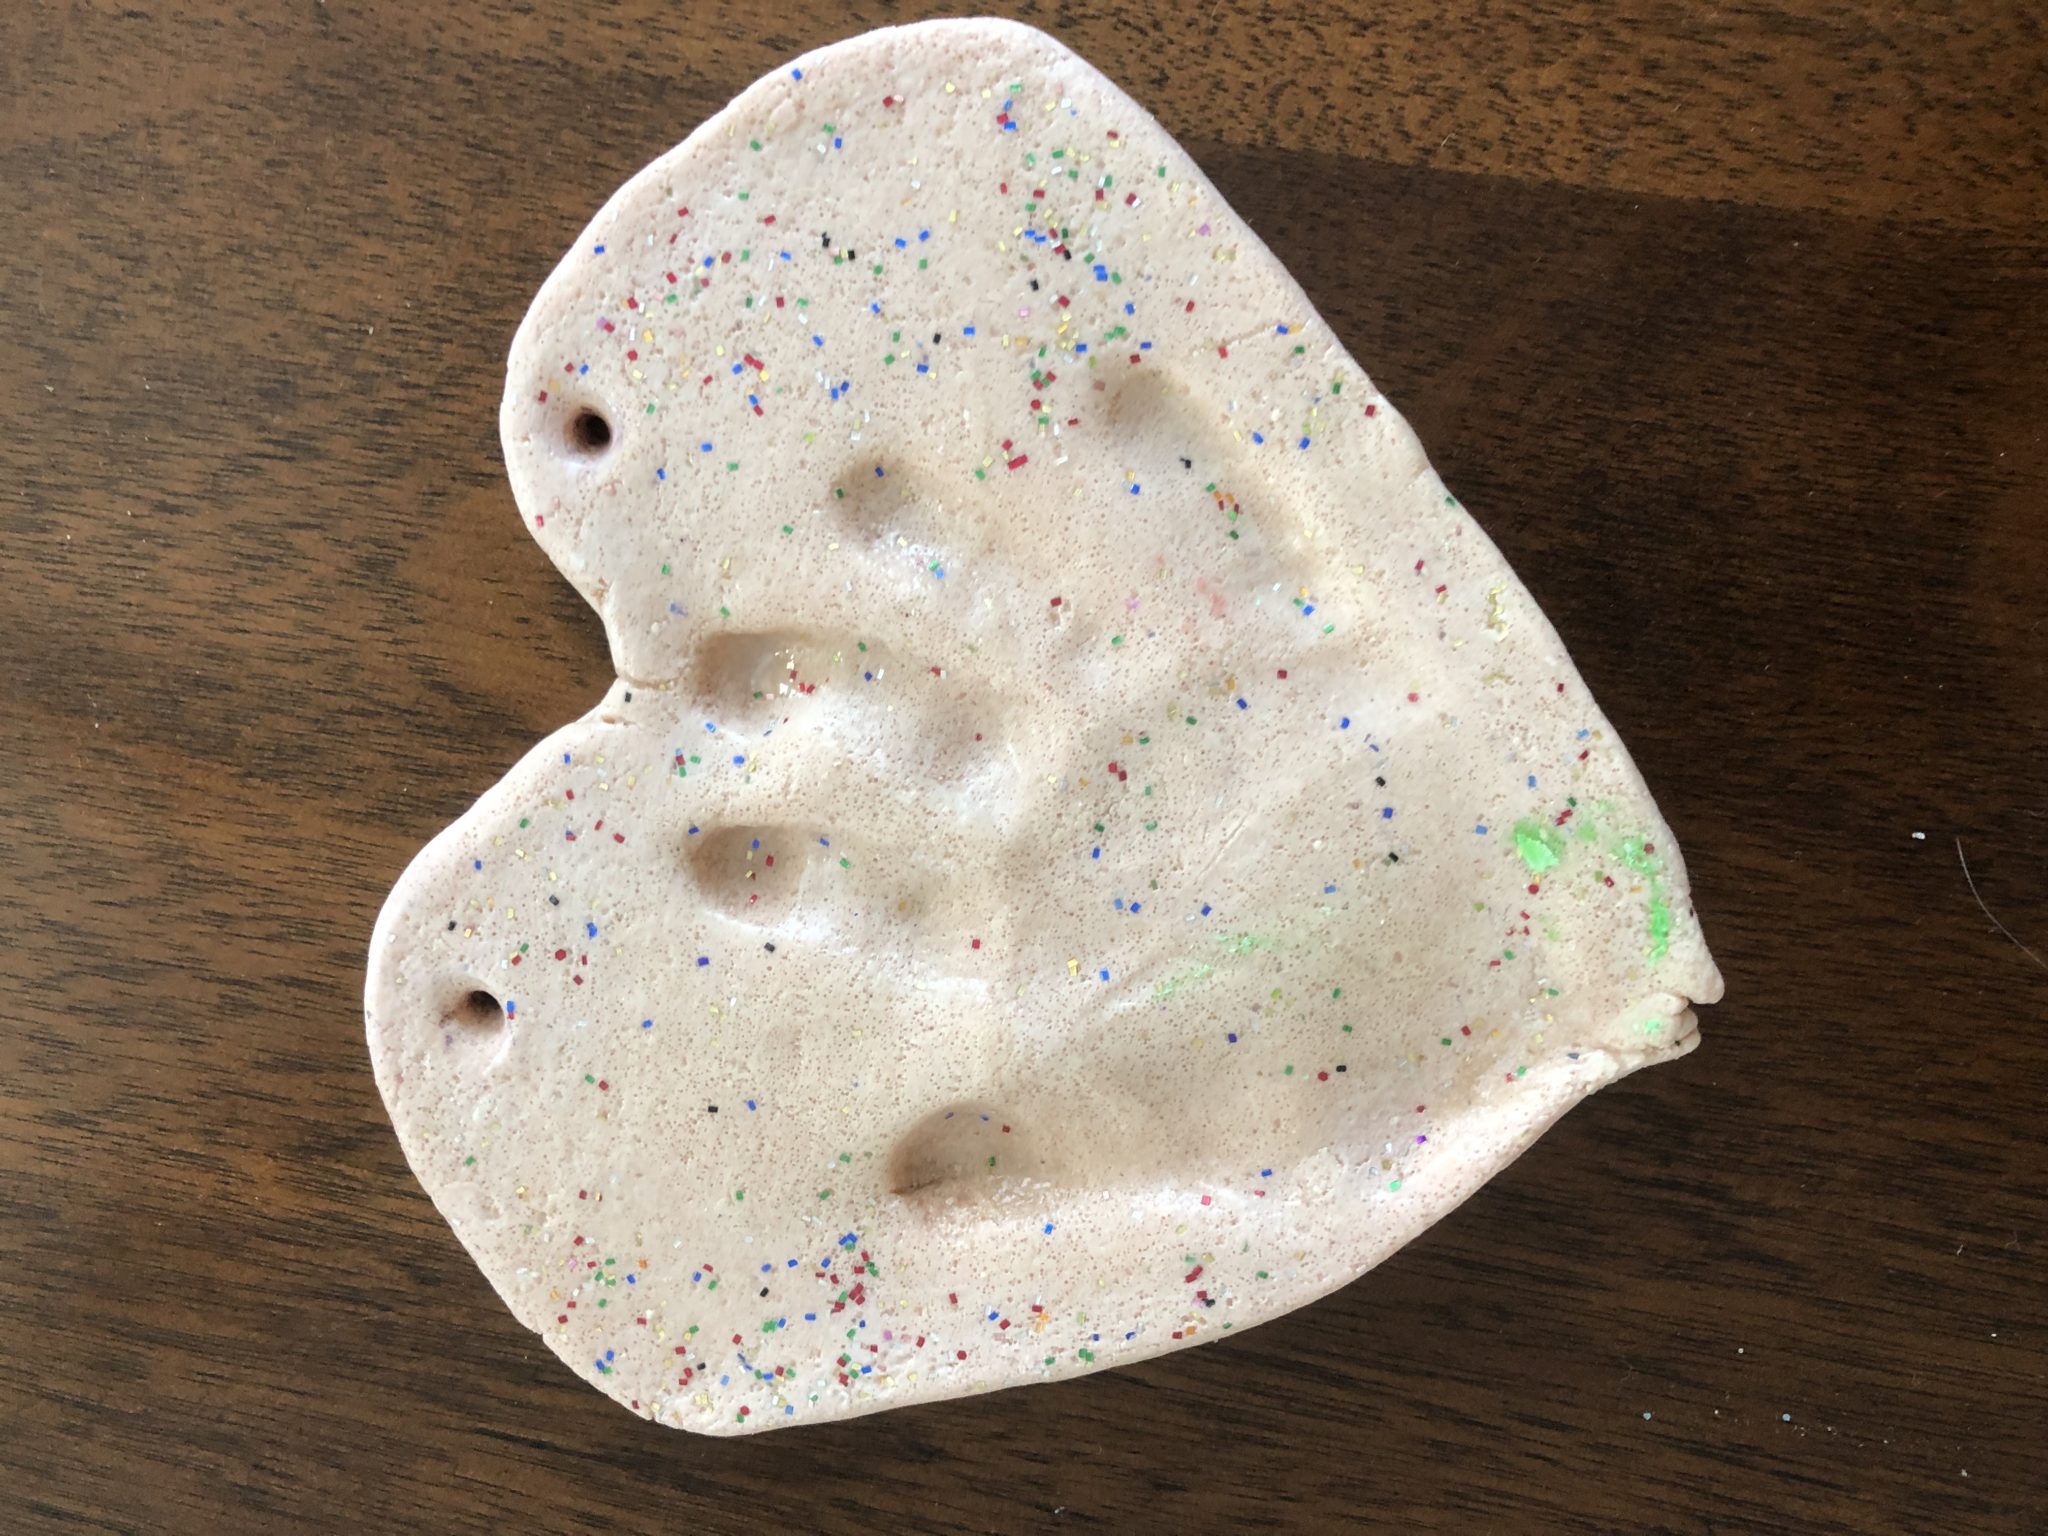
I baked the decorations for one hour at 200F and covered them with foil to avoid browning. The heart could’ve been baked a bit longer, but it air dried the rest of the way.
When it was cool, I painted them. For the heart and flower, I mixed white paint with a tiny drop of red food coloring. For the stem and leaf, I mixed the white paint with some green food coloring. When the paint was dry, I covered it with a coat of modpoj.
Rosebud was proud to give the birthday gifts and I was happy that we created something together. Have you made anything with salt dough? If so, what are your best creations?
I love anything pumpkin spice, so I couldn’t let fall fly by without making this play-dough. For some reason, it took me forever to get all the ingredients on hand to make this play-dough, but I’m glad I finally was able to make it. It smells fantastic and goes great with any Halloween or fall themed activities.
As soon as I opened the container, Rosebud said it smelled good enough to eat. And yes, she took several bites even though I kept telling her not too. I’m sure it smells way better than it tastes. I set out some play-dough tools. We have rolling pins, mini spatulas, play-dough scissors and cookie cutters. I found any Halloween related trinkets I found in my kitchen as well. I have a tiny ghost cake pan and some ghost and pumpkin rings that came on a cake.
We tried making pumpkins. Well, I would and then Rosebud would squish them.
We made ghosts, squished them up and then filled the pan again.
Finally, I made different shaped pumpkins like in the book, The Legend of Spookley the Square Pumpkin. It’s a book about a square pumpkin who saves the day for a farmer because of his differences. It’s a great book for Halloween, but the underlying theme is diversity. Even though we may look different, you can find something wonderful and worthwhile in those differences.
Here’s the recipe I used.
Ingredients:
2 cups flour,
1 cup salt,
2 table spoons cream of tarter,
1 table spoon Pumpkin Spice,
2 table spoons vegetable oil,
1&1/2 cups boiling water,
A couple drops of glycerin to add shine,
Red and yellow food coloring.
Directions:
1. Mix together dry ingredients.
2. Stir in oil.
3. Add water and stir until the lumps are gone and it comes together.
4. Kneed. Add food coloring, scent, glitter and or glycerin at this stage.
Store in an air tight container. All of my batches of play-dough have stayed good for a couple months at least.
Enjoy and happy playing. What are your favorite fall activities with play-dough? Let me know in the comments.
I am a big fan of play-dough. There are so many things you can do with it and so many ways to make it. I’ve used it for a sensory play activity, to teach numbers and shapes, to build fine motor skills and for pretend play. Also, I love to make homemade versions of things whenever possible. In the case of play-dough, it is cheeper to make your own, it lasts longer and you get a whole lot more of it.
I decided to make lemon scented play-dough. Something fresh and bright for spring. Here in the northeast, we have the feeling that spring will never come this year.
Rosebud was excited when I brought out the container of new play-dough that I had made the night before. As soon as I opened it, she said that it smelled good. She immediately got to work squishing, pounding and making holes in the play-dough. She used the play-dough cutters to cut pieces and the rolling pins to flatten it. I sat with her and first I made things to see if she could guess what they were. I made hearts, squares, circles and stars. She loves when I make balls, but then she is tempted to throw them. Fortunately, she usually squishes them before she gets the chance. Rosebud loves cooking in her pretend kitchen and loves to help me cook on occasion. She gets very excited about food, so she was thrilled when I started making play-dough ice cream cones. She guessed it correctly right away and then asked for more ice cream cones. We had fun playing with play-dough for about 45 minutes and towards the end, I was thinking about how great it is to just be in the moment. You’re in the present creating something with your hands and enjoying the company. It’s important to be open to moments like these. They will recharge you.
Here is the recipe I used.
2 cups flour,
1 cup salt,
2 table spoons cream of tarter,
2 table spoons vegetable oil,
1&1/2 cups boiling water,
A couple drops lemon extract,
Glitter to make it sparkly,
A couple drops of glycerin to add shine,
Food coloring if desired.
How to make it:
1. Mix together dry ingredients.
2. Stir in oil.
3. Add water and stir until the lumps are gone and it comes together.
4. Kneed. Add food coloring, scent, glitter and or glycerin at this stage.
Store in an air tight container. All of my batches of play-dough have stayed good for a couple months at least.
This website uses cookies to improve your experience. We'll assume you're ok with this, but you can opt-out if you wish.AcceptRejectRead More
Privacy & Cookies Policy
Privacy Overview
This website uses cookies to improve your experience while you navigate through the website. Out of these cookies, the cookies that are categorized as necessary are stored on your browser as they are essential for the working of basic functionalities of the website. We also use third-party cookies that help us analyze and understand how you use this website. These cookies will be stored in your browser only with your consent. You also have the option to opt-out of these cookies. But opting out of some of these cookies may have an effect on your browsing experience.
Necessary cookies are absolutely essential for the website to function properly. This category only includes cookies that ensures basic functionalities and security features of the website. These cookies do not store any personal information.
Any cookies that may not be particularly necessary for the website to function and is used specifically to collect user personal data via analytics, ads, other embedded contents are termed as non-necessary cookies. It is mandatory to procure user consent prior to running these cookies on your website.


 Math
Math 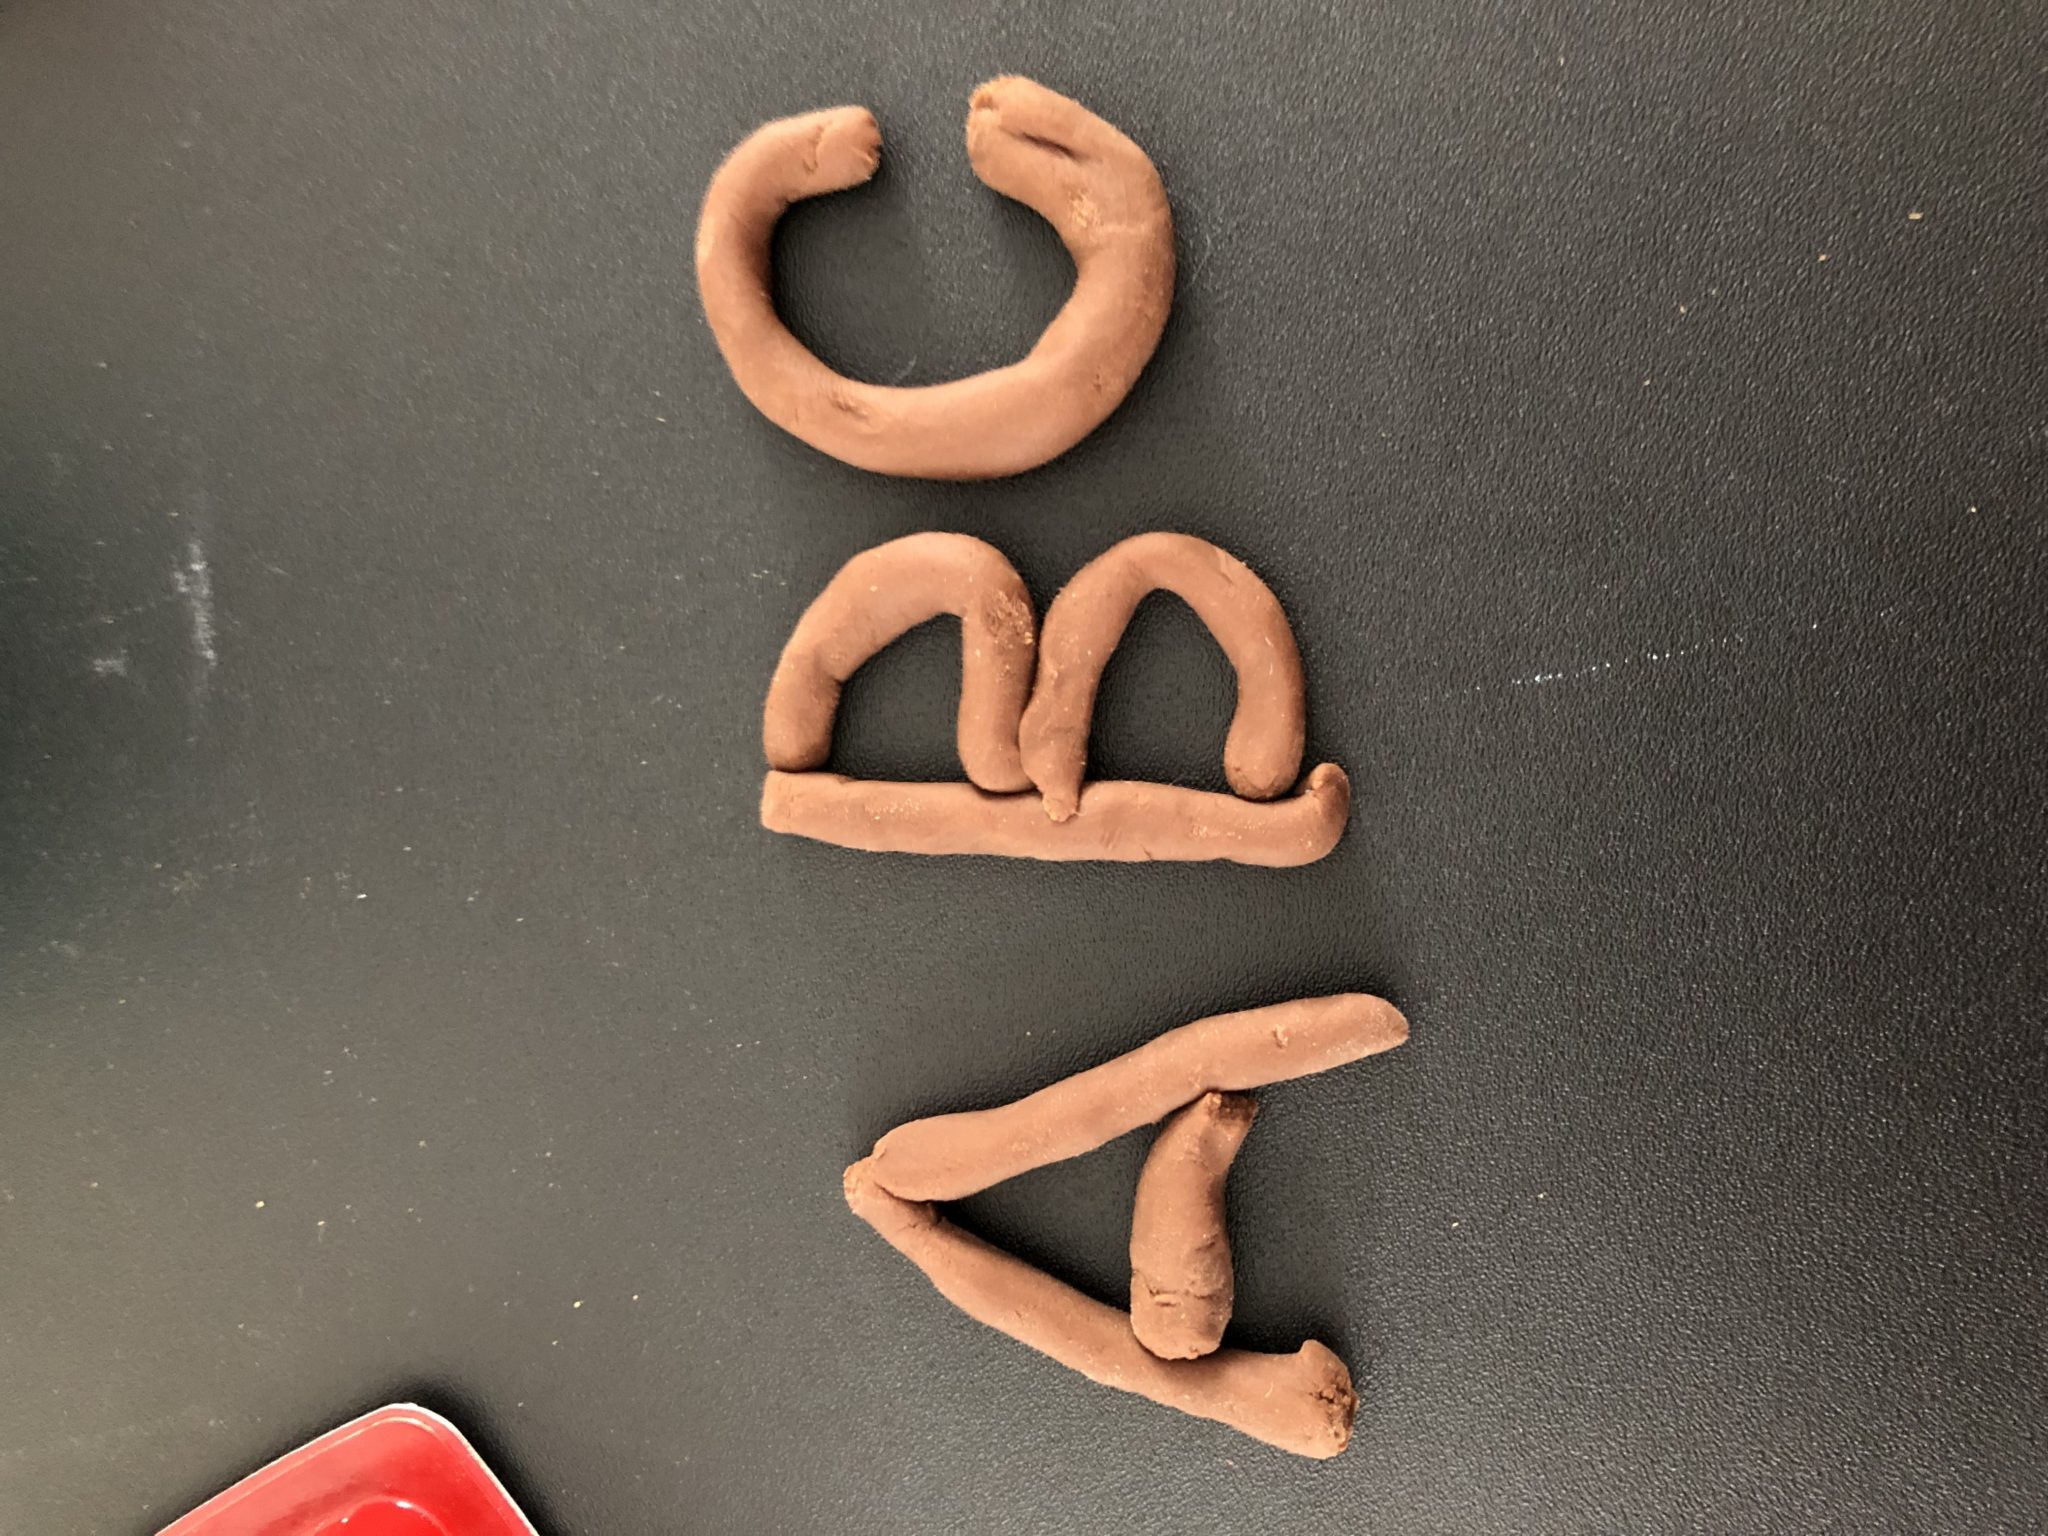 Literacy
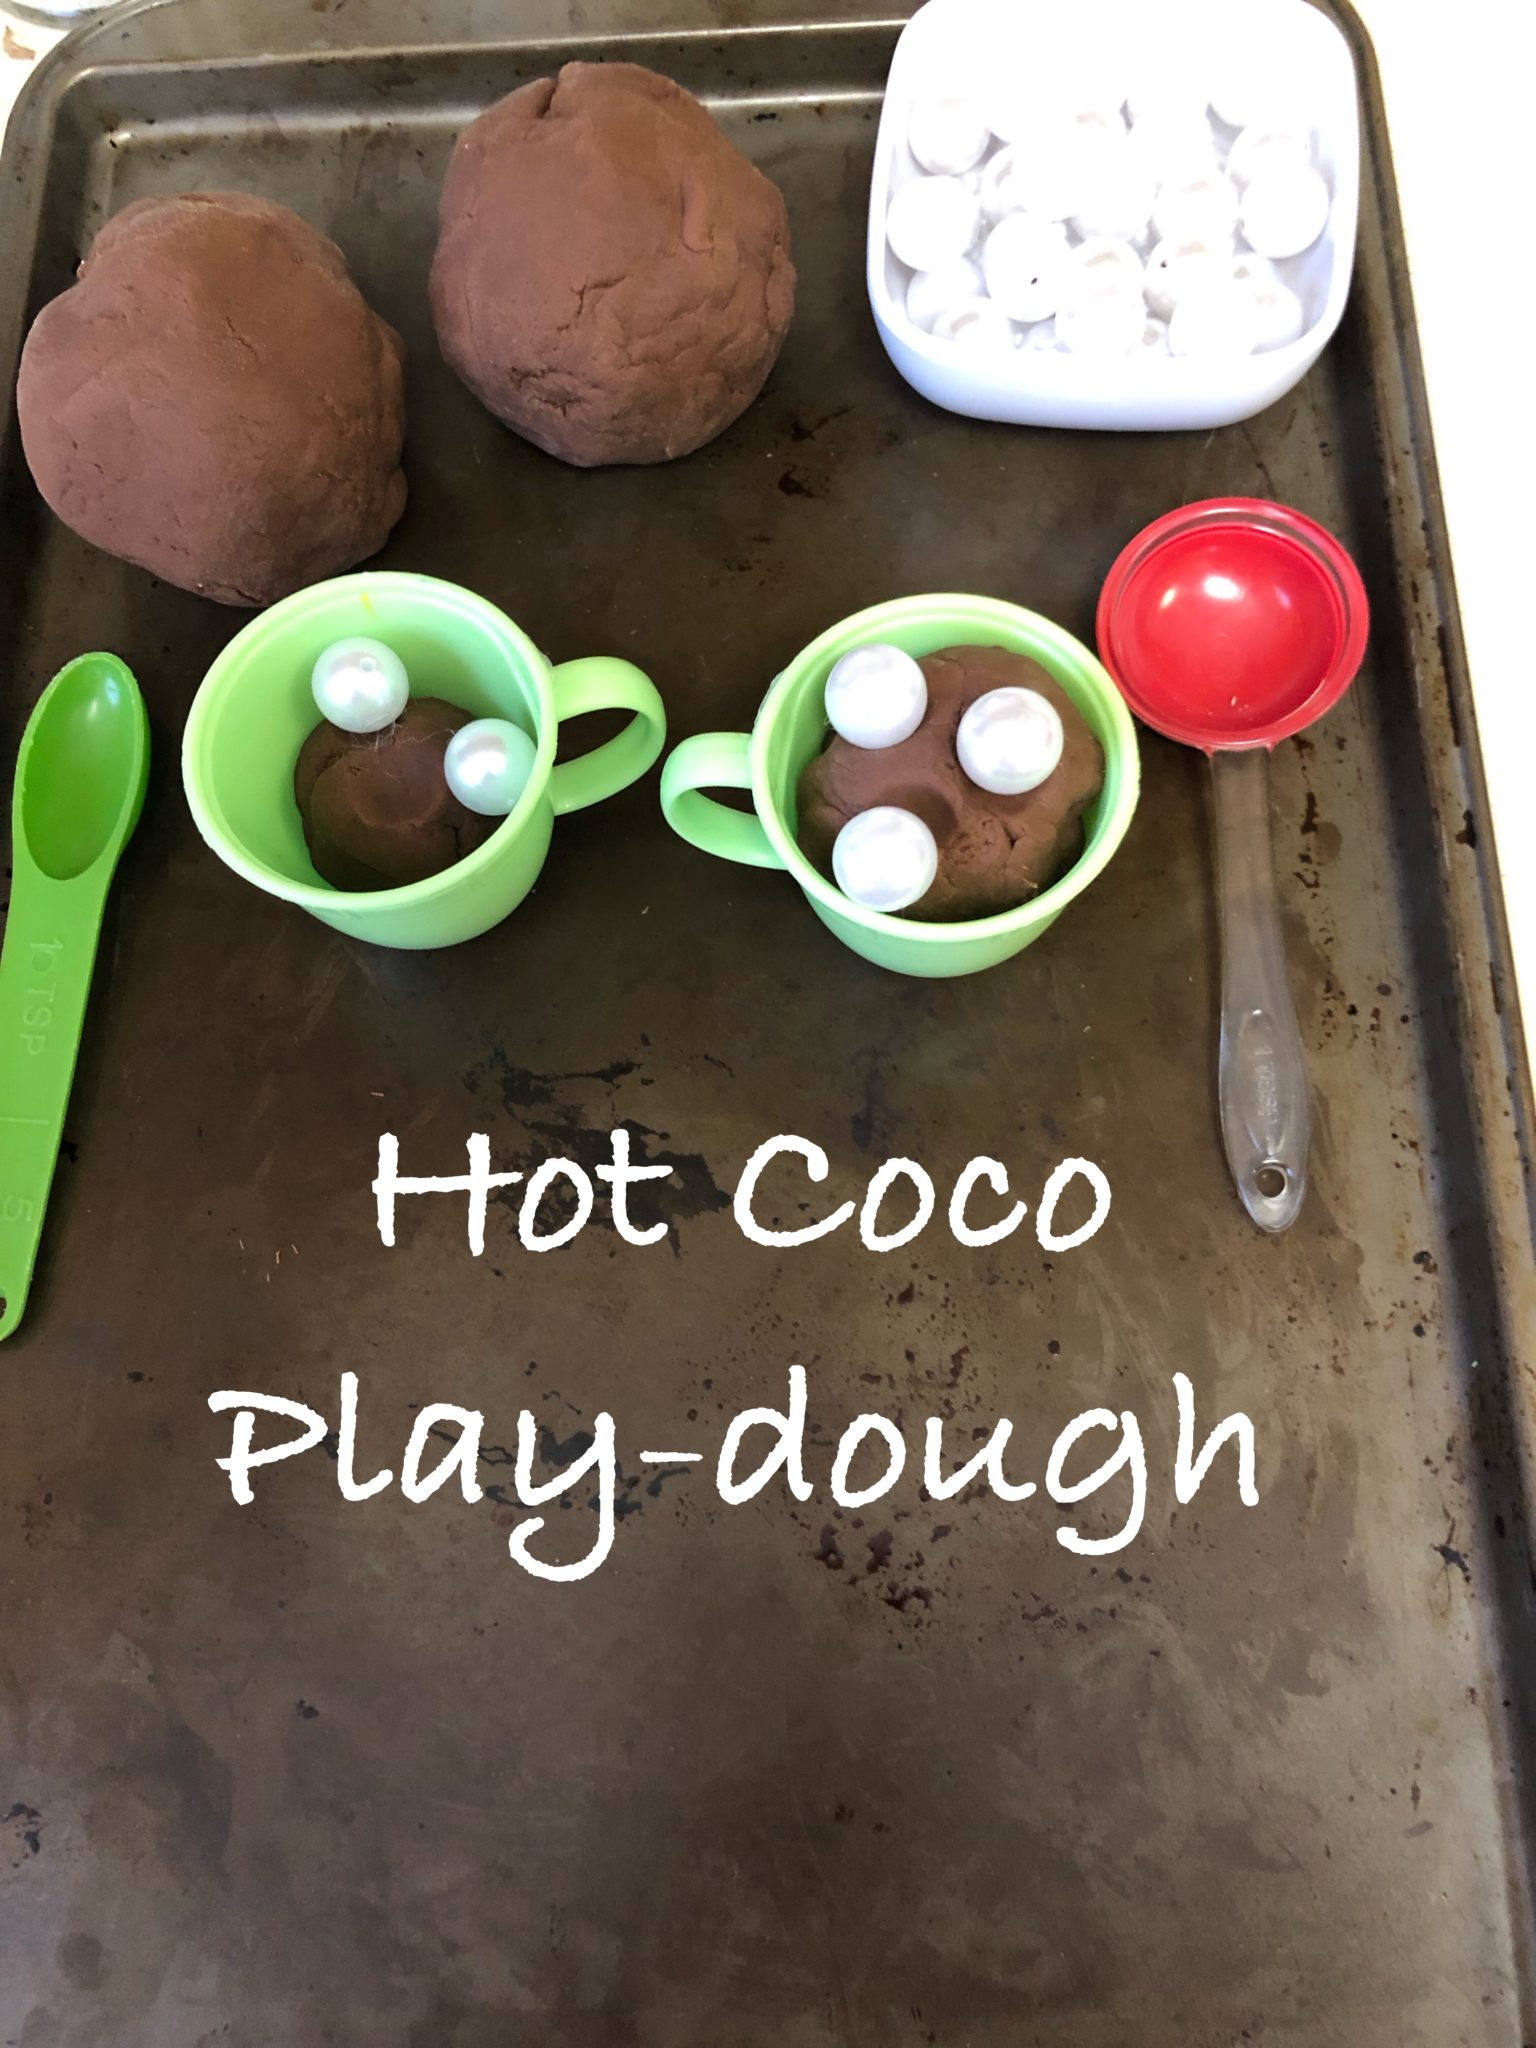

 What are your favorite play-dough recipes? Tell me in the comments.