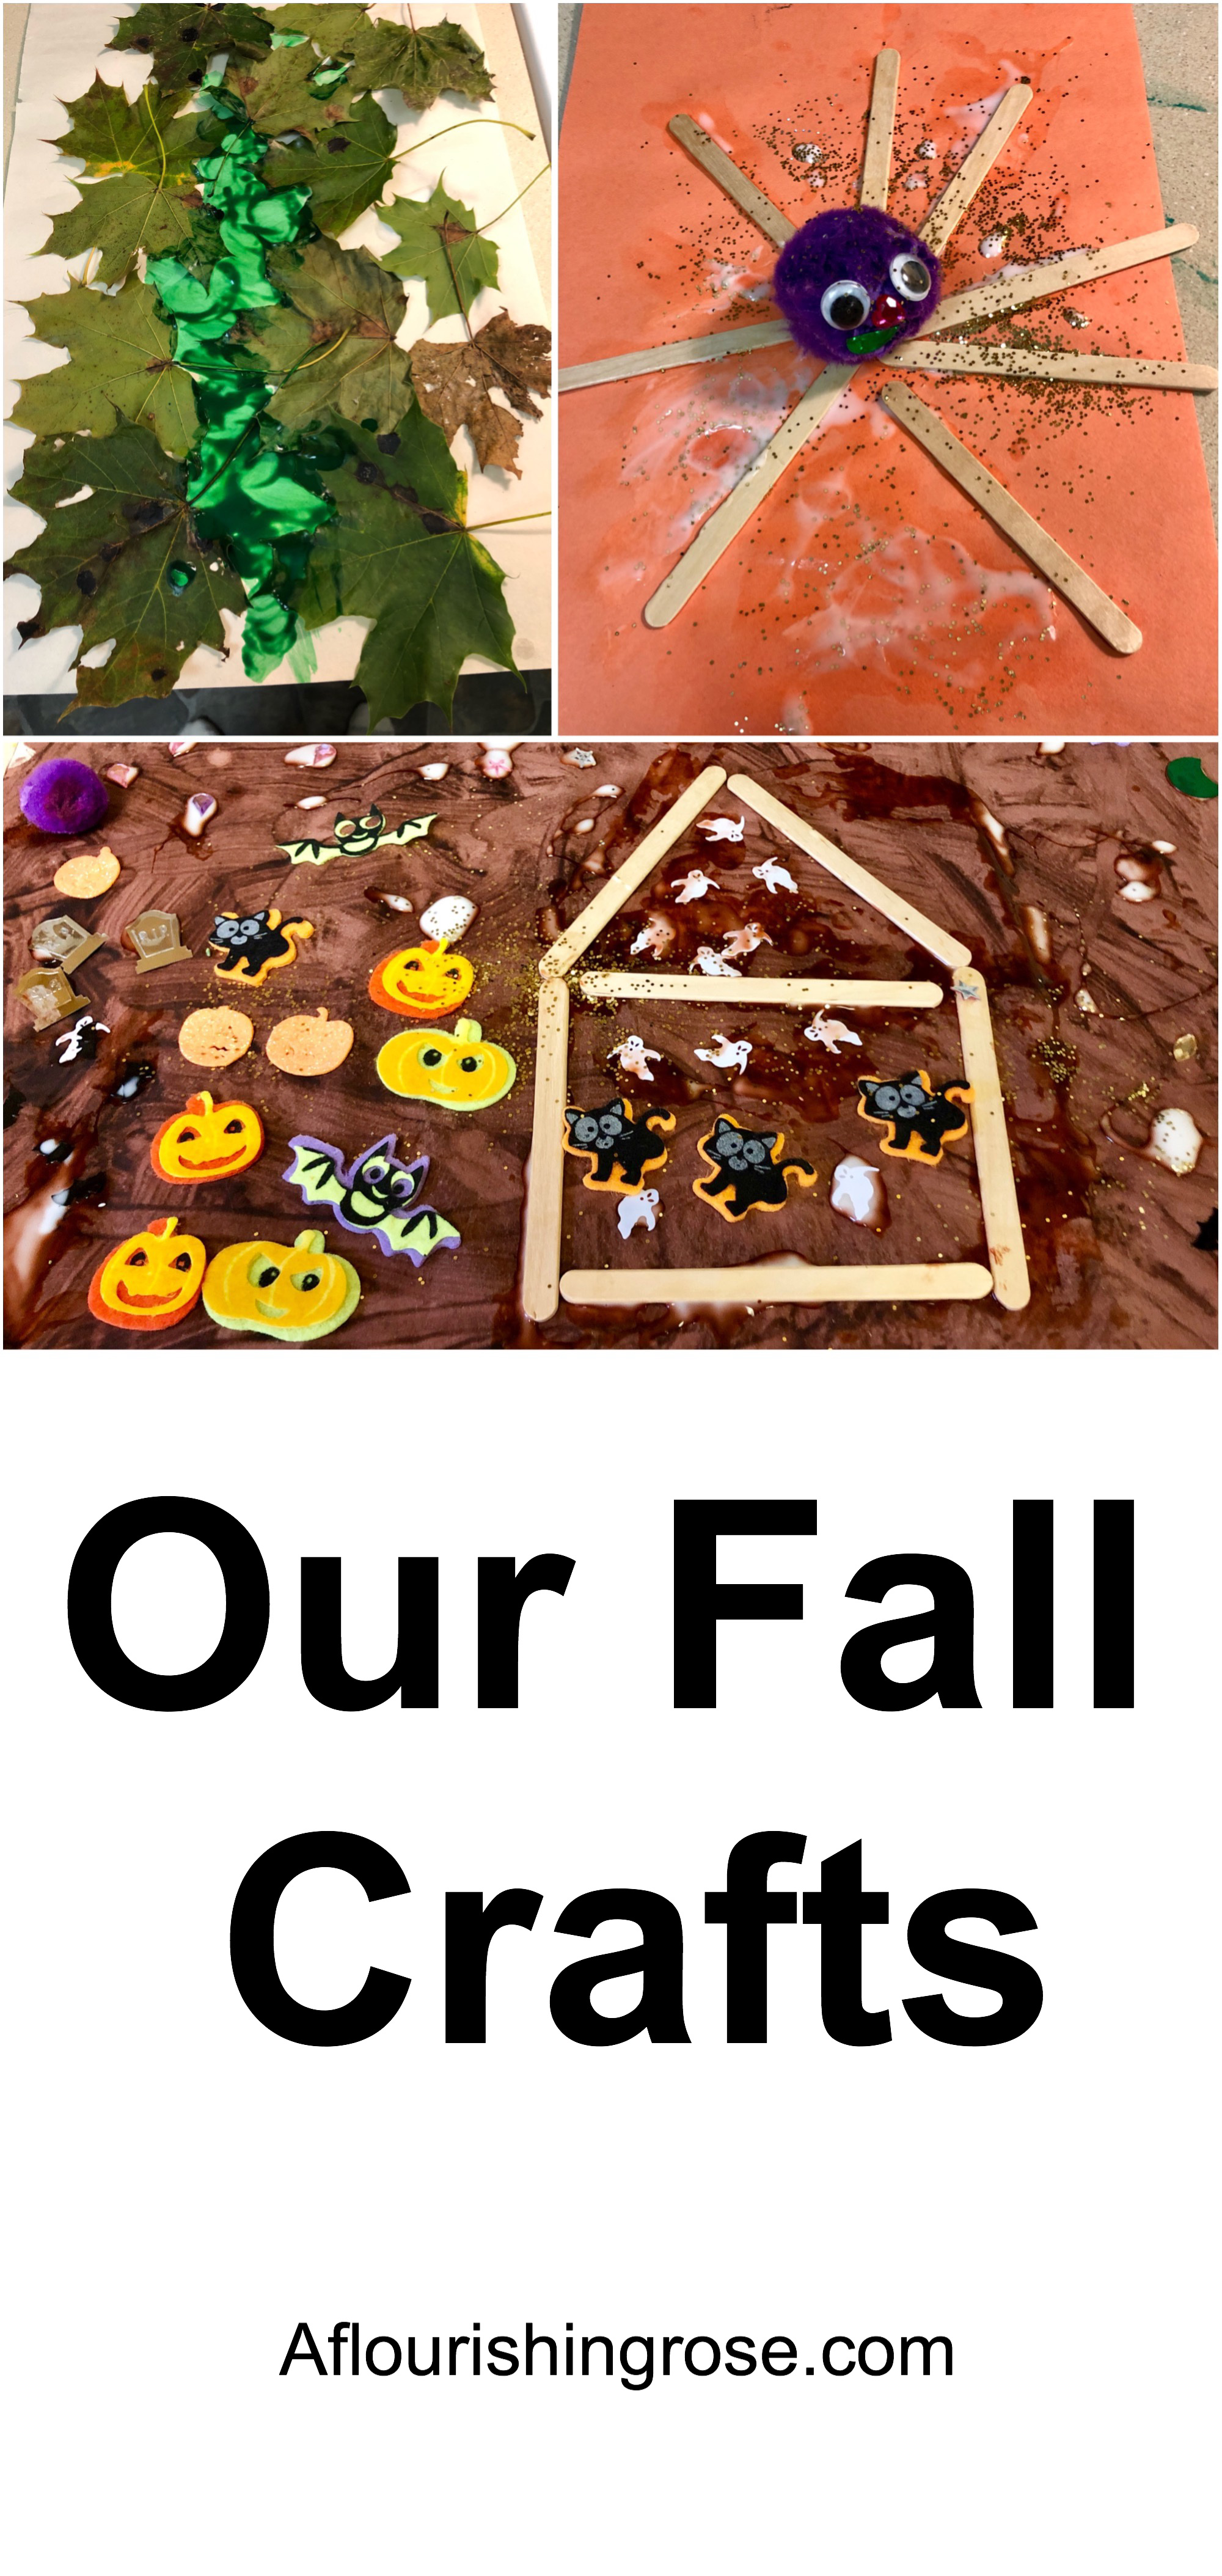
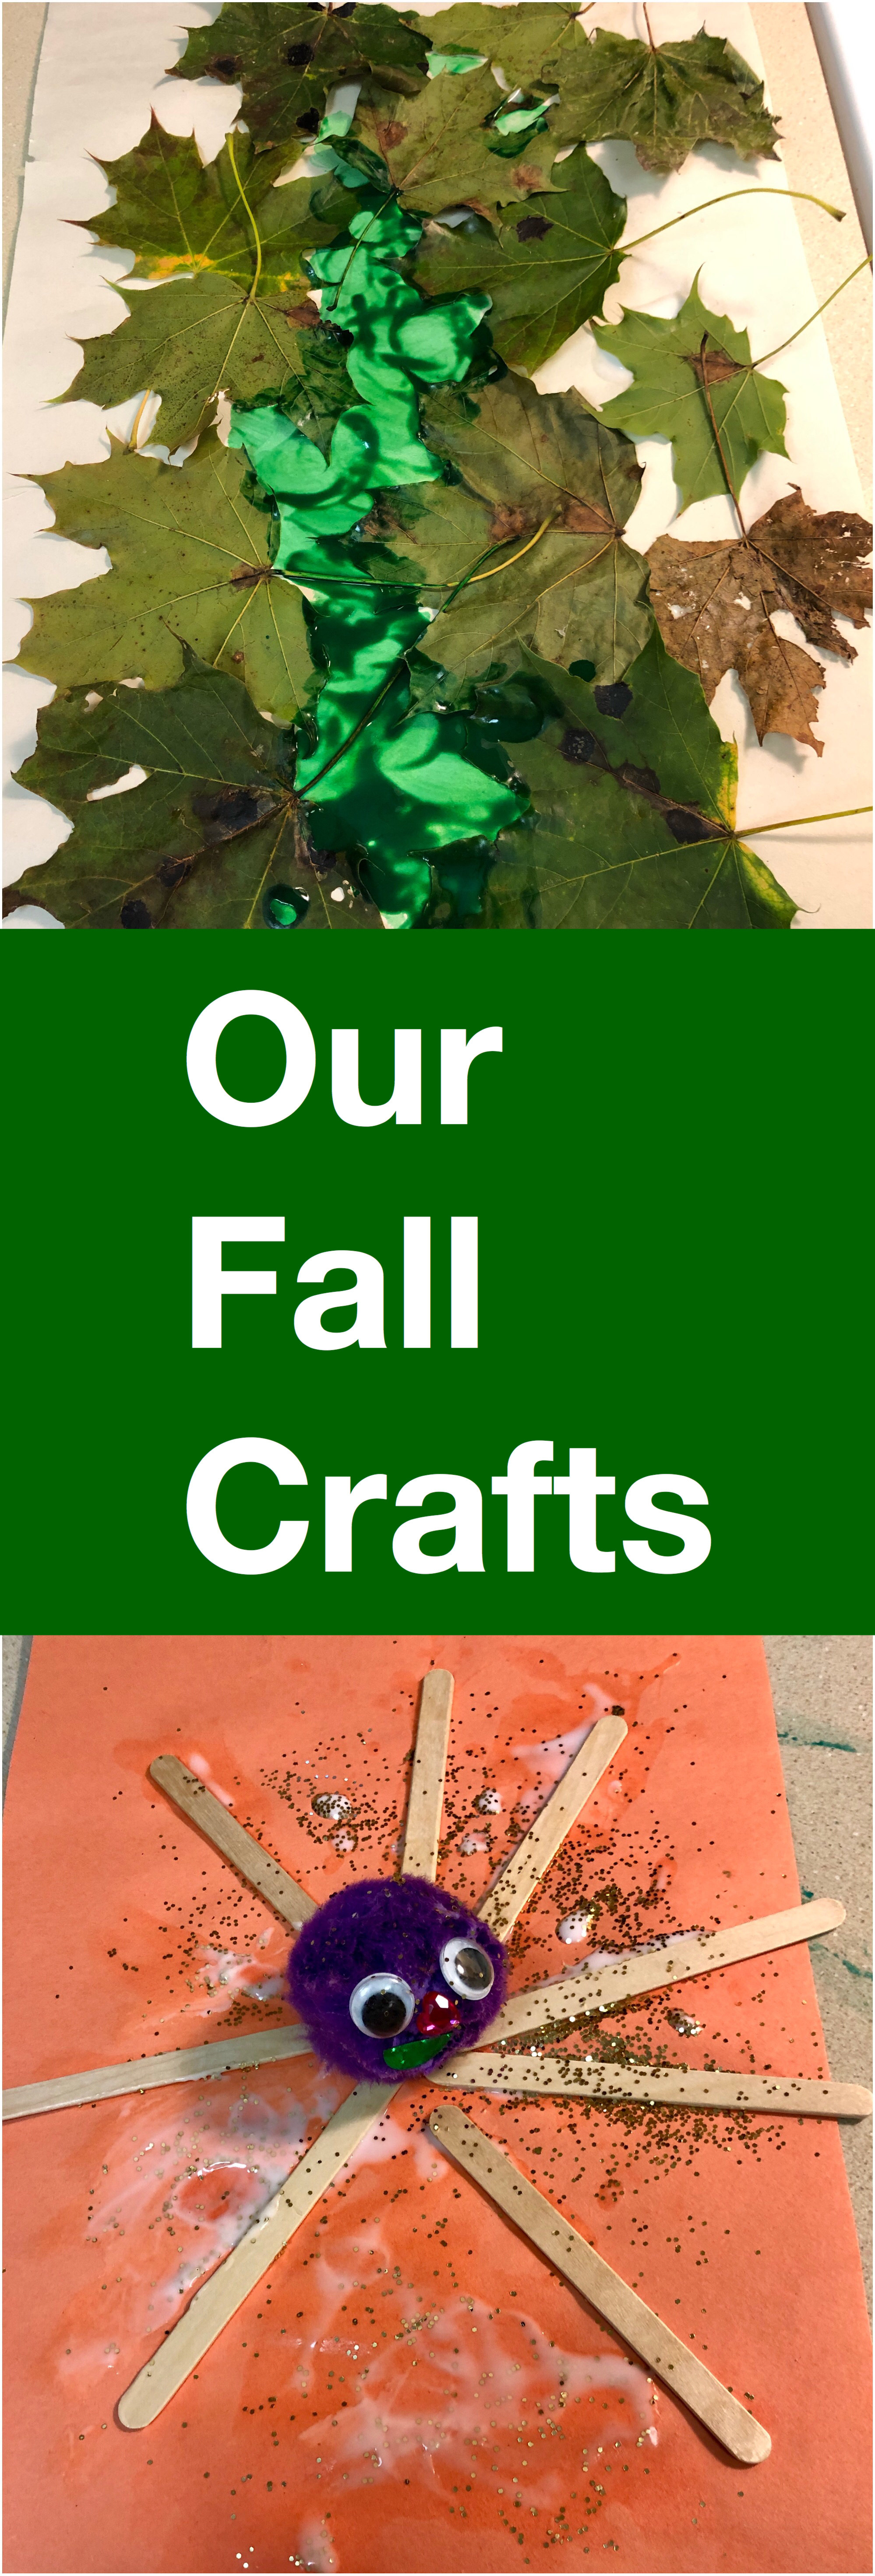
Are you looking for some quick fall crafts? Here are some of the crafts Rosebud and I have done so far this fall. These are simple glueing activities that are perfect for toddlers and preschoolers.
Leafy Tree
Supplies
- Leaves,
- Paper,
- Glue,
- Green paint.
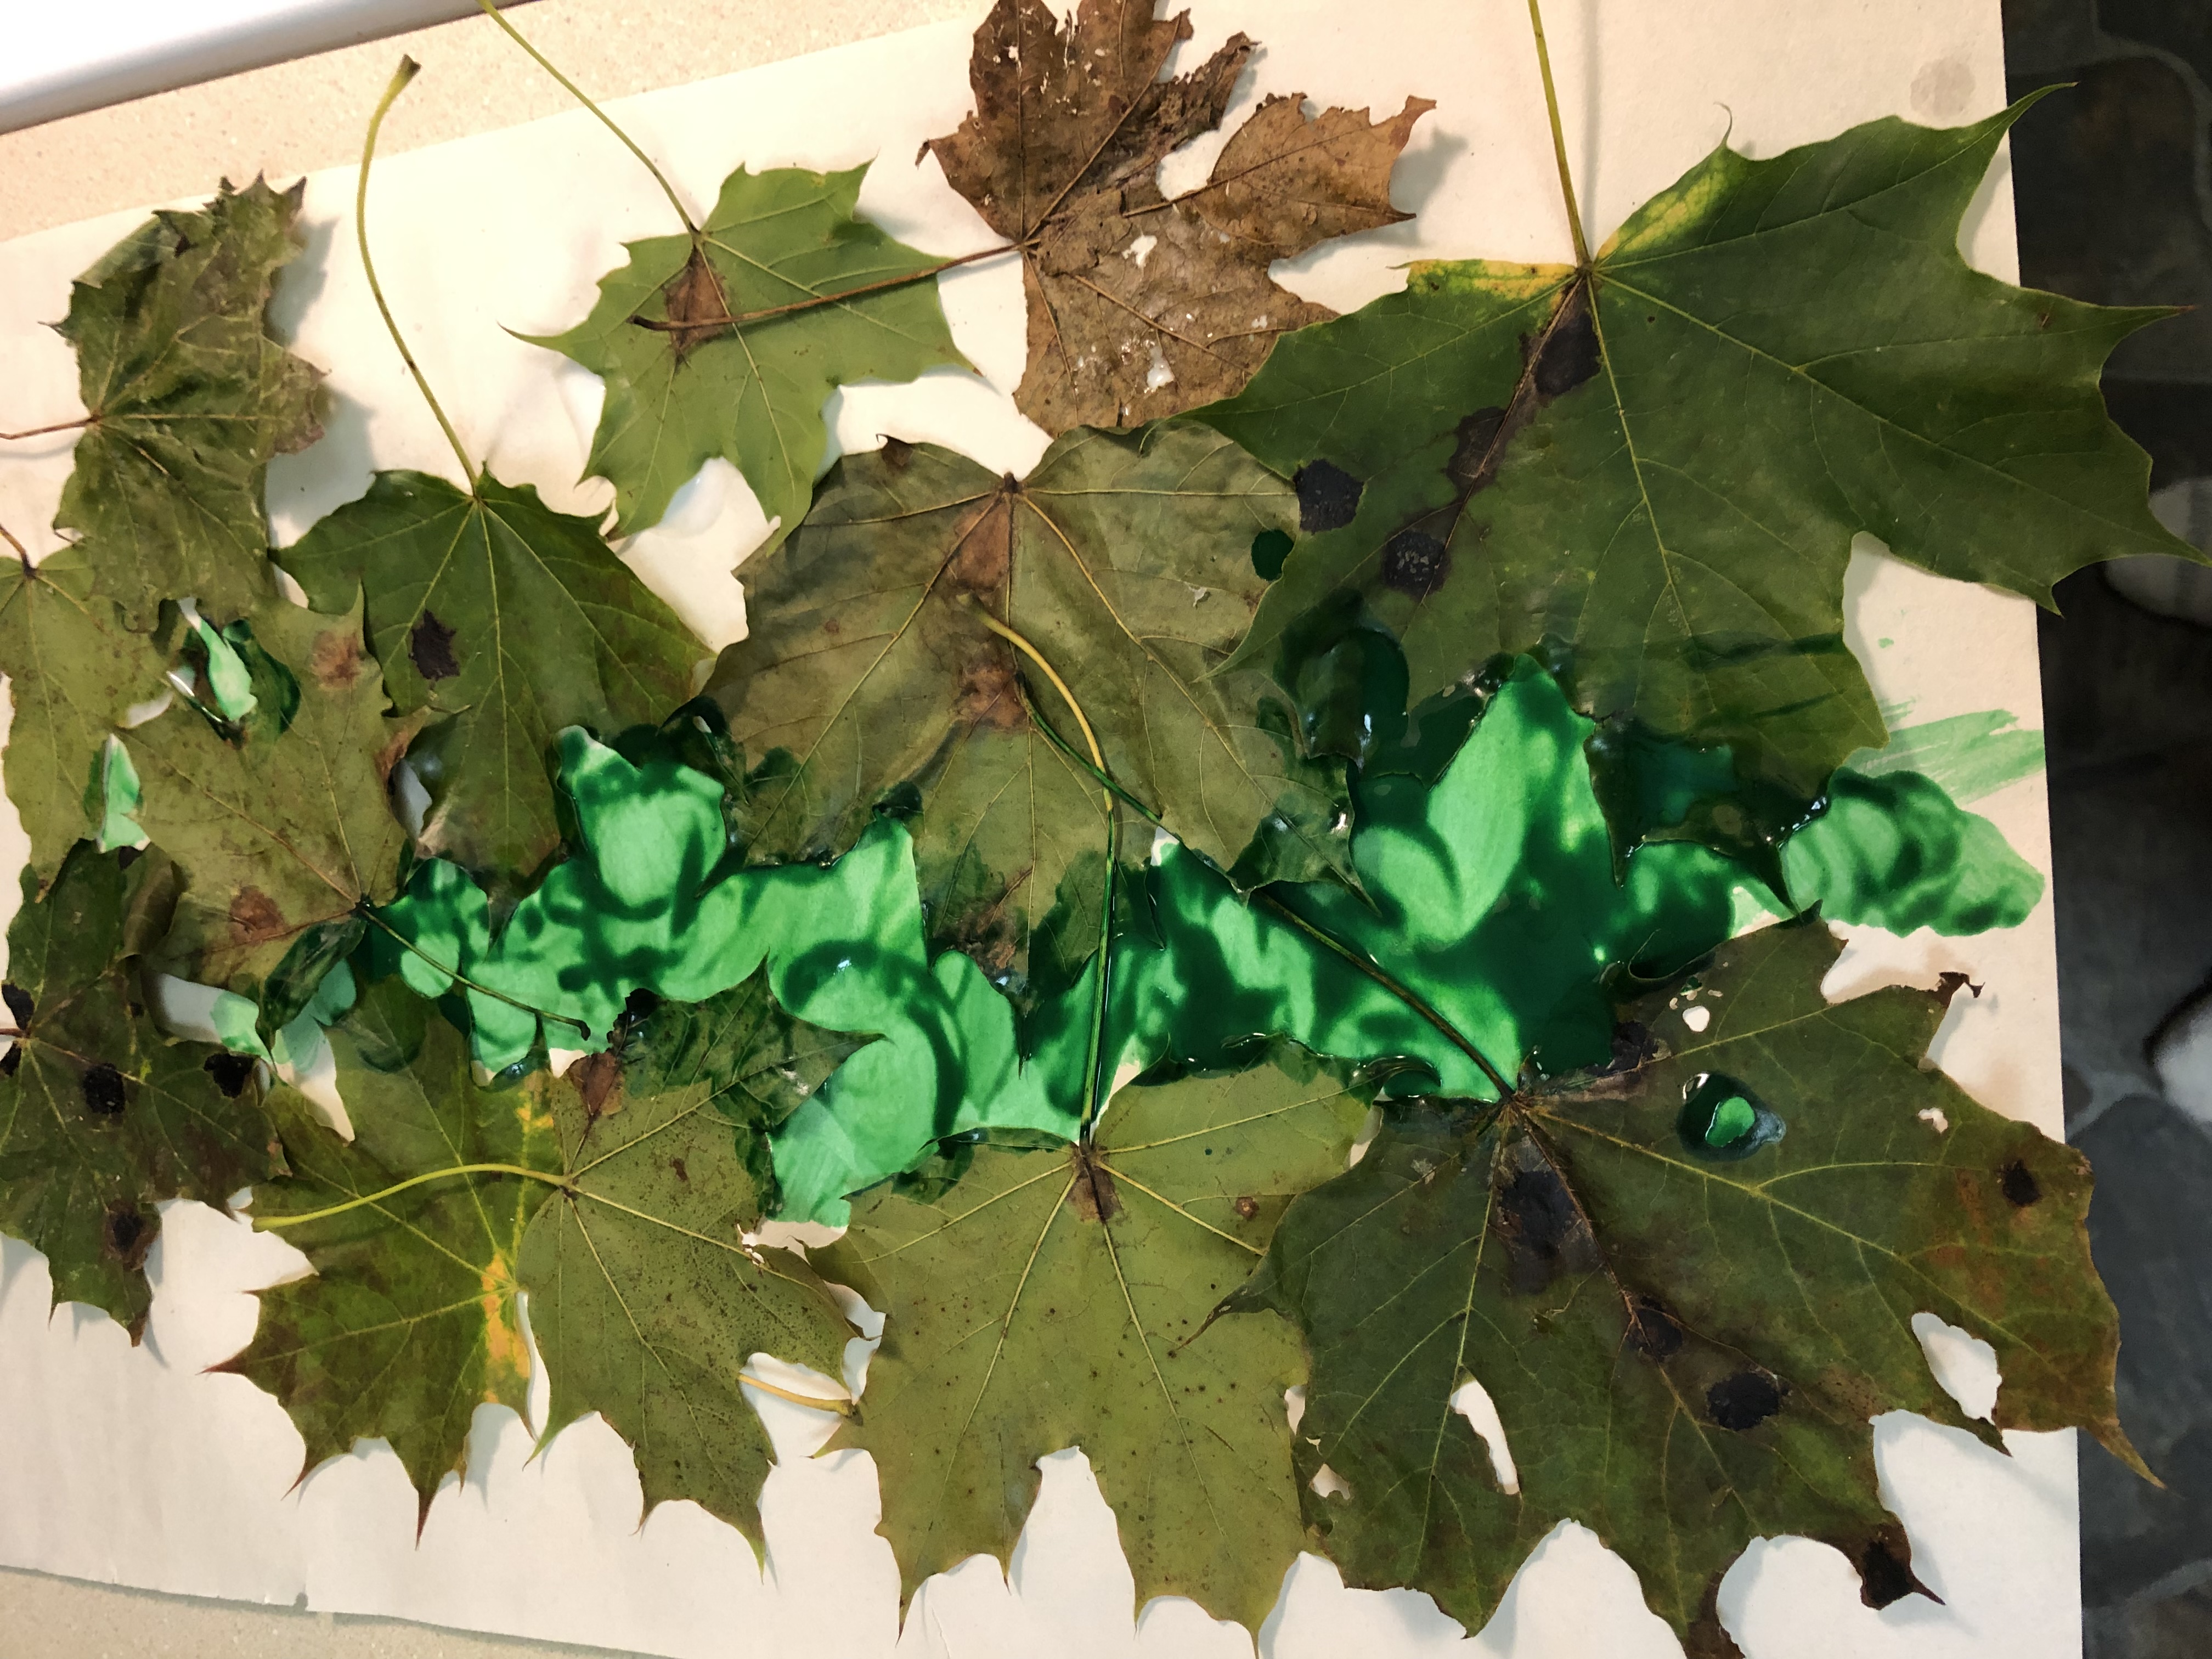
First, we made this leafy tree. It started out as just a simple leaf collage. Rosebud and I went for a walk and found a bunch of leaves. She wanted to make art with them, so we just started gluing. After she glued all the leaves, we realized there was a vertical space in the middle, so we painted it green to look like a tree.
To make it look more like a tree, you can draw the outline first or use other natural items to decorate it.
Halloween Spider
Supplies
- Craft sticks,
- Pompoms,
- Google eyes,
- Glue,
- Glitter,
- Construction paper.
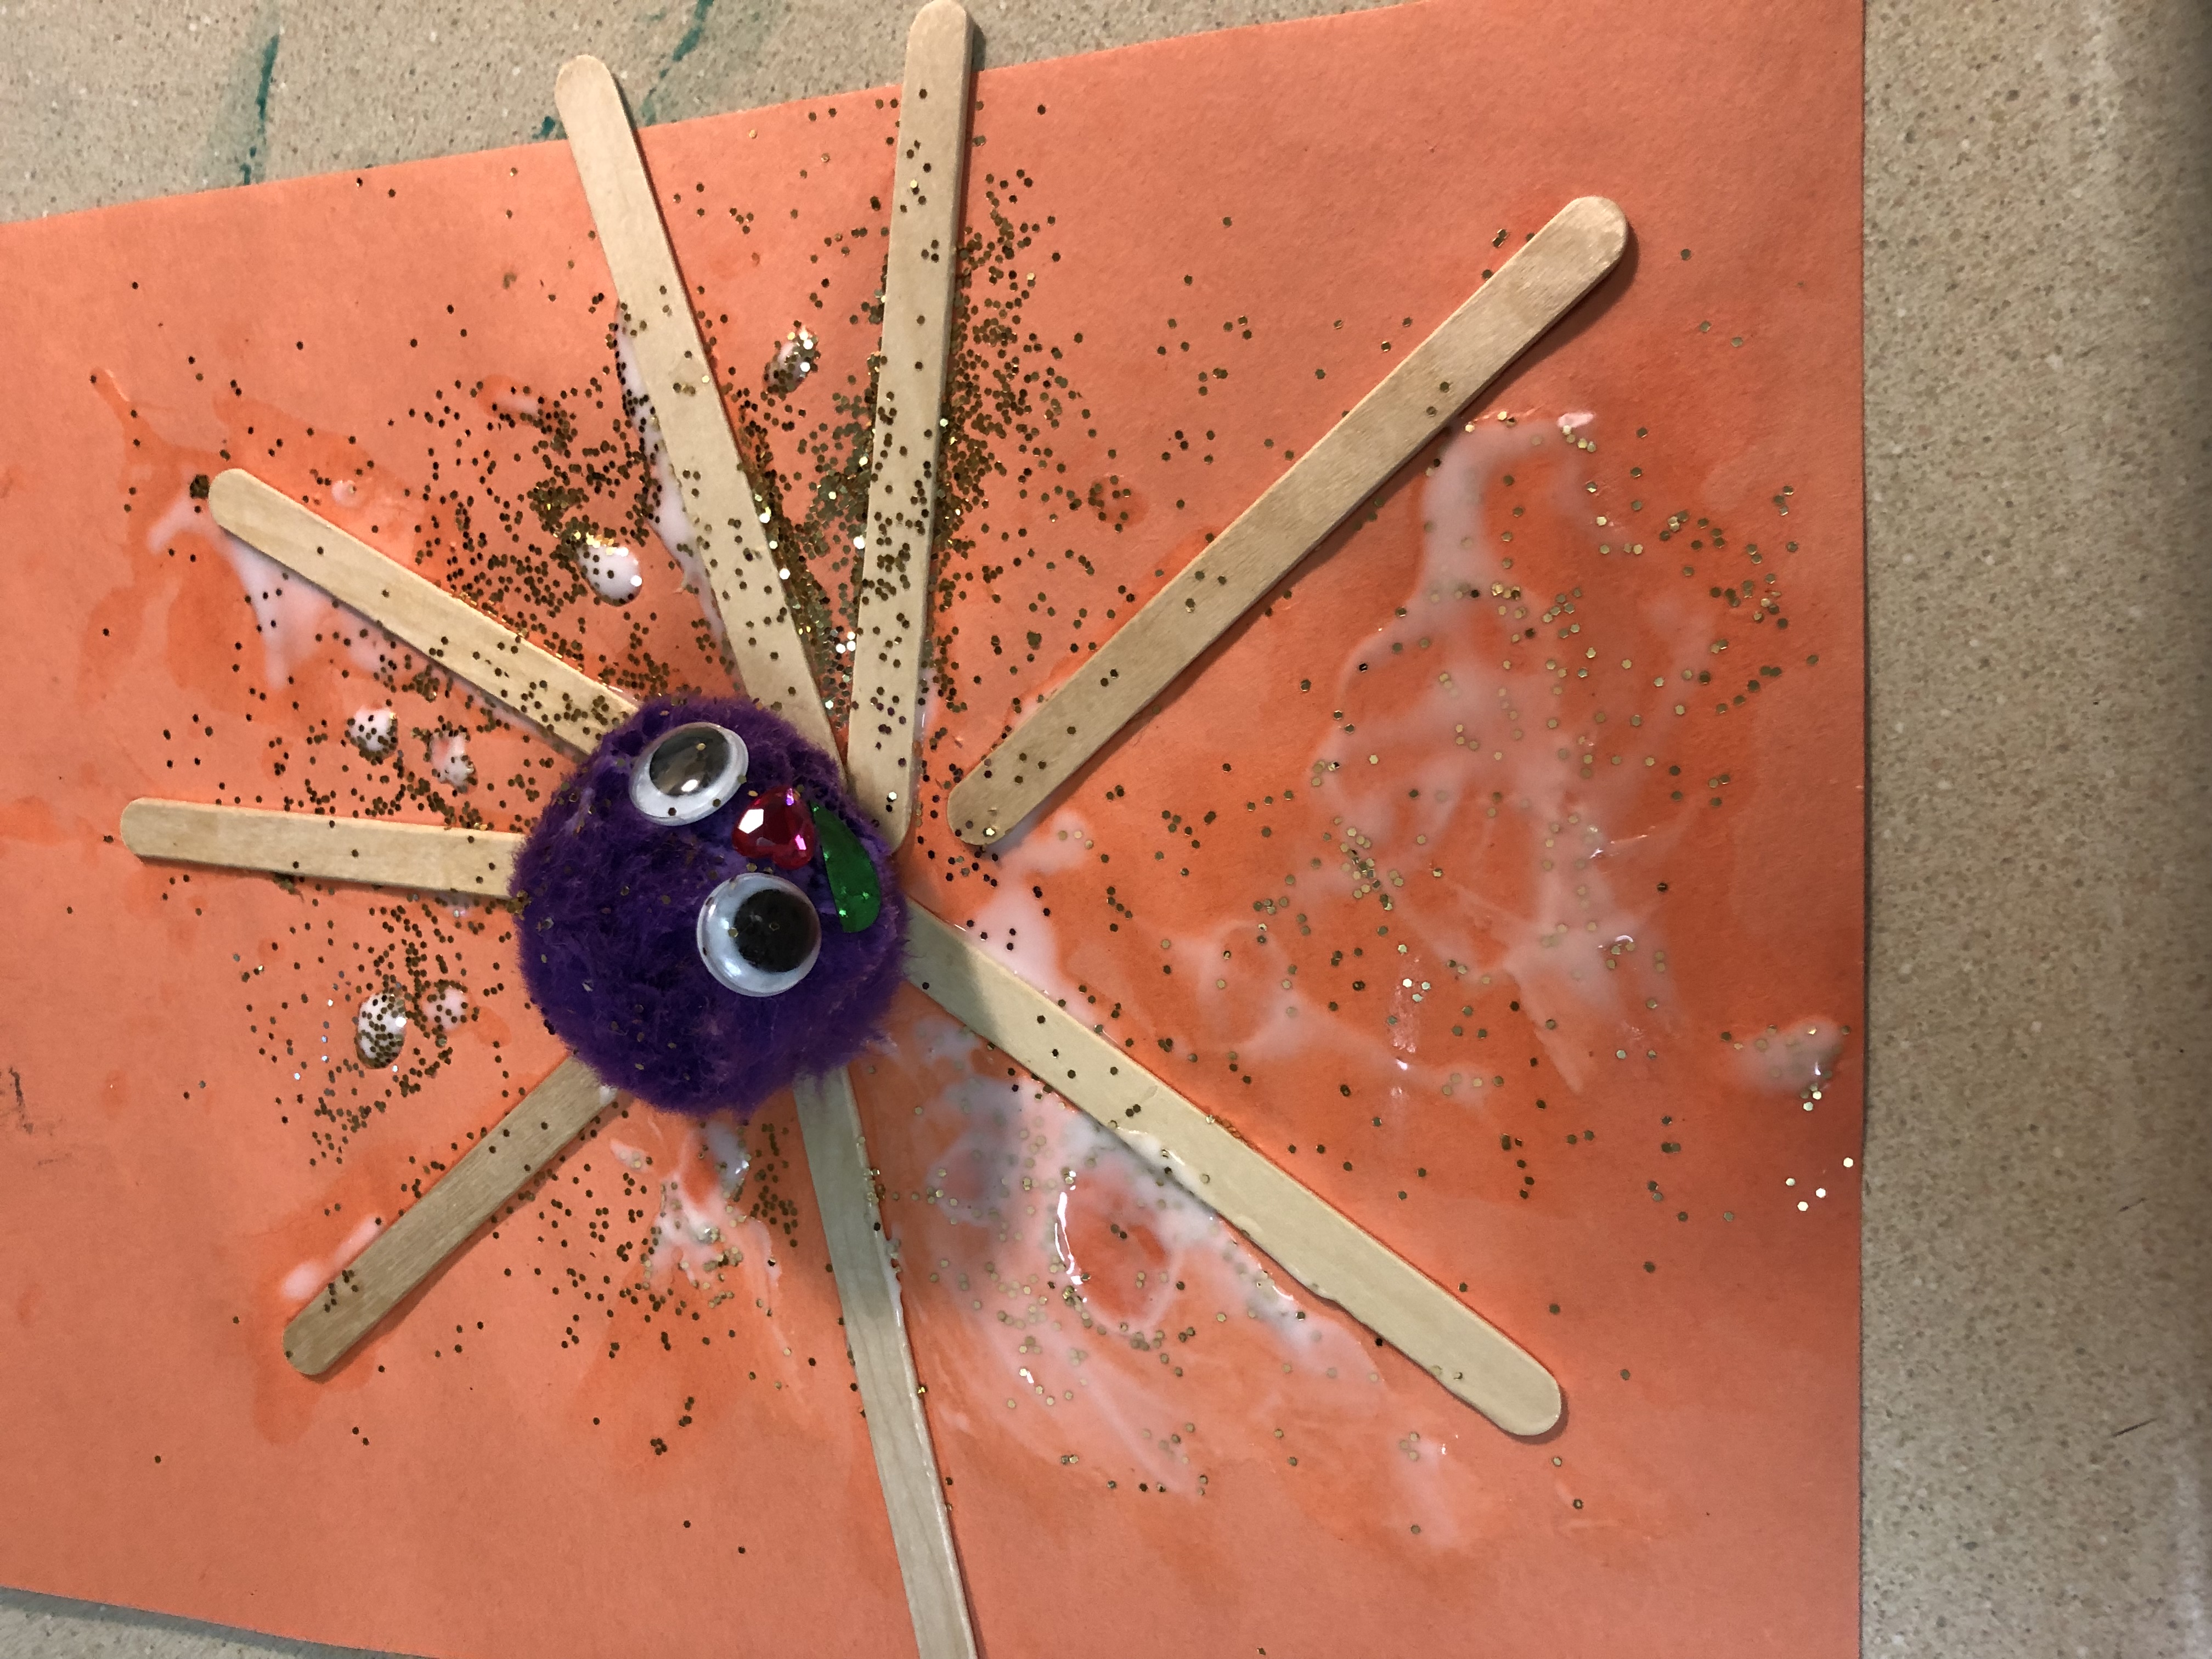
I asked Rosebud what she wanted to make one afternoon and she really wanted to make a spider. When I asked her how she wanted to make it, she said she wasn’t sure, so I looked through my craft basket. We started off by gluing craft sticks for legs, adding a pompom for the body and then adding the eyes. Then she wanted to add a mouth and nose. To top it off, she wanted to add glitter and there is our Halloween spider. Not scary, but definitely a Rosebud creation.
Haunted House
Supplies
- Craft sticks,
- Construction paper,
- Halloween foam stickers,
- Jewels,
- Glitter,
- Glue.
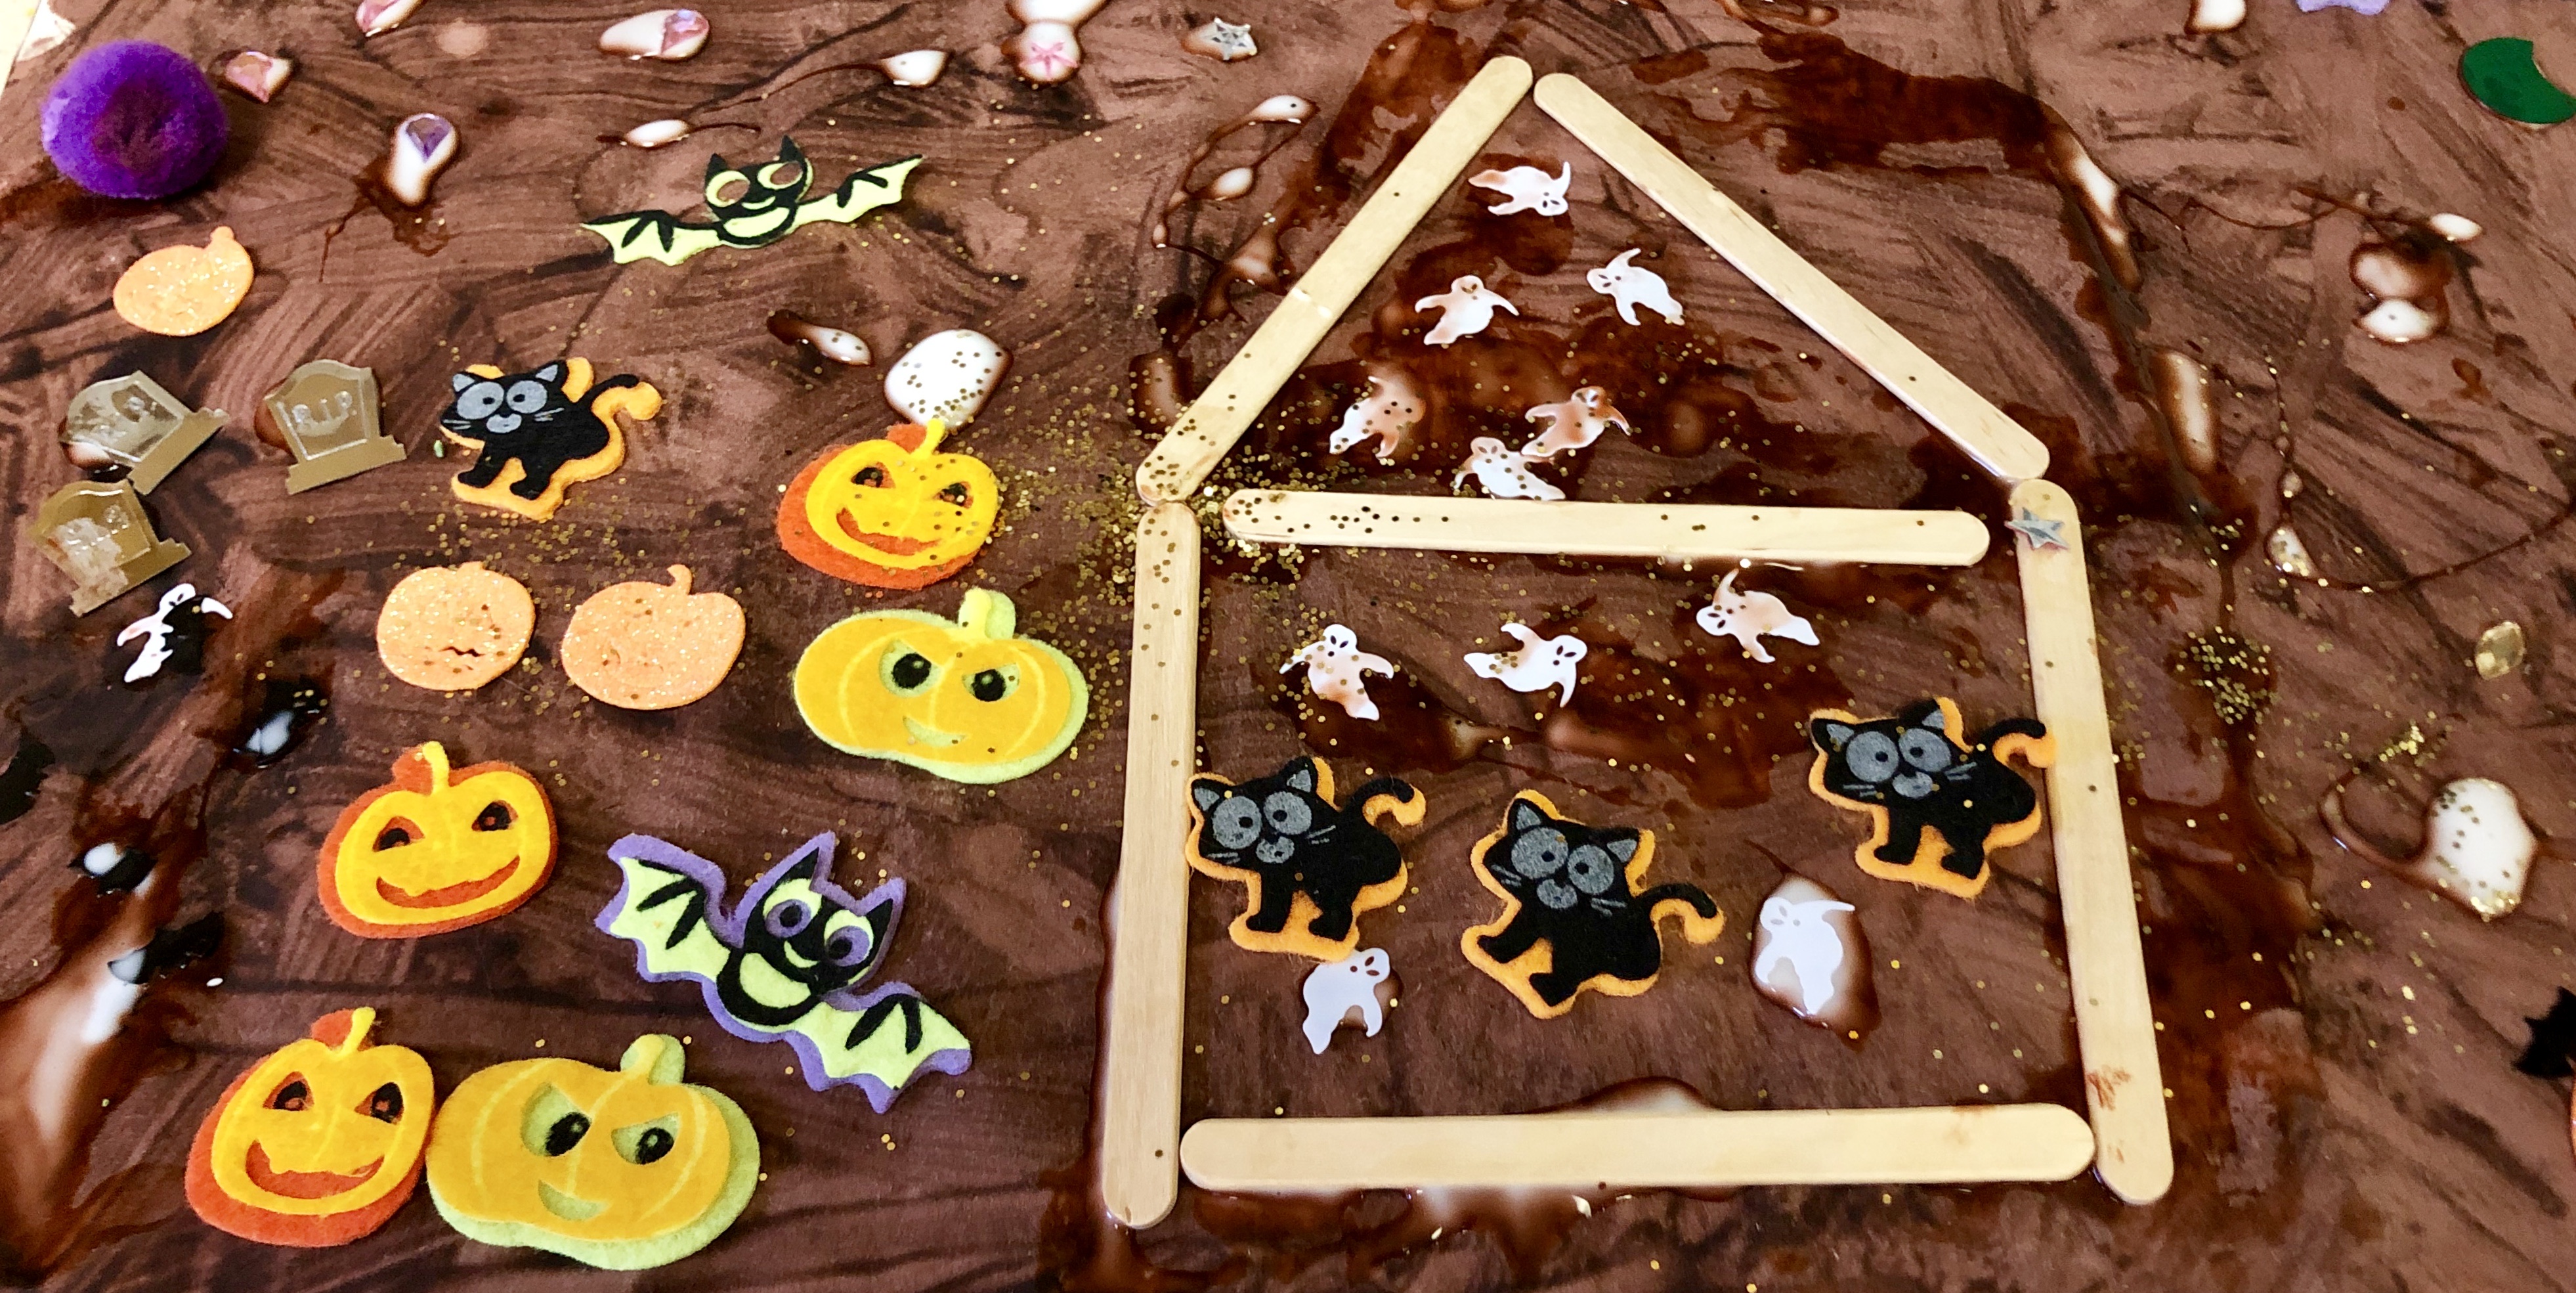
I found a bunch of Halloween stickers at the dollar store and thought they’d be great for a collage. I got the idea to do a haunted house, so we did a 2d version with craft sticks. This project is great for fine motor skills because not only are they gluing and arranging items, but pealing stickers as well. Plus halloween is right around the corner. We started this project by painting a big piece of white paper all black for the night sky. At Rosebud’s haunted house, there is a pumpkin patch, a graveyard, the bat cave and the night sky with half moons and stars. Not to mention all the black cats and ghosts in and around the actual house. We had fun with this one.
Here are some supplies for your convenience.
What crafts are you doing this fall? Tell me in the comments.


 What I used:
 Math
Math 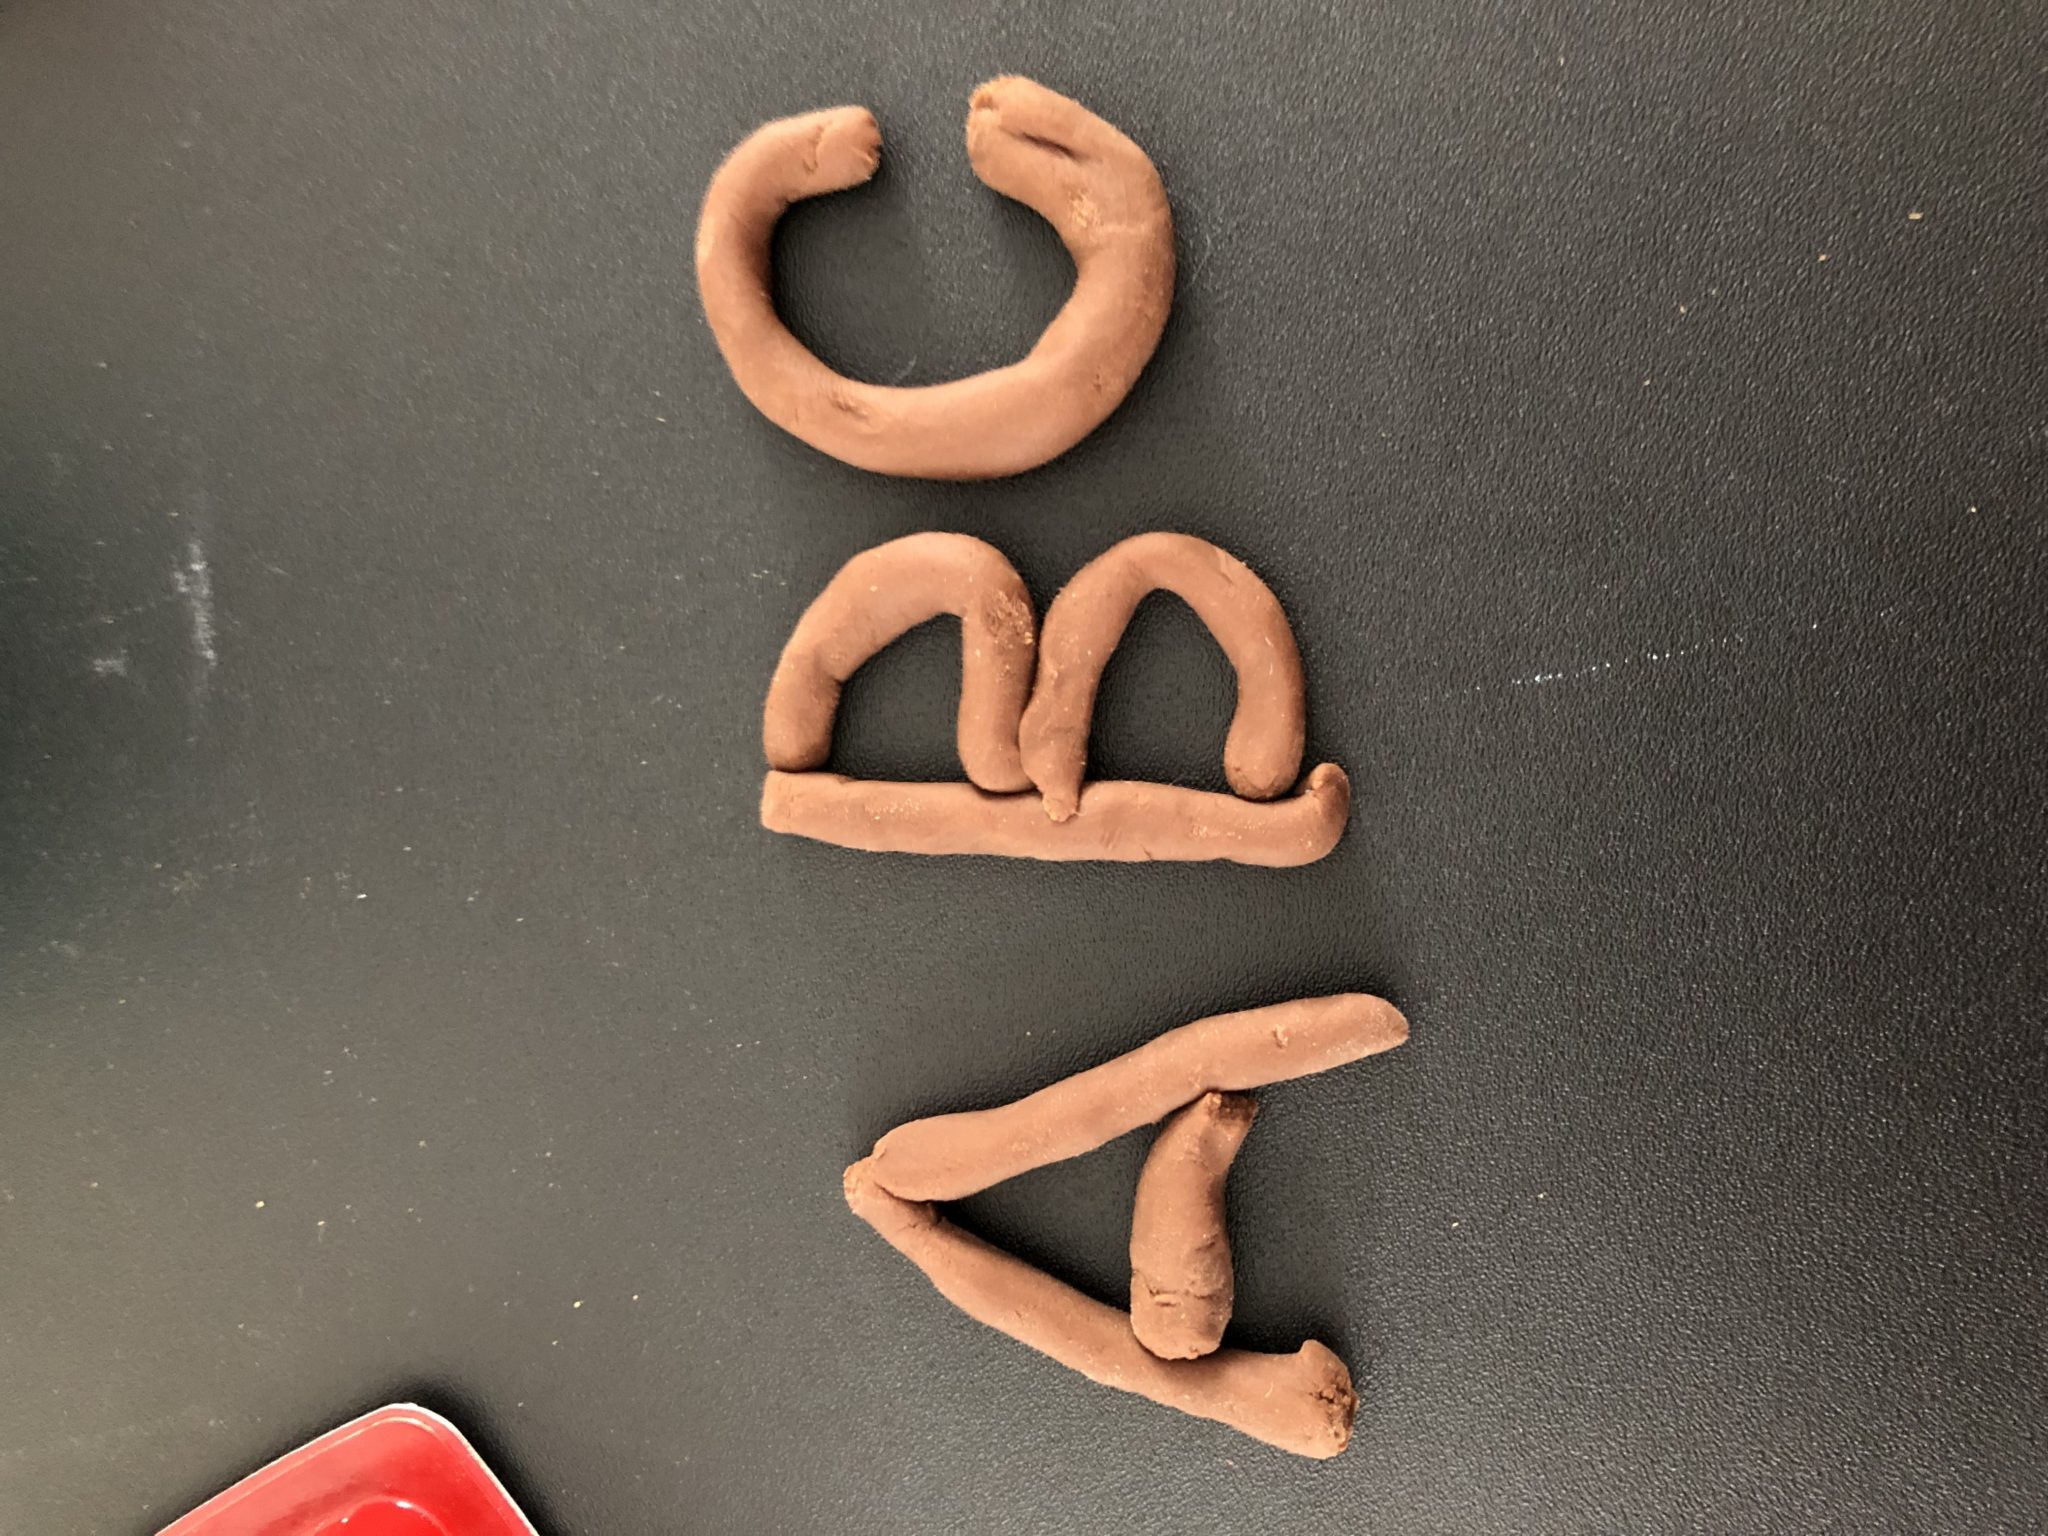 Literacy
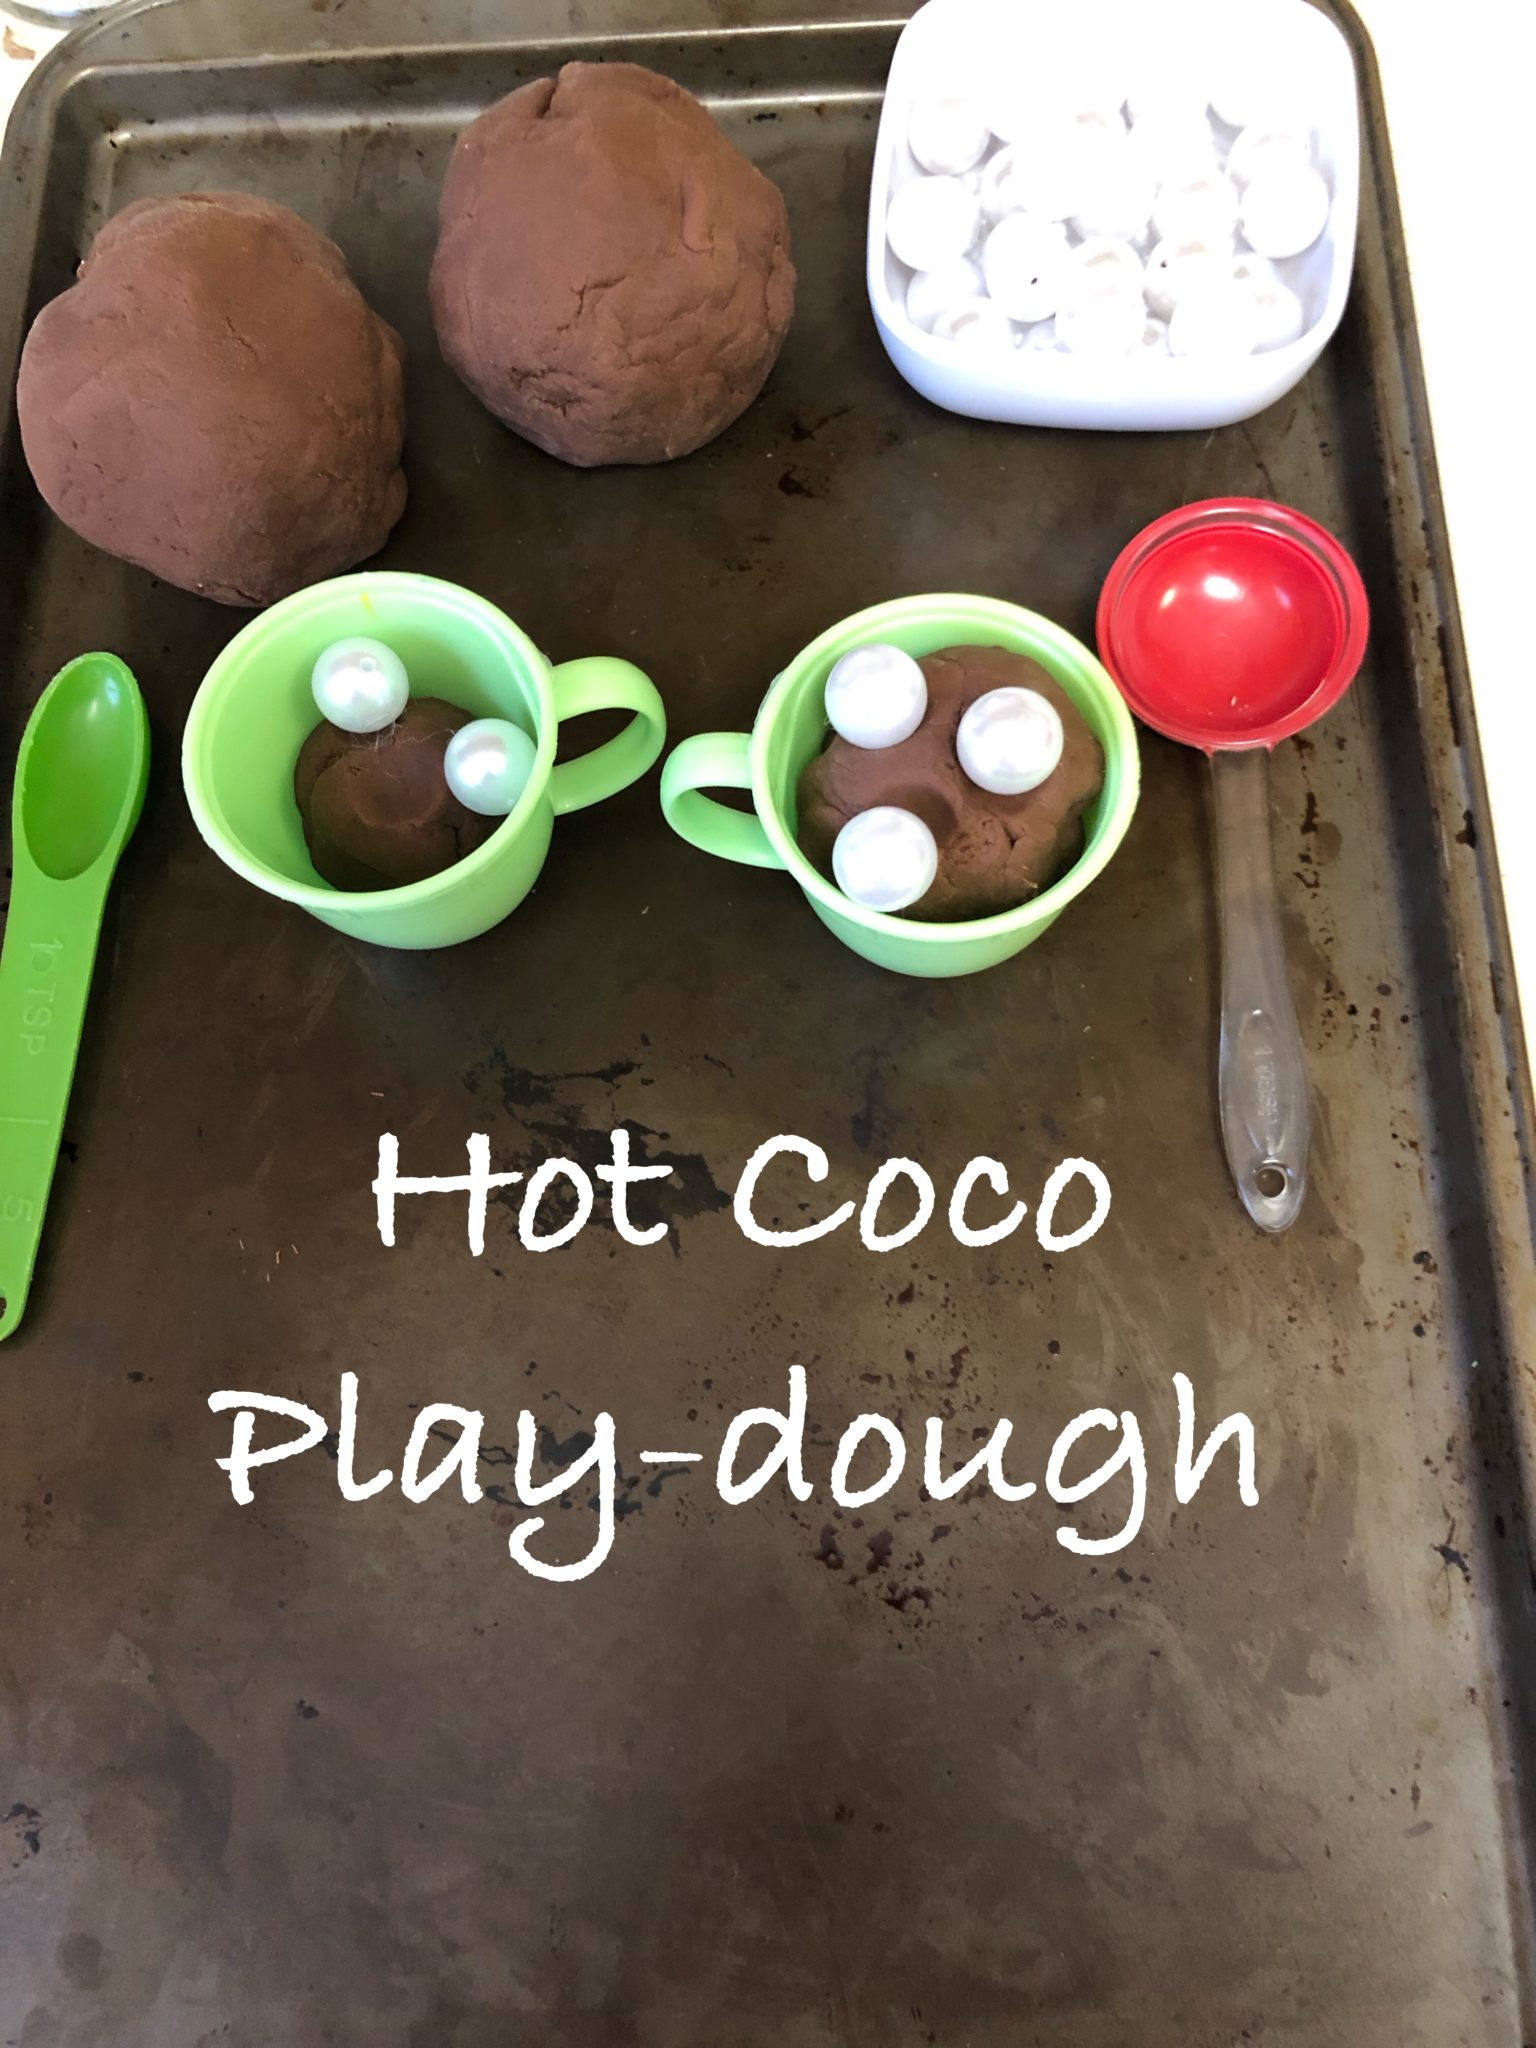

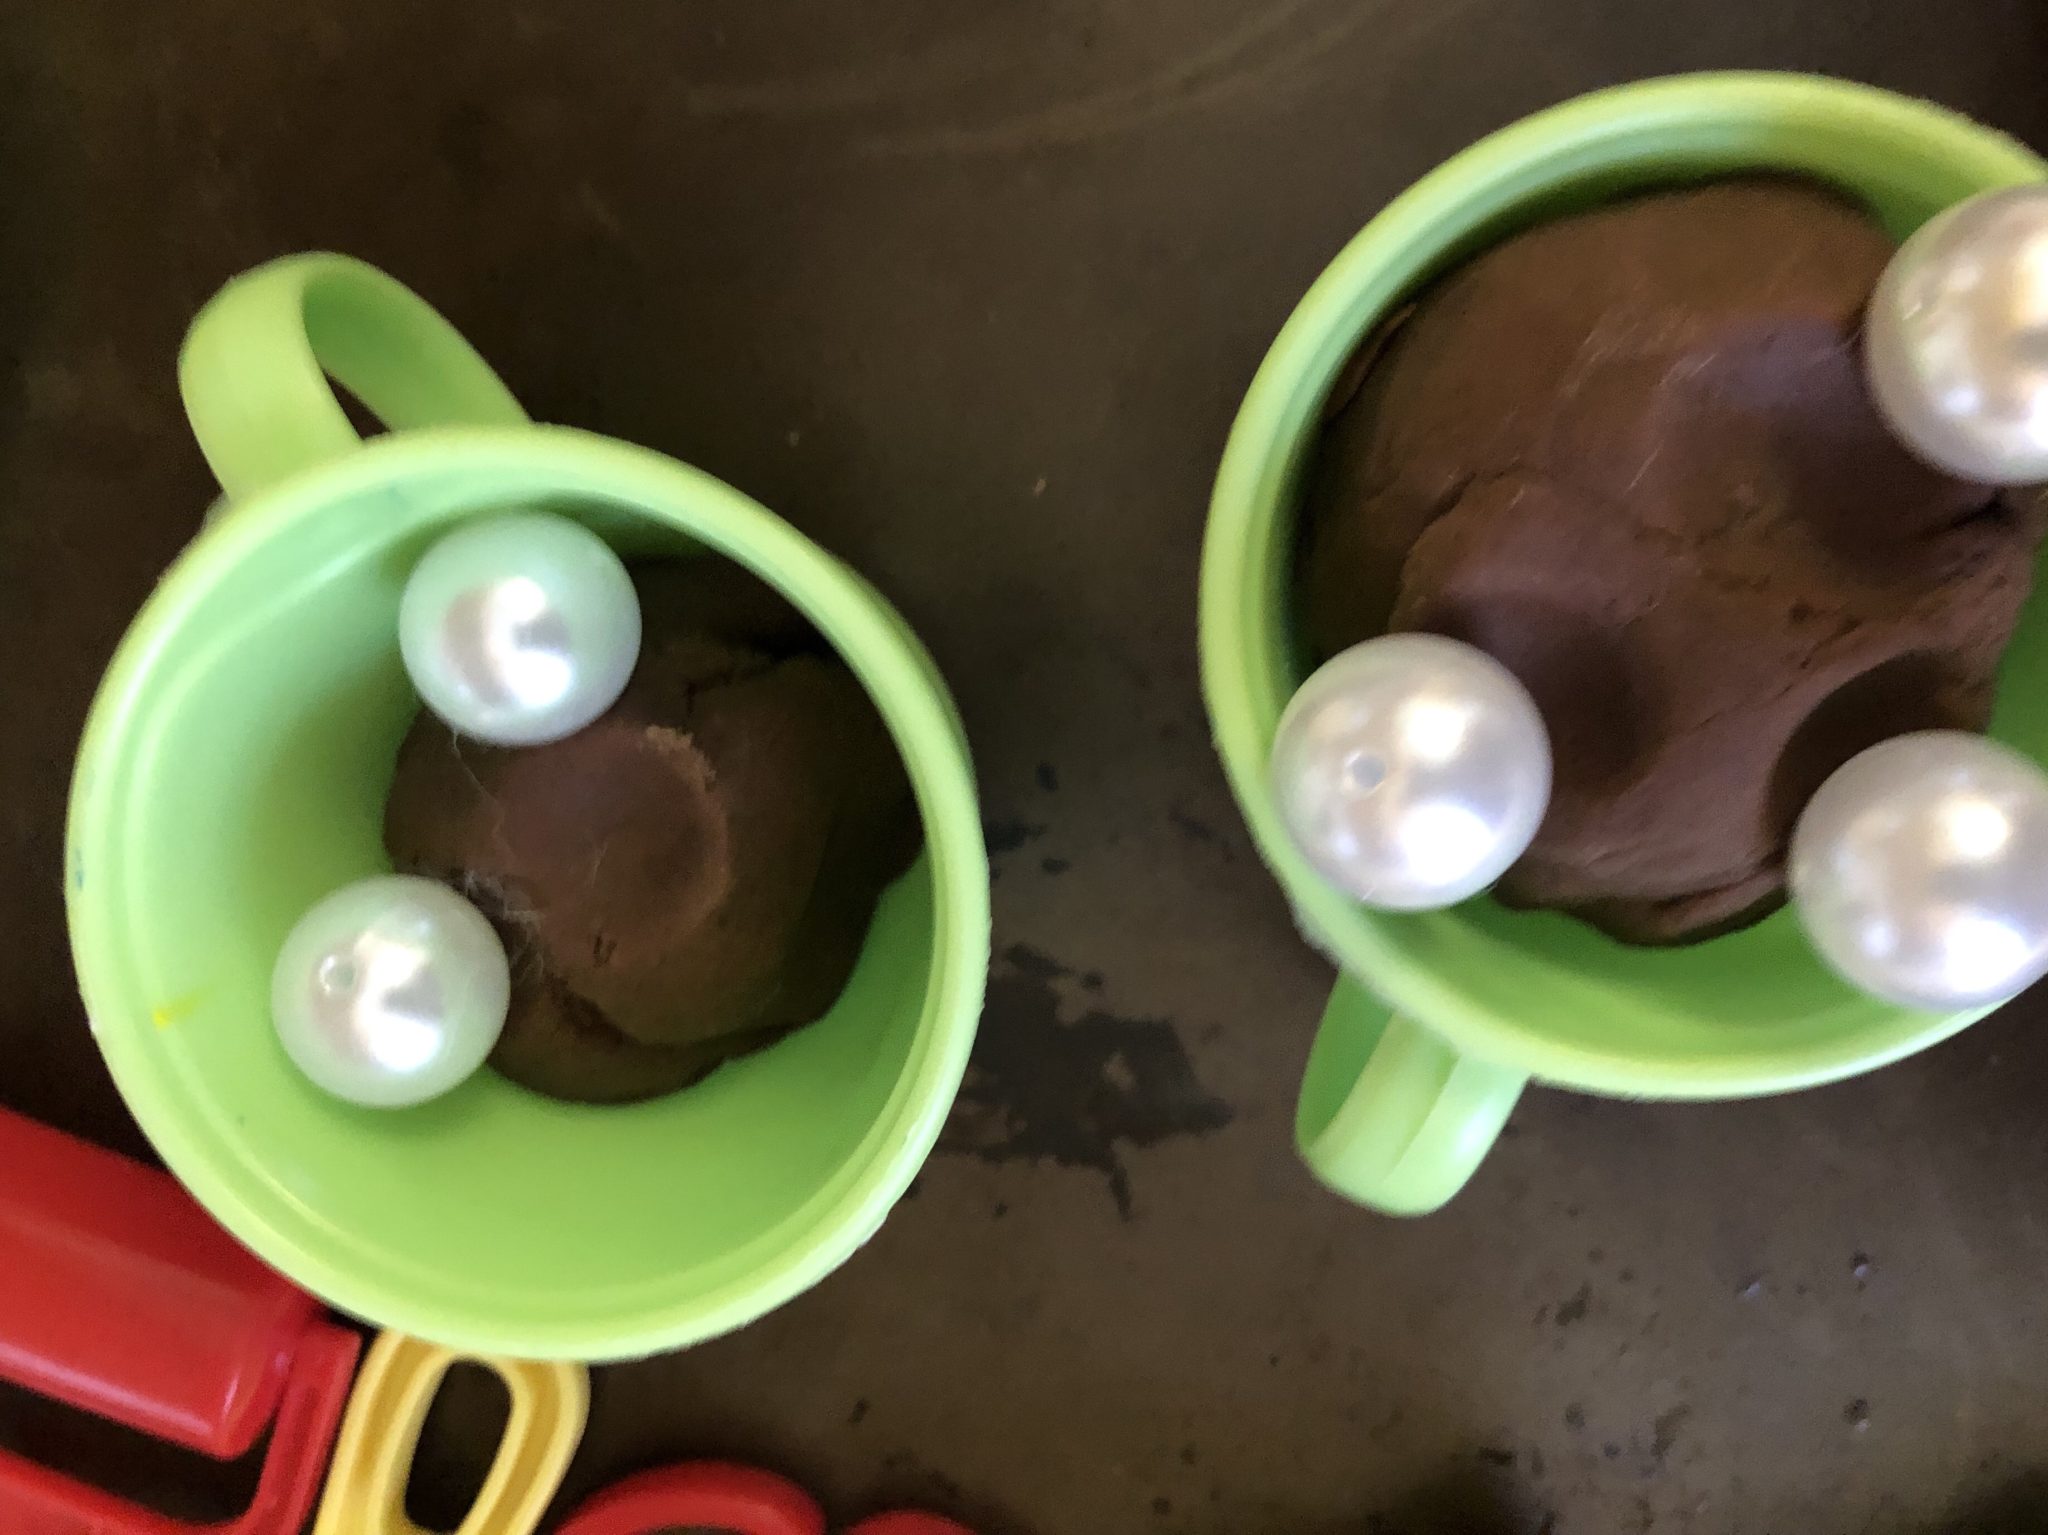
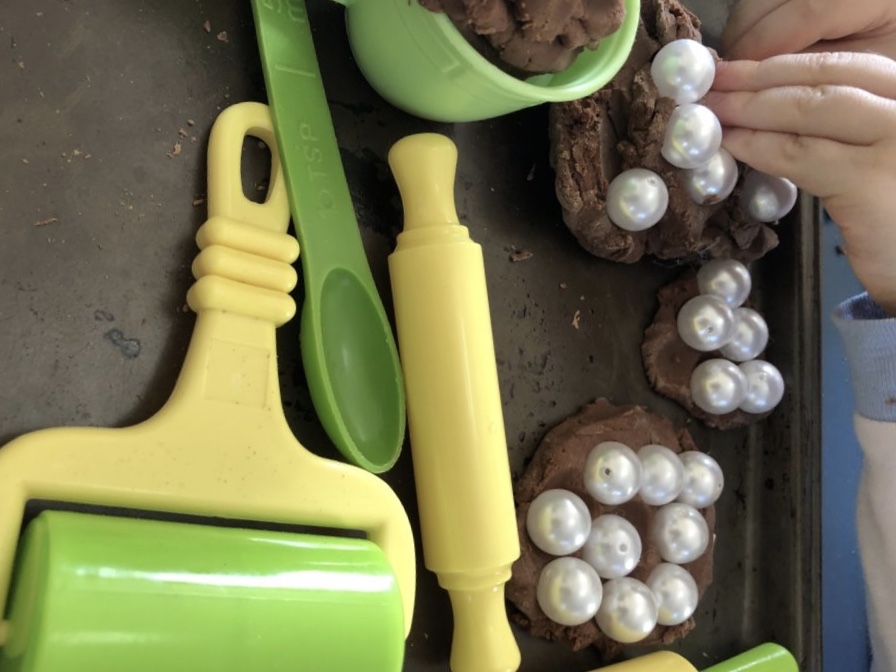
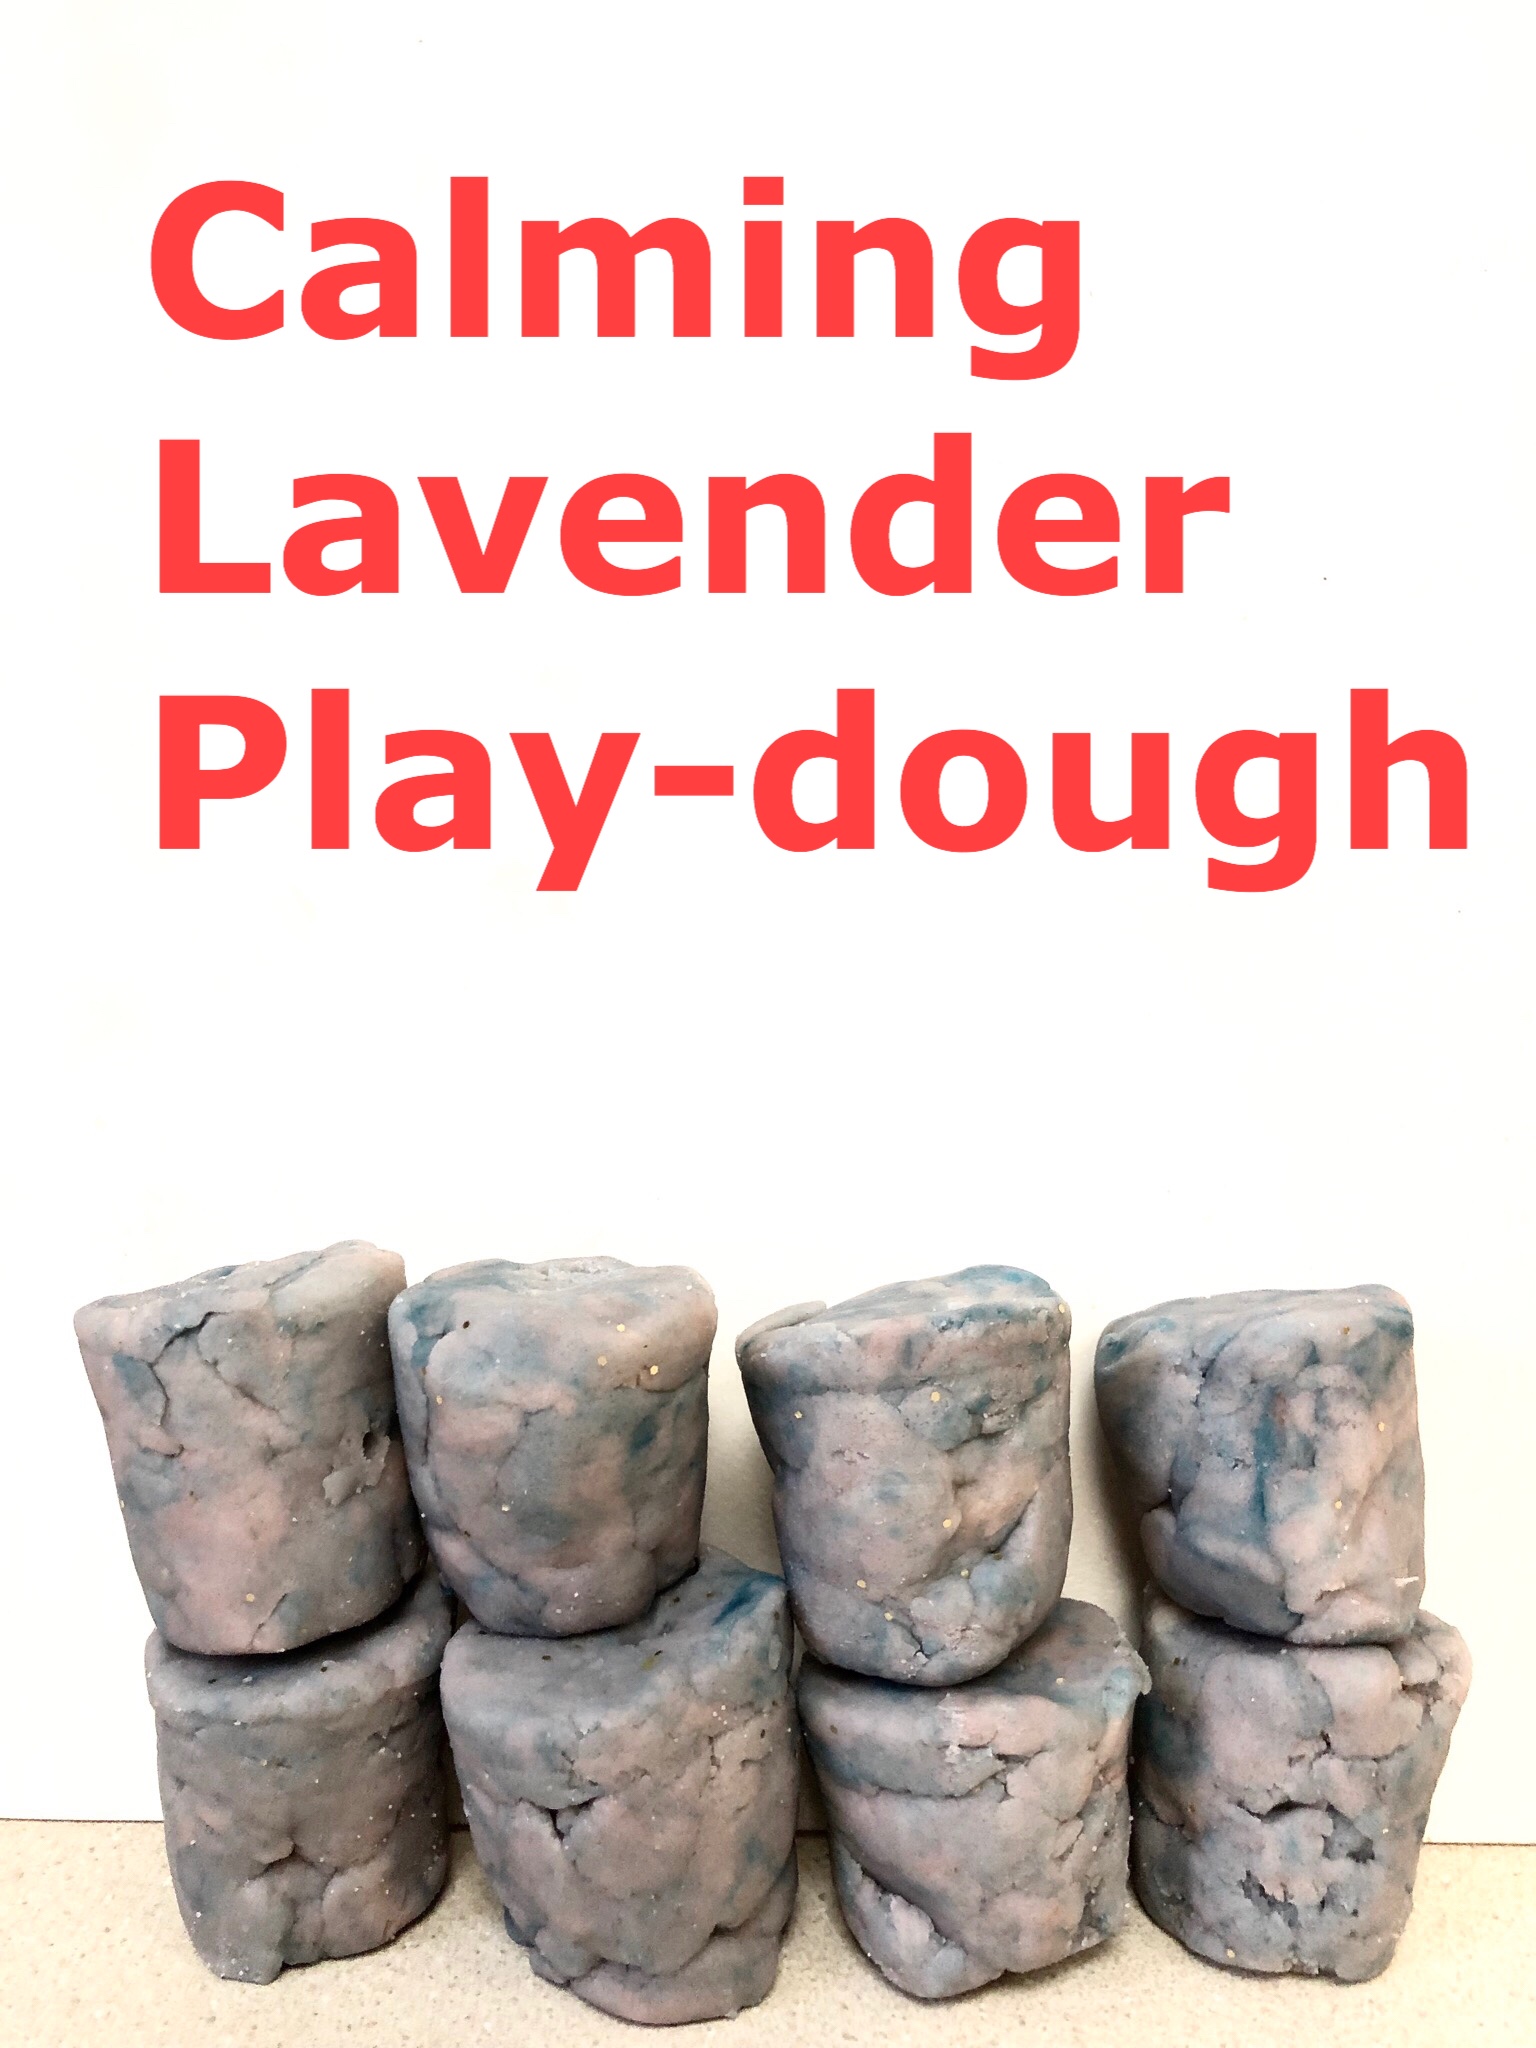
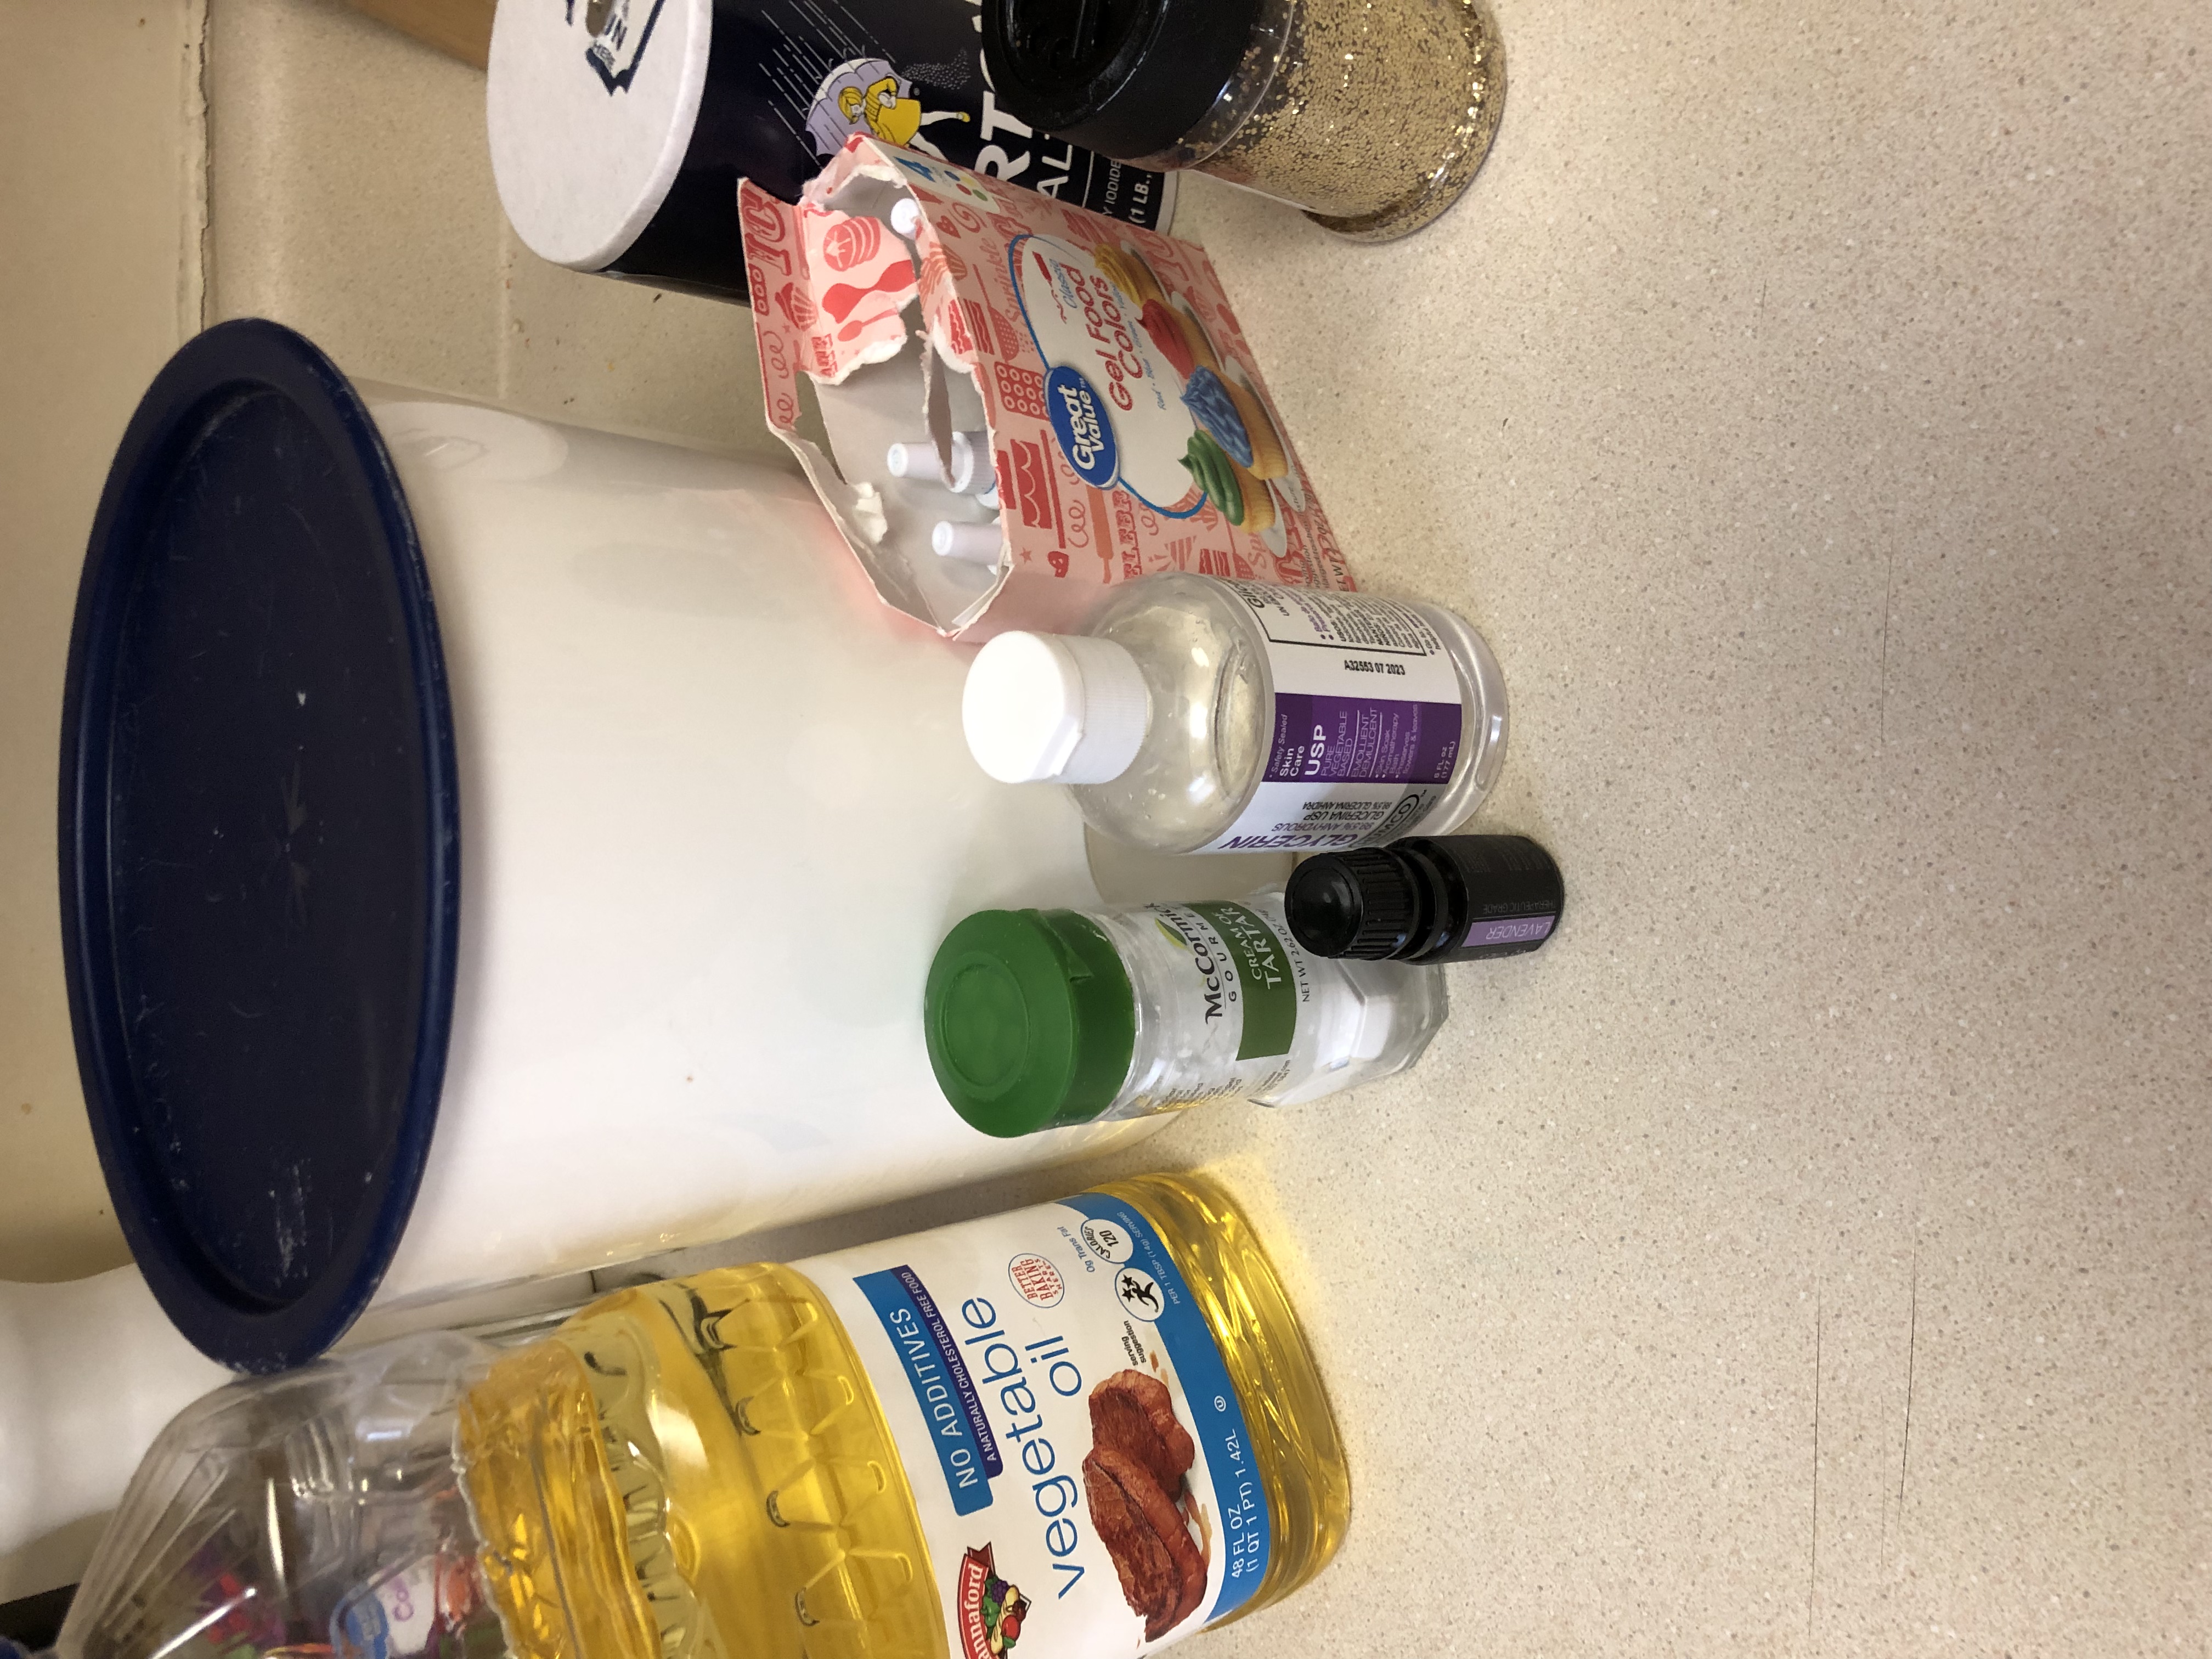
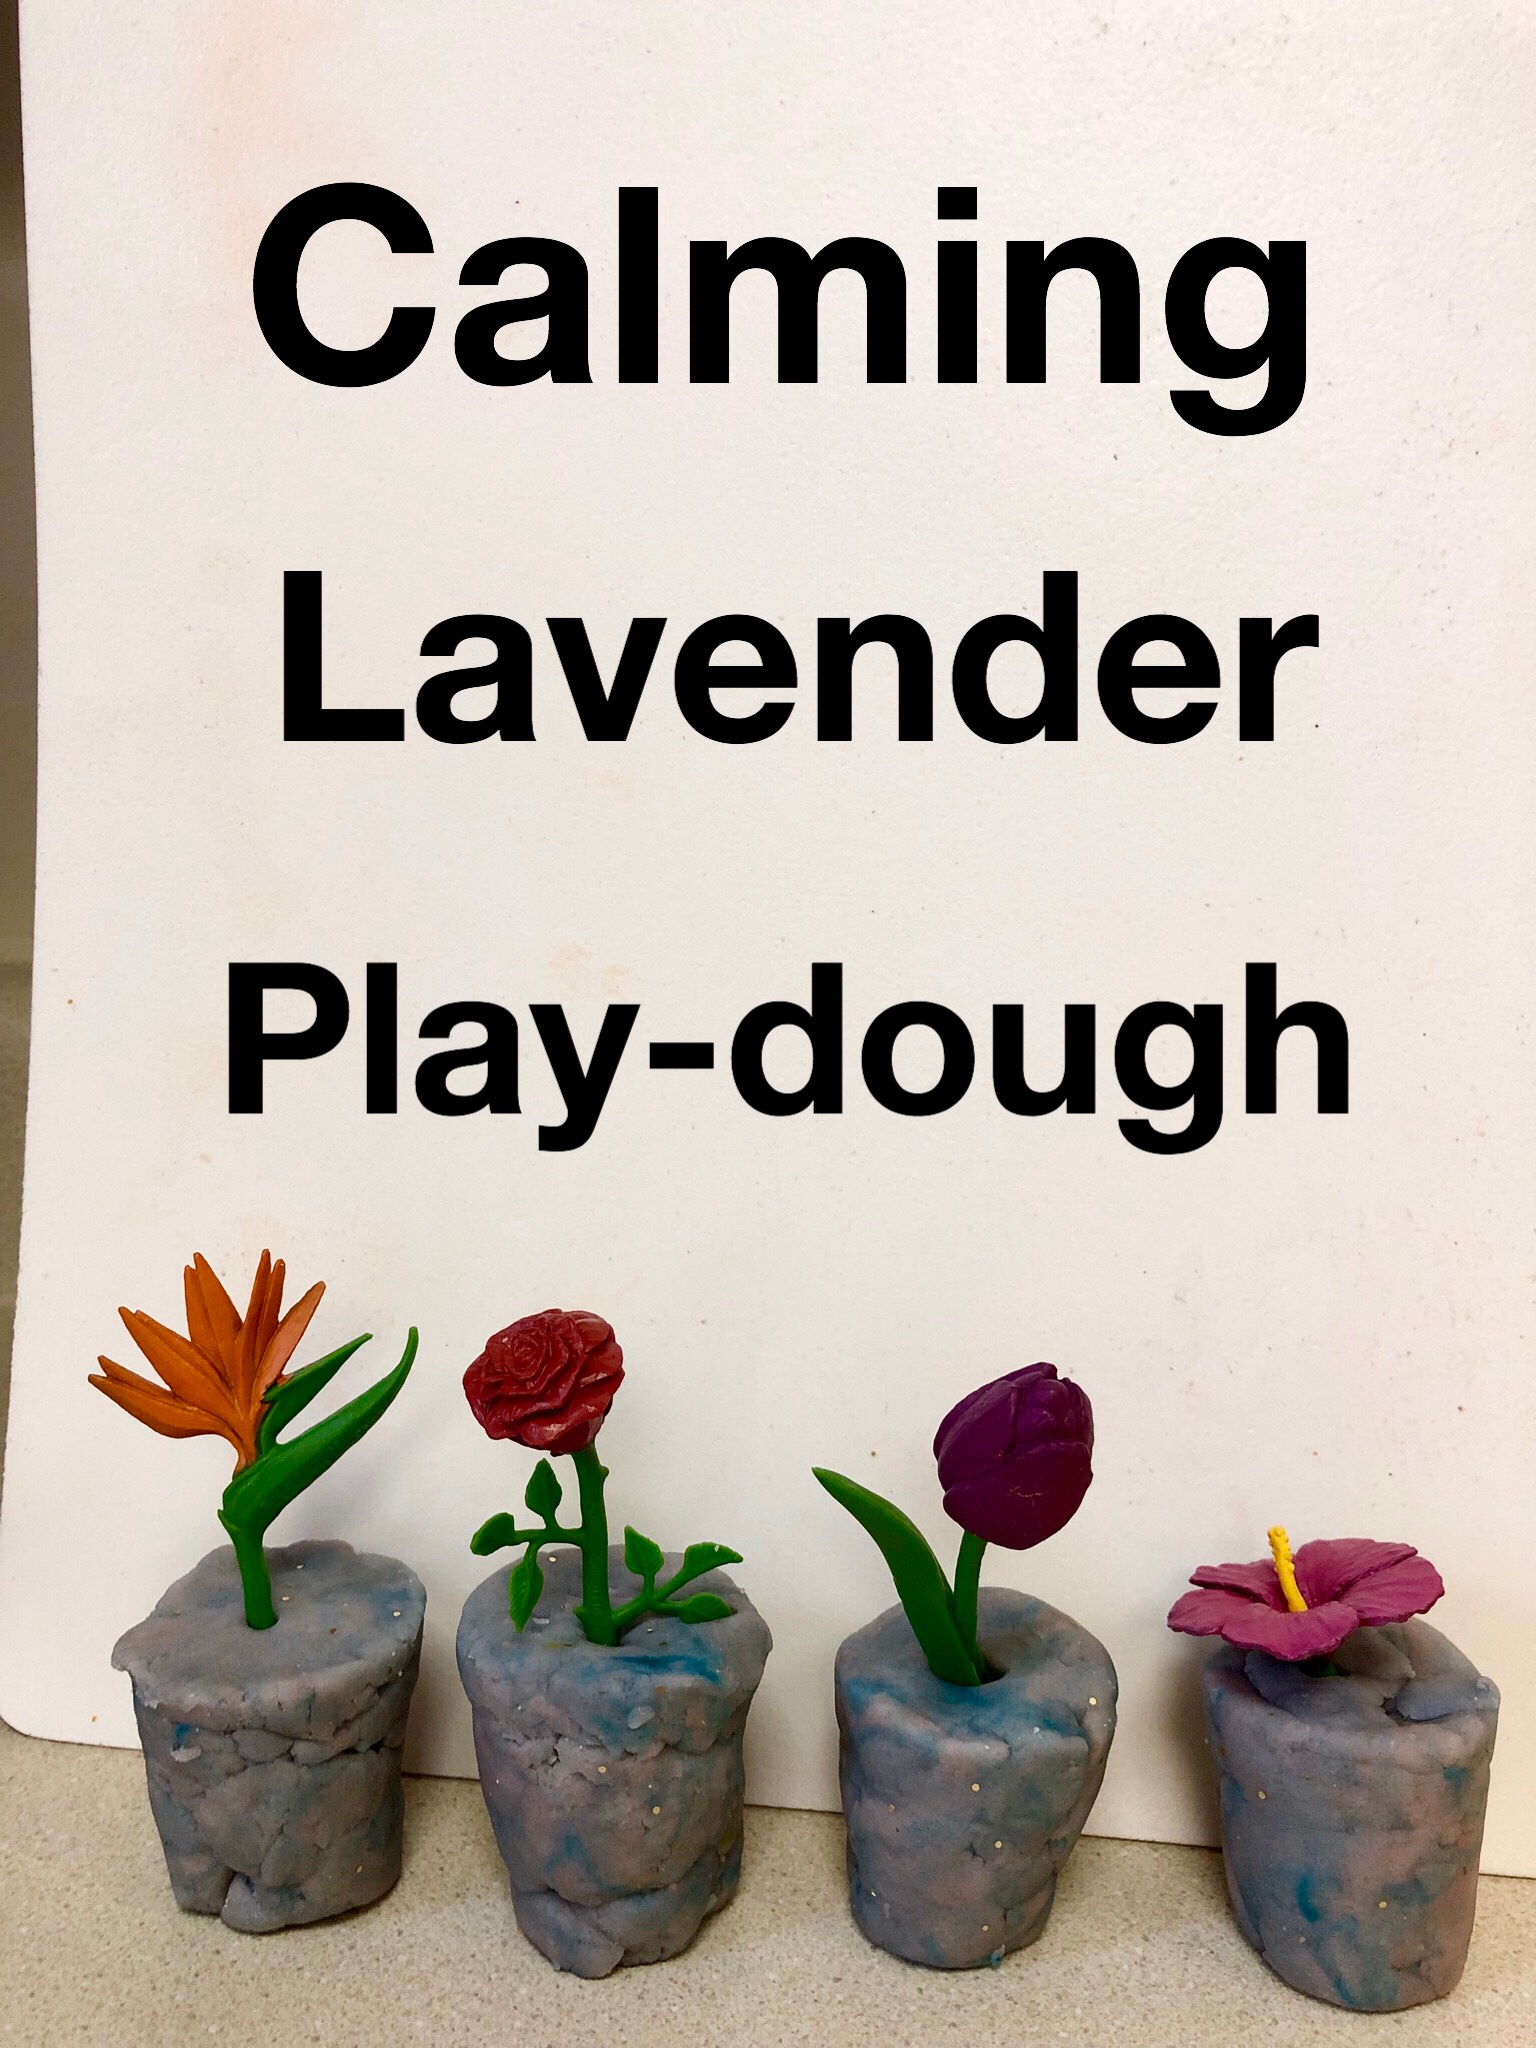
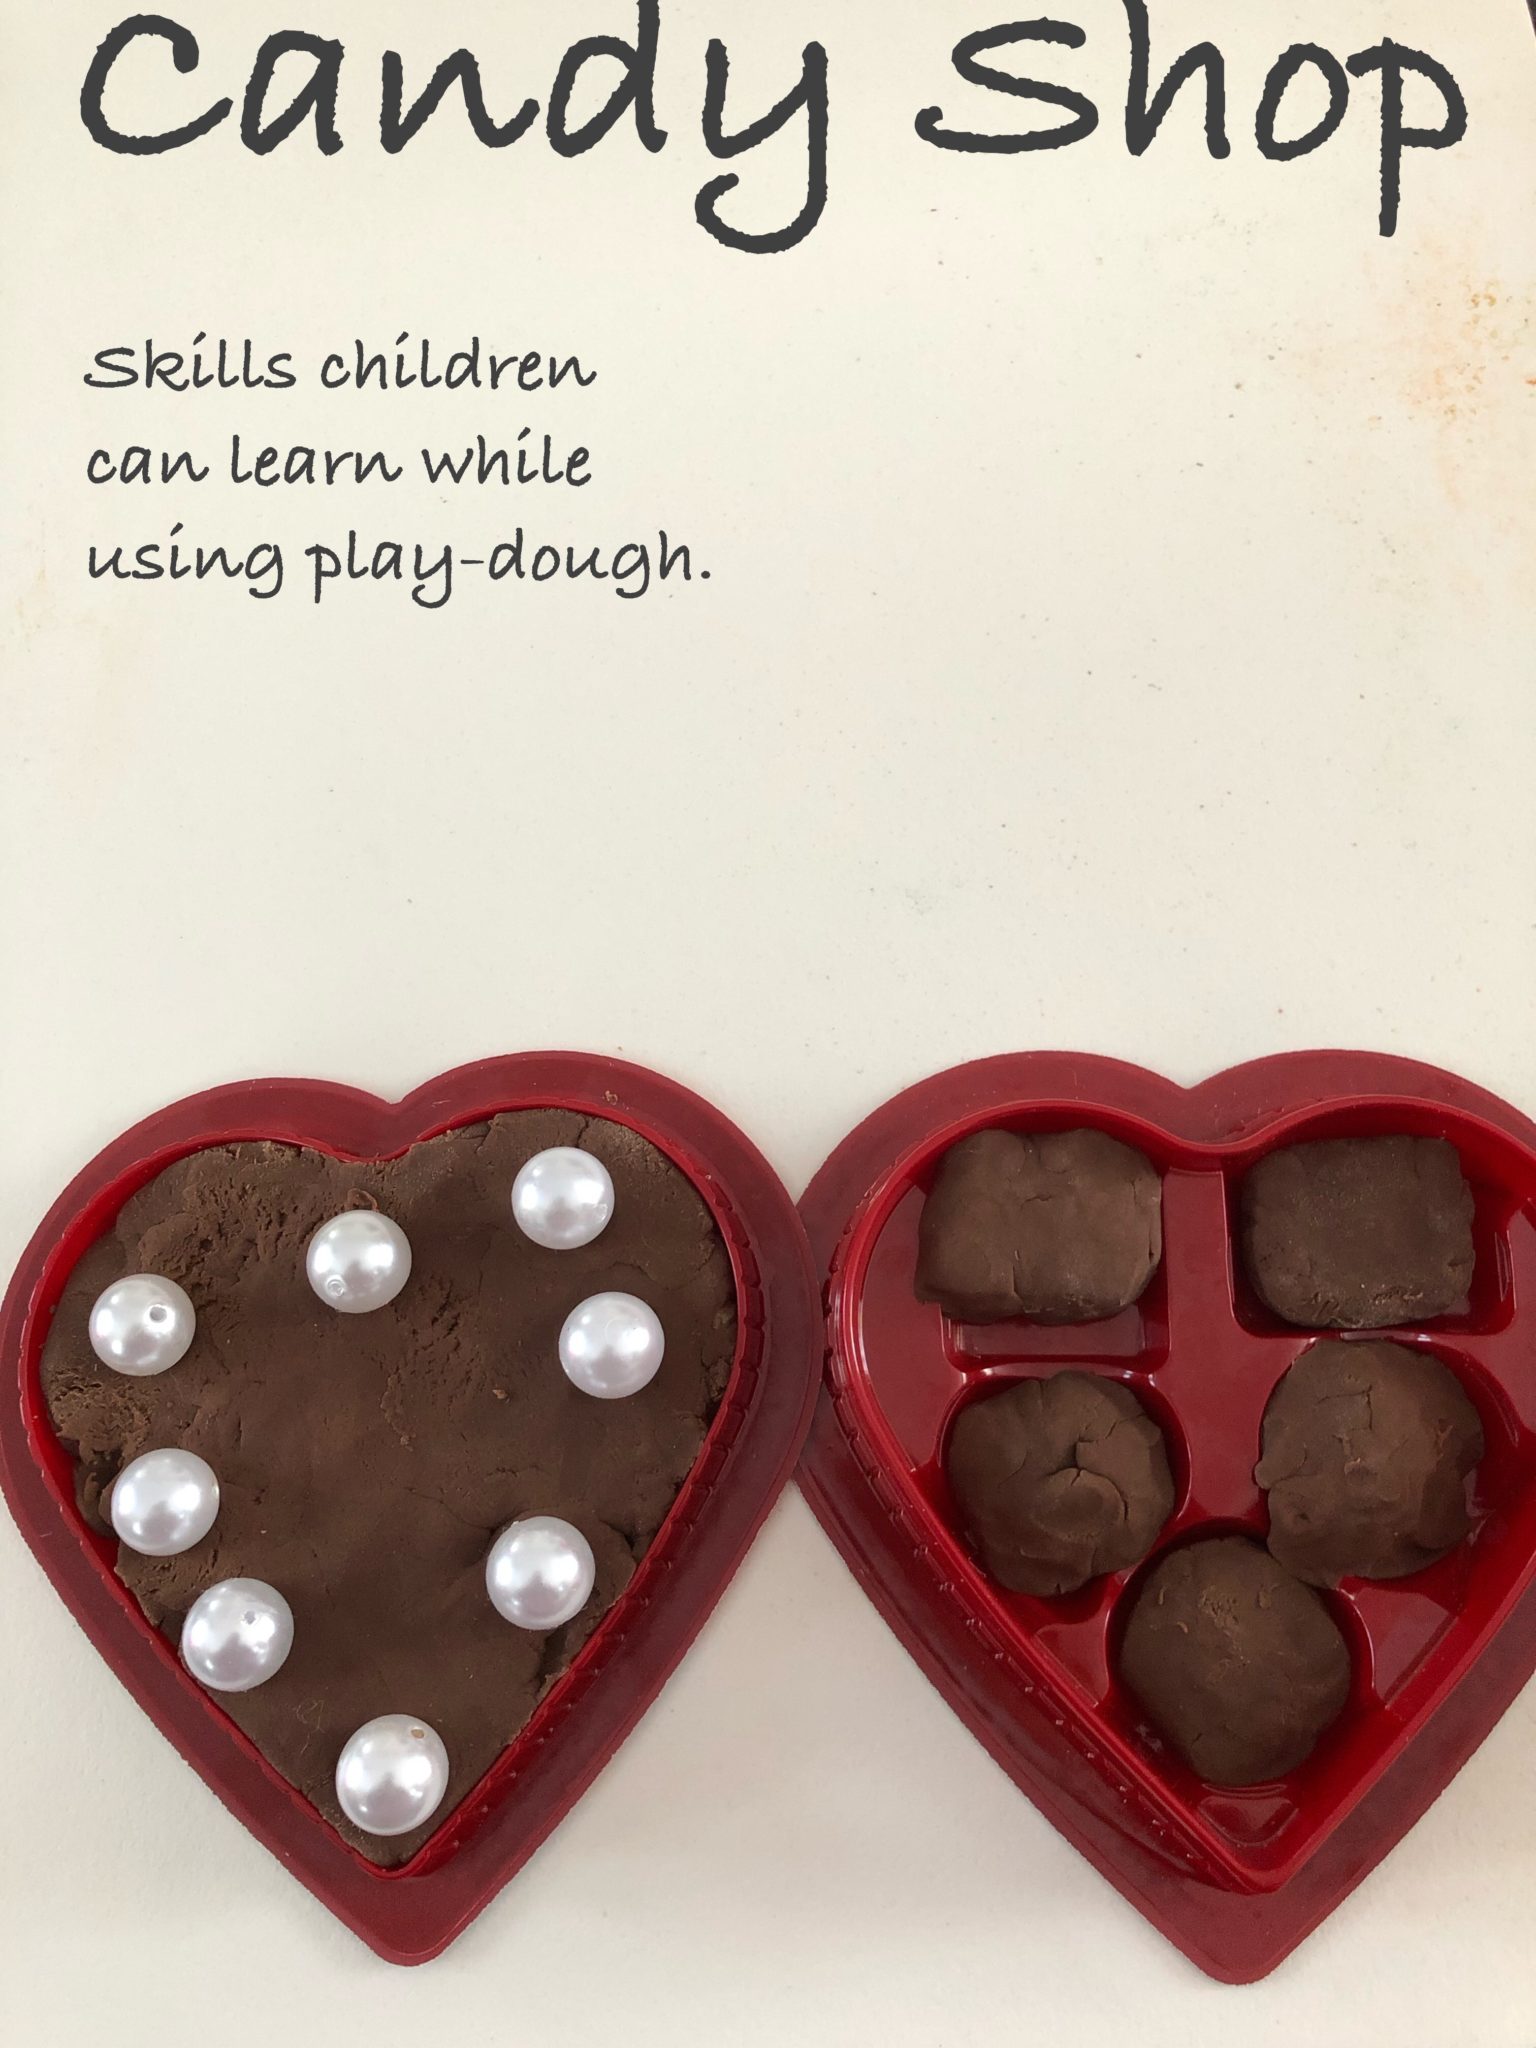
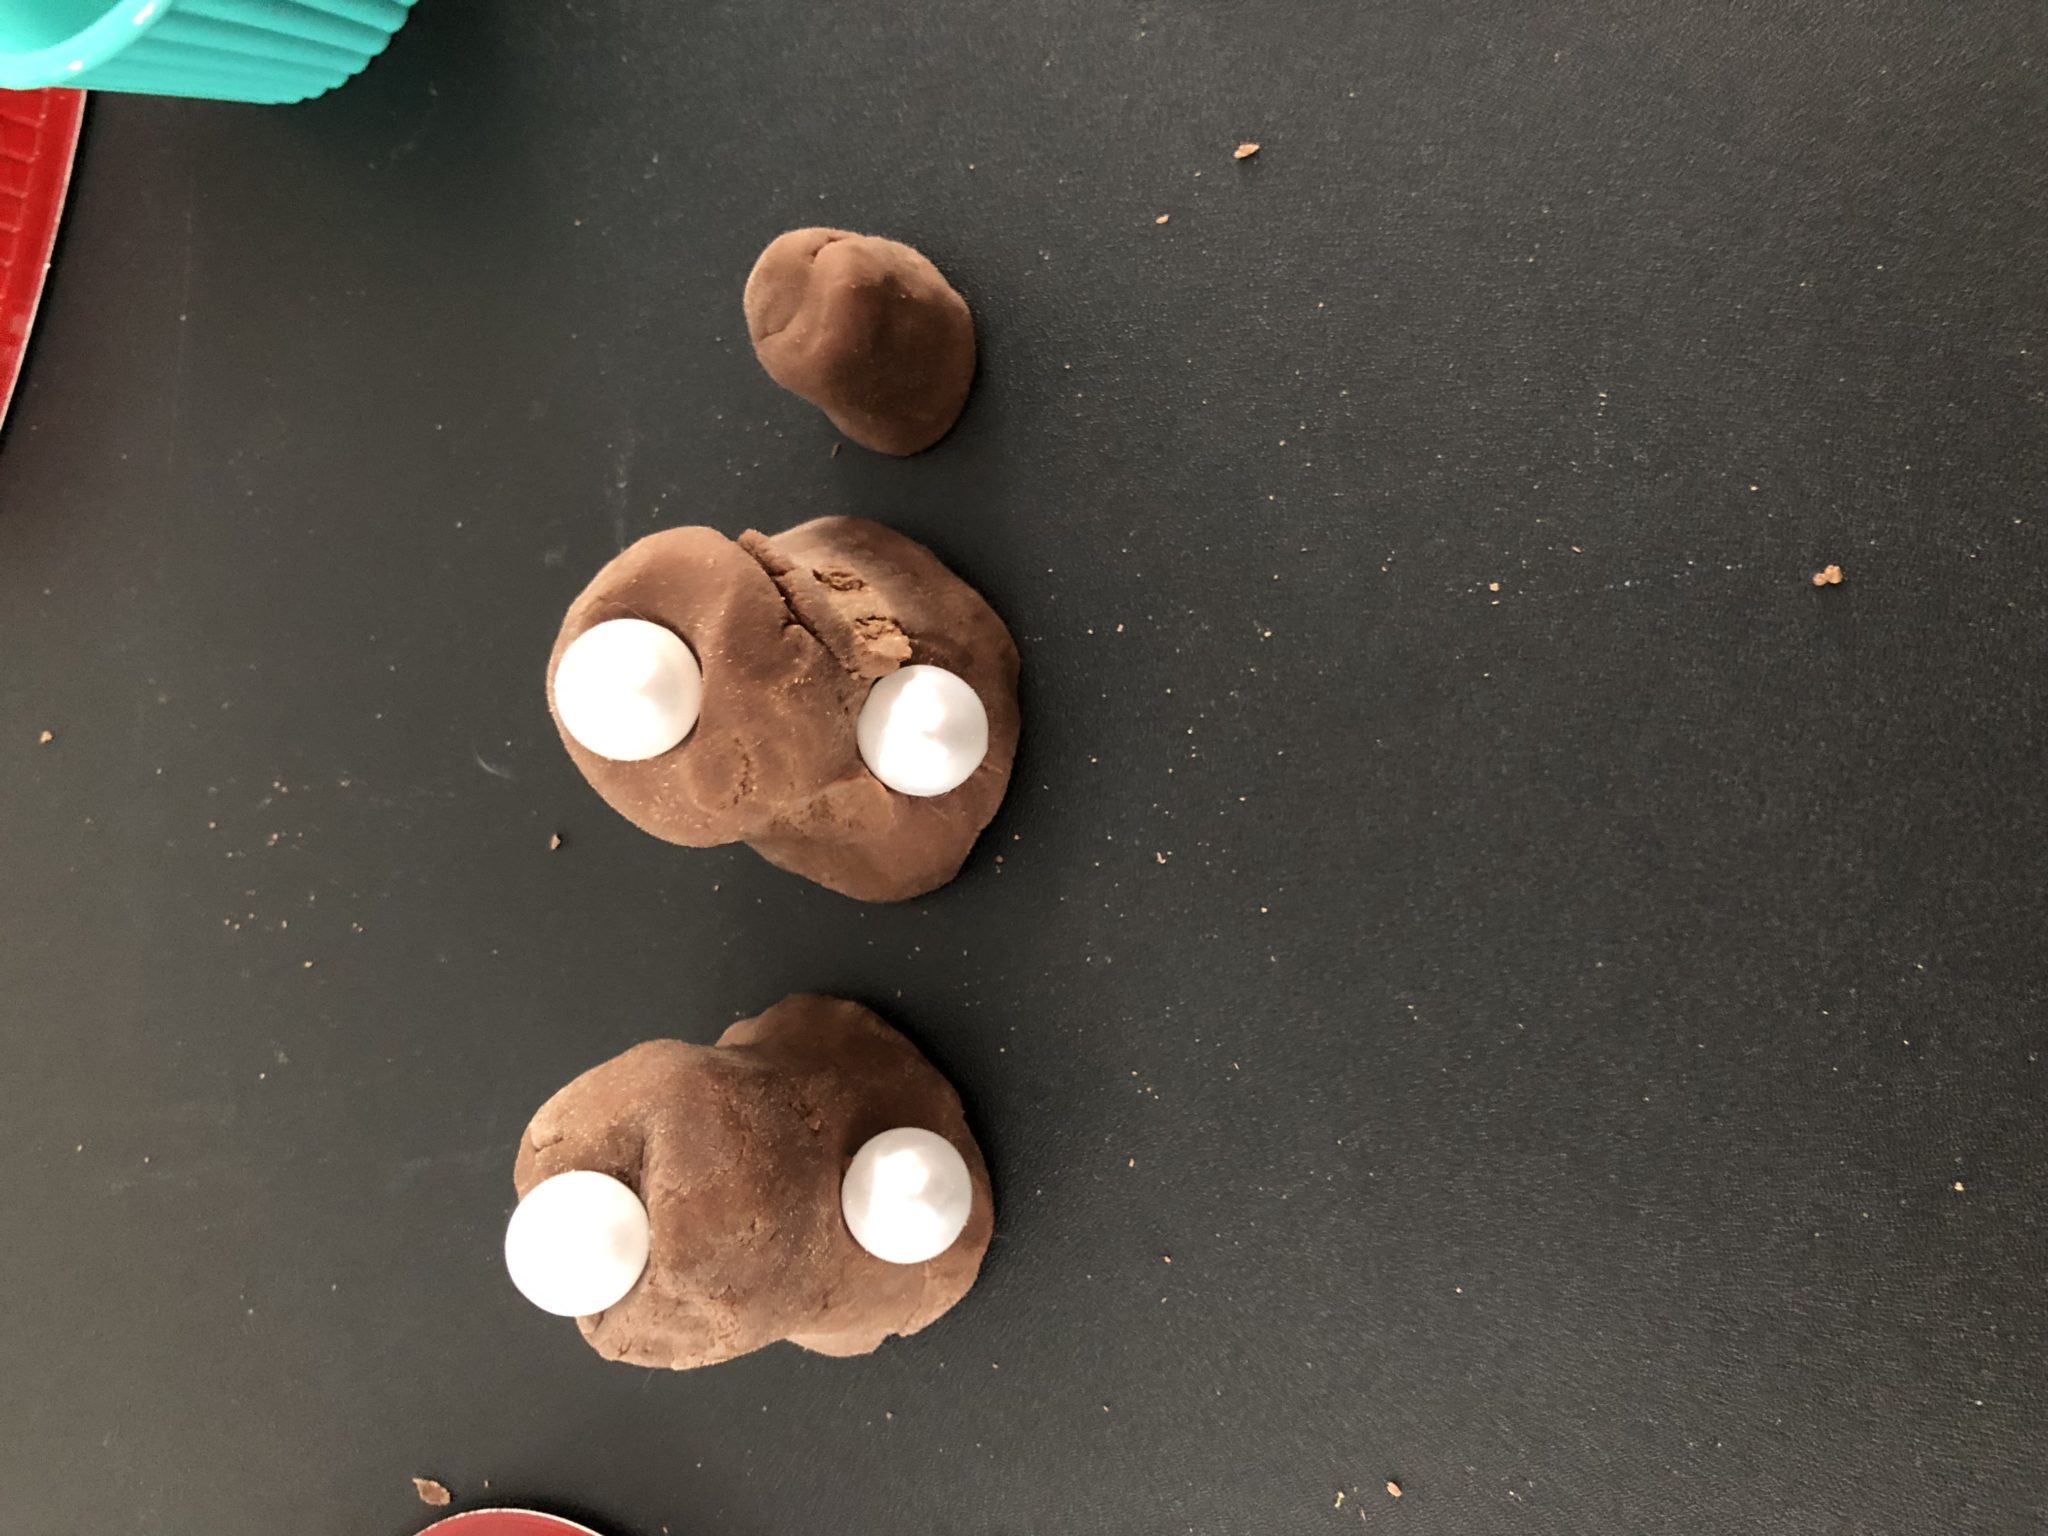
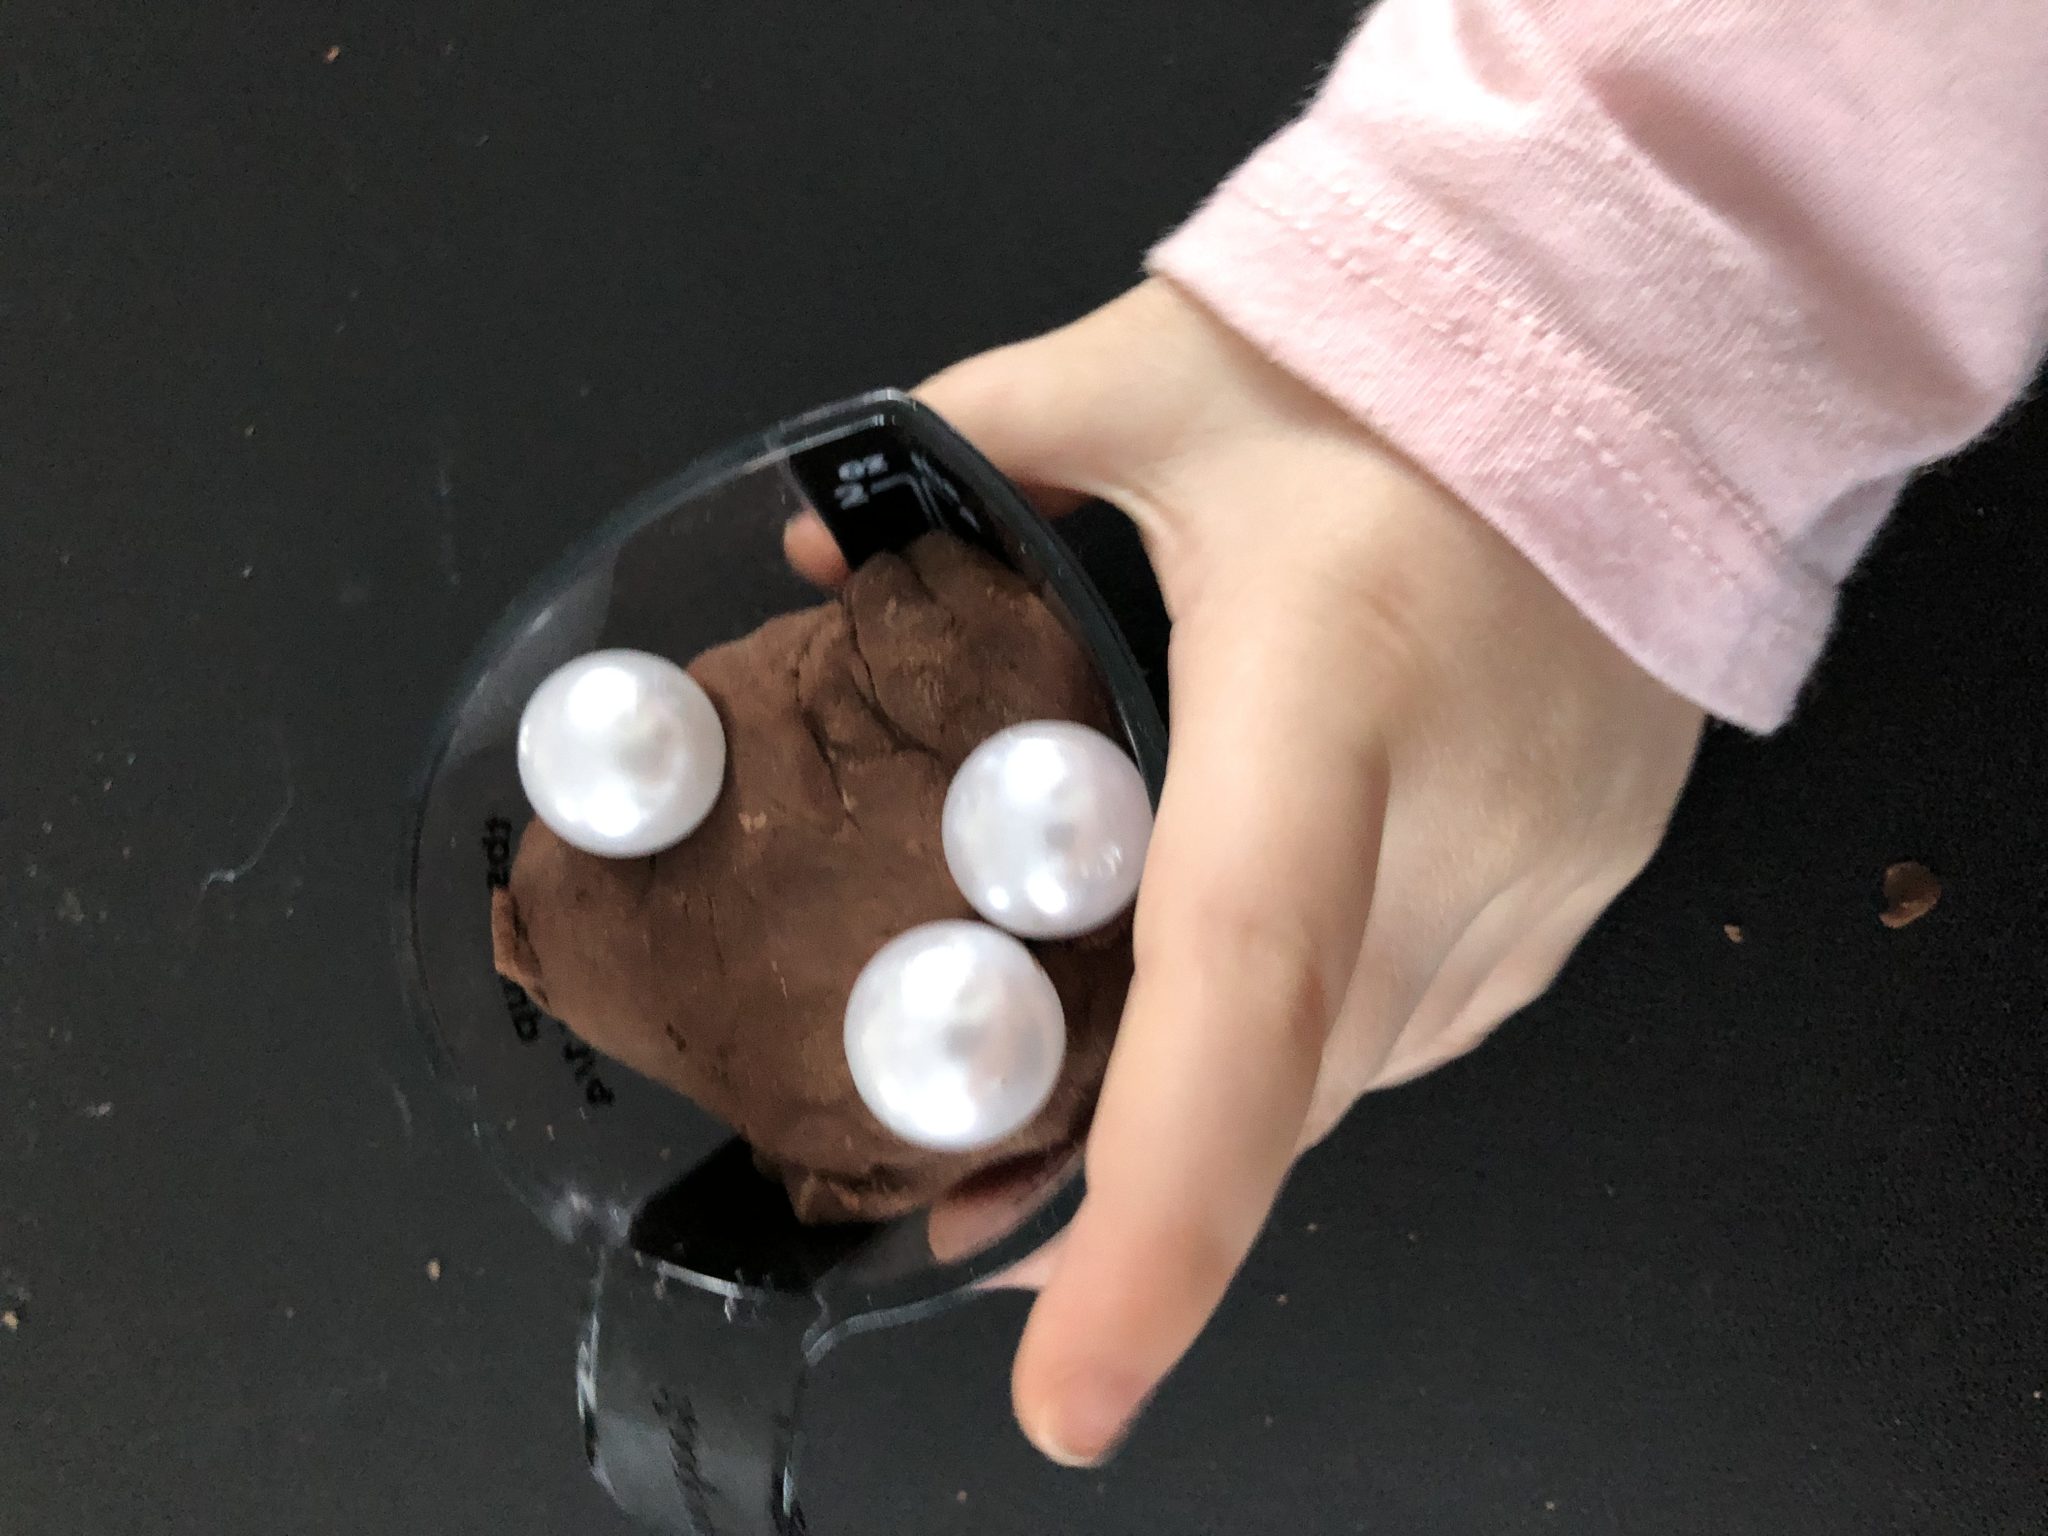
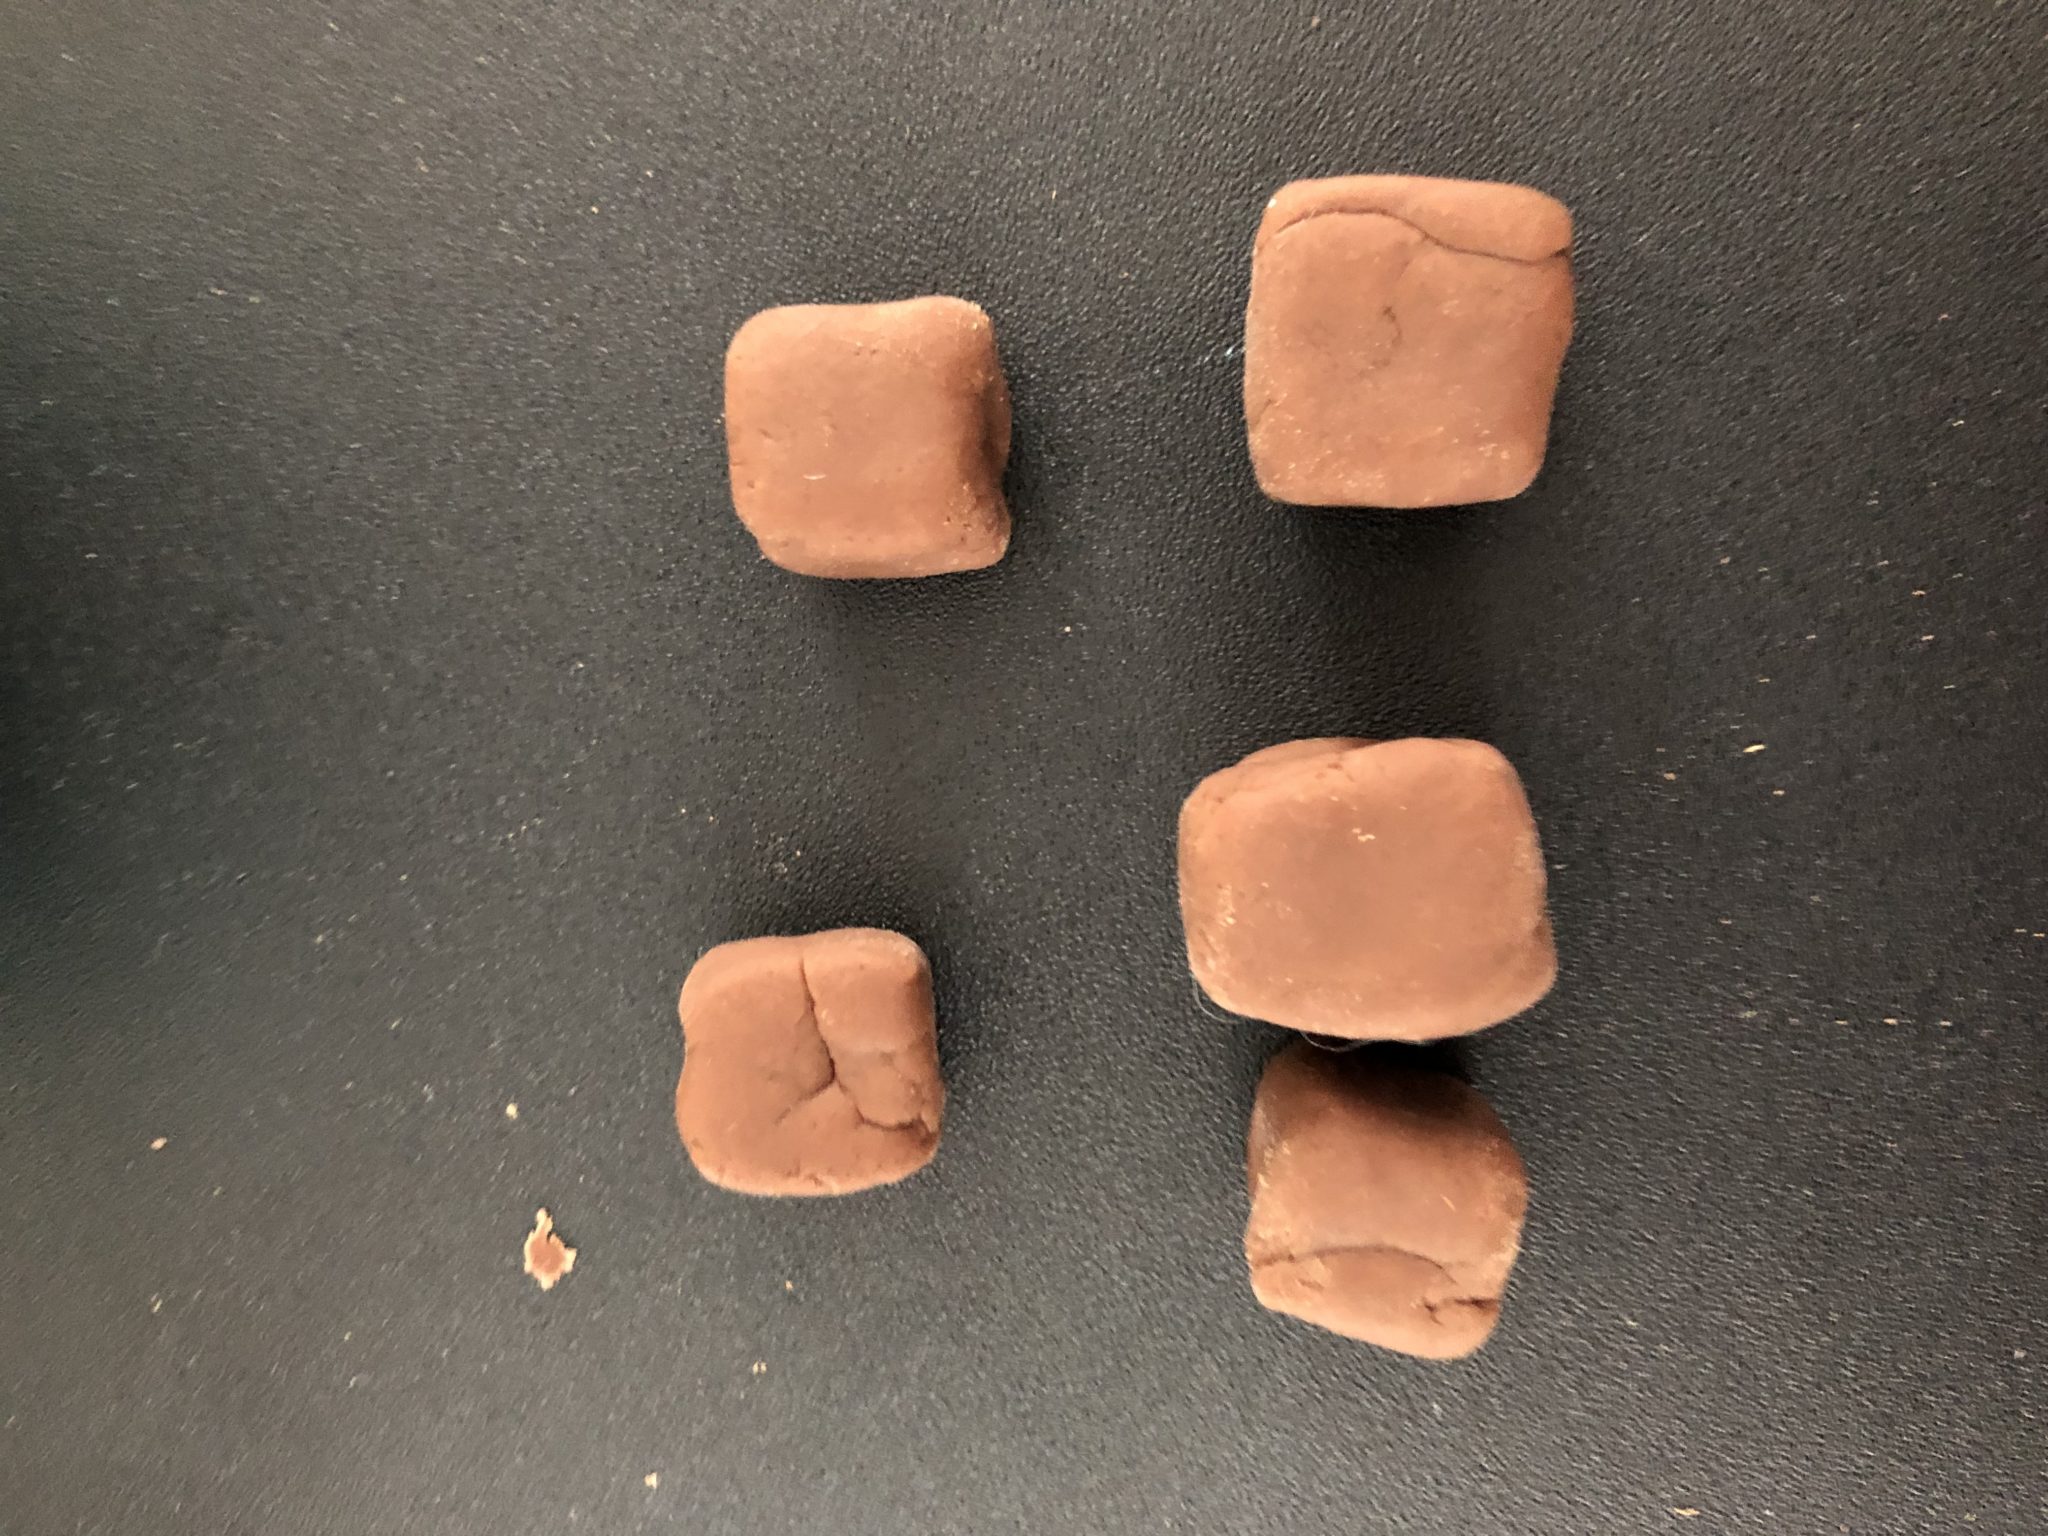
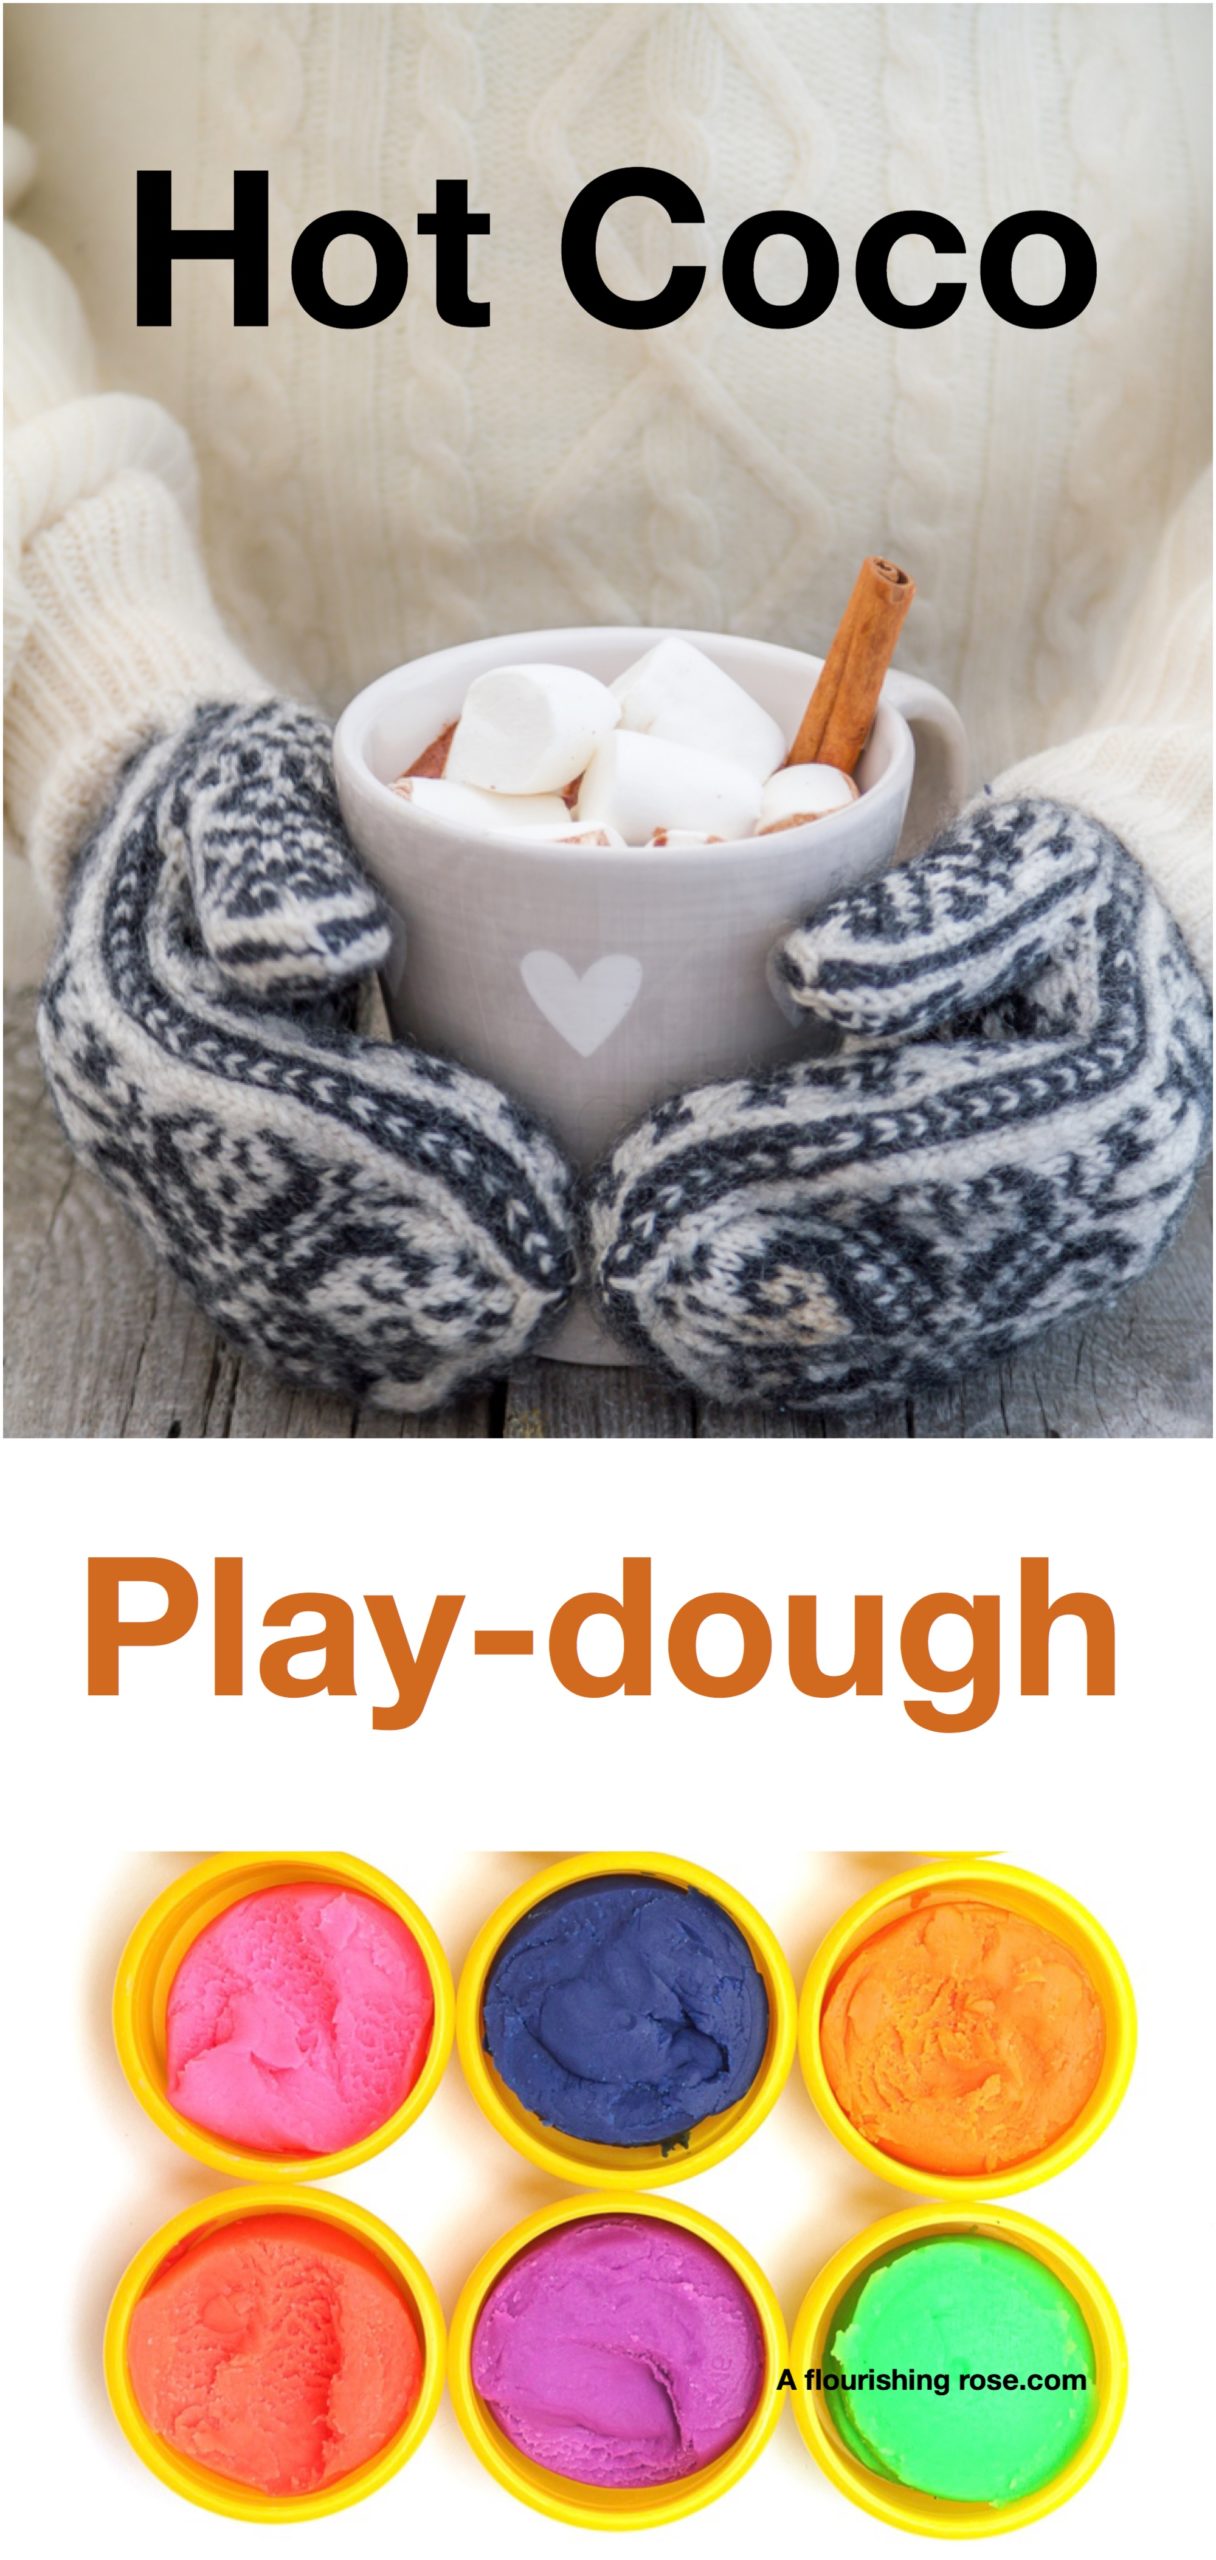 What are your favorite play-dough recipes? Tell me in the comments.