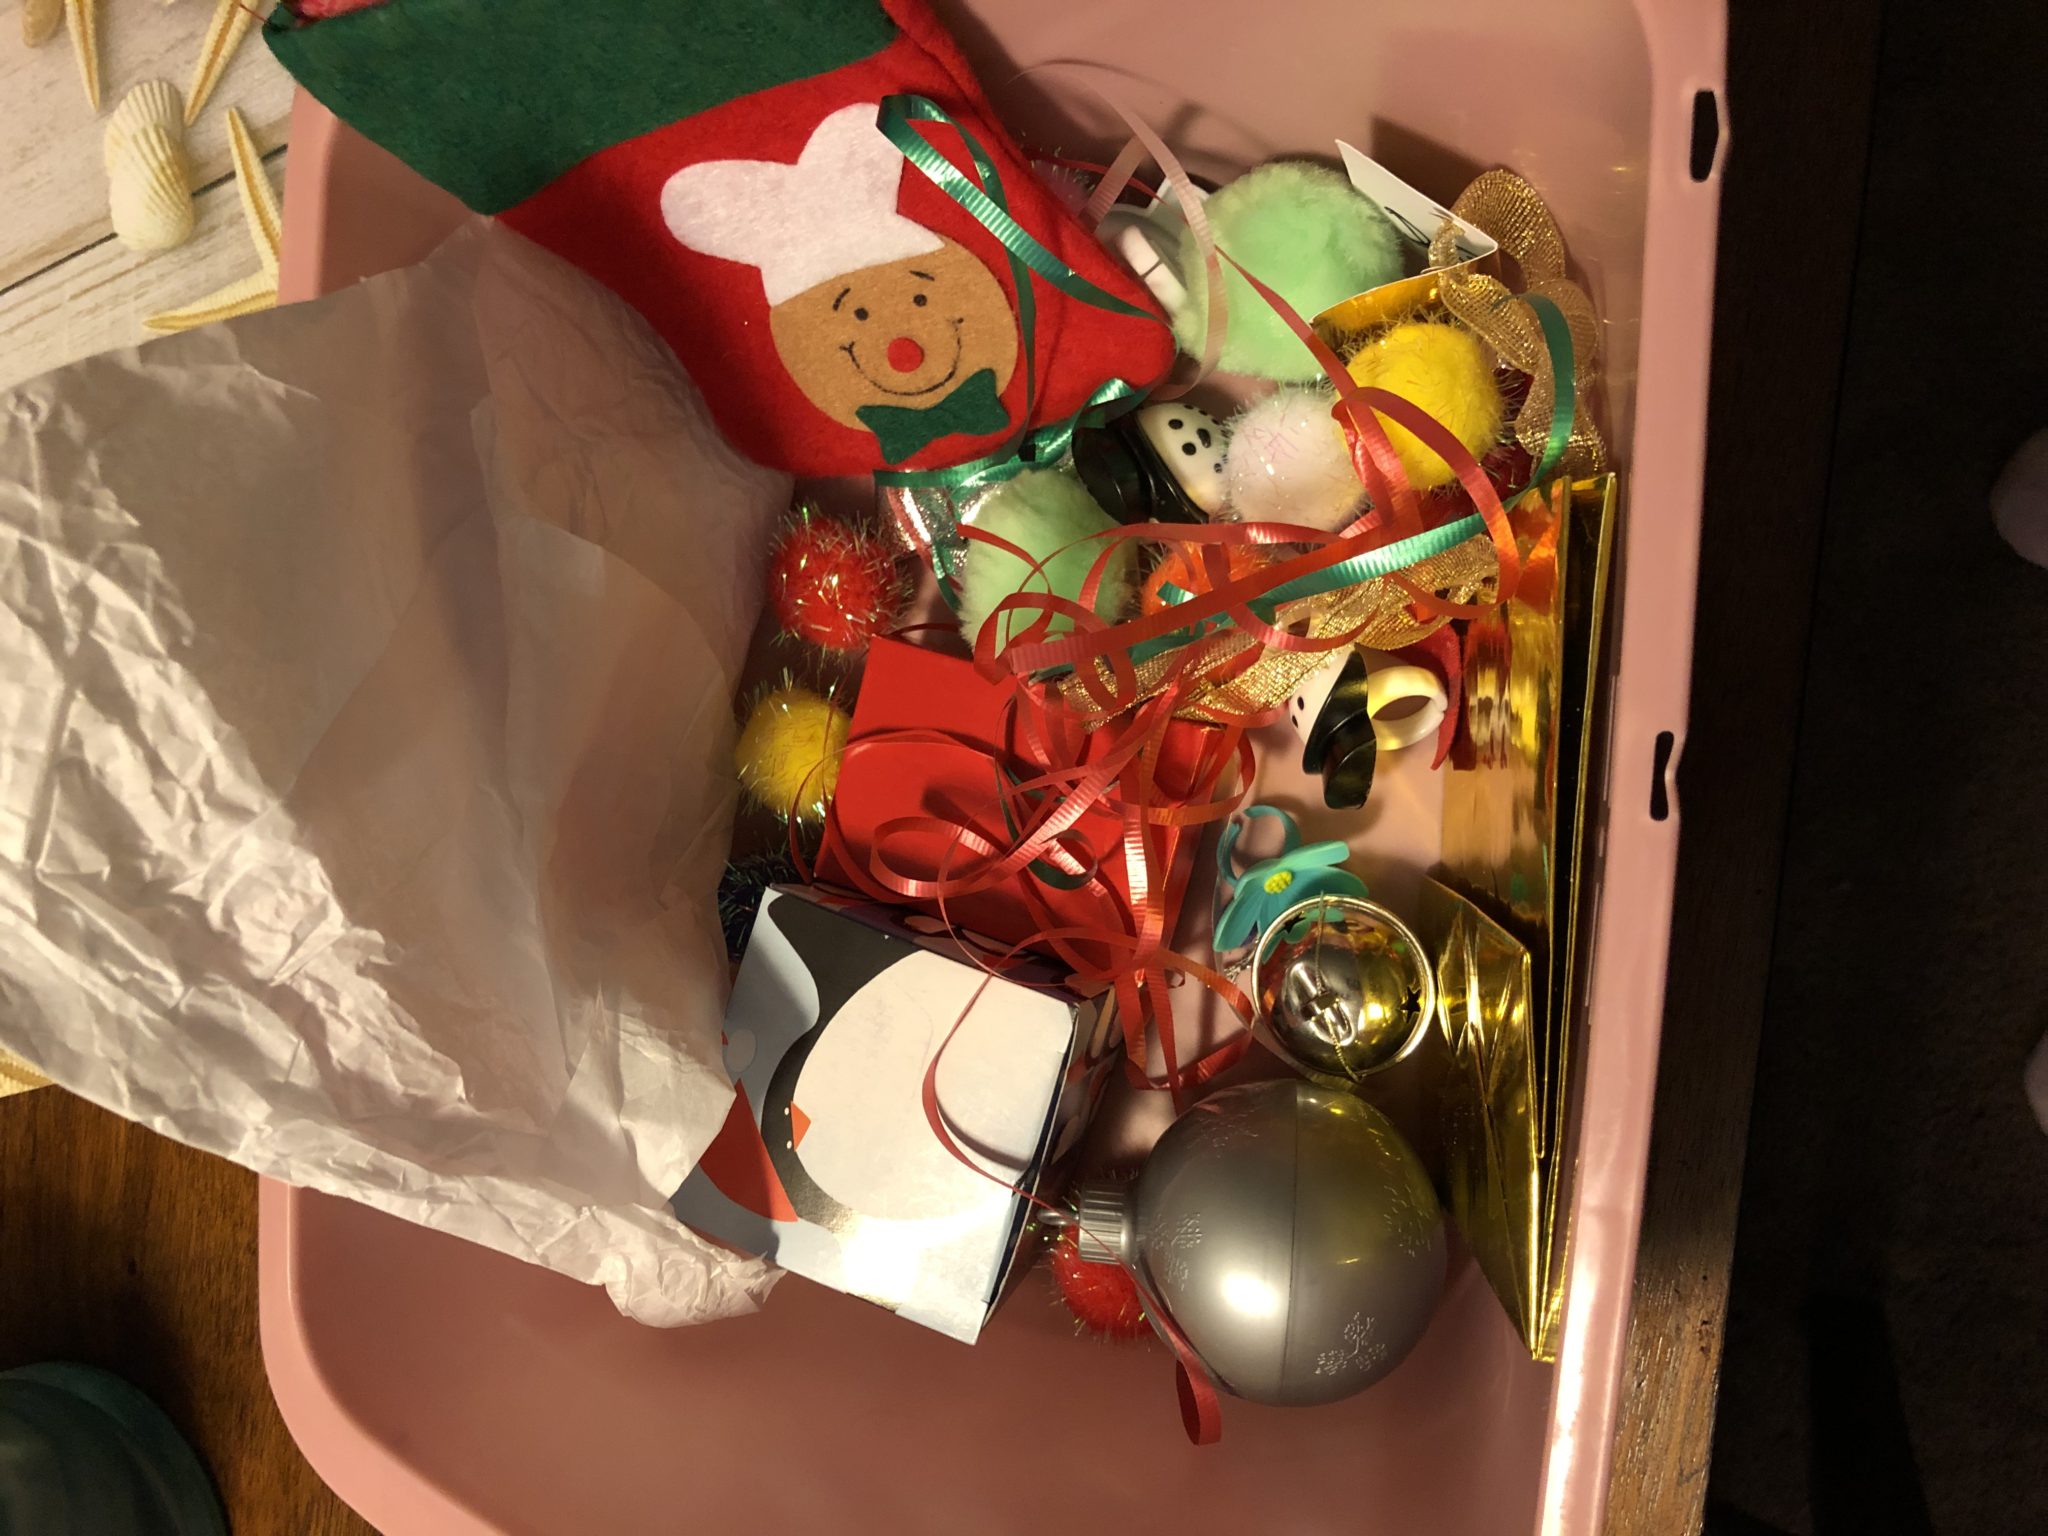
This week, I decided to make up a festive sensory tub for Rosebud. I’m calling it the gift giving sensory tub.
What’s in the tub?
Wrapping paper,
Small boxes,
Ribbon,
Bows,
Tissue paper,
Bells,
Snowman rings,
Sparkly pompoms,
A bulb shaped ornament that opens,
A gift bag
A small stocking.
Today was the first time Rosebud got to play with this tub and she played for almost an hour. I had to tare her away for bath time. She loved filling the gift bag, putting the items in the different sized boxes and trying to wrap them. We pretended to give each other gifts. She’d open a box of snowman rings and say, “thank you Mommy. This was the best gift ever.” Then I’d open a gift bag full of pompoms and tell her what a nice gift she gave. If you are working on sharing and kindness, this would be a great sensory tub for the theme.
We worked on math skills by counting the number of pompoms in a box. We used our listening skills to guess what was inside the boxes. We discovered that we can always tell when one of the bells were in the boxes, but we could only hear the pompoms depending on the size and style of the box. Rosebud folded wrapping paper and tried to tie ribbon to practice those fine motor skills.
If your child is a little older, you could include tape so they could practice actually wrapping presents. I did not include tape because I knew it’d be everywhere. I’d love to add more ribbon of different sizes, other Christmas and winter themed trinkets for a wider variety of gifts and child scissors to cut wrapping paper. If you’ve tried something similar or have a festive sensory tub of your own, tell me in the comments.
As I’ve written about before, Rosebud and I love to read. I often buy her new books based on the season and or if there’s a holiday coming up. For the spring, I get out her books about birds, plants and baby animals. In the fall, we read books about pumpkins, leaves and of course Halloween. The winter is no exception. The books we are reading right now are related to snow, Christmas and her birthday coming around the corner.
As I’ve mentioned in other posts, I’m visually impaired so I don’t see the pictures very well. In children’s books, one could argue that the pictures are the most important thing. Well, they are to the child at least. Since I can’t see all the little details, I love to find books that are more interactive. Not only does it help me, but these extra elements make reading more fun for the children. Here are some great interactive winter books I’ve found along the way.
1.
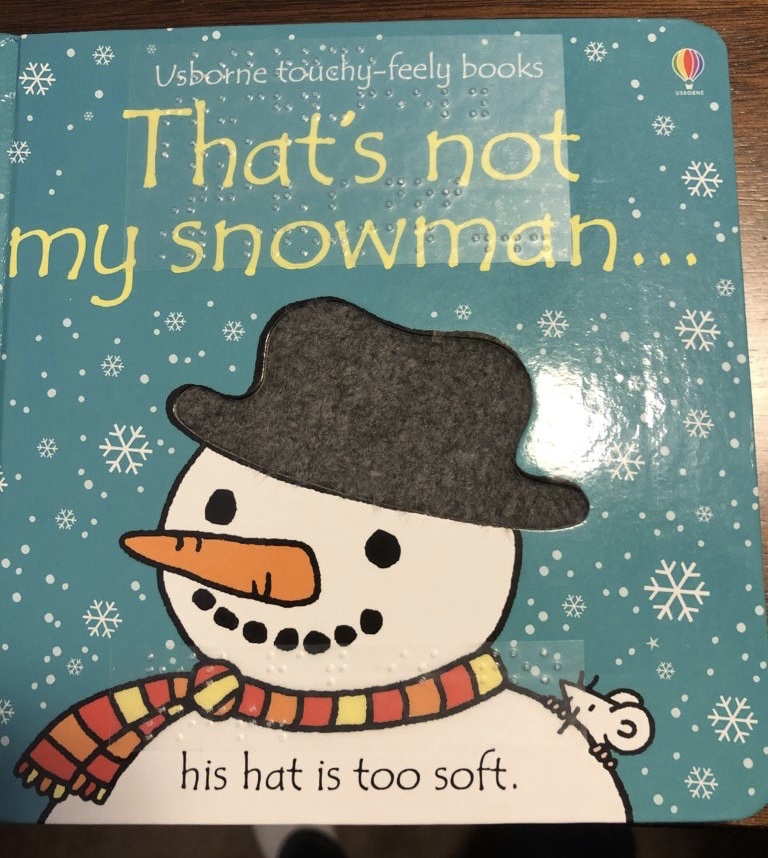
That’s Not My Snowman by Fiona Watt.
This book shows a snowman on each page with a different tactile element. the mittens are too fuzzy or the buttons are too bumpy. The book is short, but it’s great for infants and toddlers. Rosebud still loves this book.
2.
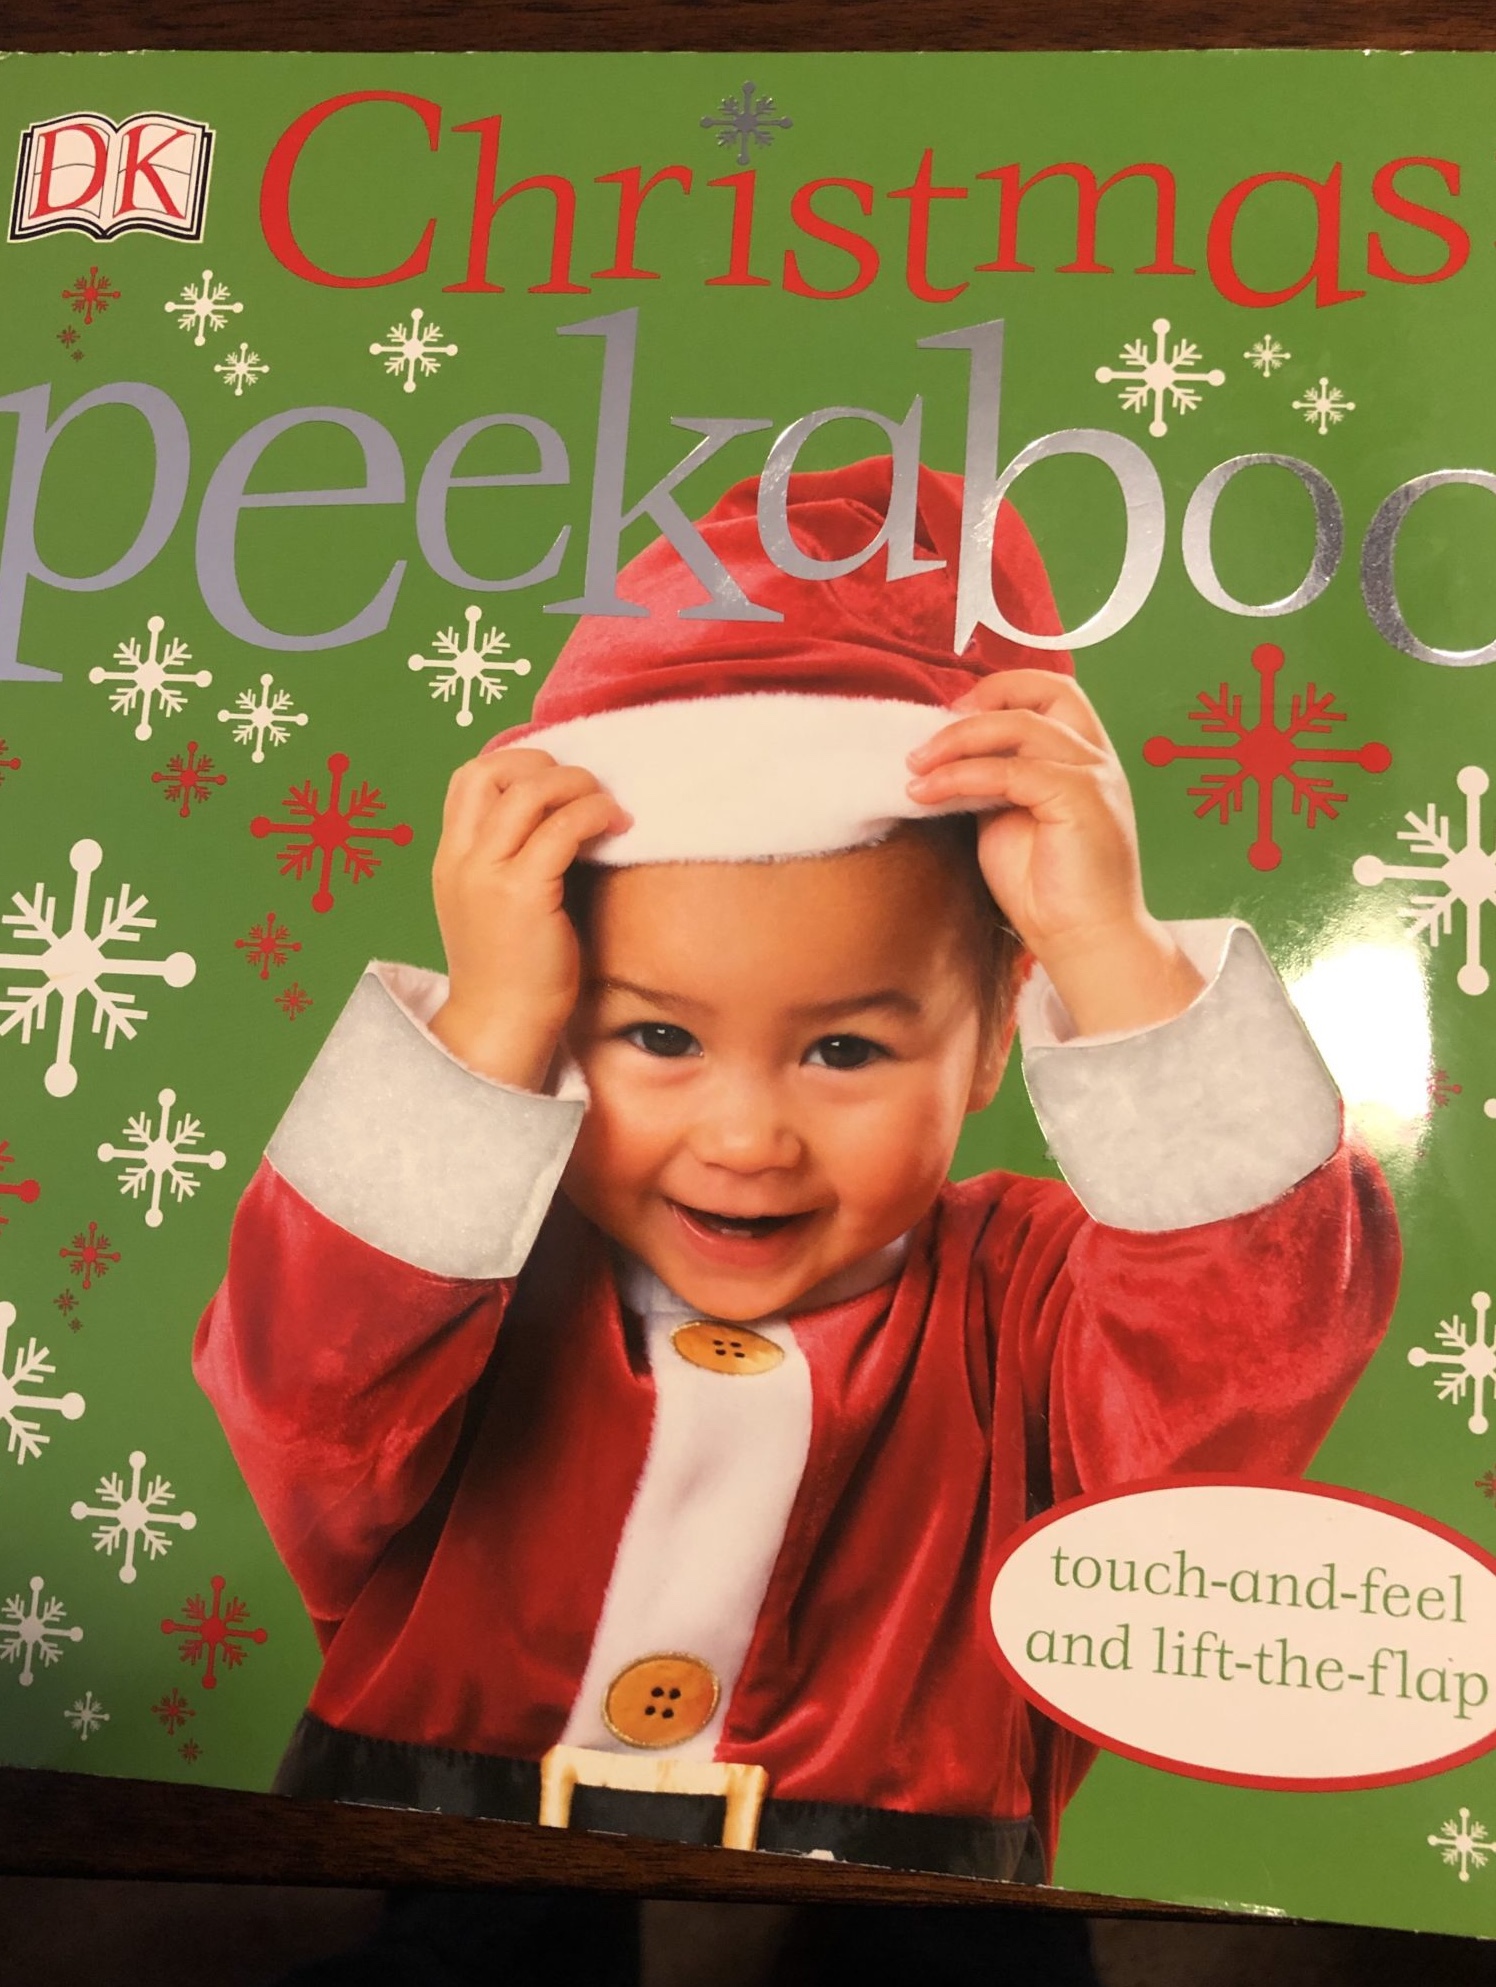
PeekaBoo Christmas!: Touch-and-Feel and Lift-the-Flap by DK Publishing.
This book is large, sturdy and has illustrations that are shiny and colorful. Some of the pages include touch and feel elements like the pompom on the hat or the ornaments on the tree. Kids love to lift the flap to see what’s inside. Rosebud has always loved the different peekaboo books and this one did not disappoint her.
3.
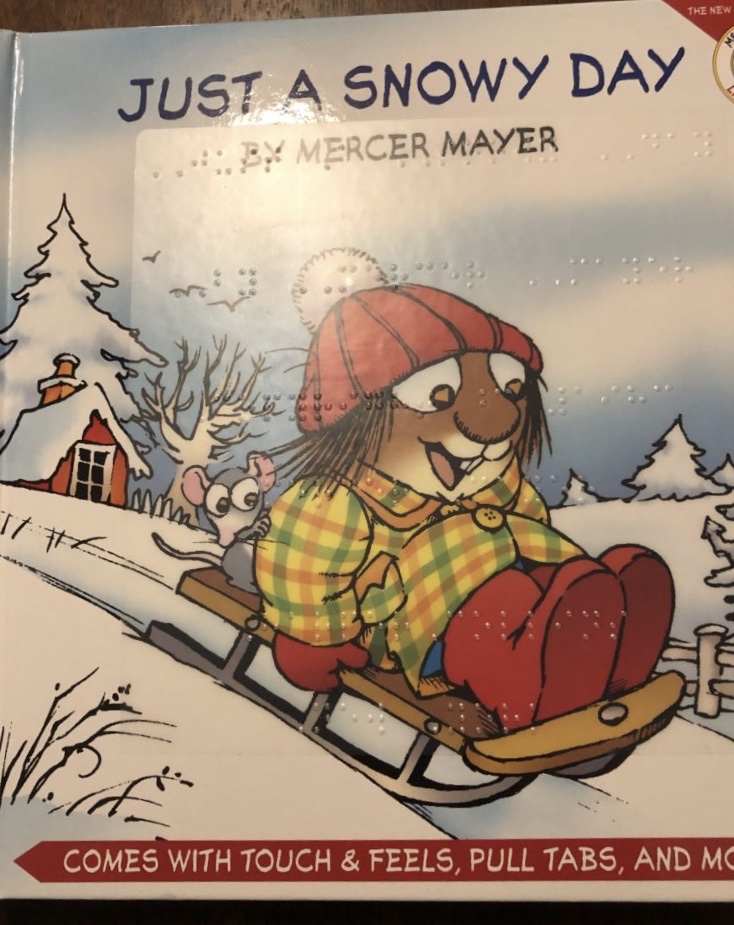
Little Critter: Just a Snowy Day by Mercer Mayer.
I bought this book many years ago to read to the kids I was working with at the time. Now I get to share it with Rosebud. I love all the interactive elements in this book. You get to spin a wheel to make it snow, smell a cup of hot chocolate and pull Little Critter’s sled. My only complaint about this book is that the pull tabs can be easily broken. This book has always been a hit with any of the children I’ve read it to. The book is now out of print, but you can still find it on Amazon.
4.
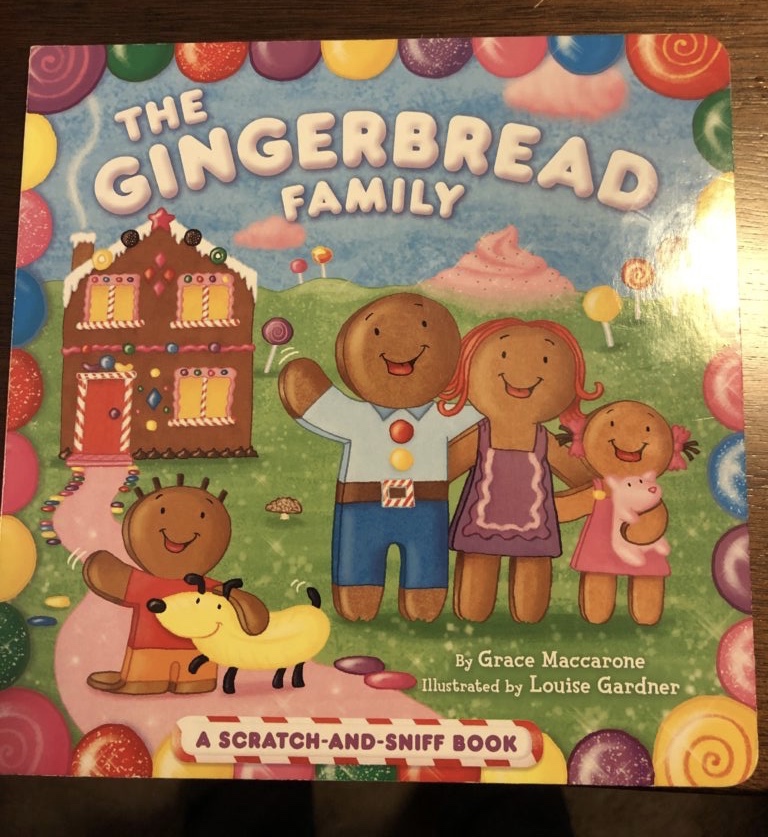
The Gingerbread Family: A Scratch-and-Sniff Book by Grace Maccarone.
This story is of a day in the life of a gingerbread family. There is a scratch and sniff sticker on each page. The scents aren’t very strong, but the story is cute. When I was a kid, I never had books like these. I always loved scratch and sniff stickers and am glad I’ve been finding these cool books for Rosebud. She loves the pictures in this book as everything is made up of candy. We like to see which candy we can pick out. When she asks for this book, she says, “Let’s read about cookies.”
5.
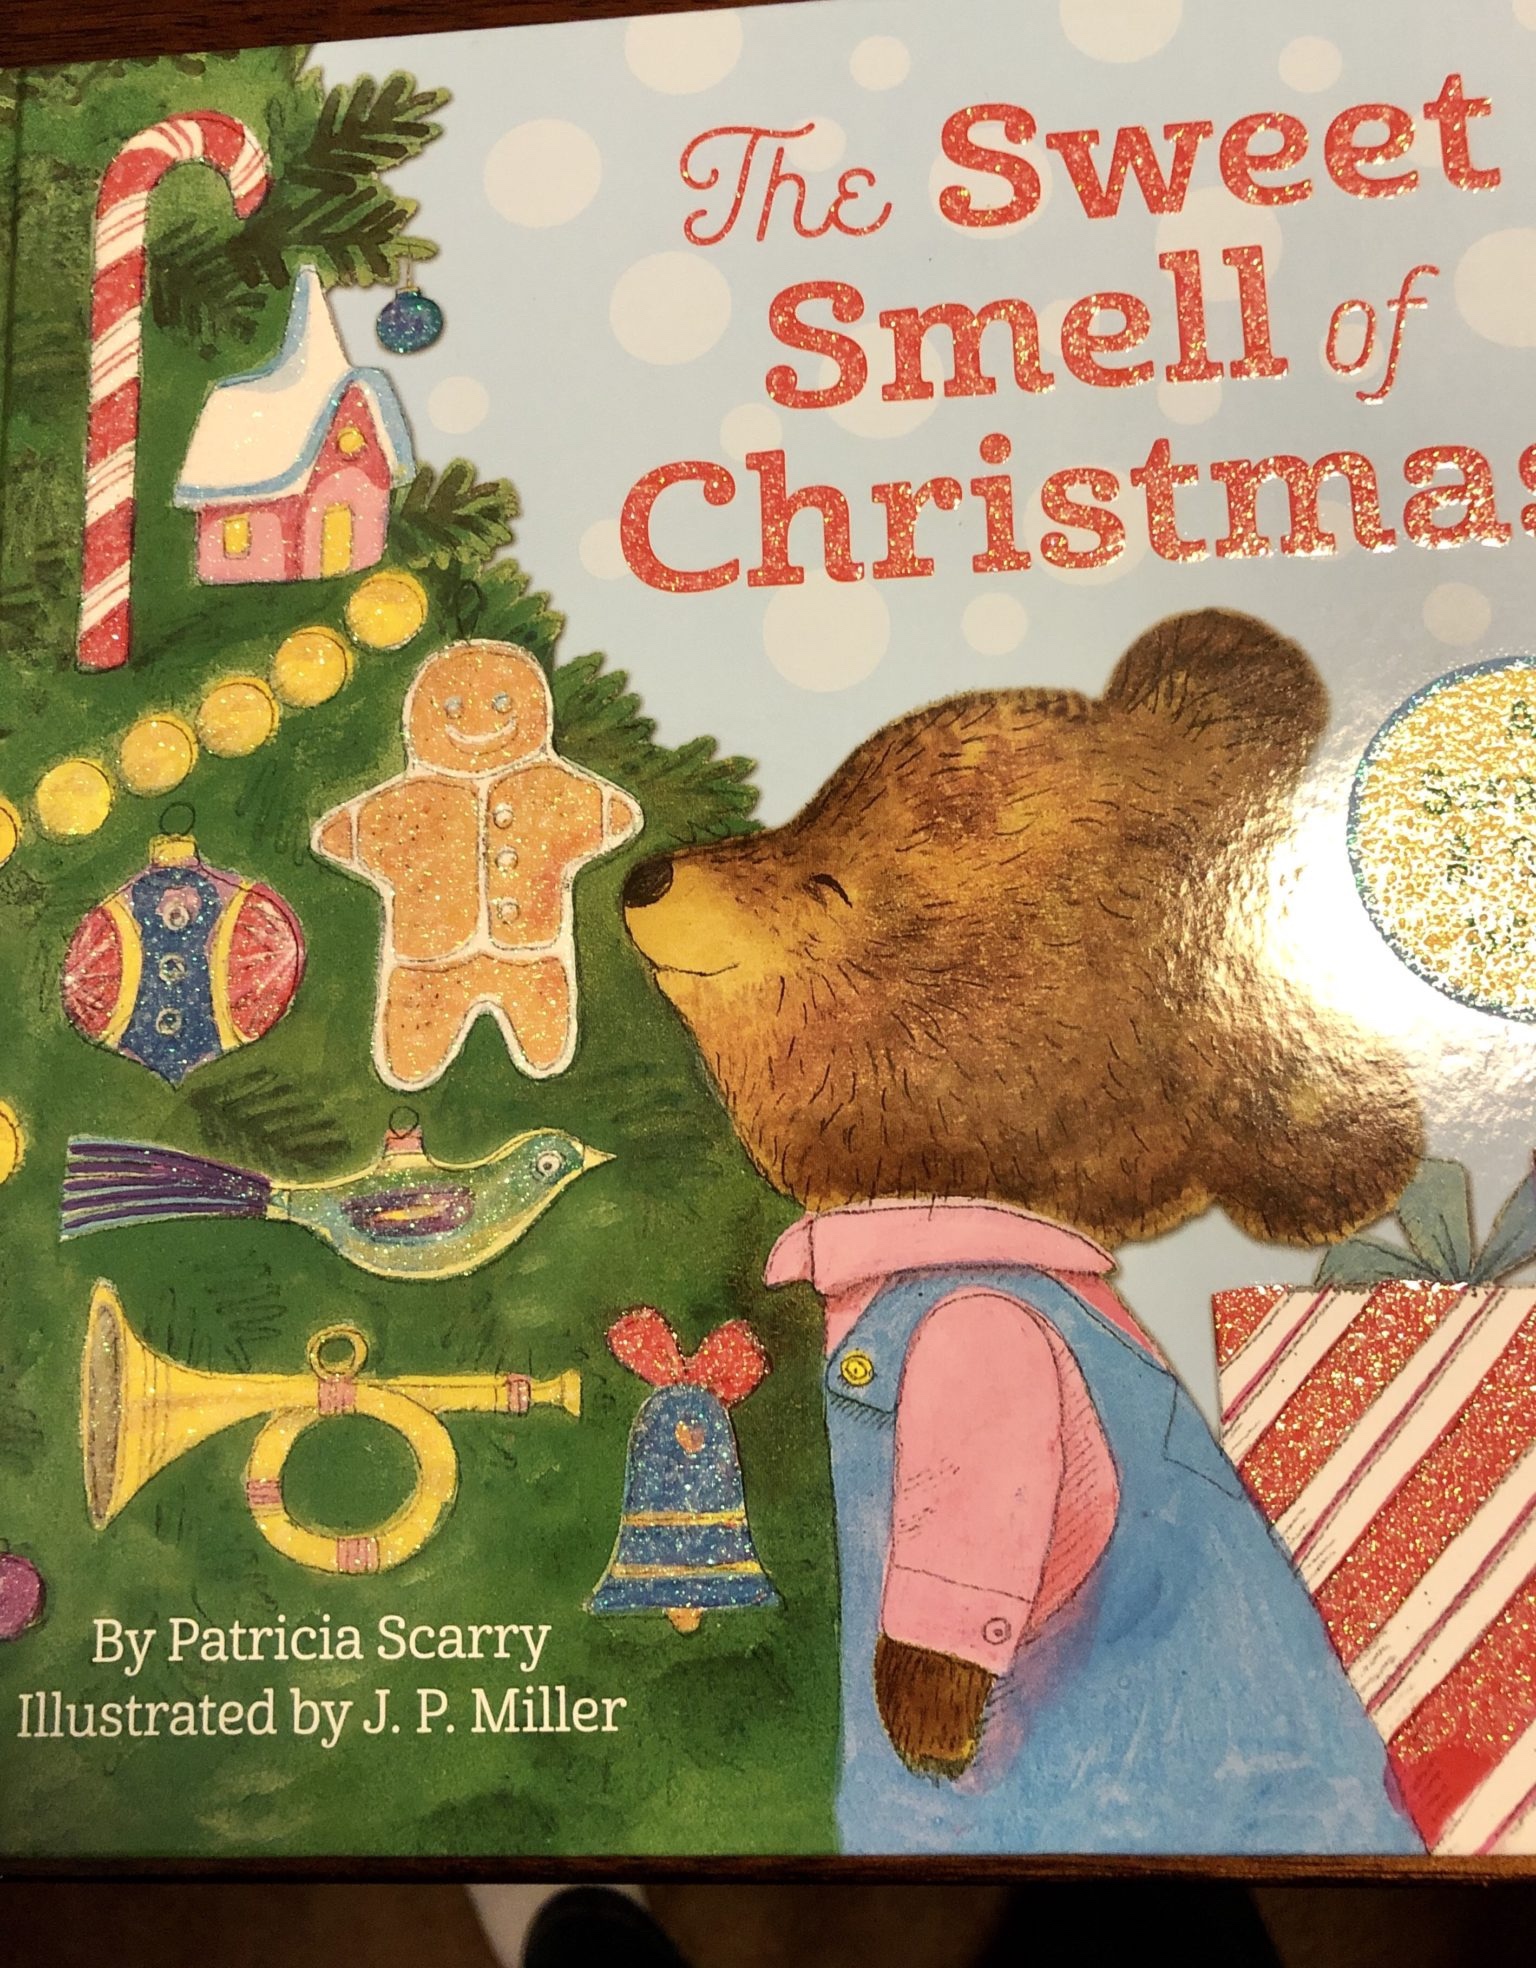
The Sweet Smell of Christmas (Scented Story Book) by Patricia M. Scarry.
Many people seem to remember this book from their childhood. I do not and I have not read it to Rosebud yet. It will be a stocking stuffer for her this year. This book is filled with scratch and sniff stickers and I know Rosebud will be excited to read this one.
What are your favorite winter and holiday books? Let me know in the comments.
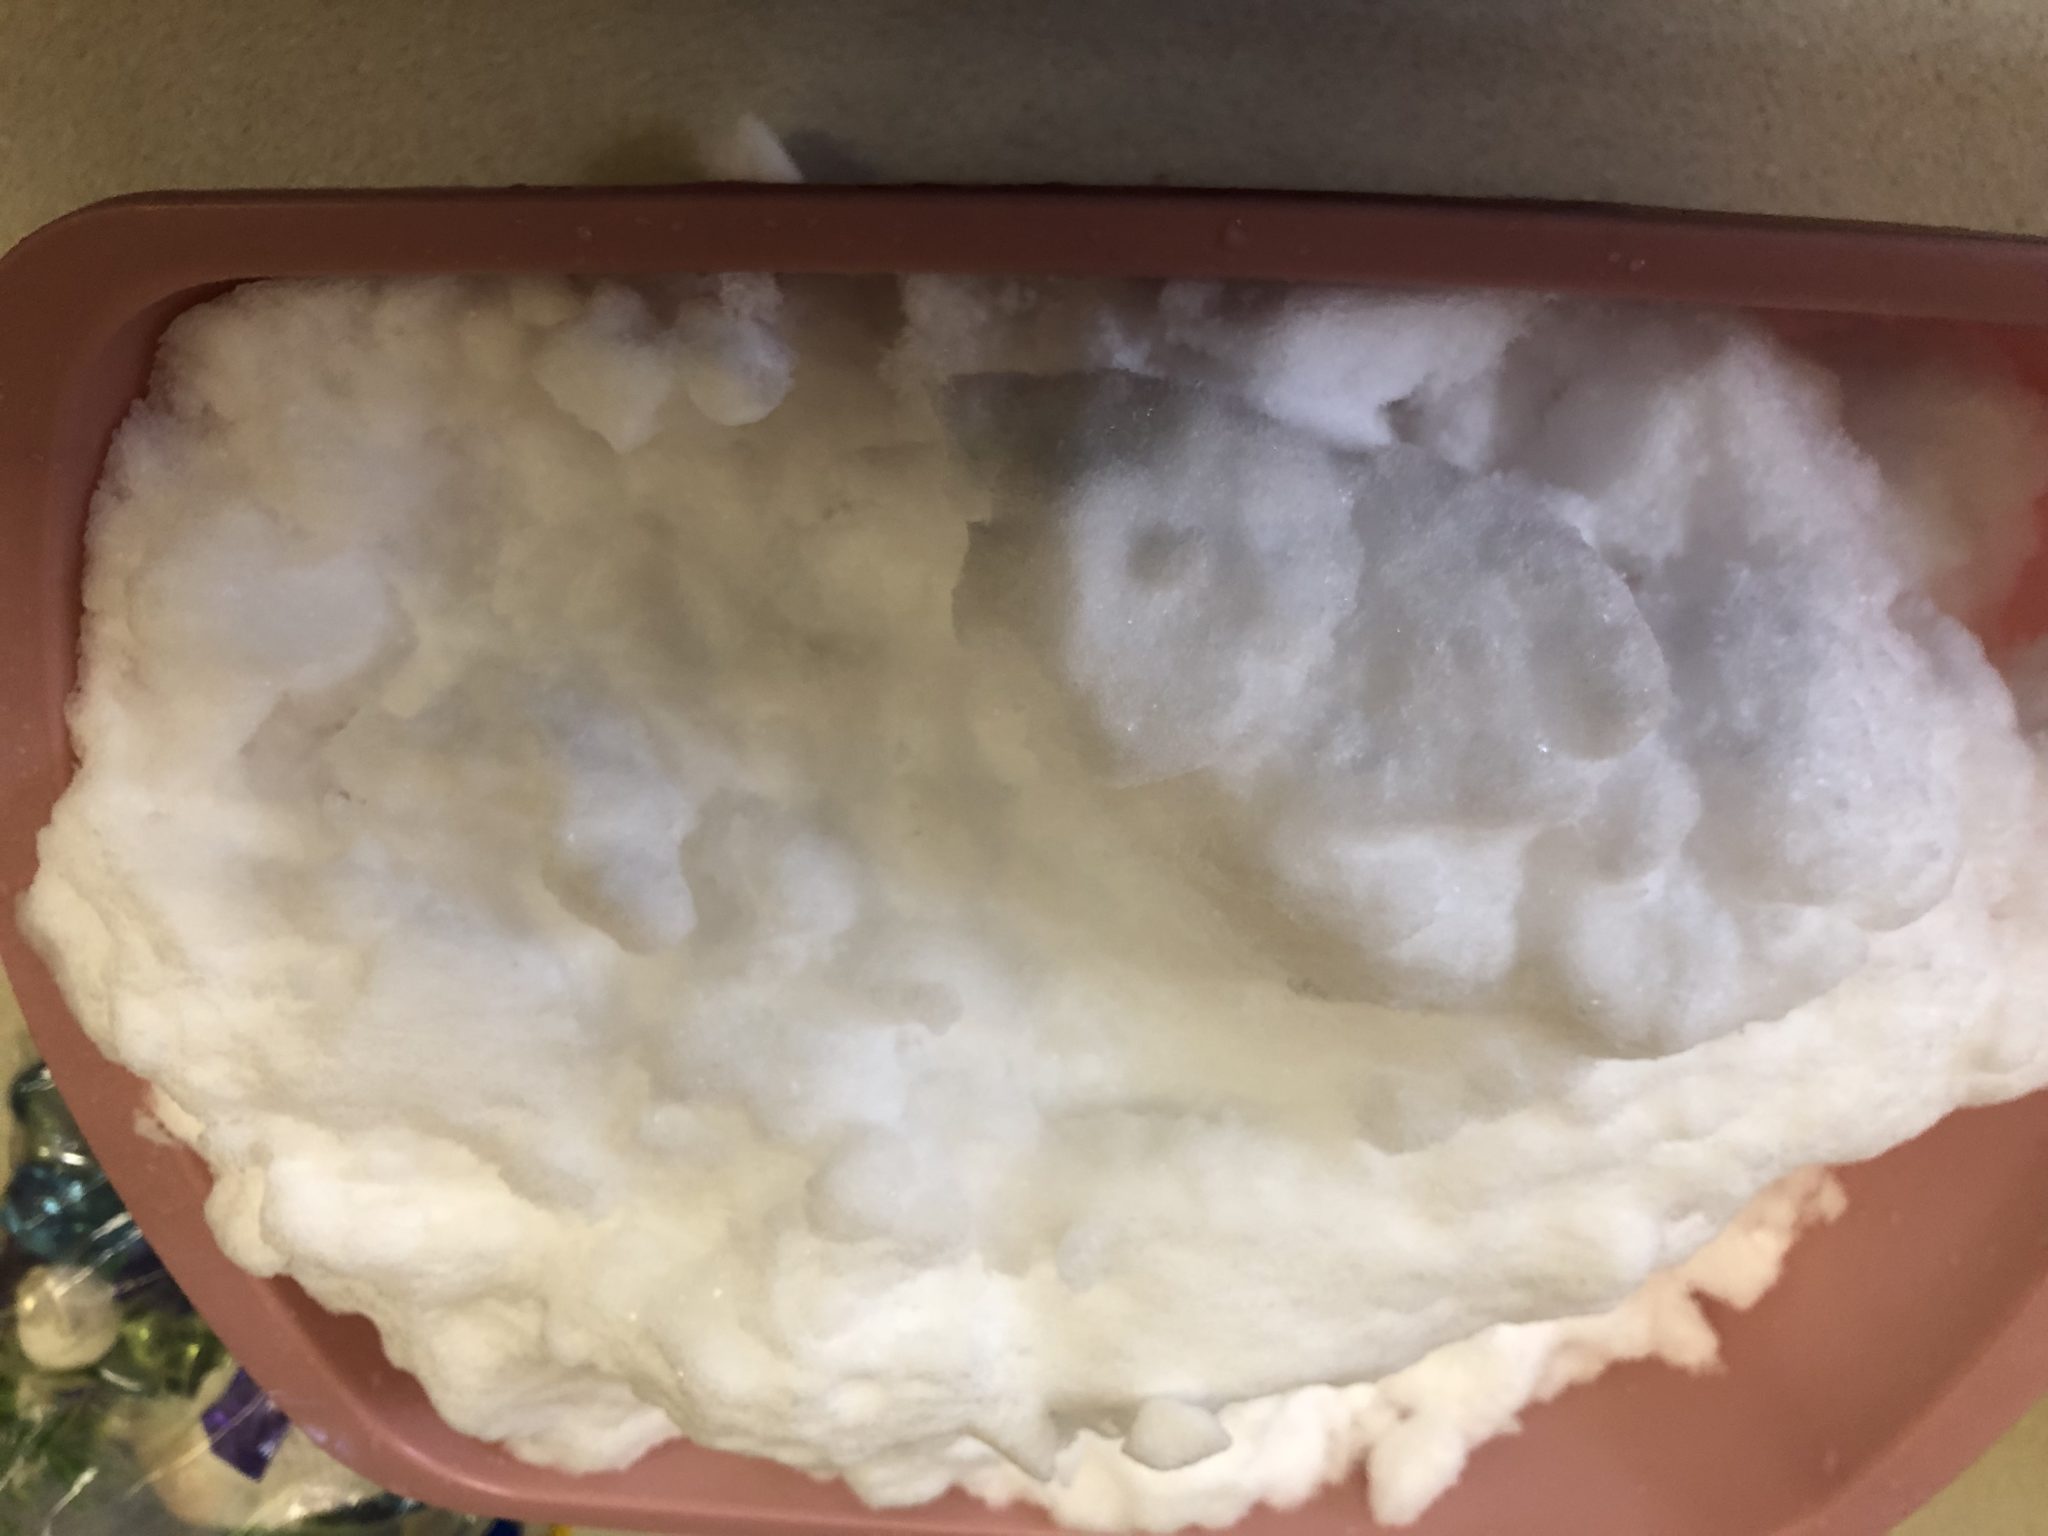
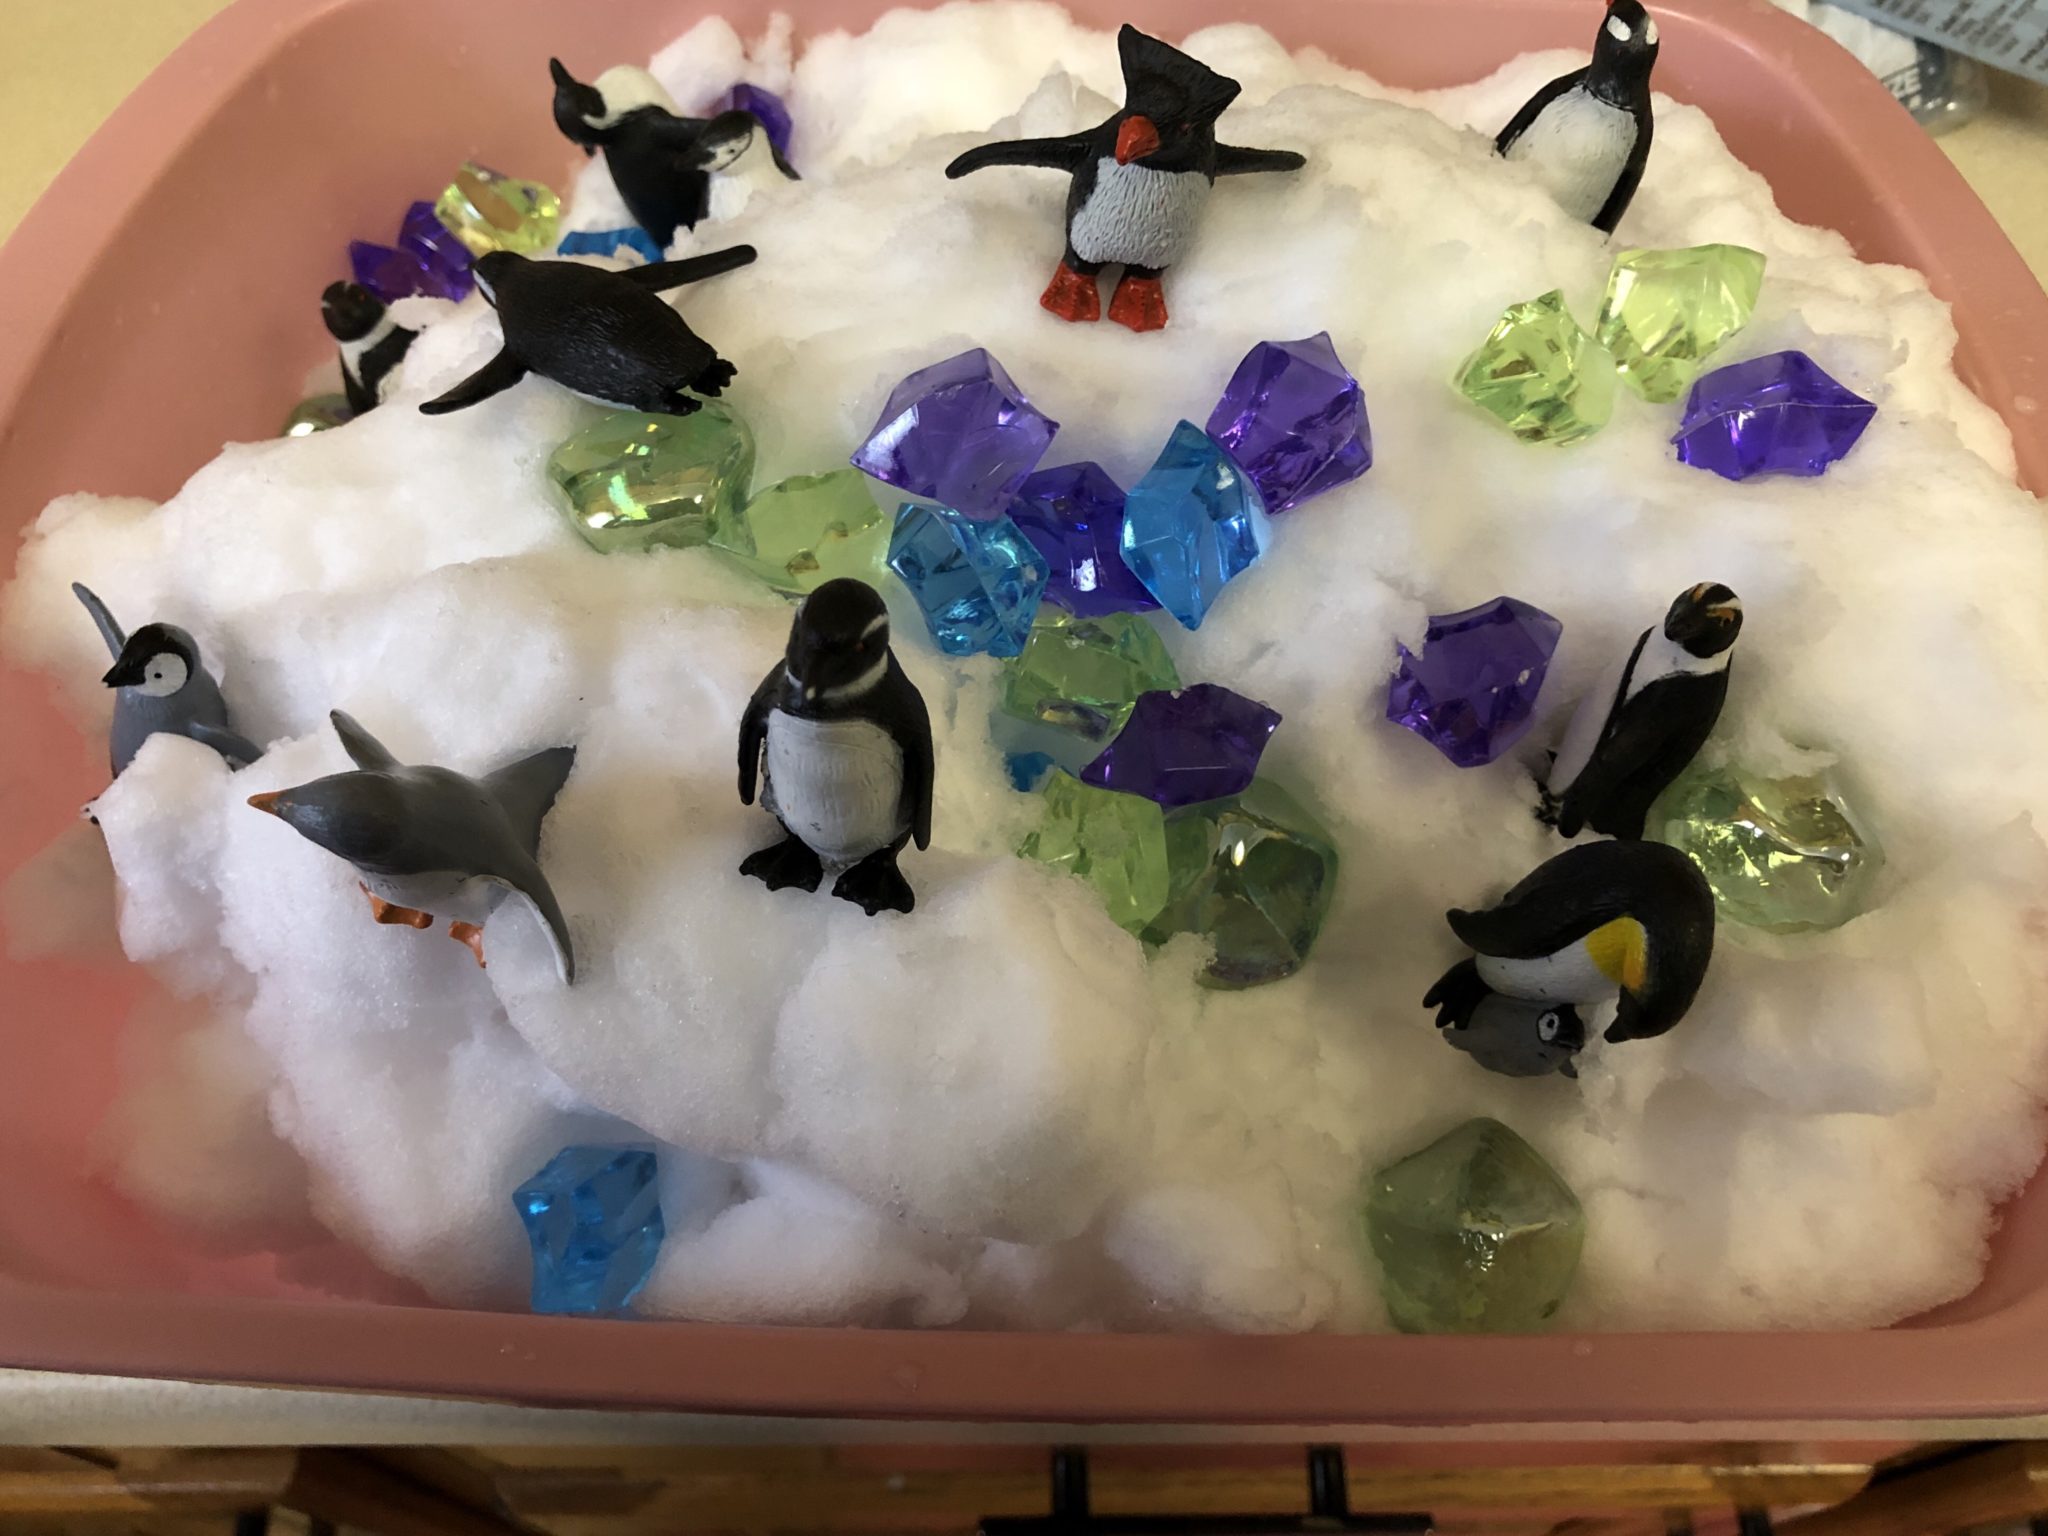
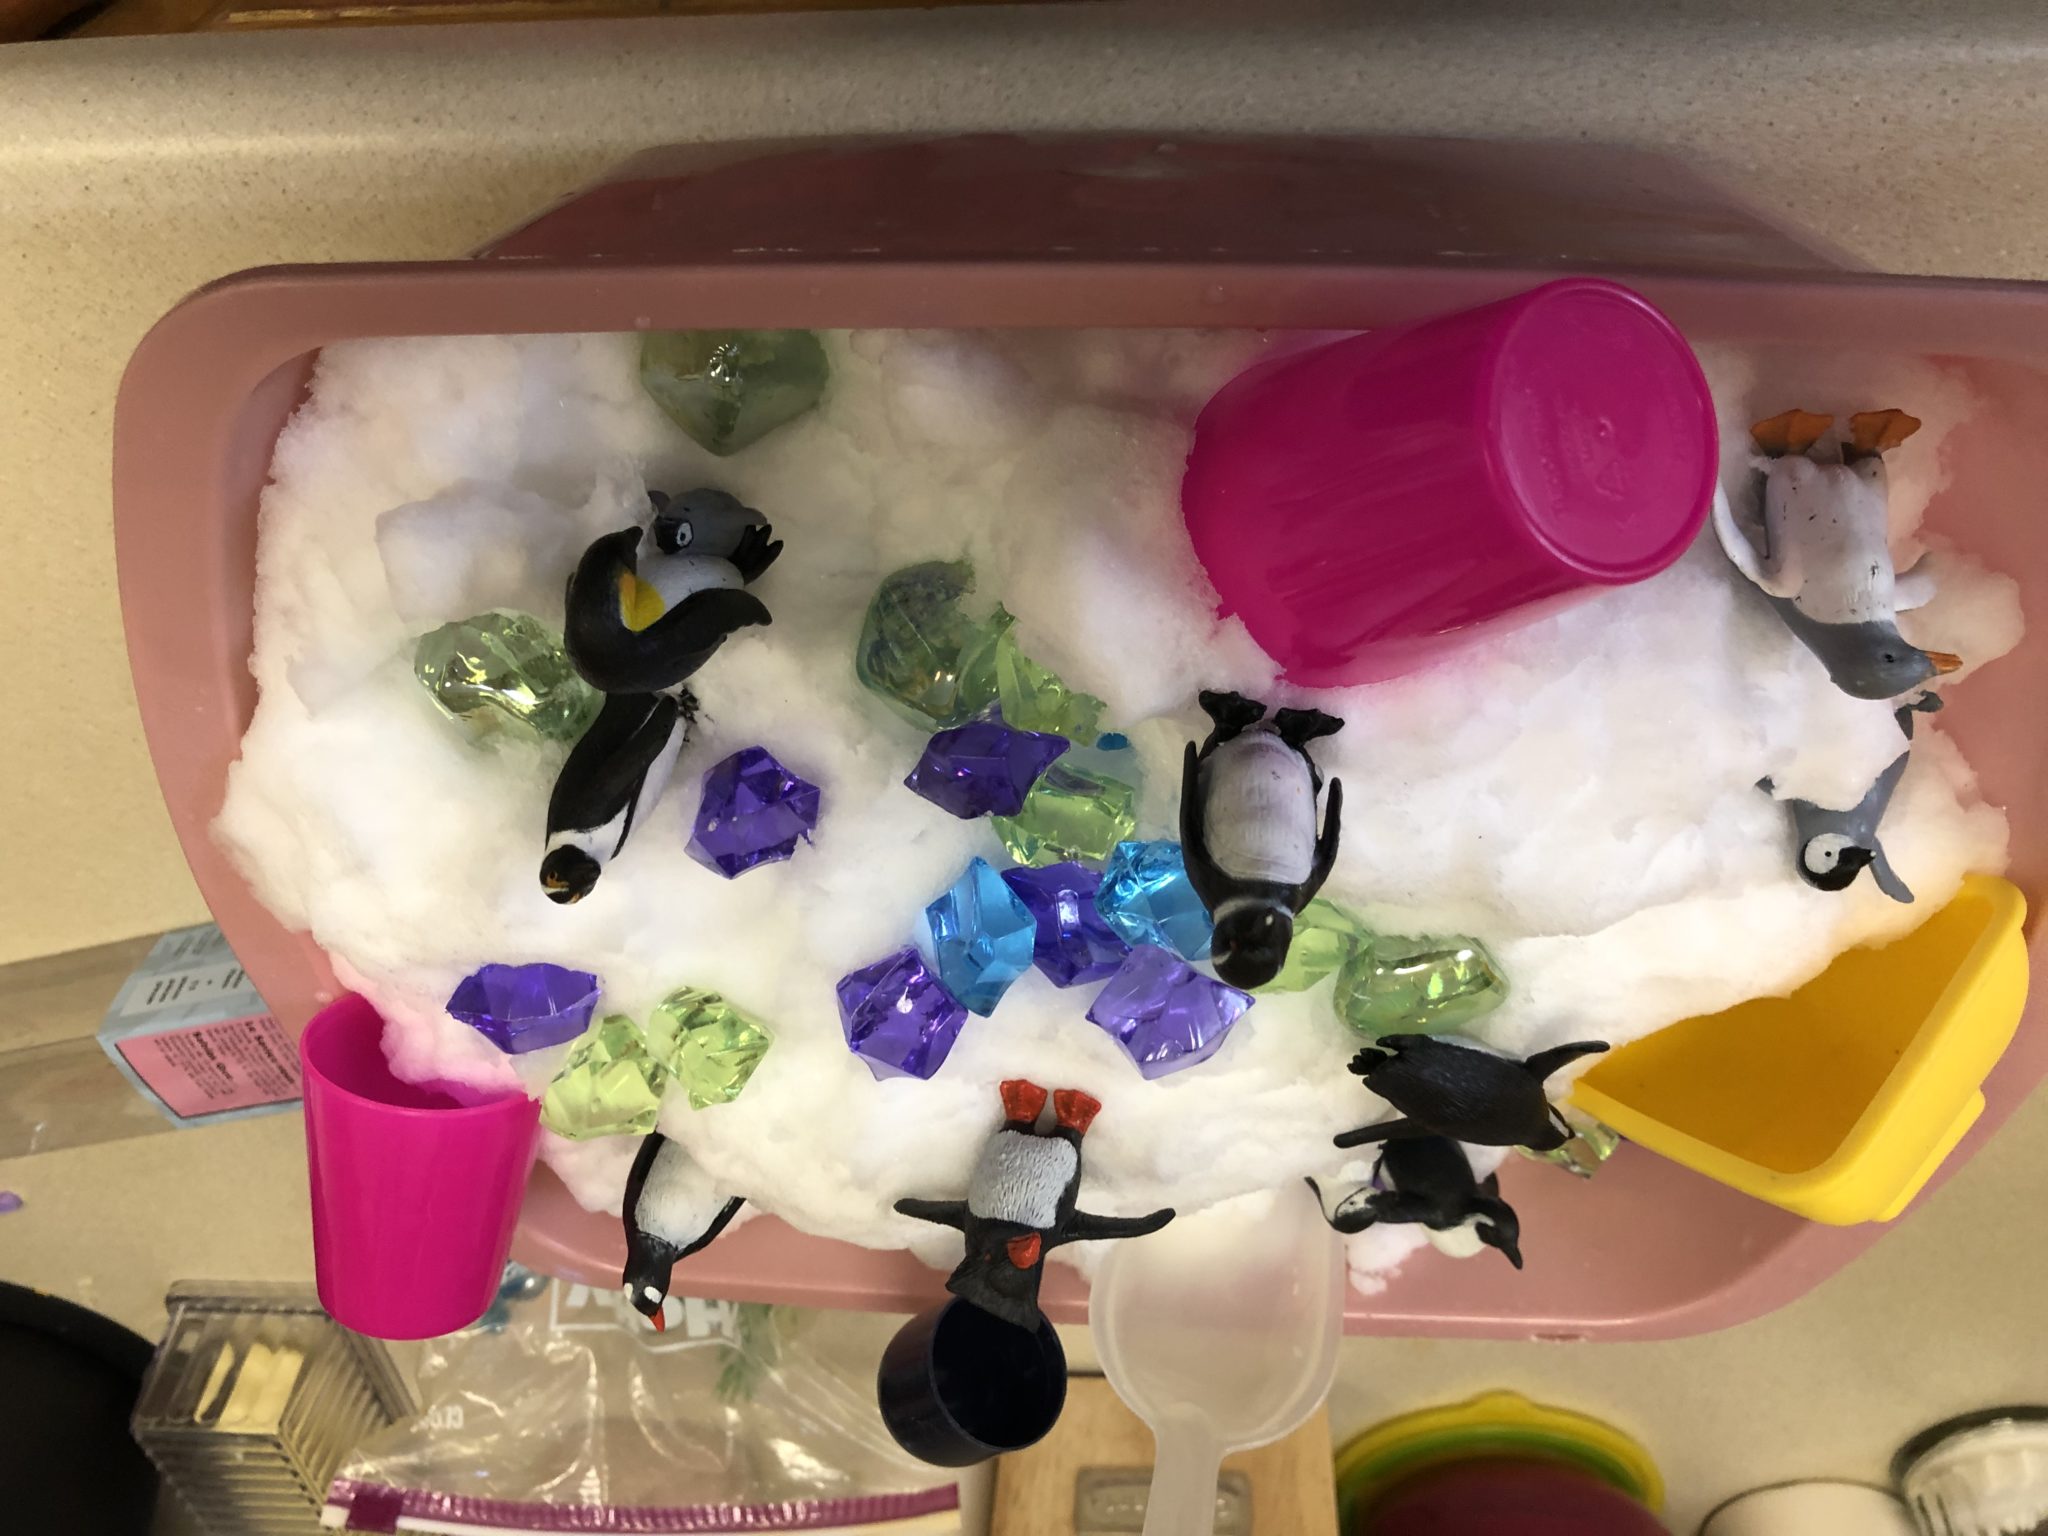
We had our first real snowfall on Friday. When Rosebud woke up, she was so excited to see snow. Unfortunately, both of us have been fighting off colds for the past few weeks so I’ve only taken her out a couple of times since the weekend. However, I figured why not bring some snow inside to play with? I don’t have to stand outdoors and freeze and she gets to play with snow. An almost perfect compromise.
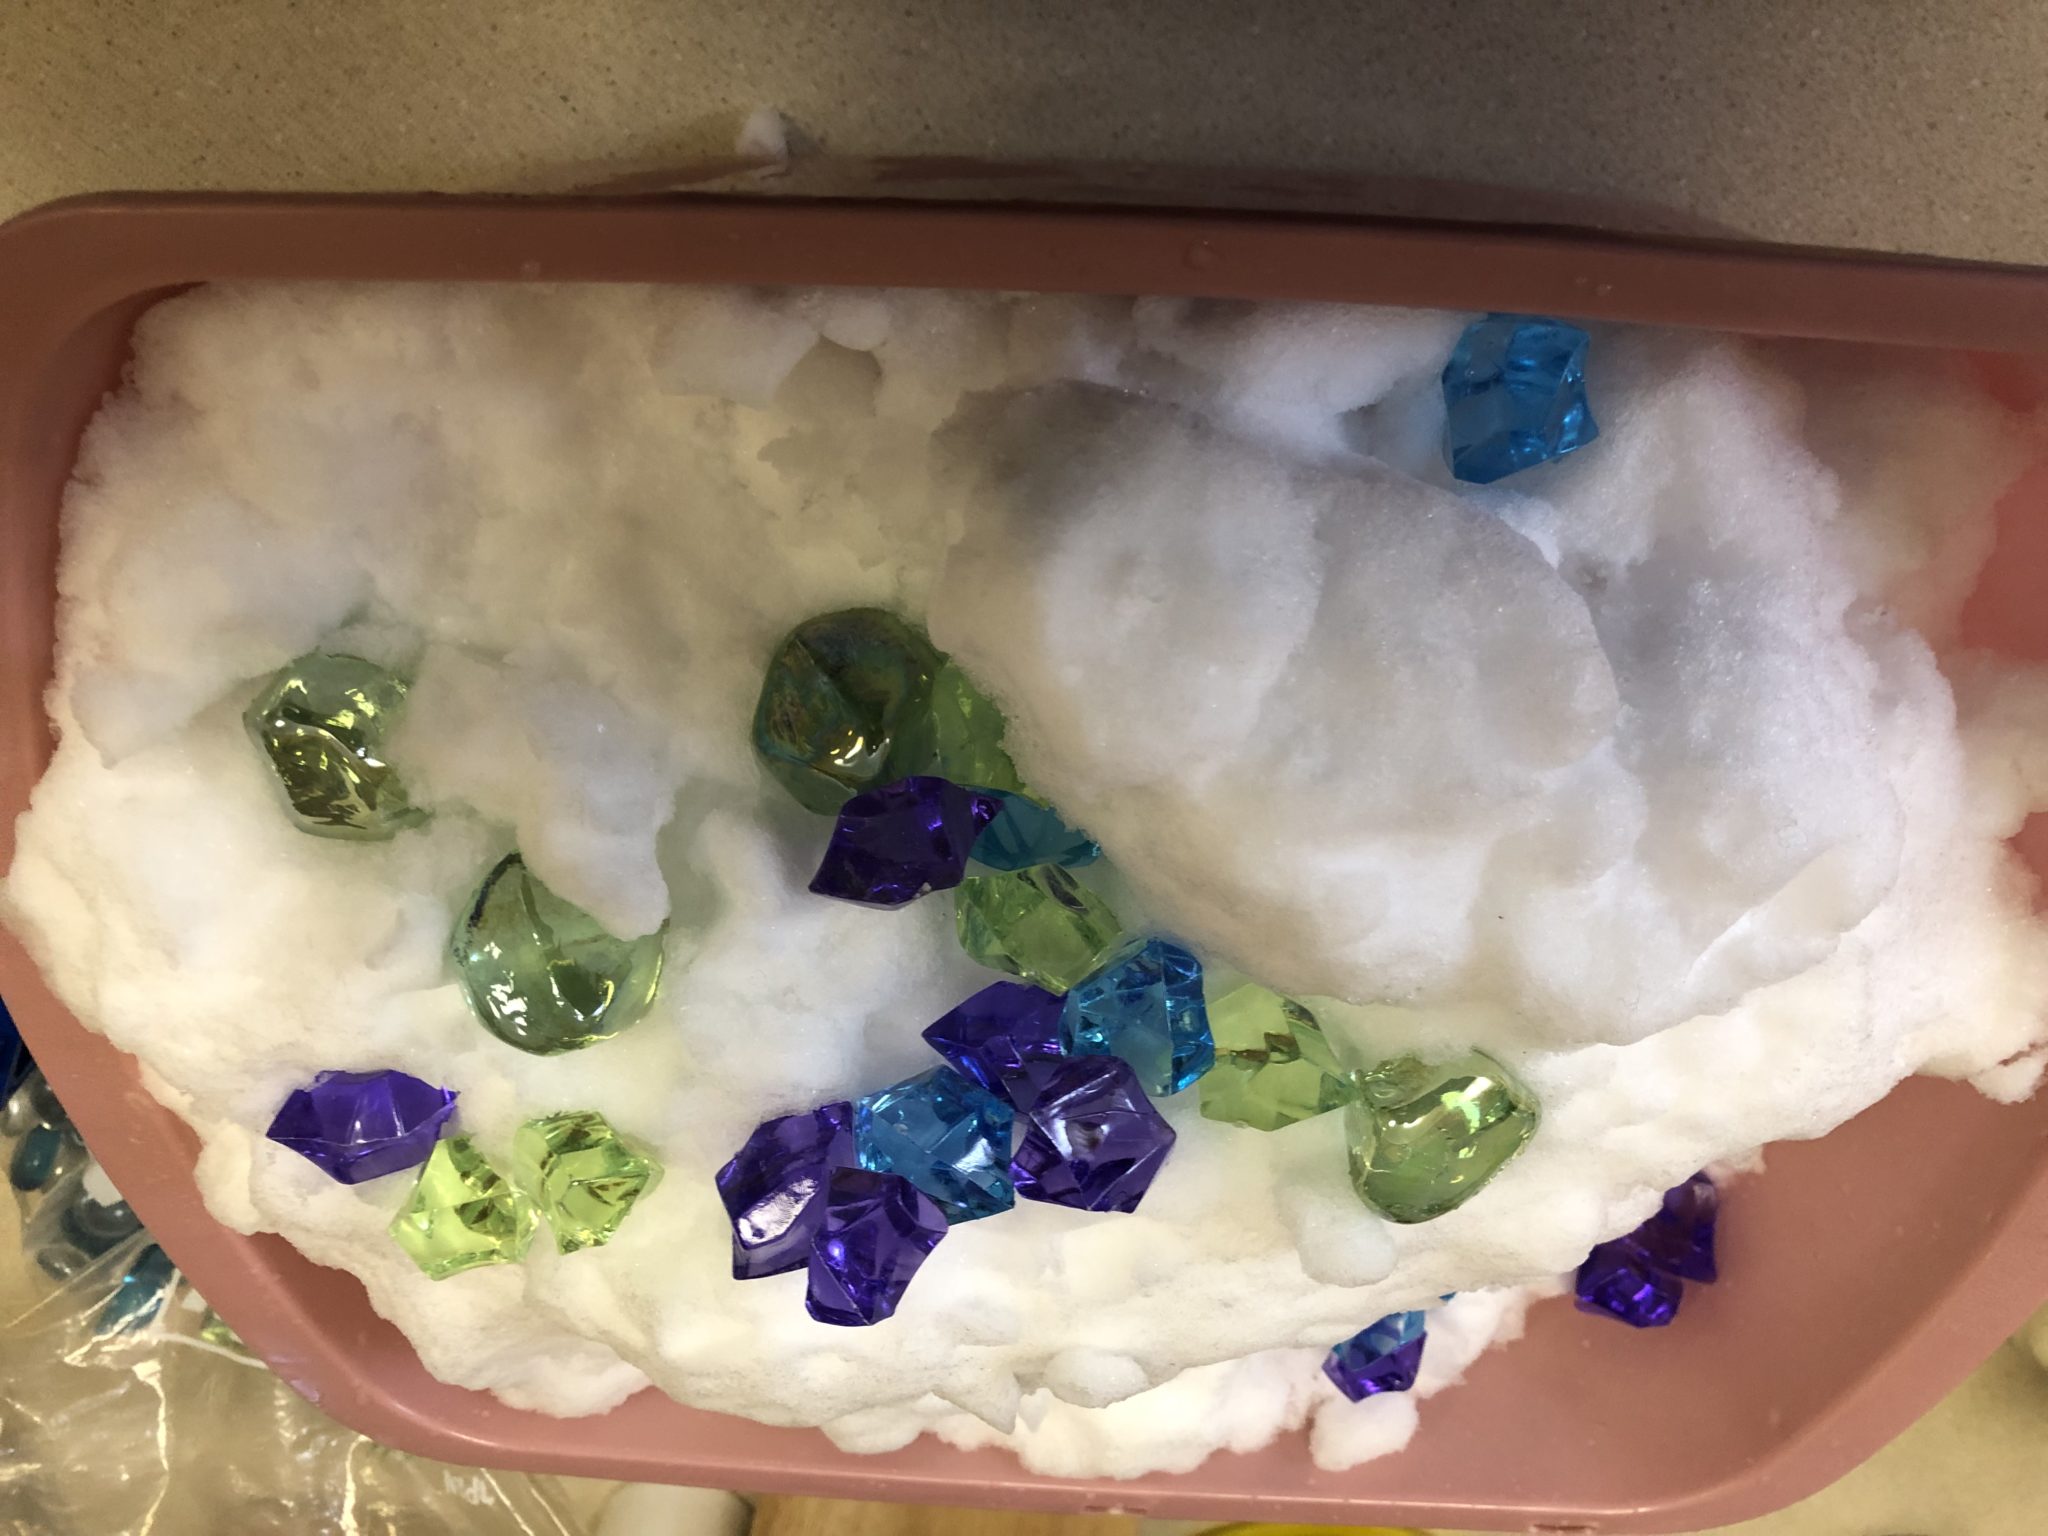
The stones and acrylic crystals were our treasures. She liked those the best. Digging in the snow and watching it fly everywhere.
She loved finding the different penguins.
Of course, those scoops and shovels were used to dig and uncover those treasures. Not to mention the added benefits of getting snow all over mommy. It was the perfect snow to make snowballs and we found out that when we put it into the little containers, the snow would be shaped like them when we took it out. We watched how snow melted and how we could put it together and break it apart.
It’s play, it’s science and it’s fun on a winter day. What are some of your favorite winter activities? Let me know in the comments.
I wanted to come up with an inexpensive and creative gift for my mother’s birthday. I also wanted Rosebud to be involved in making it so I decided to see what we could create with salt dough.
Ingredients:
1 cup salt,
2 cups all purpose flour,
1 cup warm water,
A pinch of cinnamon, (Optional)
Food coloring or powder paint. (Optional)
Directions:
1. Mix salt and flour together in a bowl.
If you are using powder paint to add coloring, you’ll want to mix it with the dry ingredients.
I added the pinch of cinnamon at this stage for a hint of scent, but that is totally optional.
2. Gradually add the warm water and stir until dough forms.
If you are using food coloring, add it into the water before mixing with the dry ingredients.
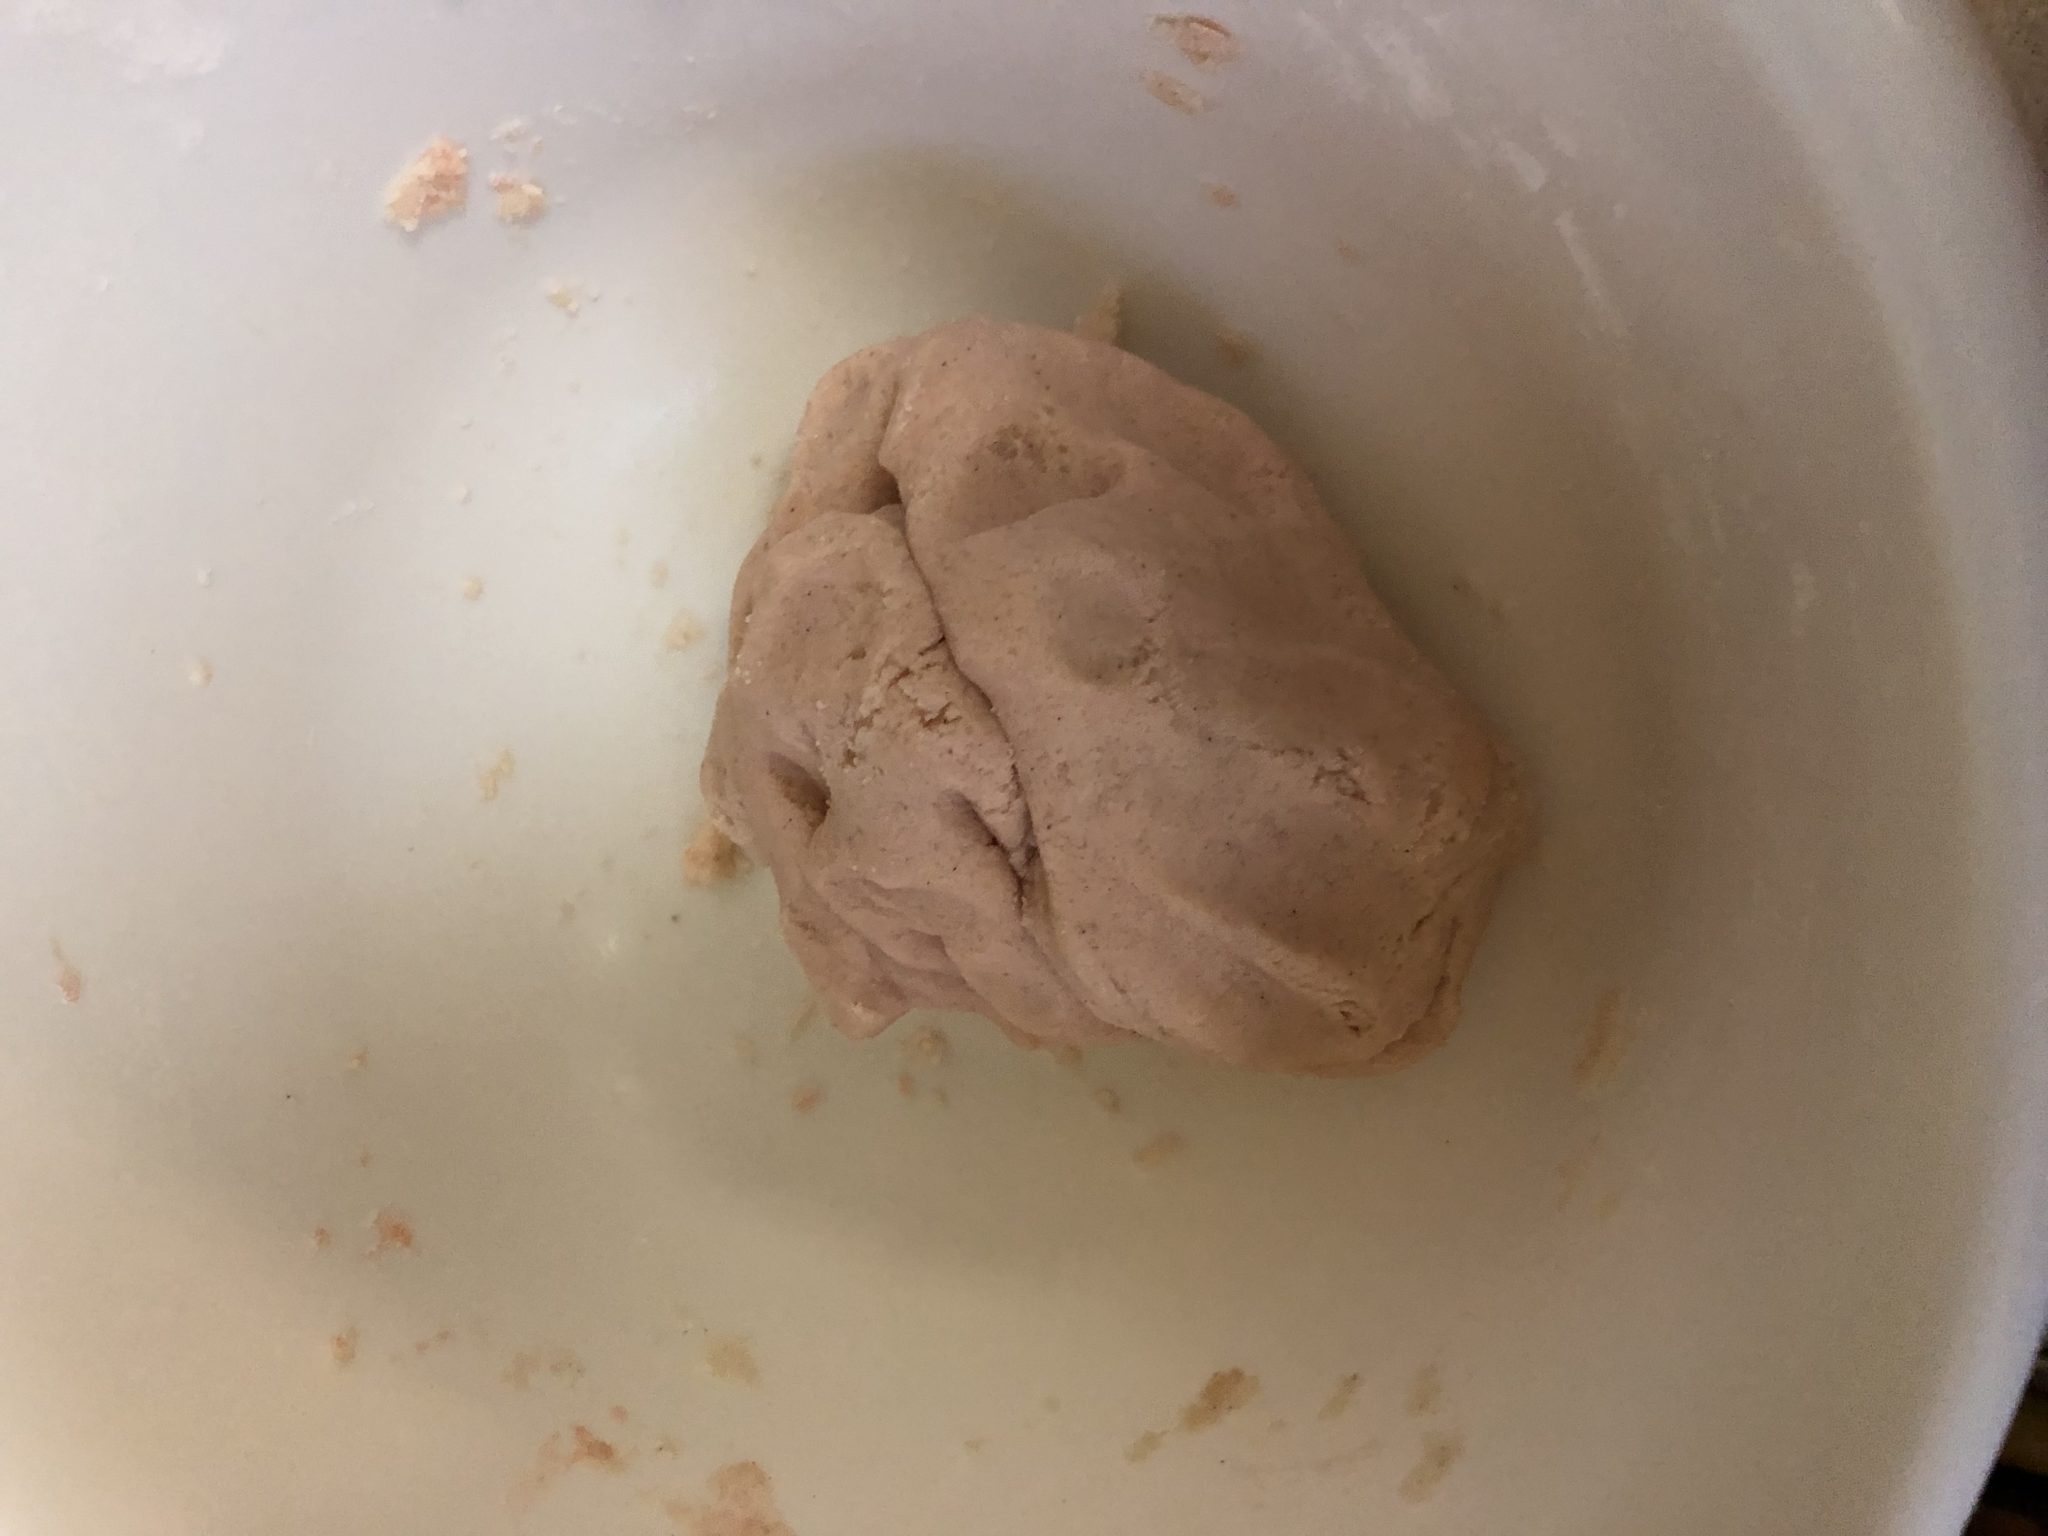
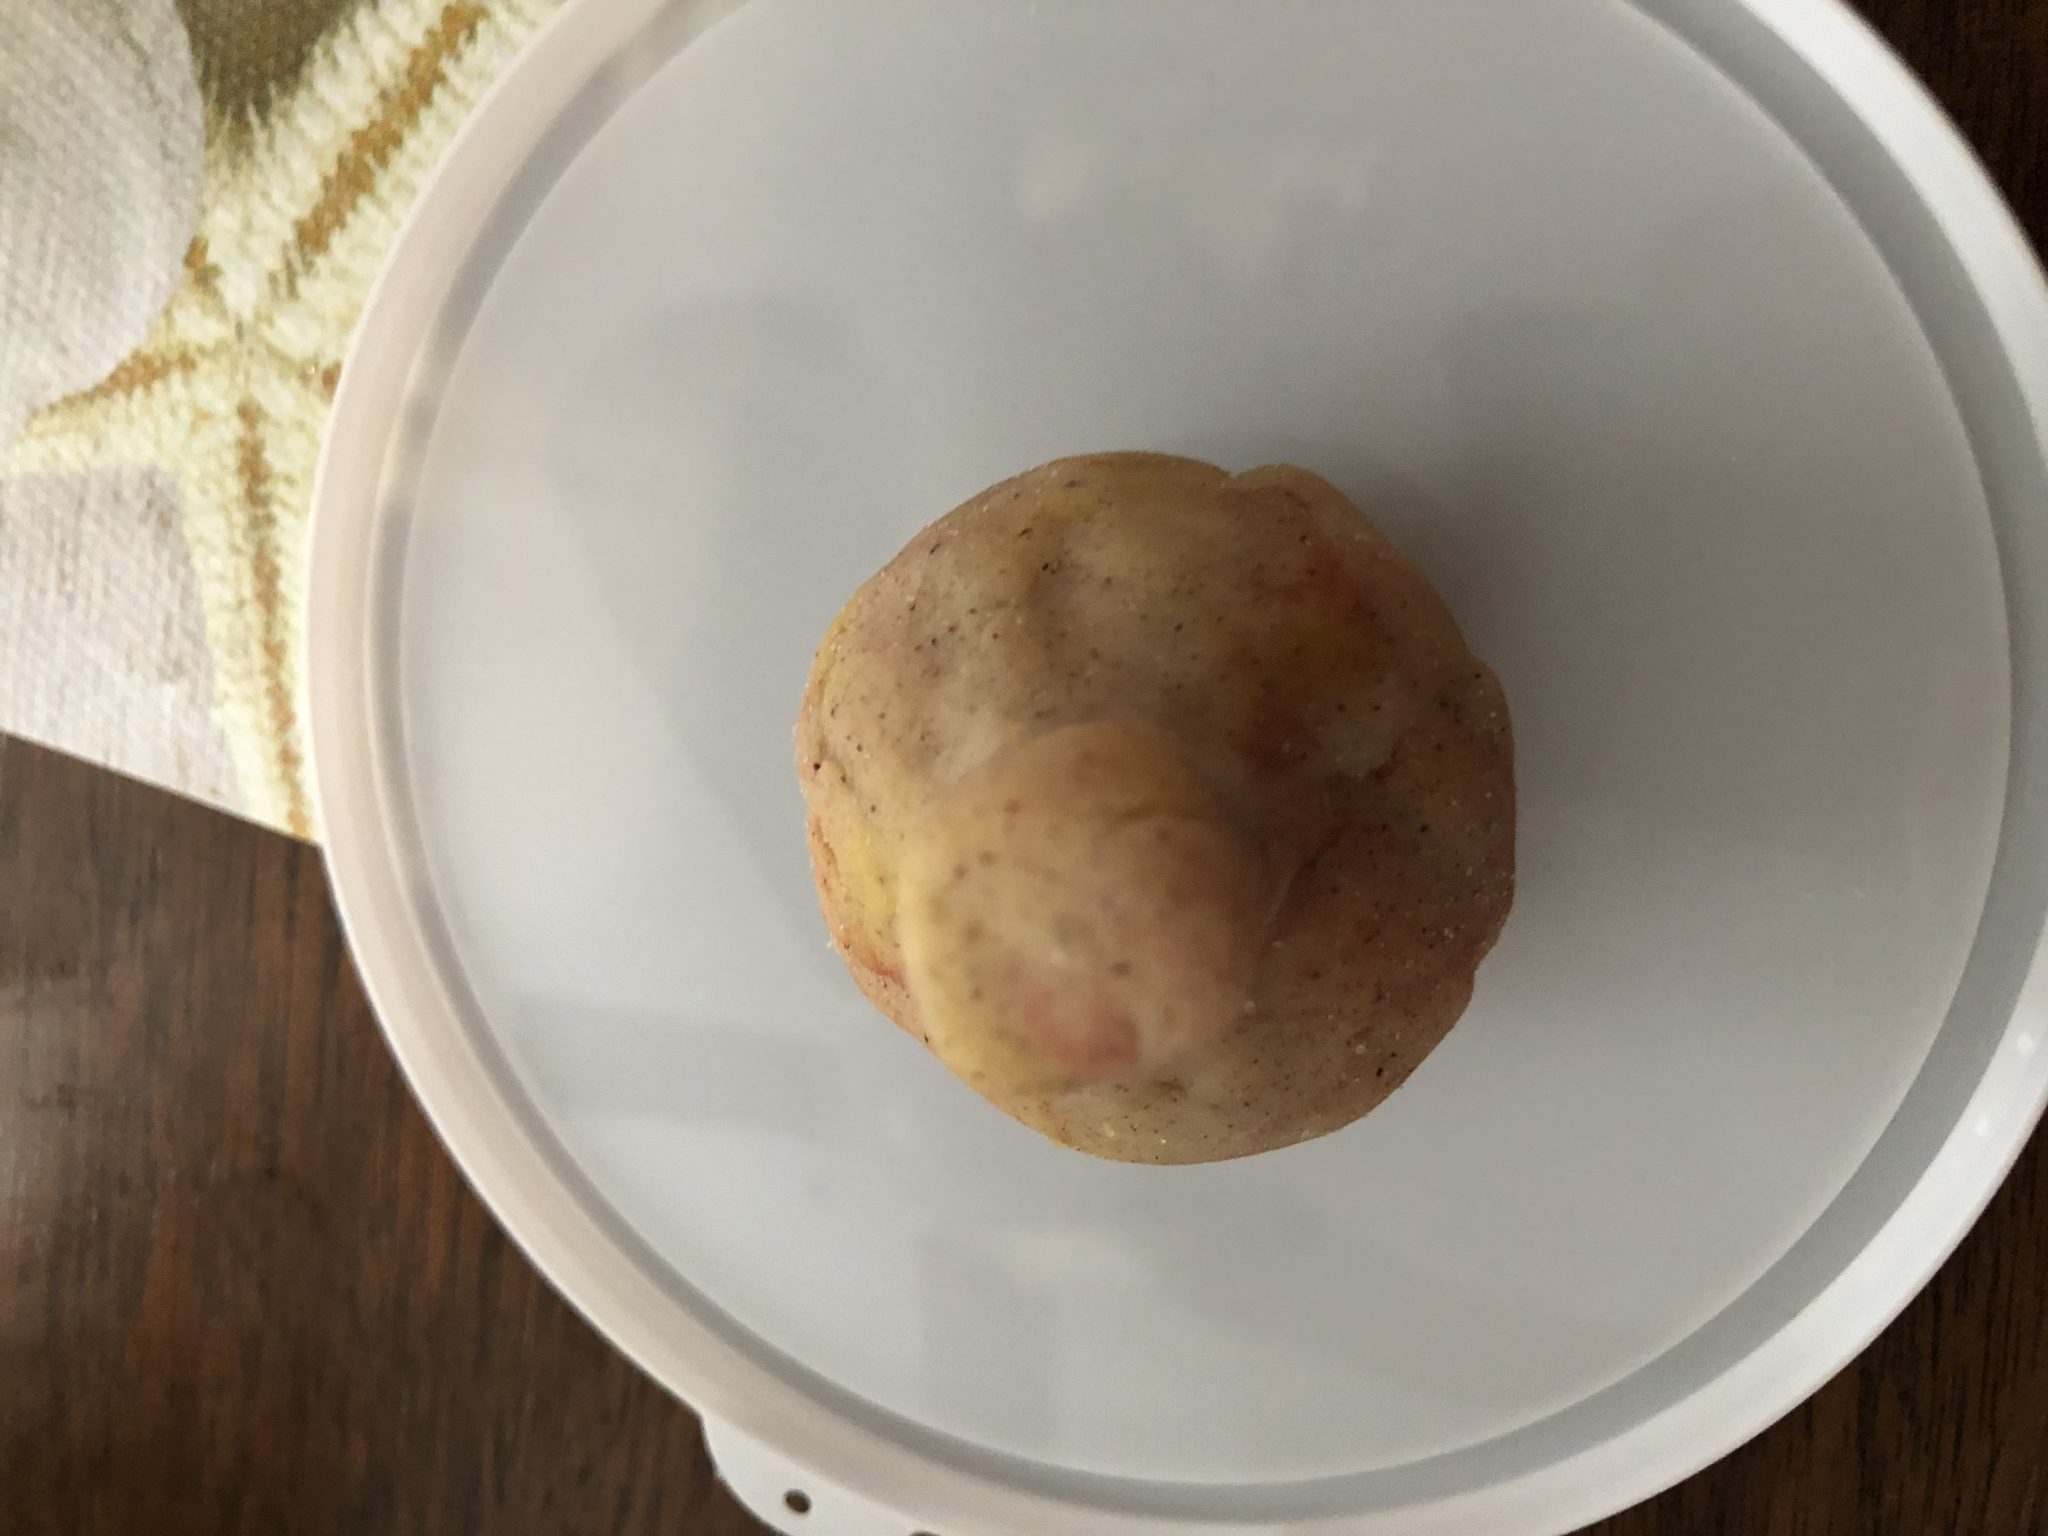
3. Once you have your dough, shape it into a ball and kneed for five minutes. the more you kneed, the softer it gets.
4. Time to have fun and see what you can create.
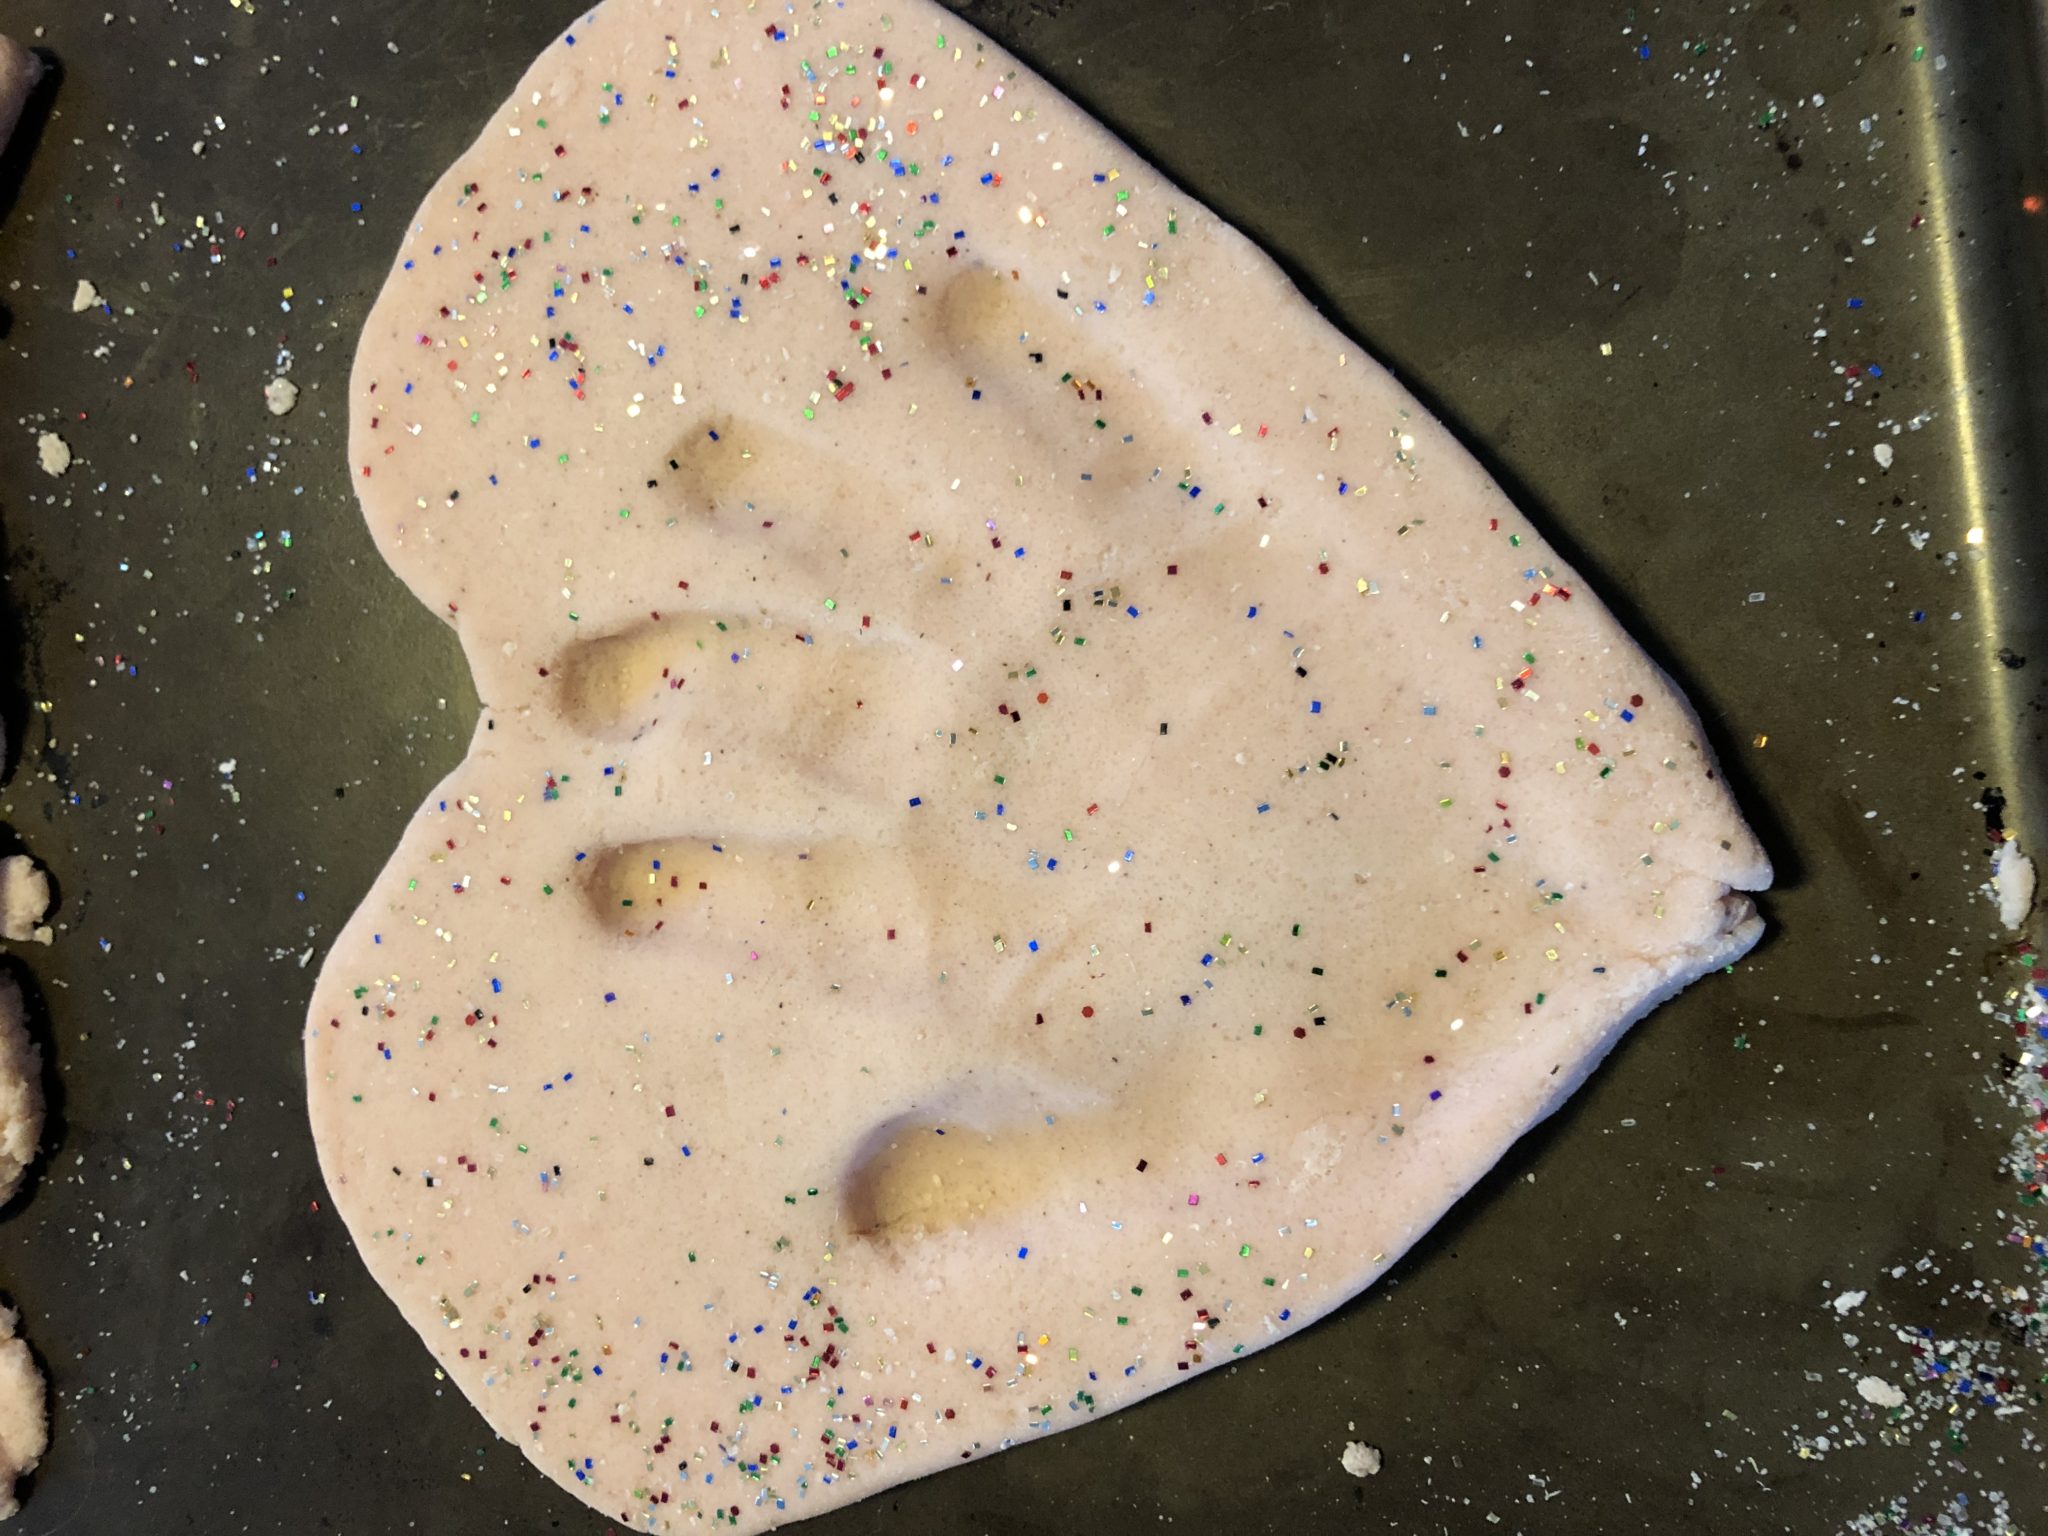
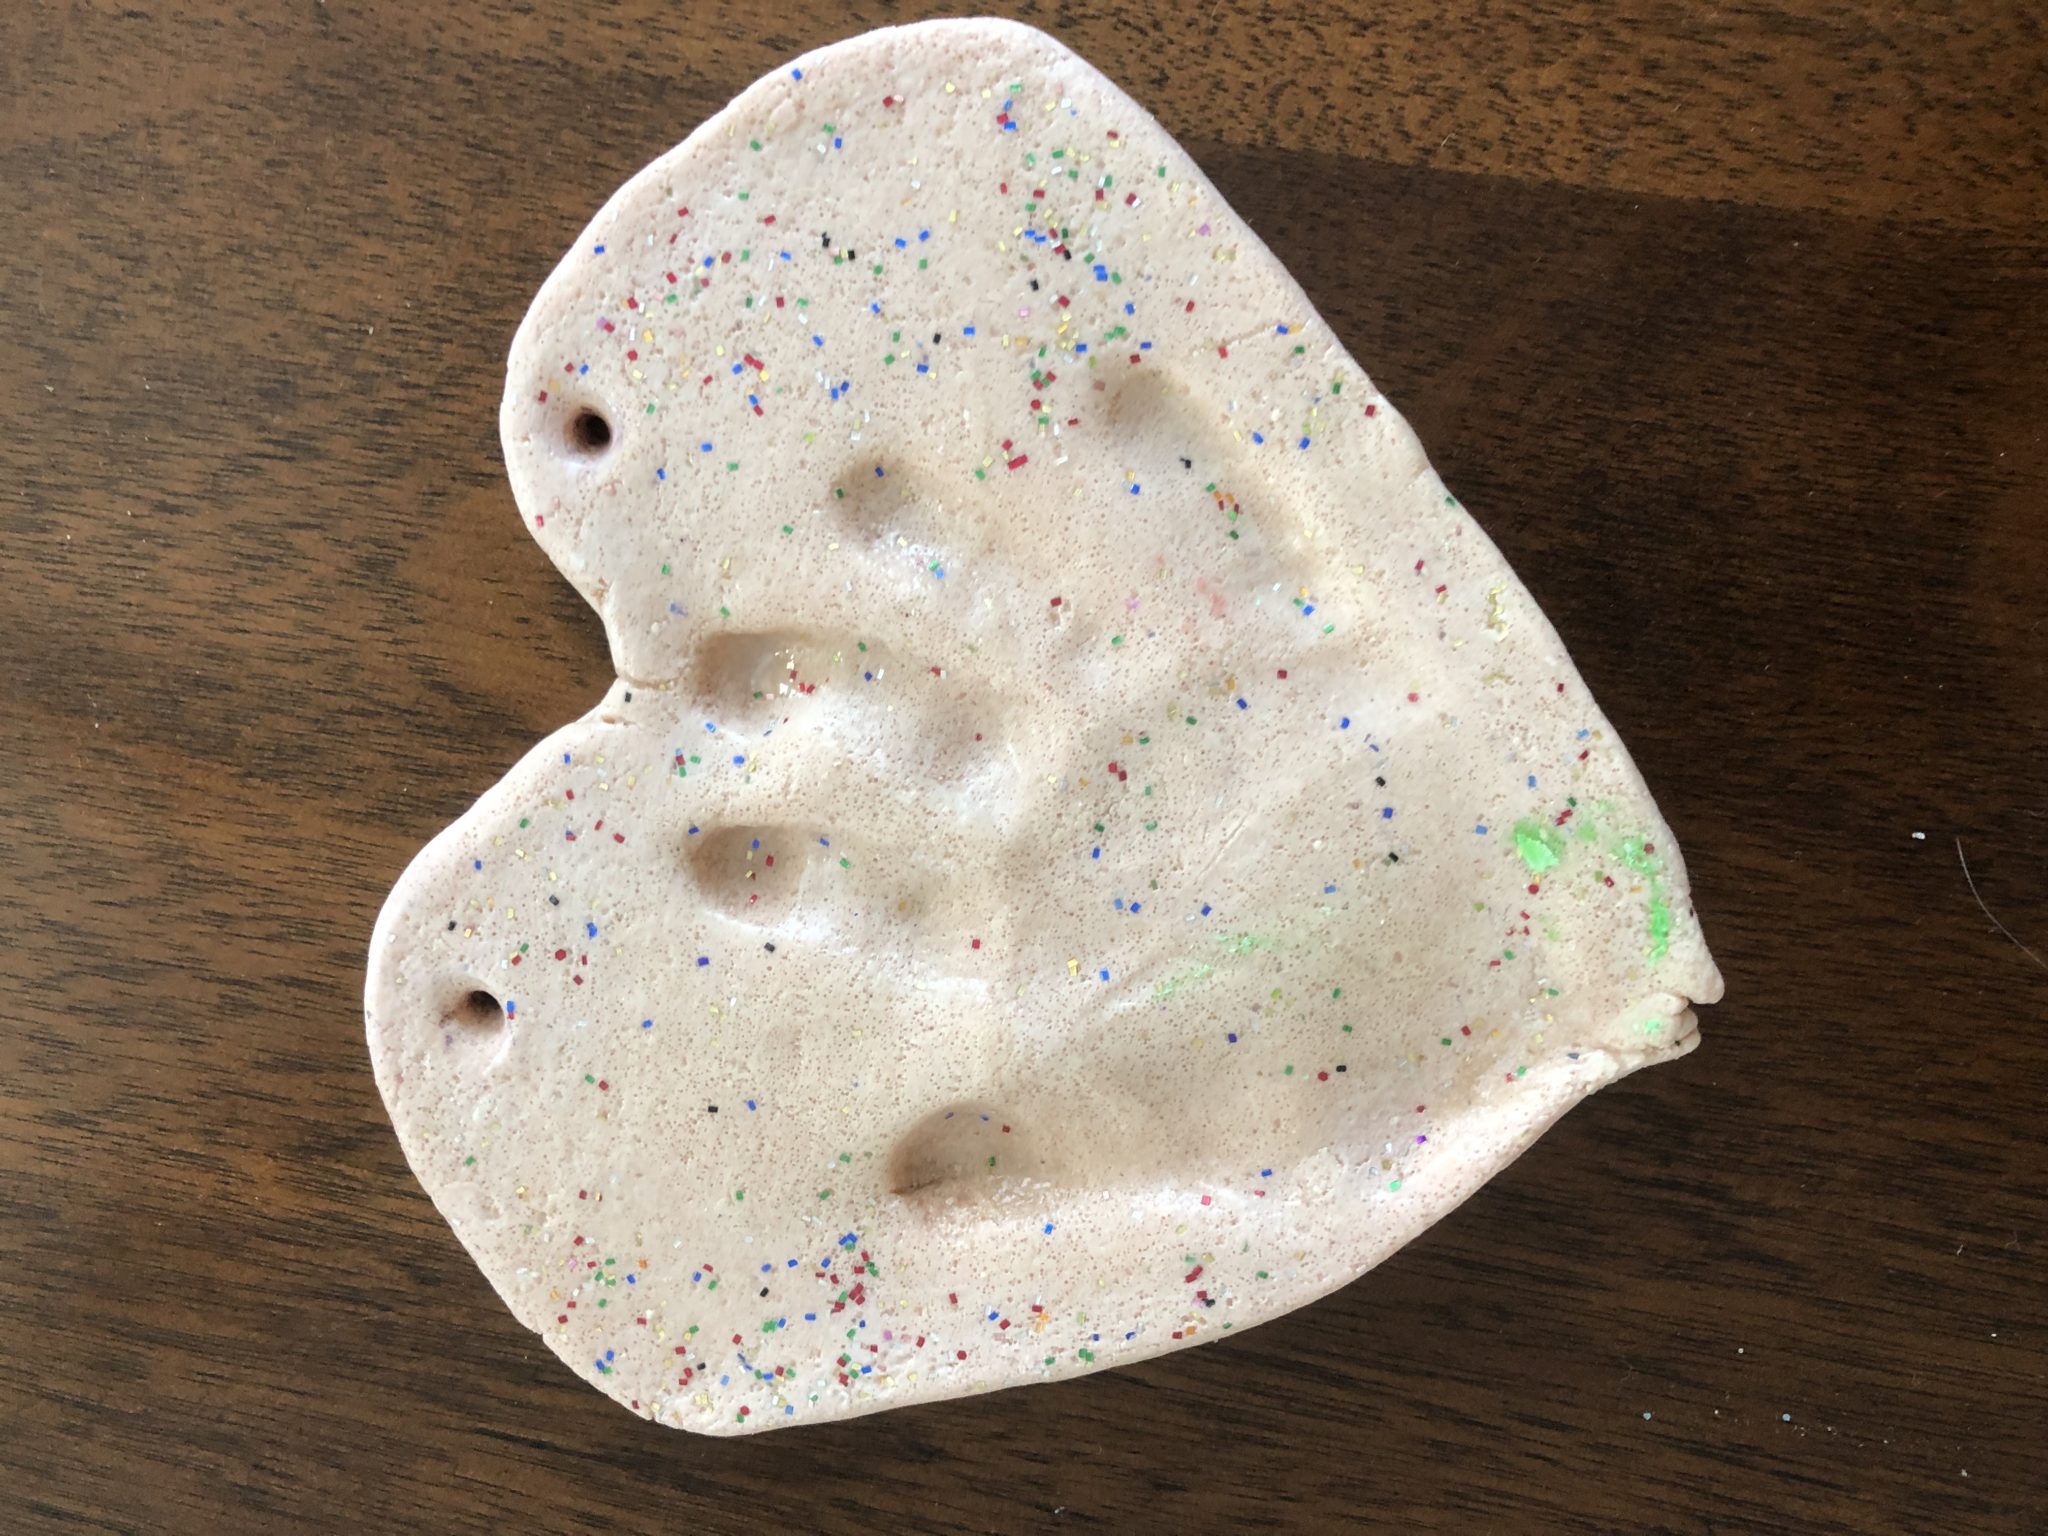
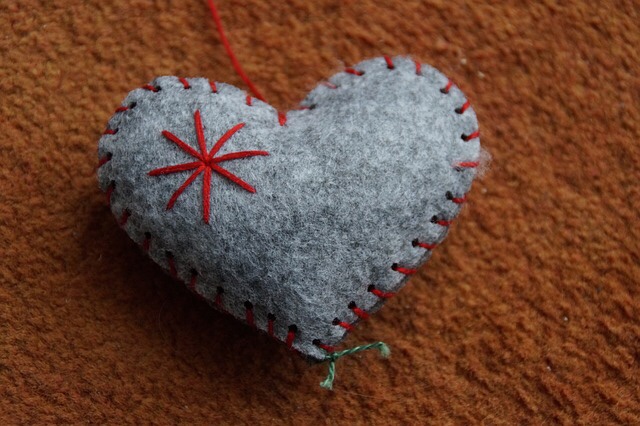
It took several tries, but I shaped the dough into a flat heart and Rosebud pushed her hand in the center to make the handprint. Trying to get a tired child to do something like this can be pure torture, but after the sixth try, we got our final product. The other handprints were missing fingers, missing part of the hand itself or barely noticeable.
To add some sparkle, I put some glitter on the heart. Finally, I poked two holes in the top so the heart can be hung as a decoration. I used a pencil to get good sized holes.
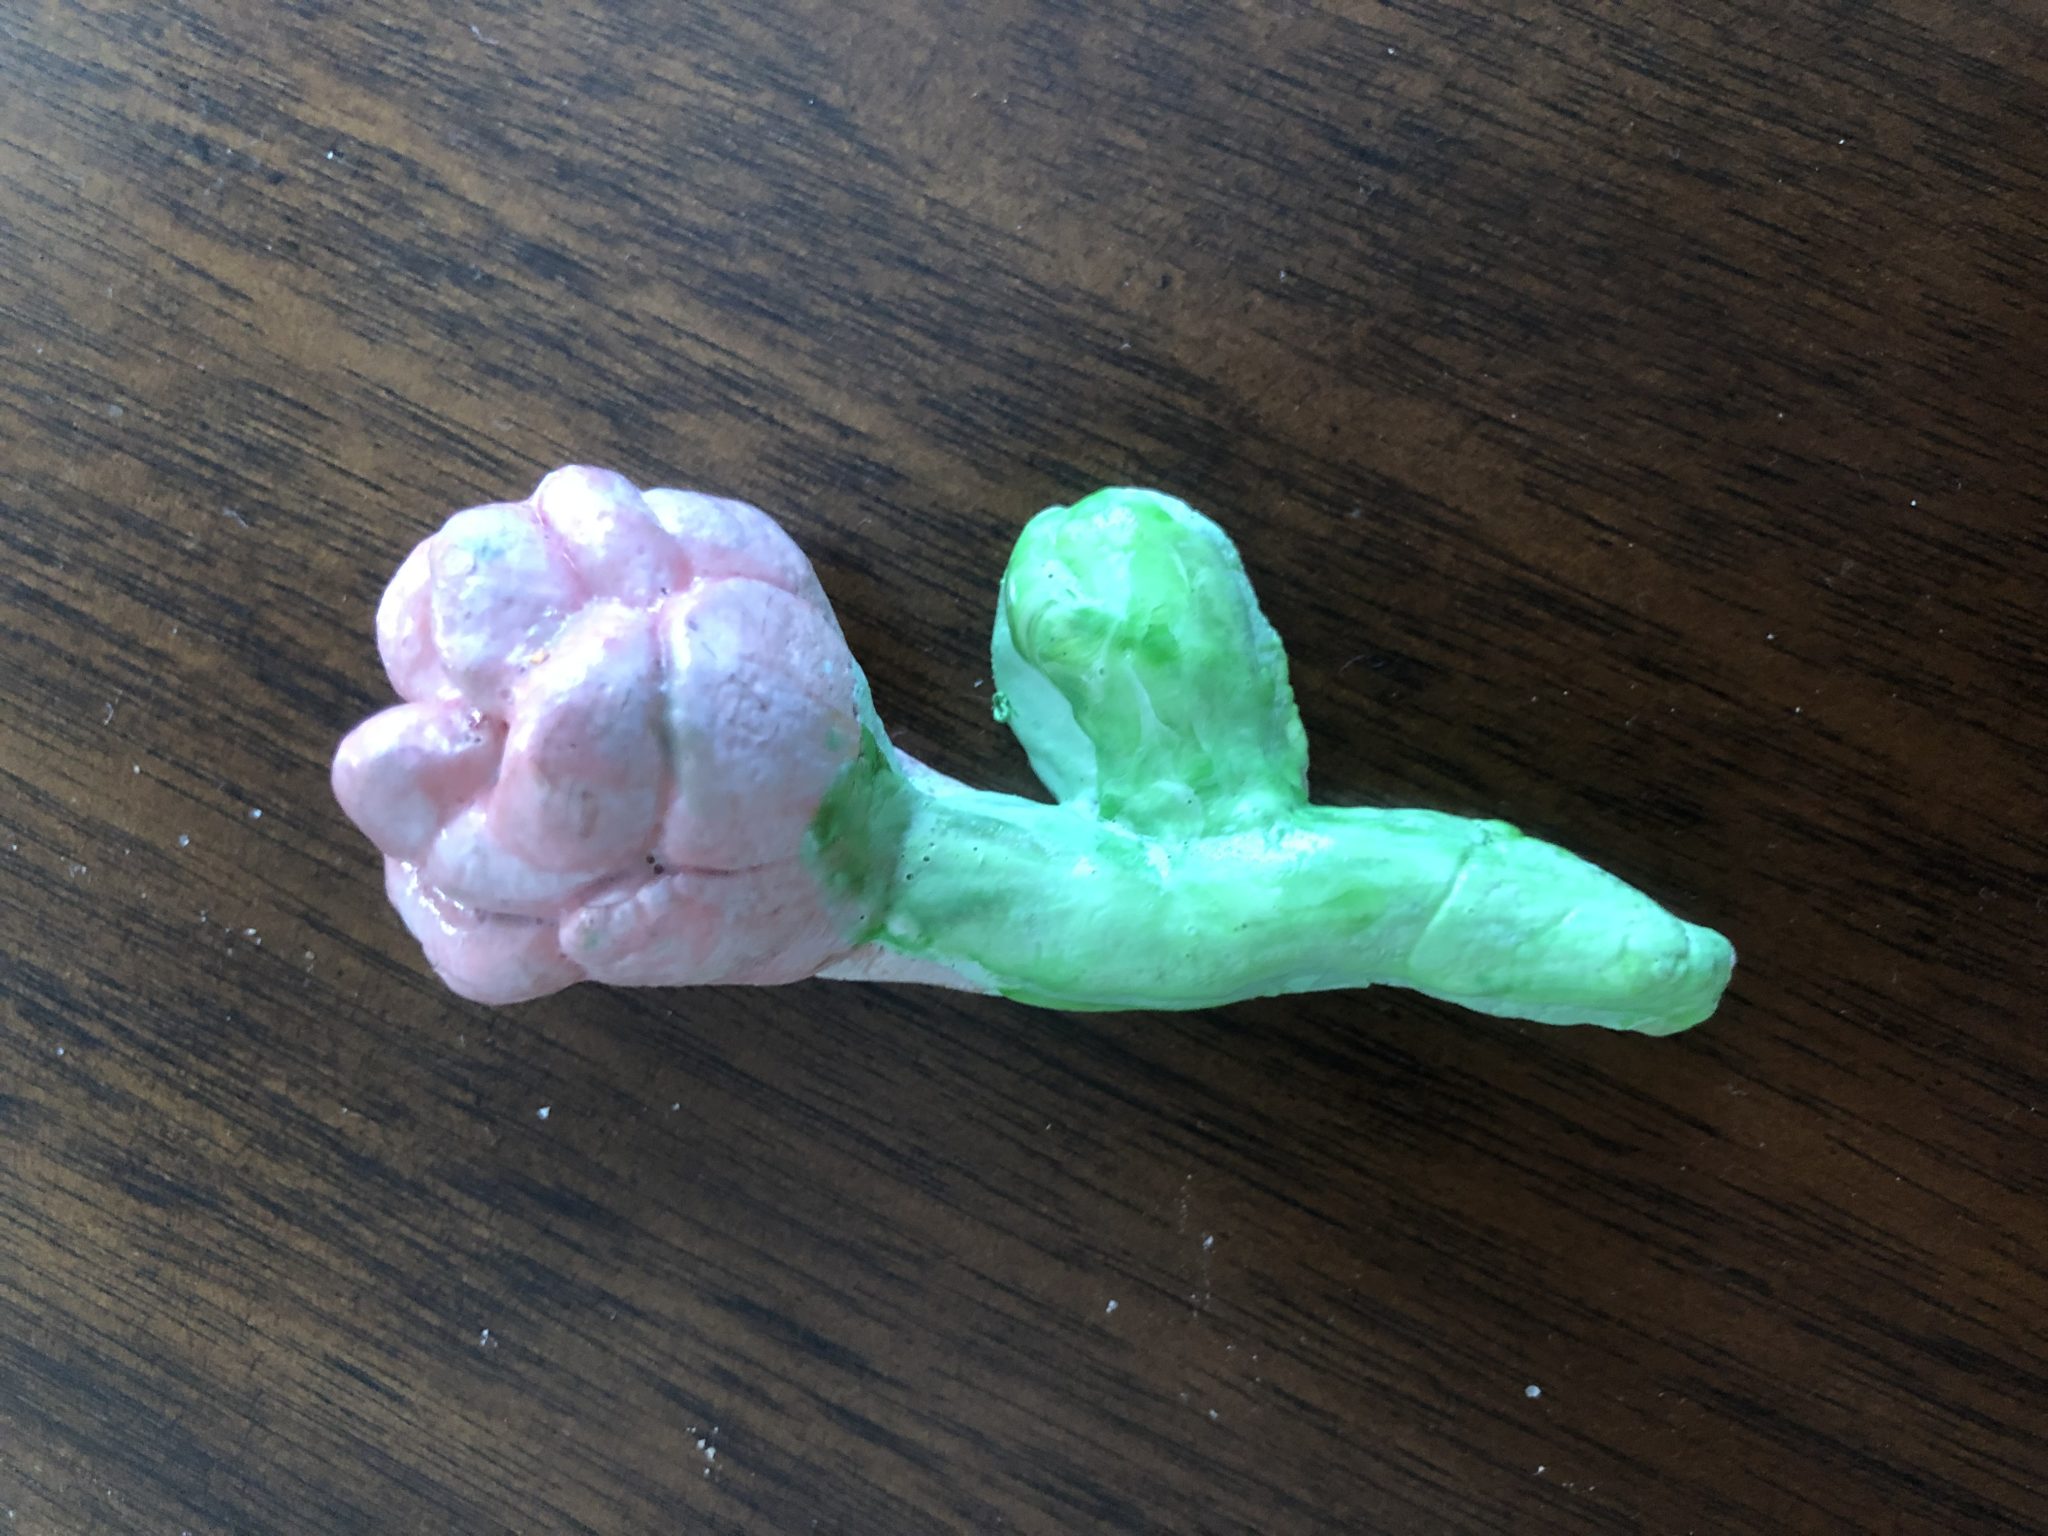
Next, I worked on the small rose. I roled out a coil for the stem and then made the leaf and rose petals by hand. You role the dough into tiny balls, shape them like a fingerprint and then smooth and bend the pointy ends into the stem. I start out with the outside petals which are larger and then work my way into the smallest center petals.
I baked the decorations for one hour at 200F and covered them with foil to avoid browning. The heart could’ve been baked a bit longer, but it air dried the rest of the way.
When it was cool, I painted them. For the heart and flower, I mixed white paint with a tiny drop of red food coloring. For the stem and leaf, I mixed the white paint with some green food coloring. When the paint was dry, I covered it with a coat of modpoj.
Rosebud was proud to give the birthday gifts and I was happy that we created something together. Have you made anything with salt dough? If so, what are your best creations?
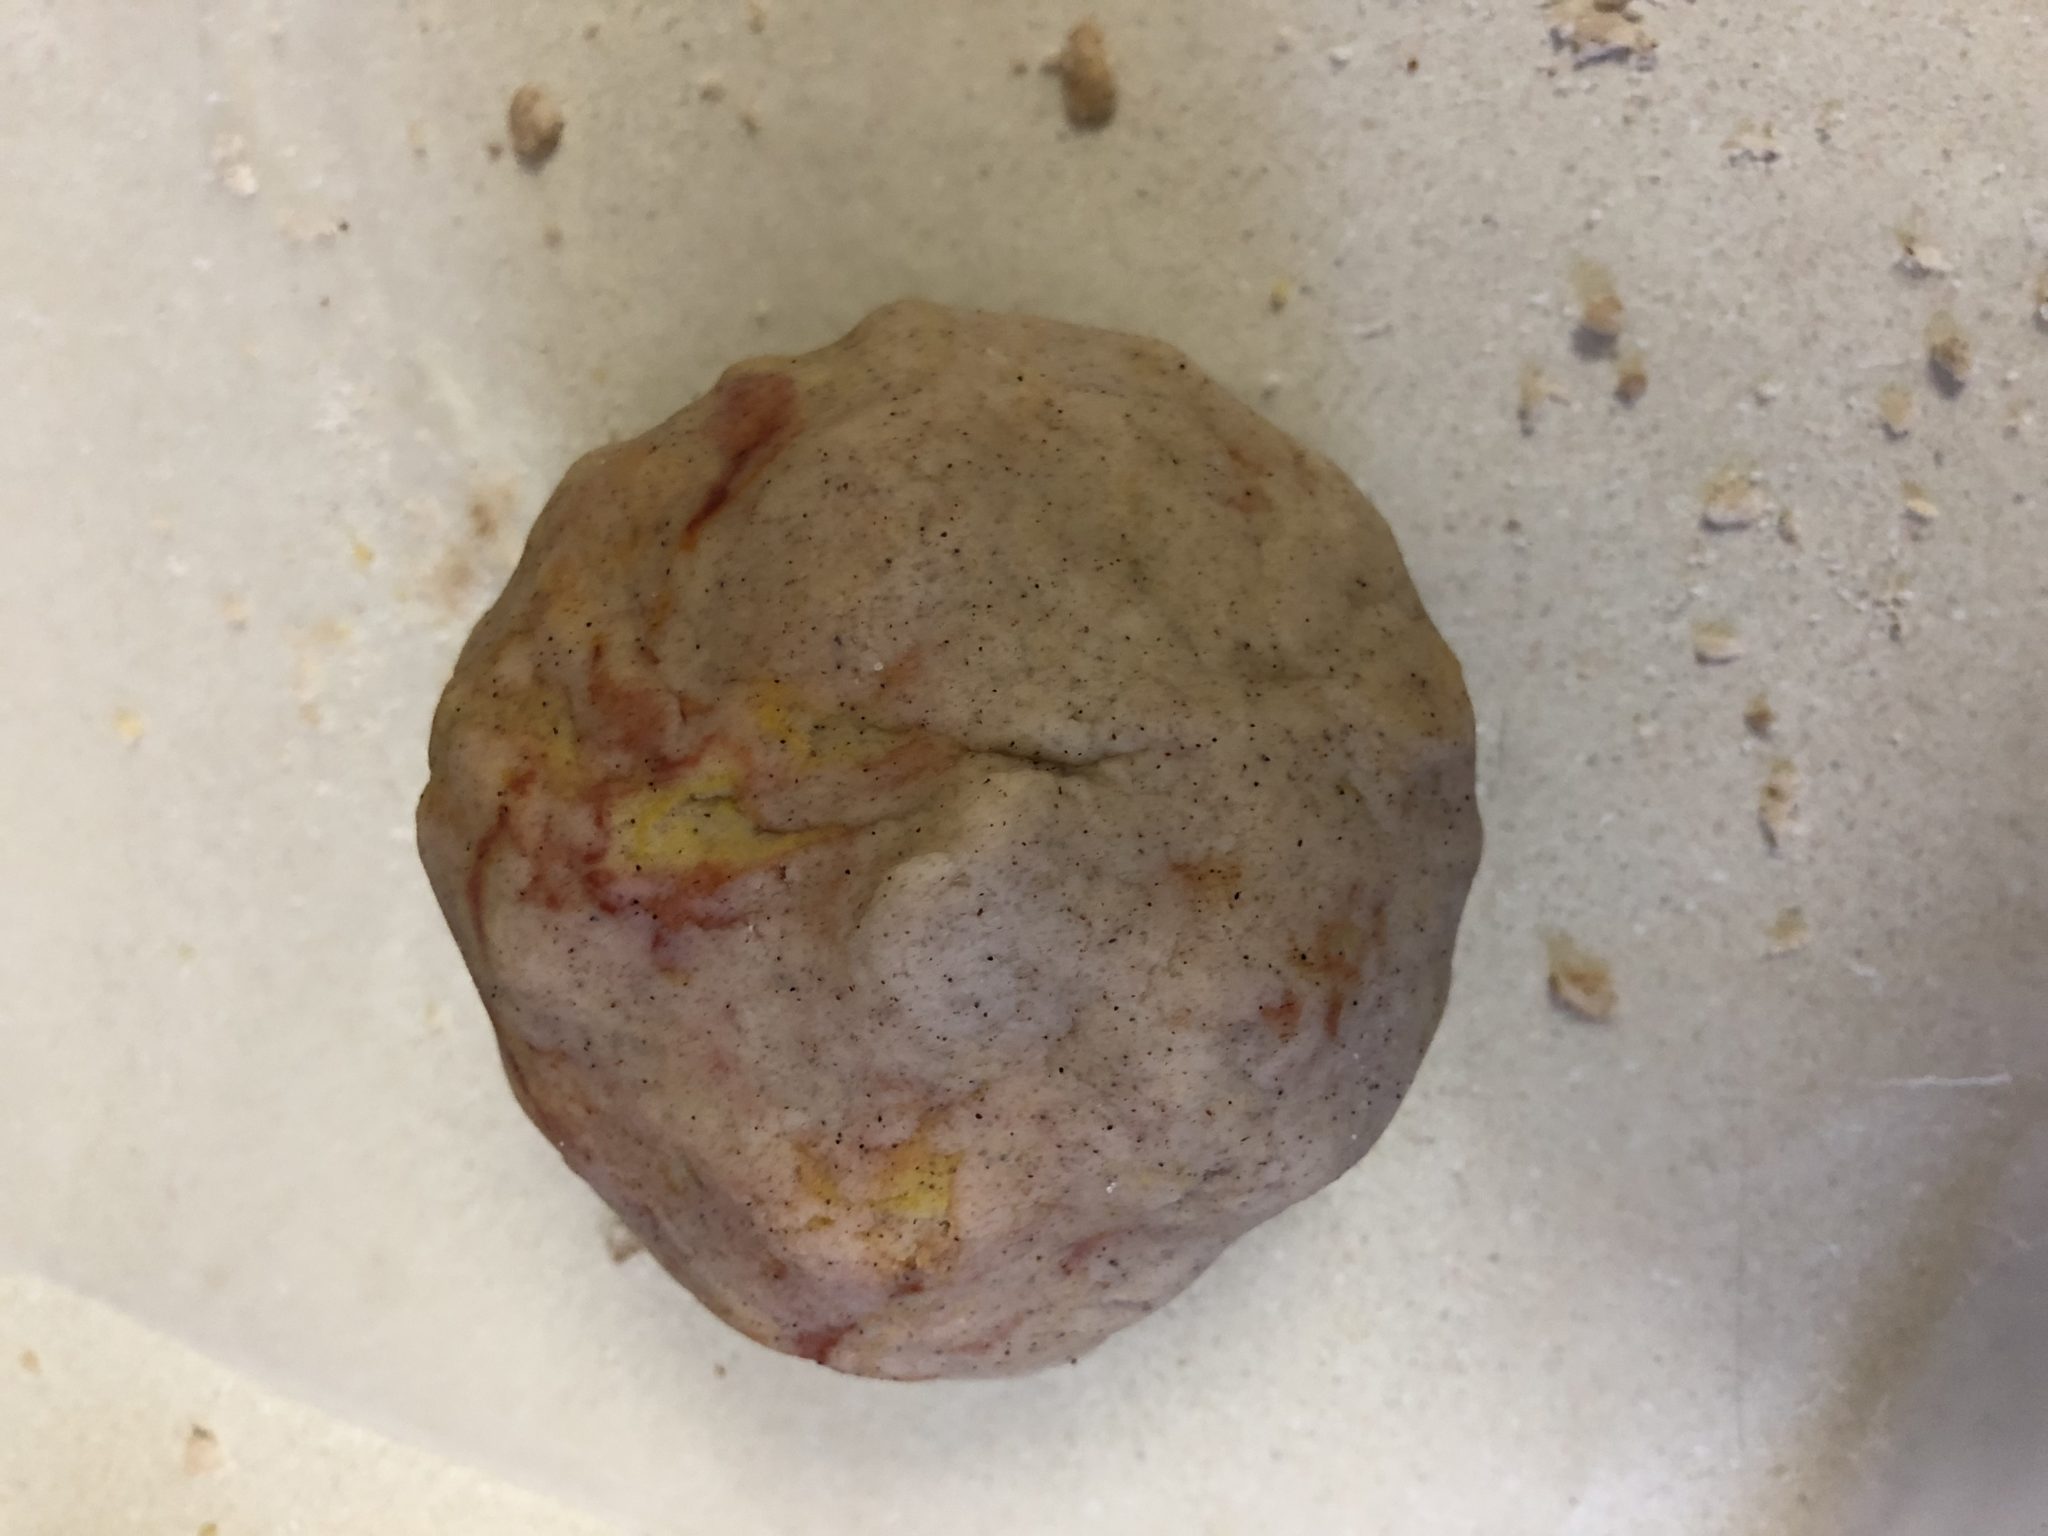
I love anything pumpkin spice, so I couldn’t let fall fly by without making this play-dough. For some reason, it took me forever to get all the ingredients on hand to make this play-dough, but I’m glad I finally was able to make it. It smells fantastic and goes great with any Halloween or fall themed activities.
As soon as I opened the container, Rosebud said it smelled good enough to eat. And yes, she took several bites even though I kept telling her not too. I’m sure it smells way better than it tastes. I set out some play-dough tools. We have rolling pins, mini spatulas, play-dough scissors and cookie cutters. I found any Halloween related trinkets I found in my kitchen as well. I have a tiny ghost cake pan and some ghost and pumpkin rings that came on a cake.
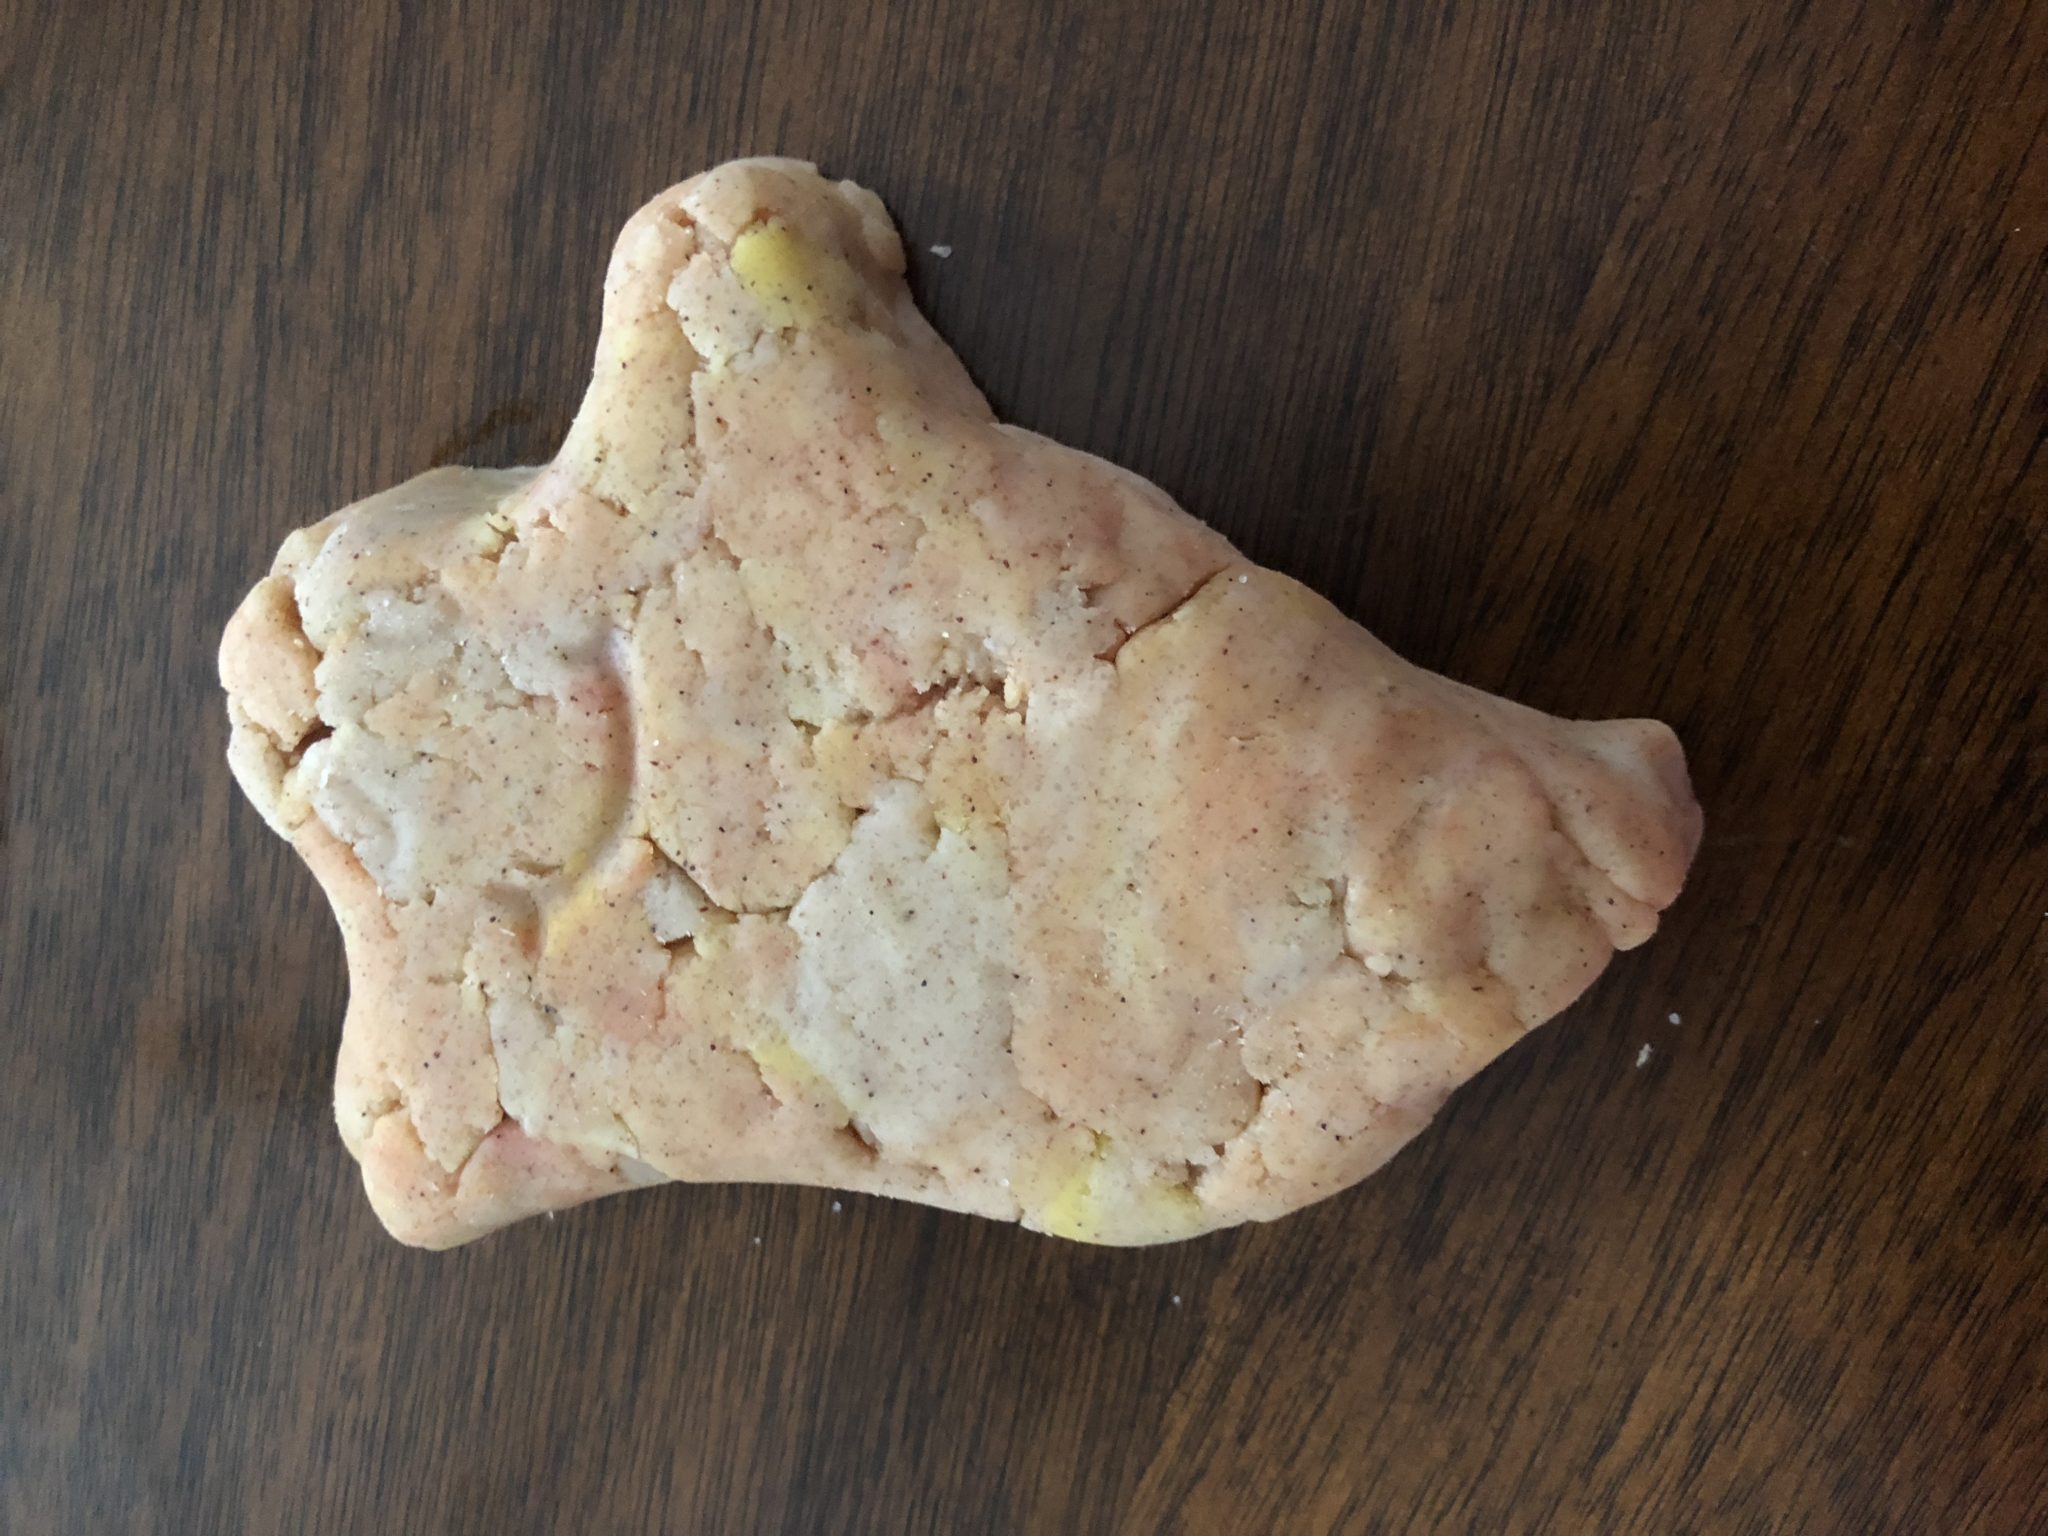
We tried making pumpkins. Well, I would and then Rosebud would squish them.
We made ghosts, squished them up and then filled the pan again.
Finally, I made different shaped pumpkins like in the book, The Legend of Spookley the Square Pumpkin. It’s a book about a square pumpkin who saves the day for a farmer because of his differences. It’s a great book for Halloween, but the underlying theme is diversity. Even though we may look different, you can find something wonderful and worthwhile in those differences.
Here’s the recipe I used.
Ingredients:
2 cups flour,
1 cup salt,
2 table spoons cream of tarter,
1 table spoon Pumpkin Spice,
2 table spoons vegetable oil,
1&1/2 cups boiling water,
A couple drops of glycerin to add shine,
Red and yellow food coloring.
Directions:
1. Mix together dry ingredients.
2. Stir in oil.
3. Add water and stir until the lumps are gone and it comes together.
4. Kneed. Add food coloring, scent, glitter and or glycerin at this stage.
Store in an air tight container. All of my batches of play-dough have stayed good for a couple months at least.
Enjoy and happy playing. What are your favorite fall activities with play-dough? Let me know in the comments.
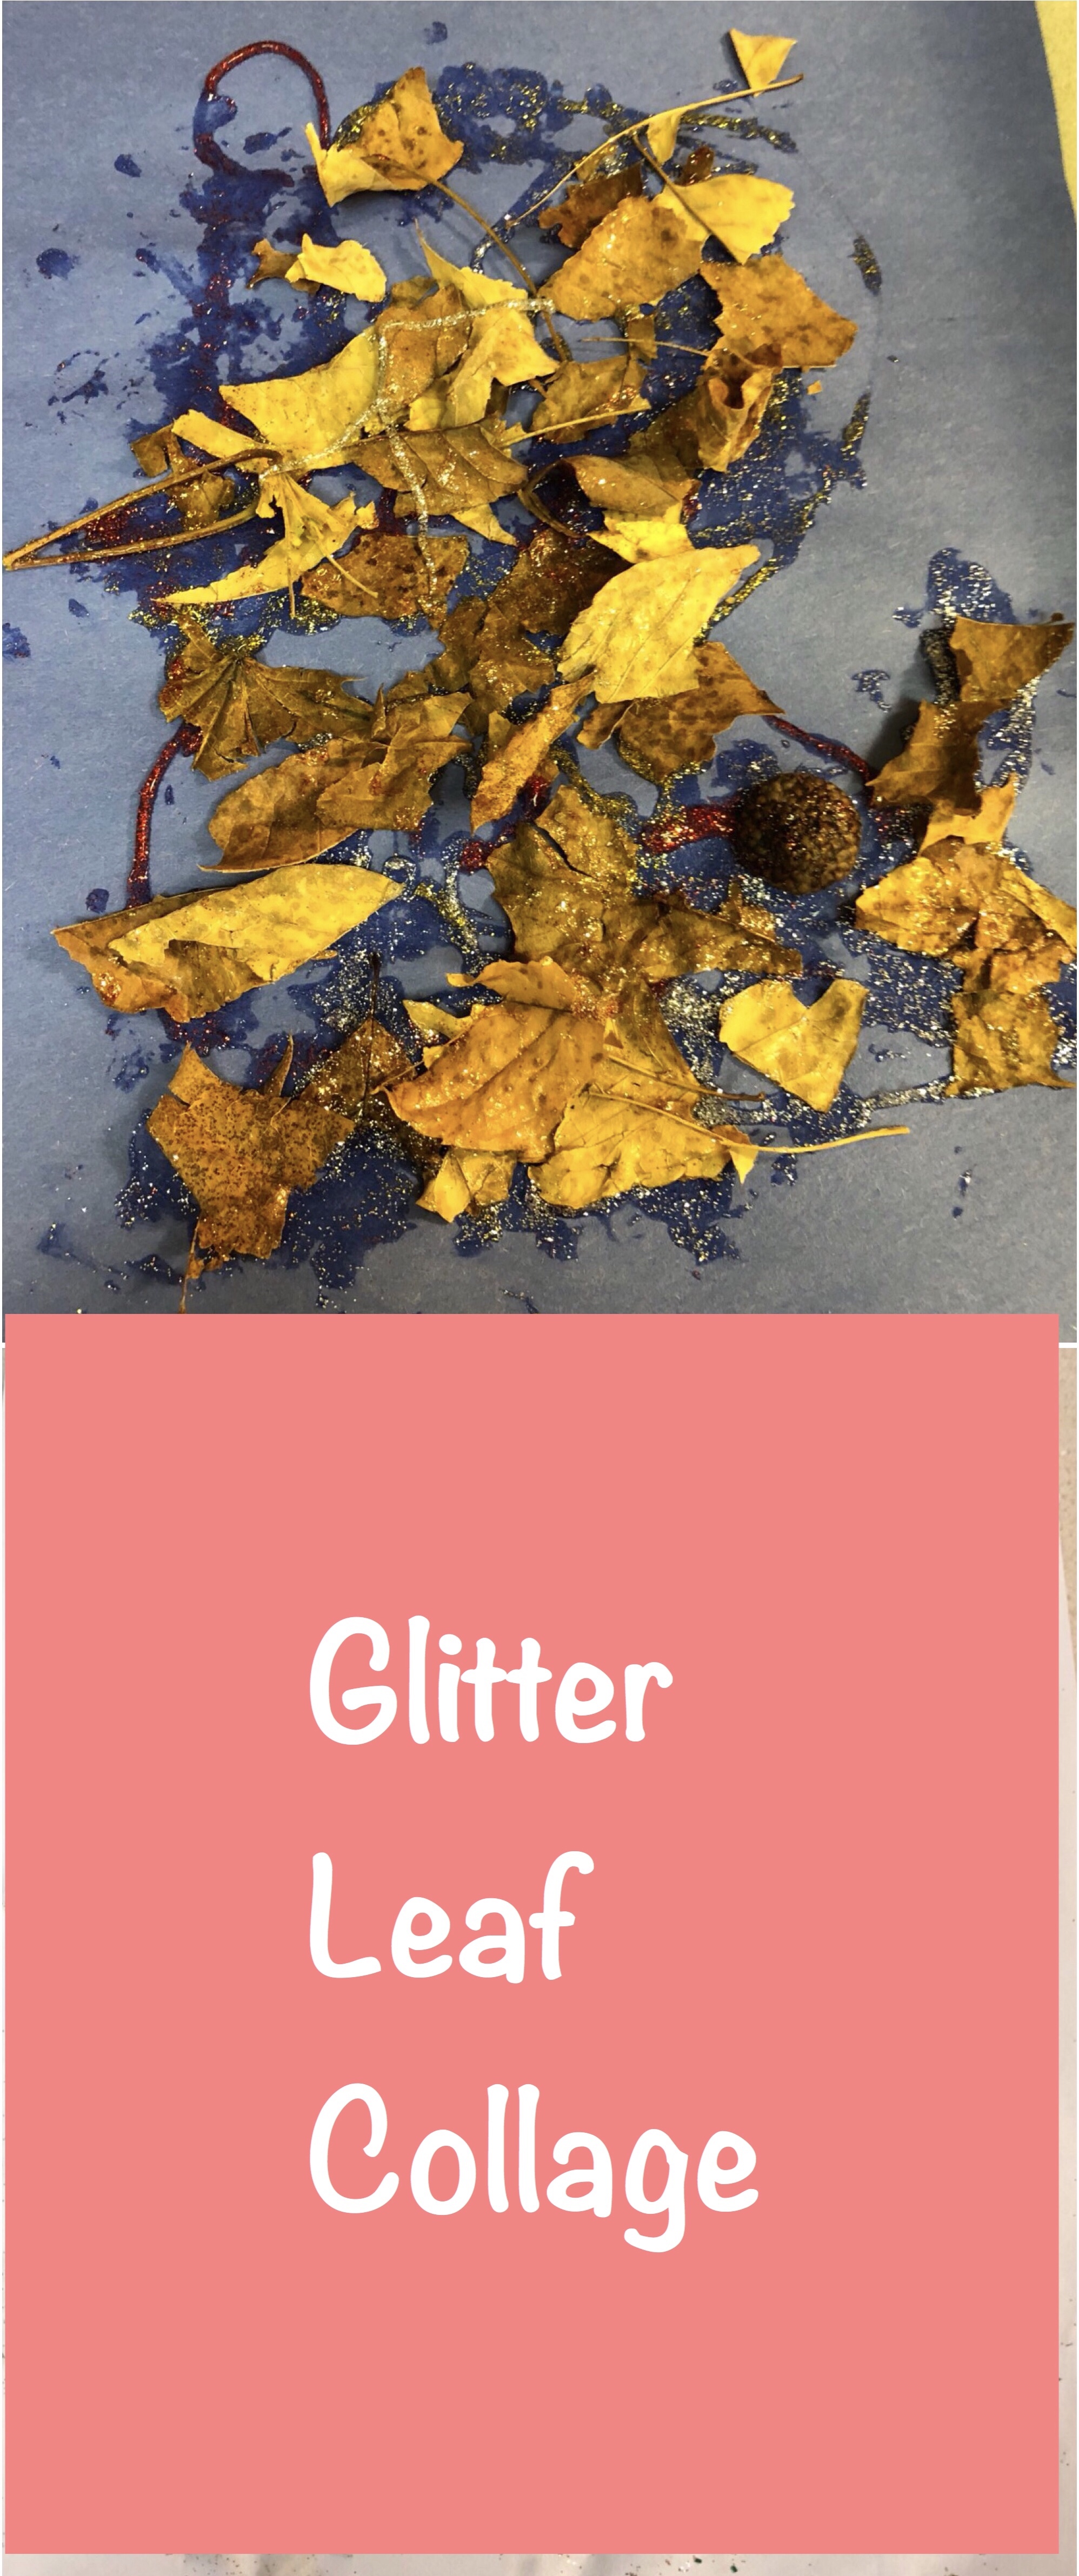
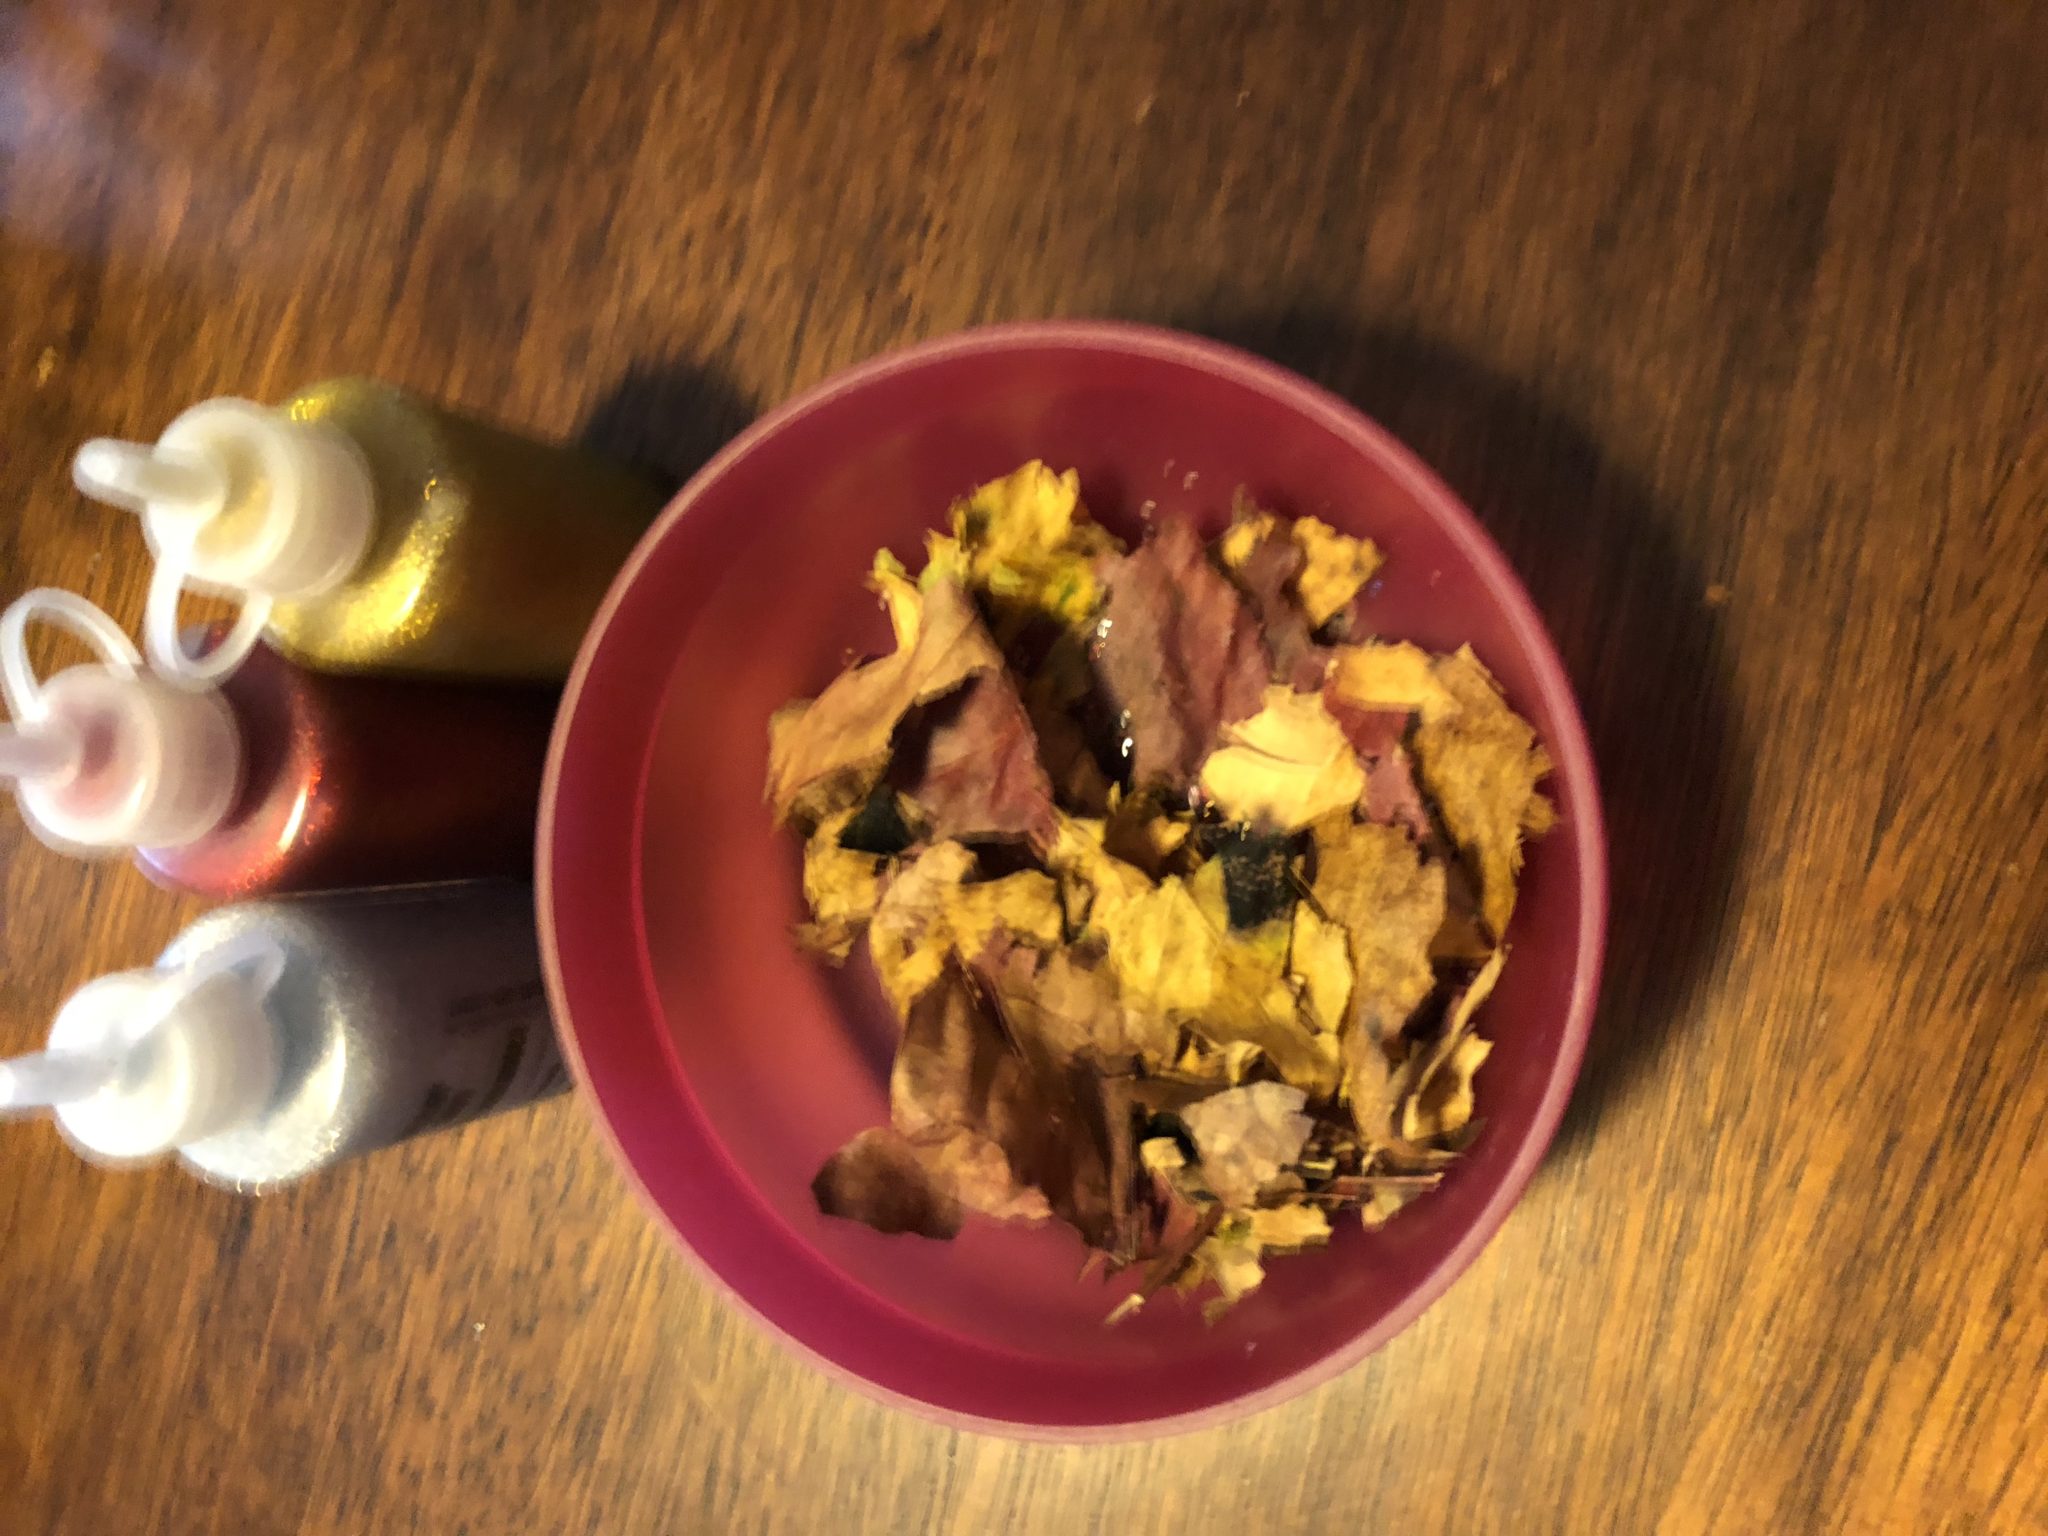
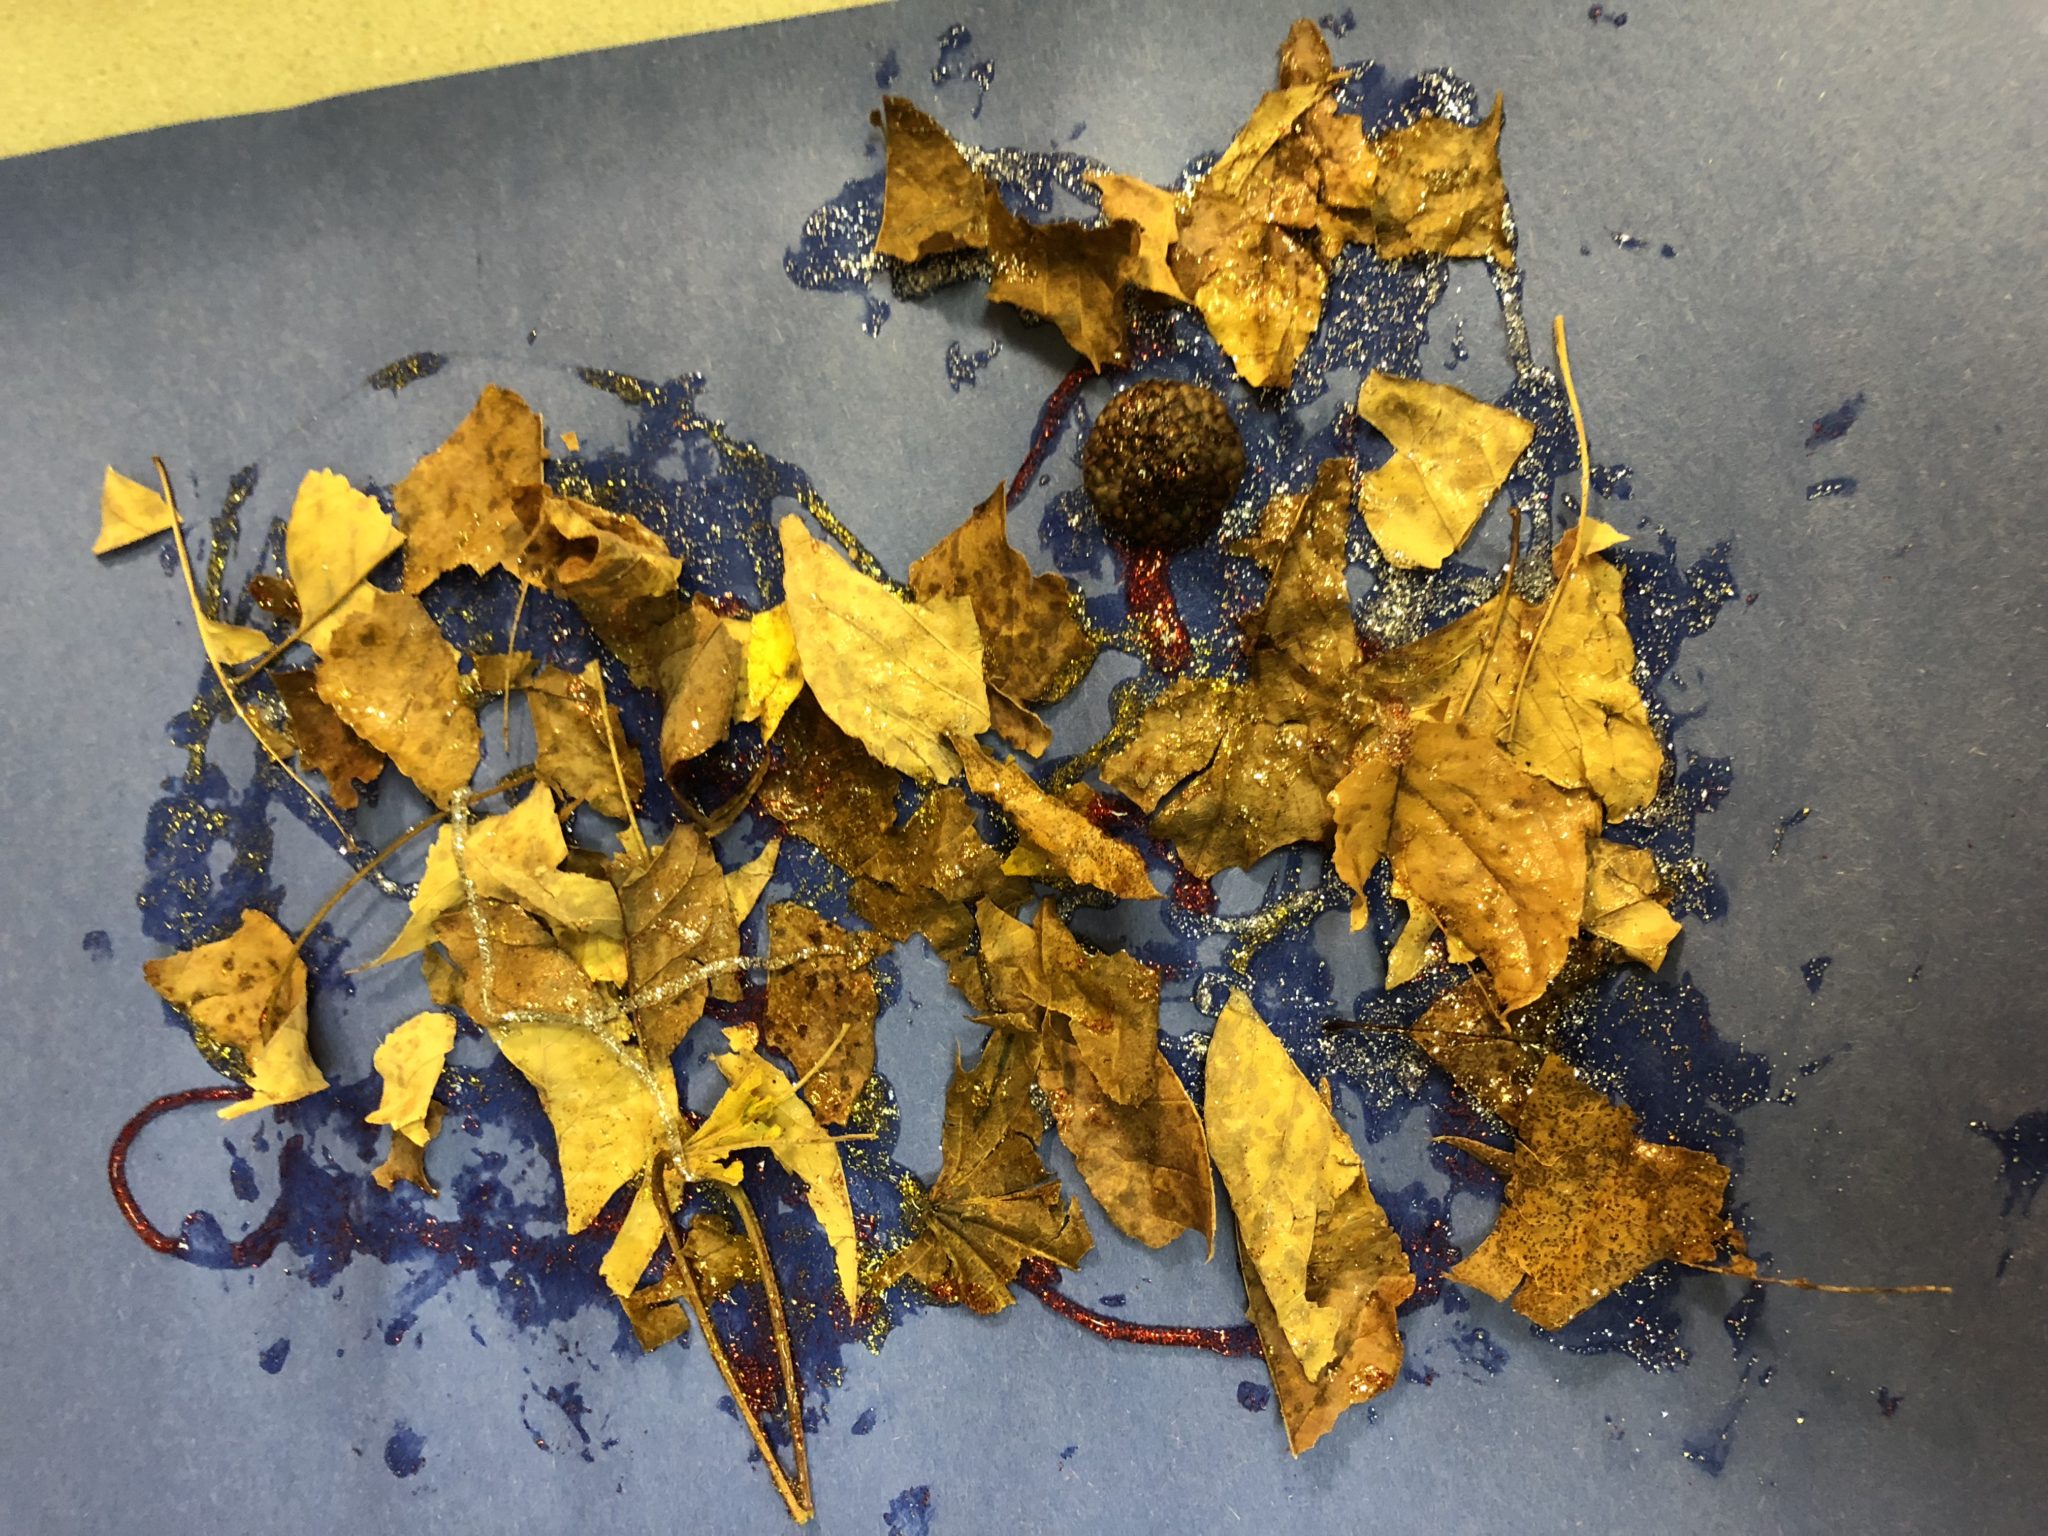
We took a nature walk the other day to collect leaves for our glitter leaf sun catcher and we had some left over. One idea was to just simply glue the leaves on paper, but I wanted to be more creative. So, I decided to break the leaves into small pieces. That way it would make an interesting collage. Then to make it pretty and sparkly, I added some glitter.
1. Put glue on your paper. I’d suggest using a paintbrush to spread it out. I used glitter glue from the dollar store which doesn’t appear to be a good choice because it barely glues things down, but it’s the only glue I had. Rosebud didn’t want me to take a good picture of this. Each time, she’d move the paper or put her hand in the way.
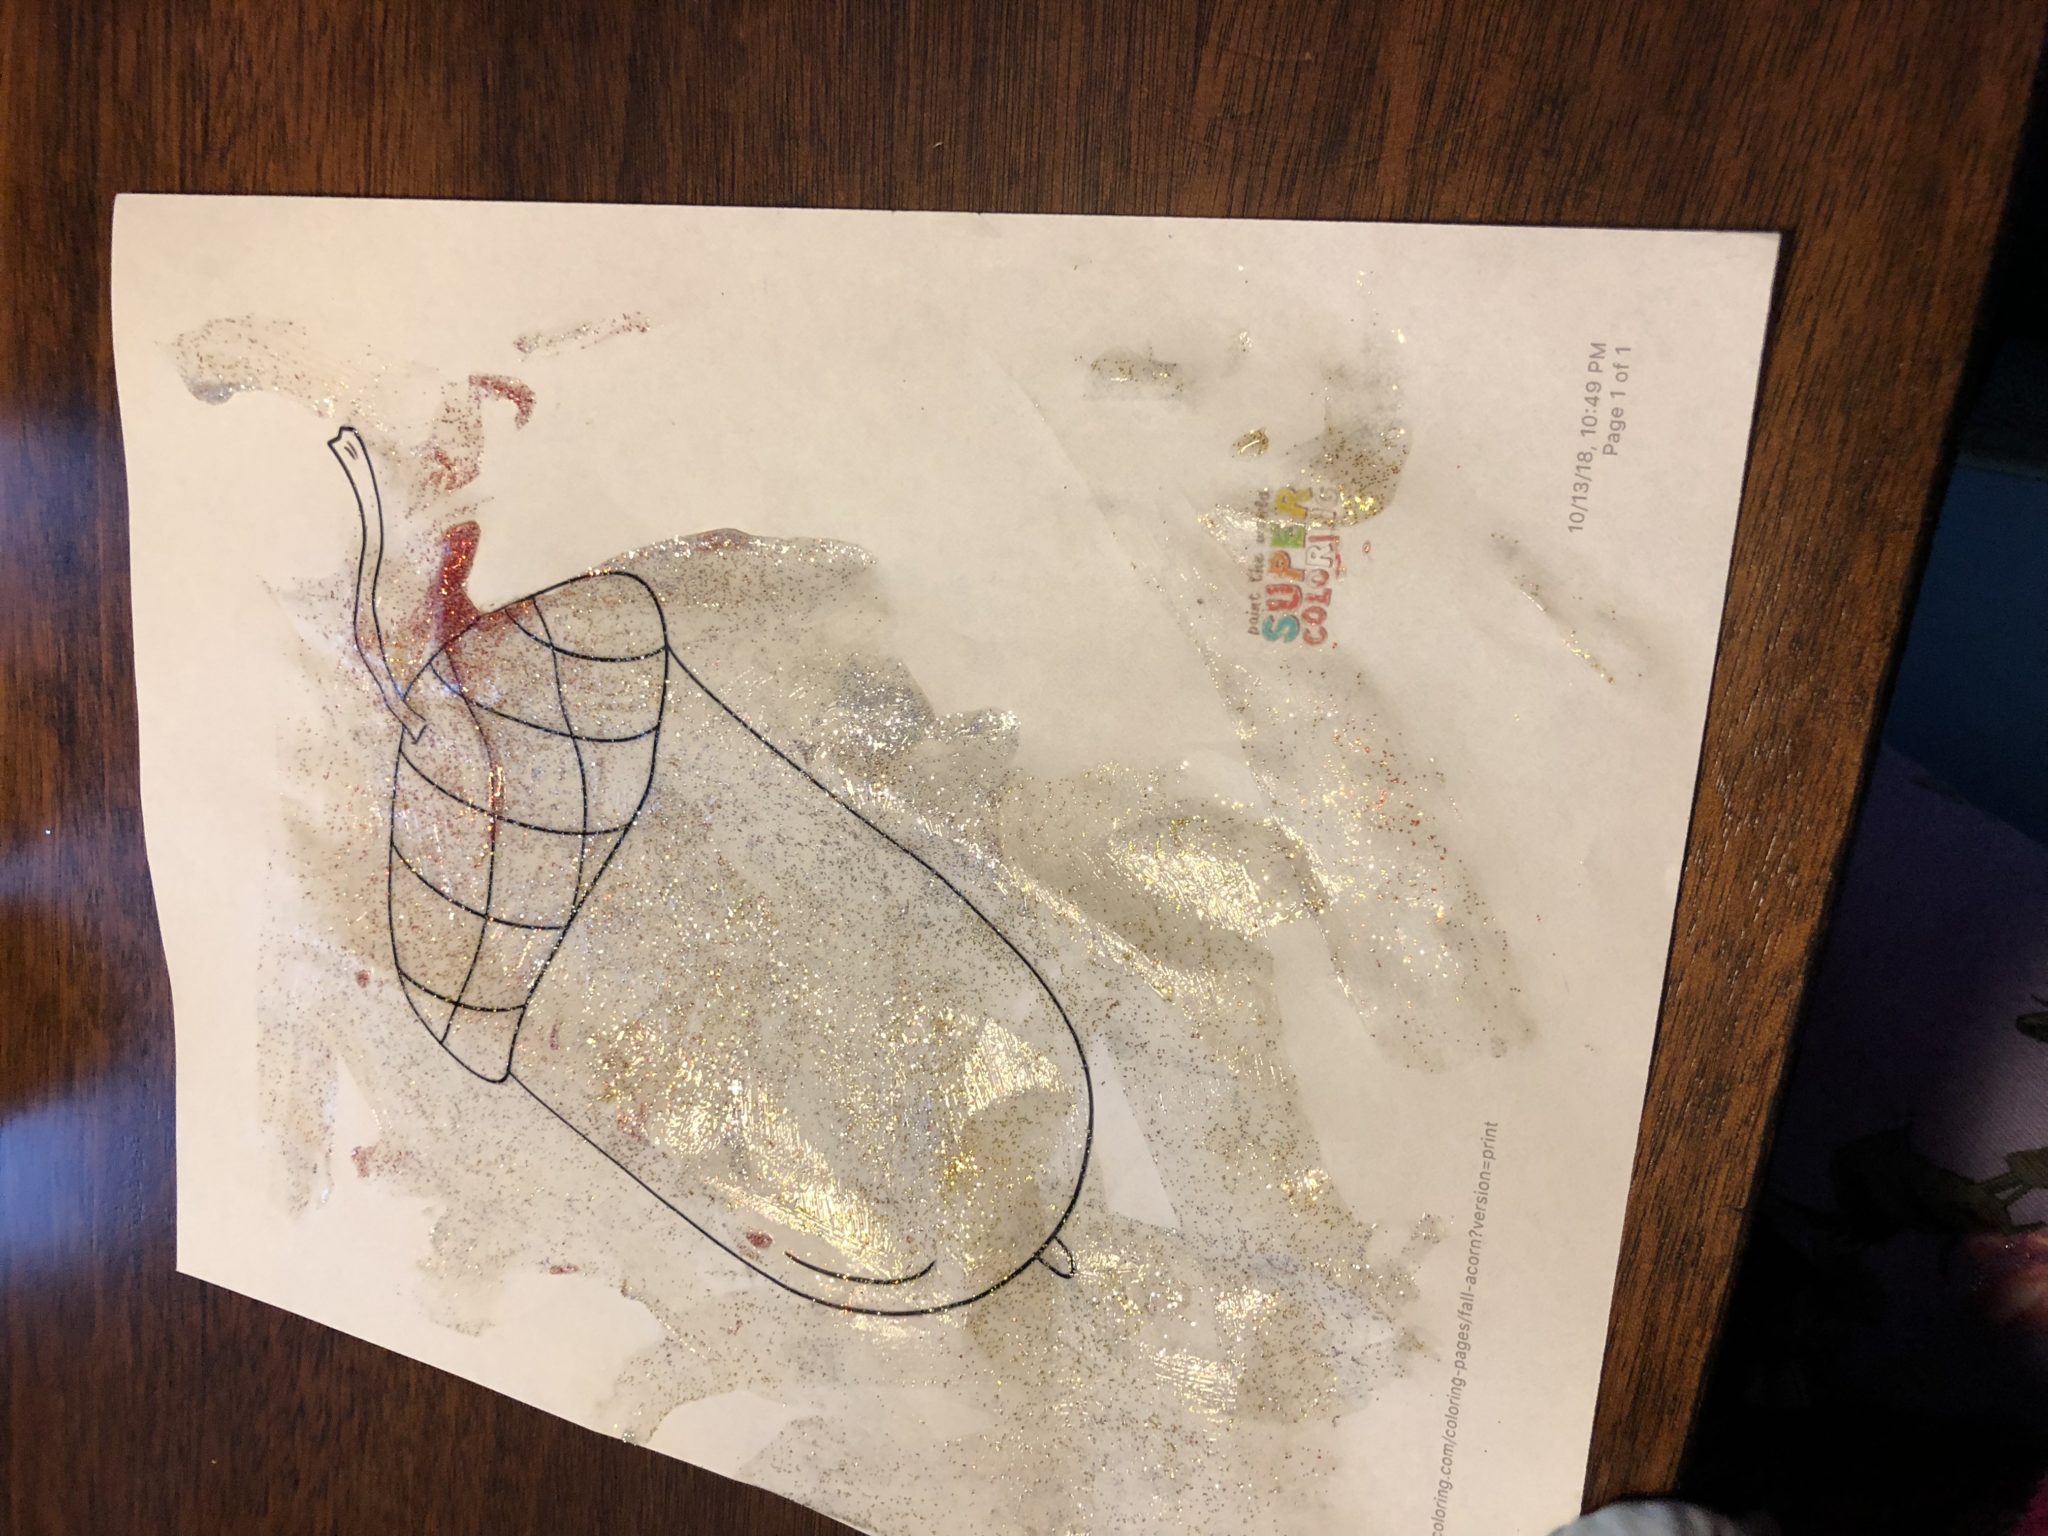
2. Glue the objects on to the paper. We used an acorn printable for our first project, but you can’t even tell it’s an acorn after Rosebud dumped all the leaves on top. Our second collage was on a blank piece of paper and that looked much better.
3. Make sure the items stick to the paper. Rosebud would place the items where she’d want them and I’d hold things in place so they would stick to the paper. I had her count to five or ten with me. Holding the items down were helping them stick.
4. If you used standard glue, you can sprinkle glitter on top as the final step. I mixed some glitter in with the leaves, but I wouldn’t do that again because when Rosebud dumped the leaves, the glitter went along with it.
Overall, this was a simple and fun project to do and Rosebud liked it. Since we’ve used all our leaves, it’s time for us to go on another nature walk. What are your favorite crafts using natural items? Tell me in the comments.
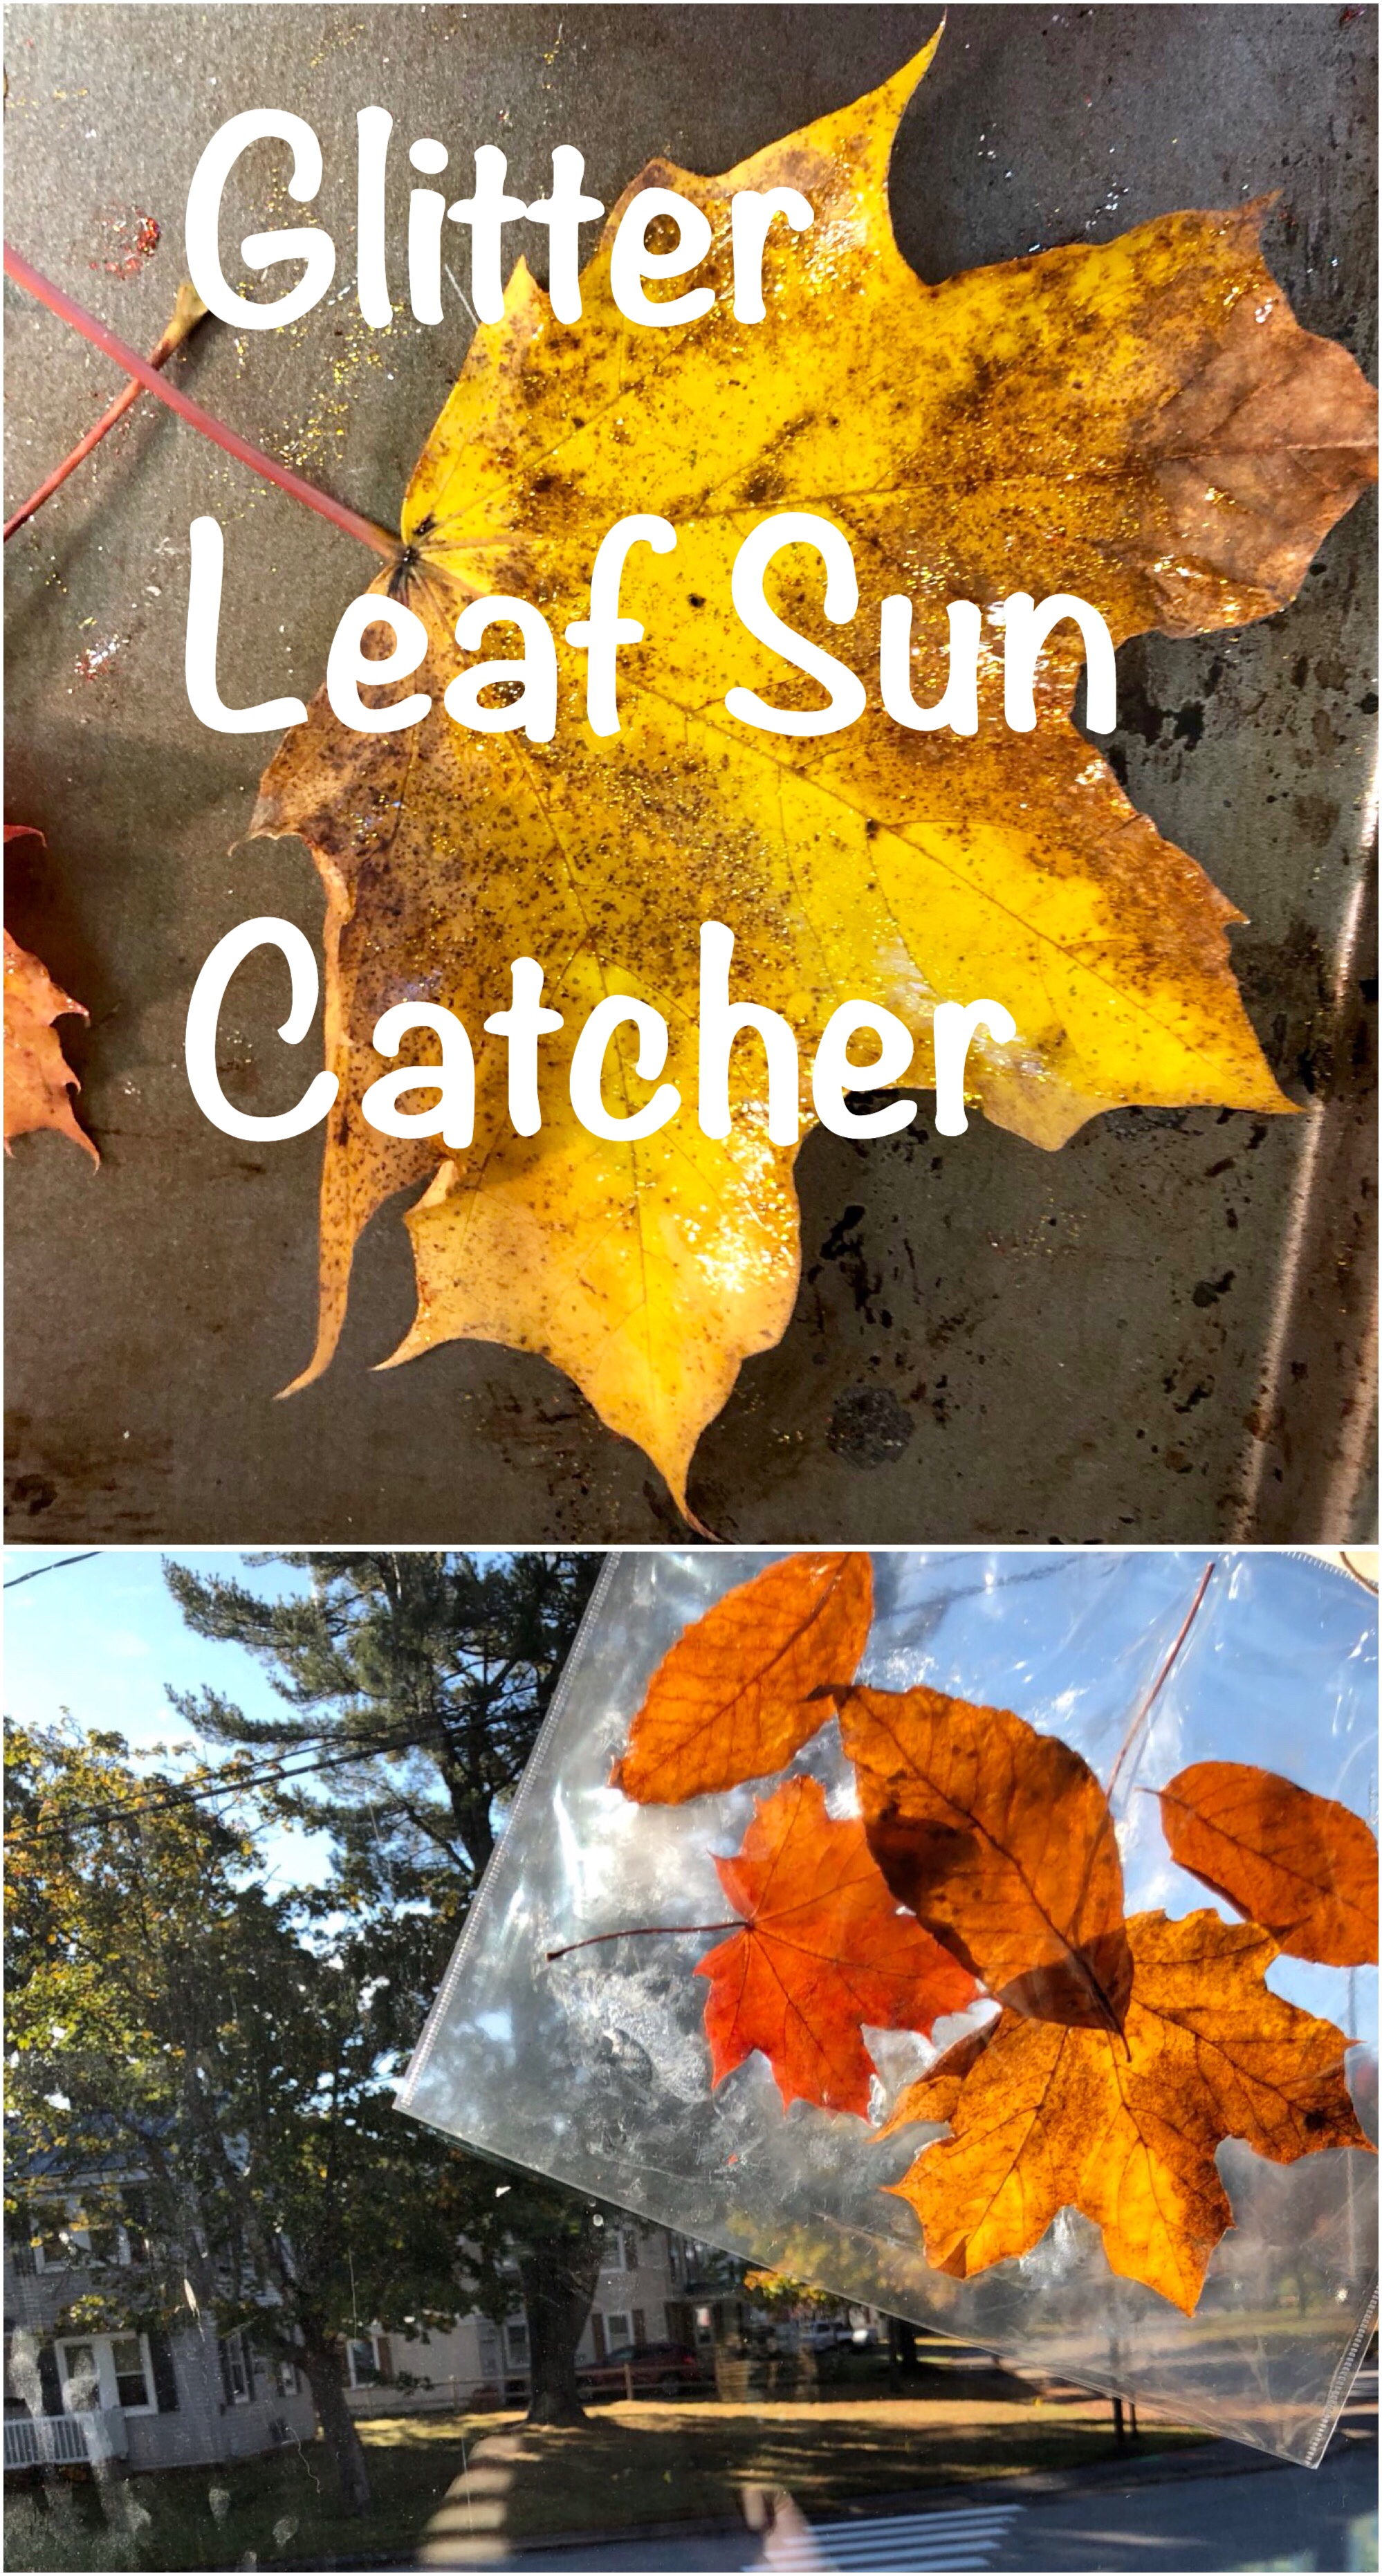
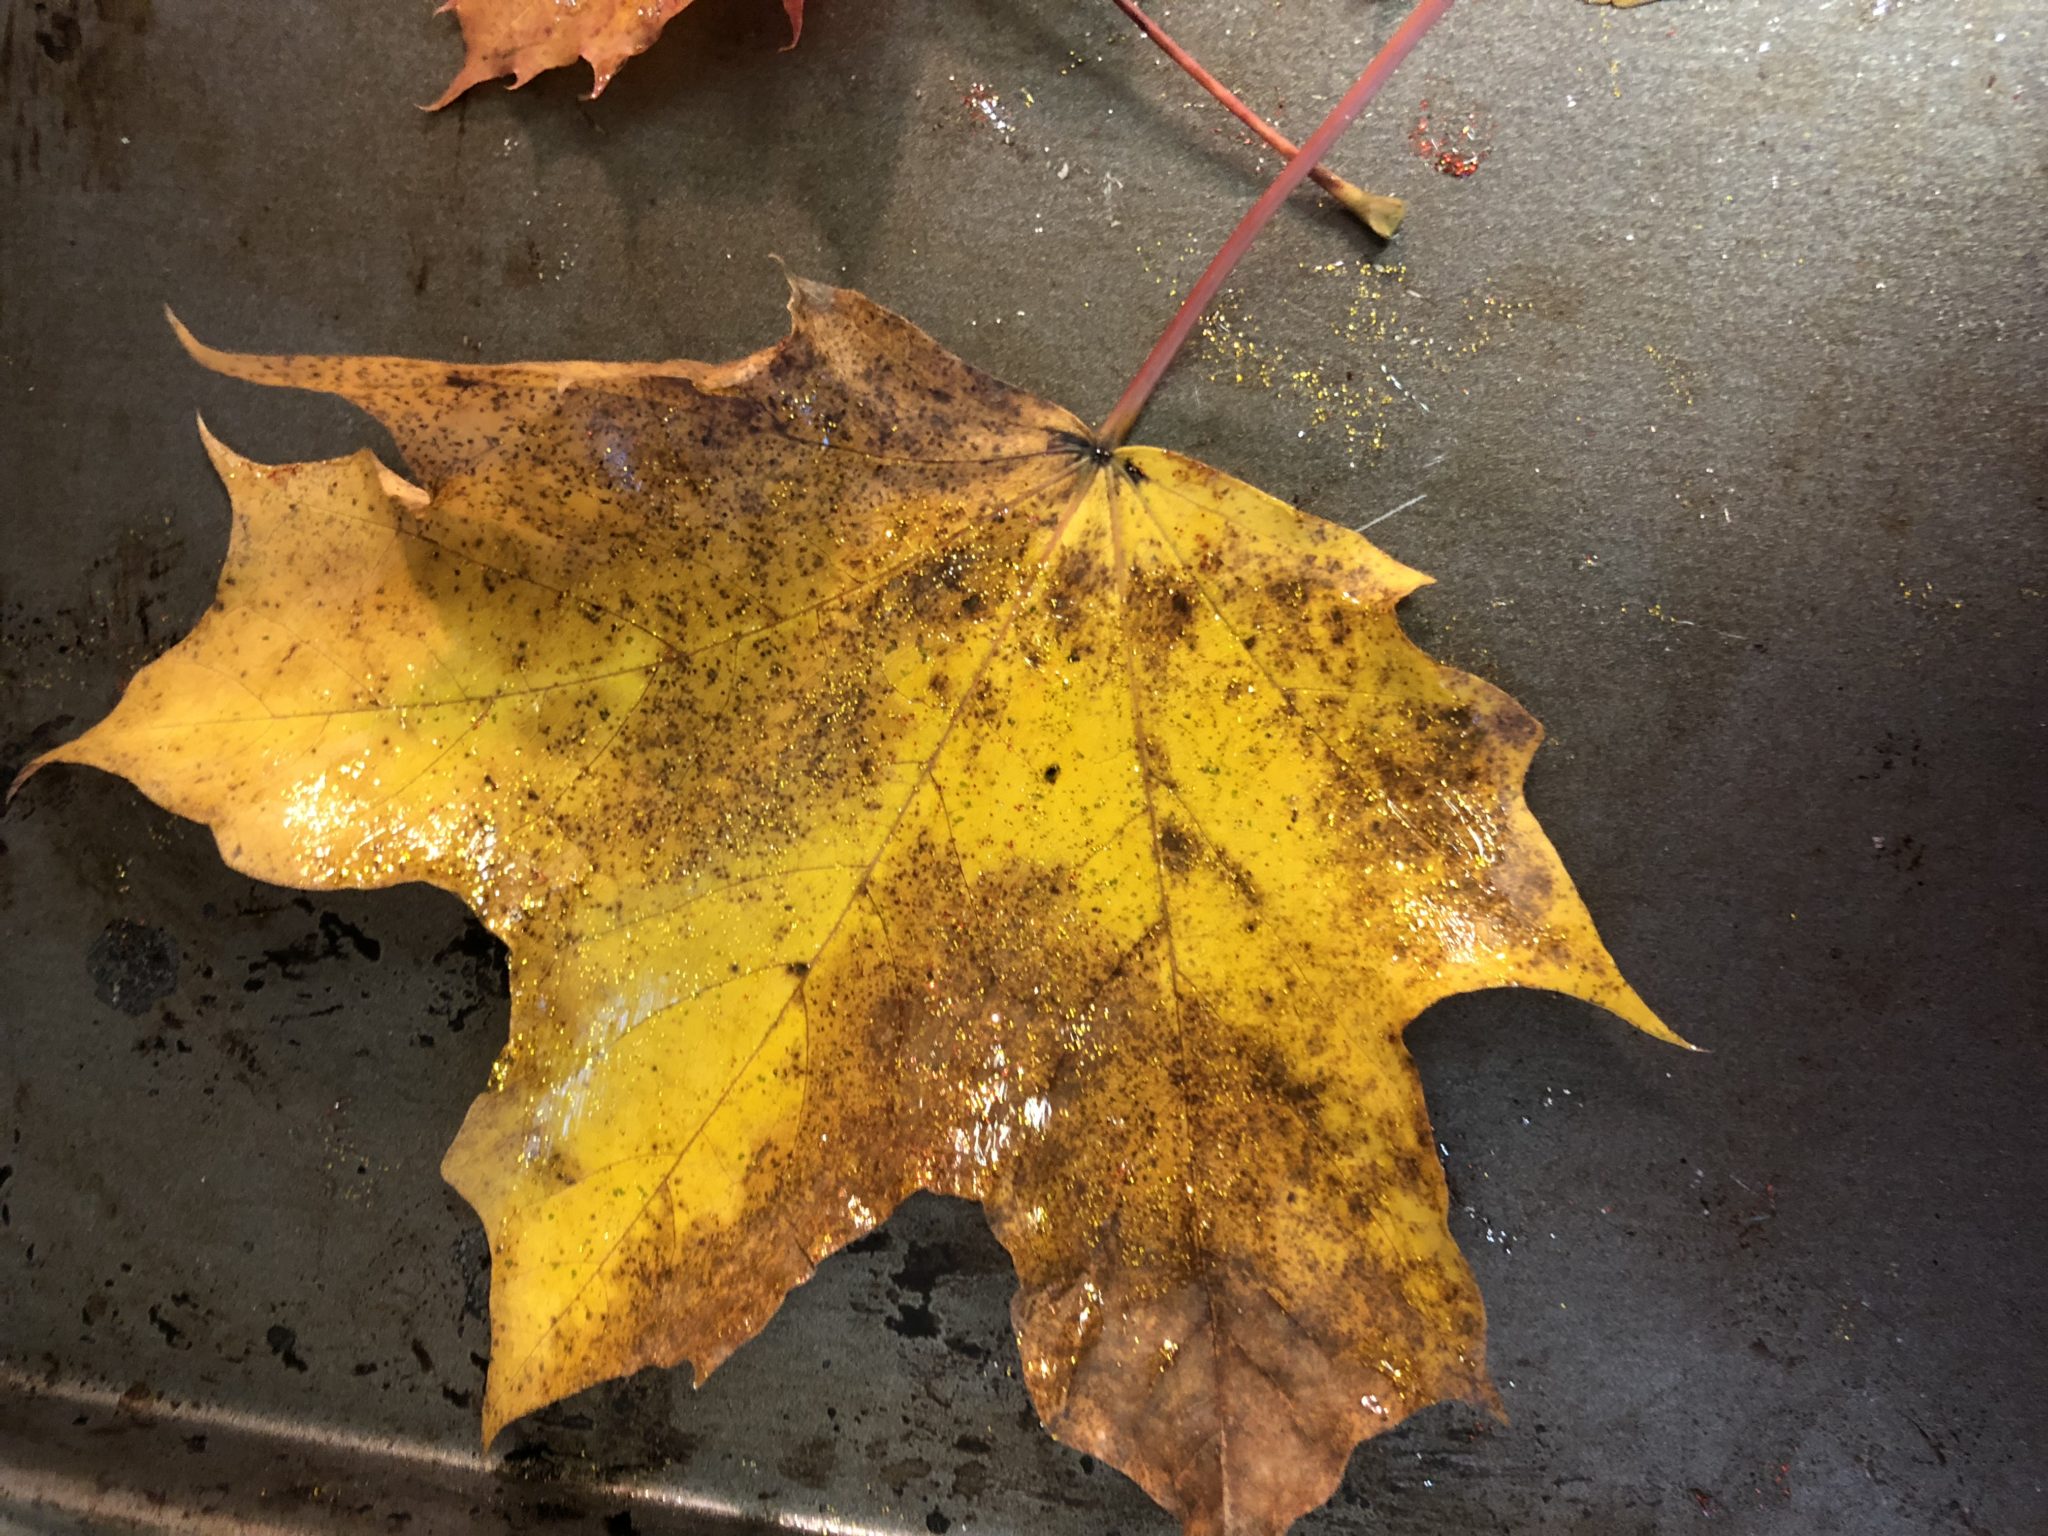
Lately, we’ve been doing activities with leaves. I was inspired by this post from, On Your Own, But Never Alone. I thought why not use the glitter leaves as sun catchers?
What you need:
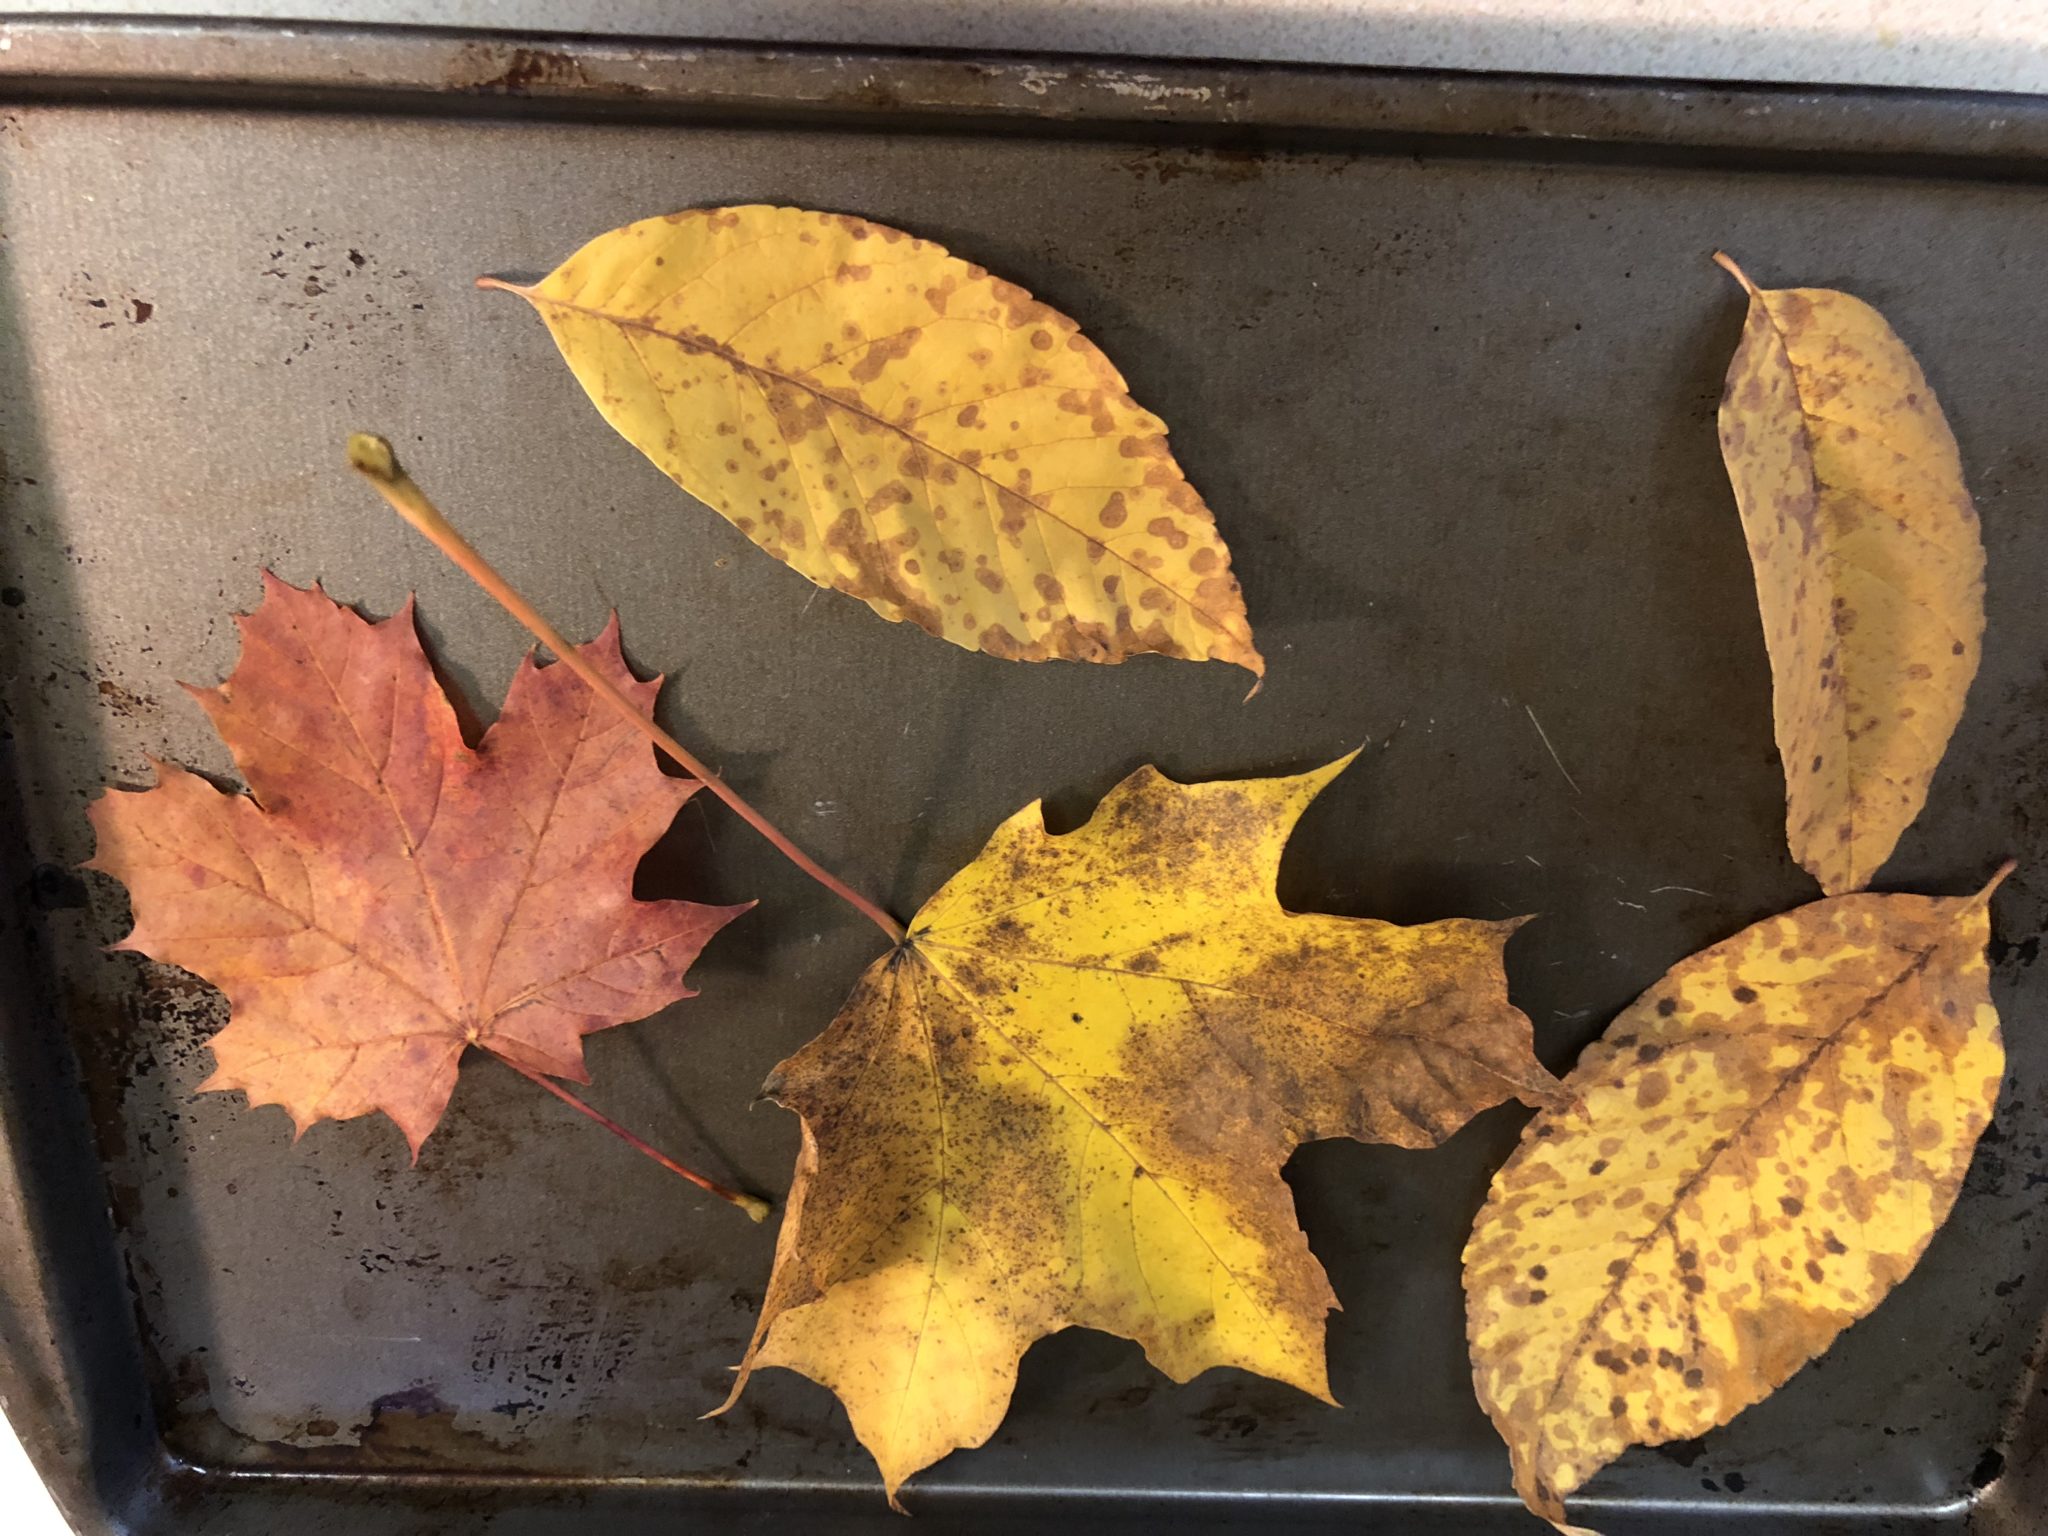
Leaves that are dry, but not crunchy,
Glitter glue,
Paint brushes,
Mod podge,
Contact paper or clear sheet protectors,
String.
What you do:
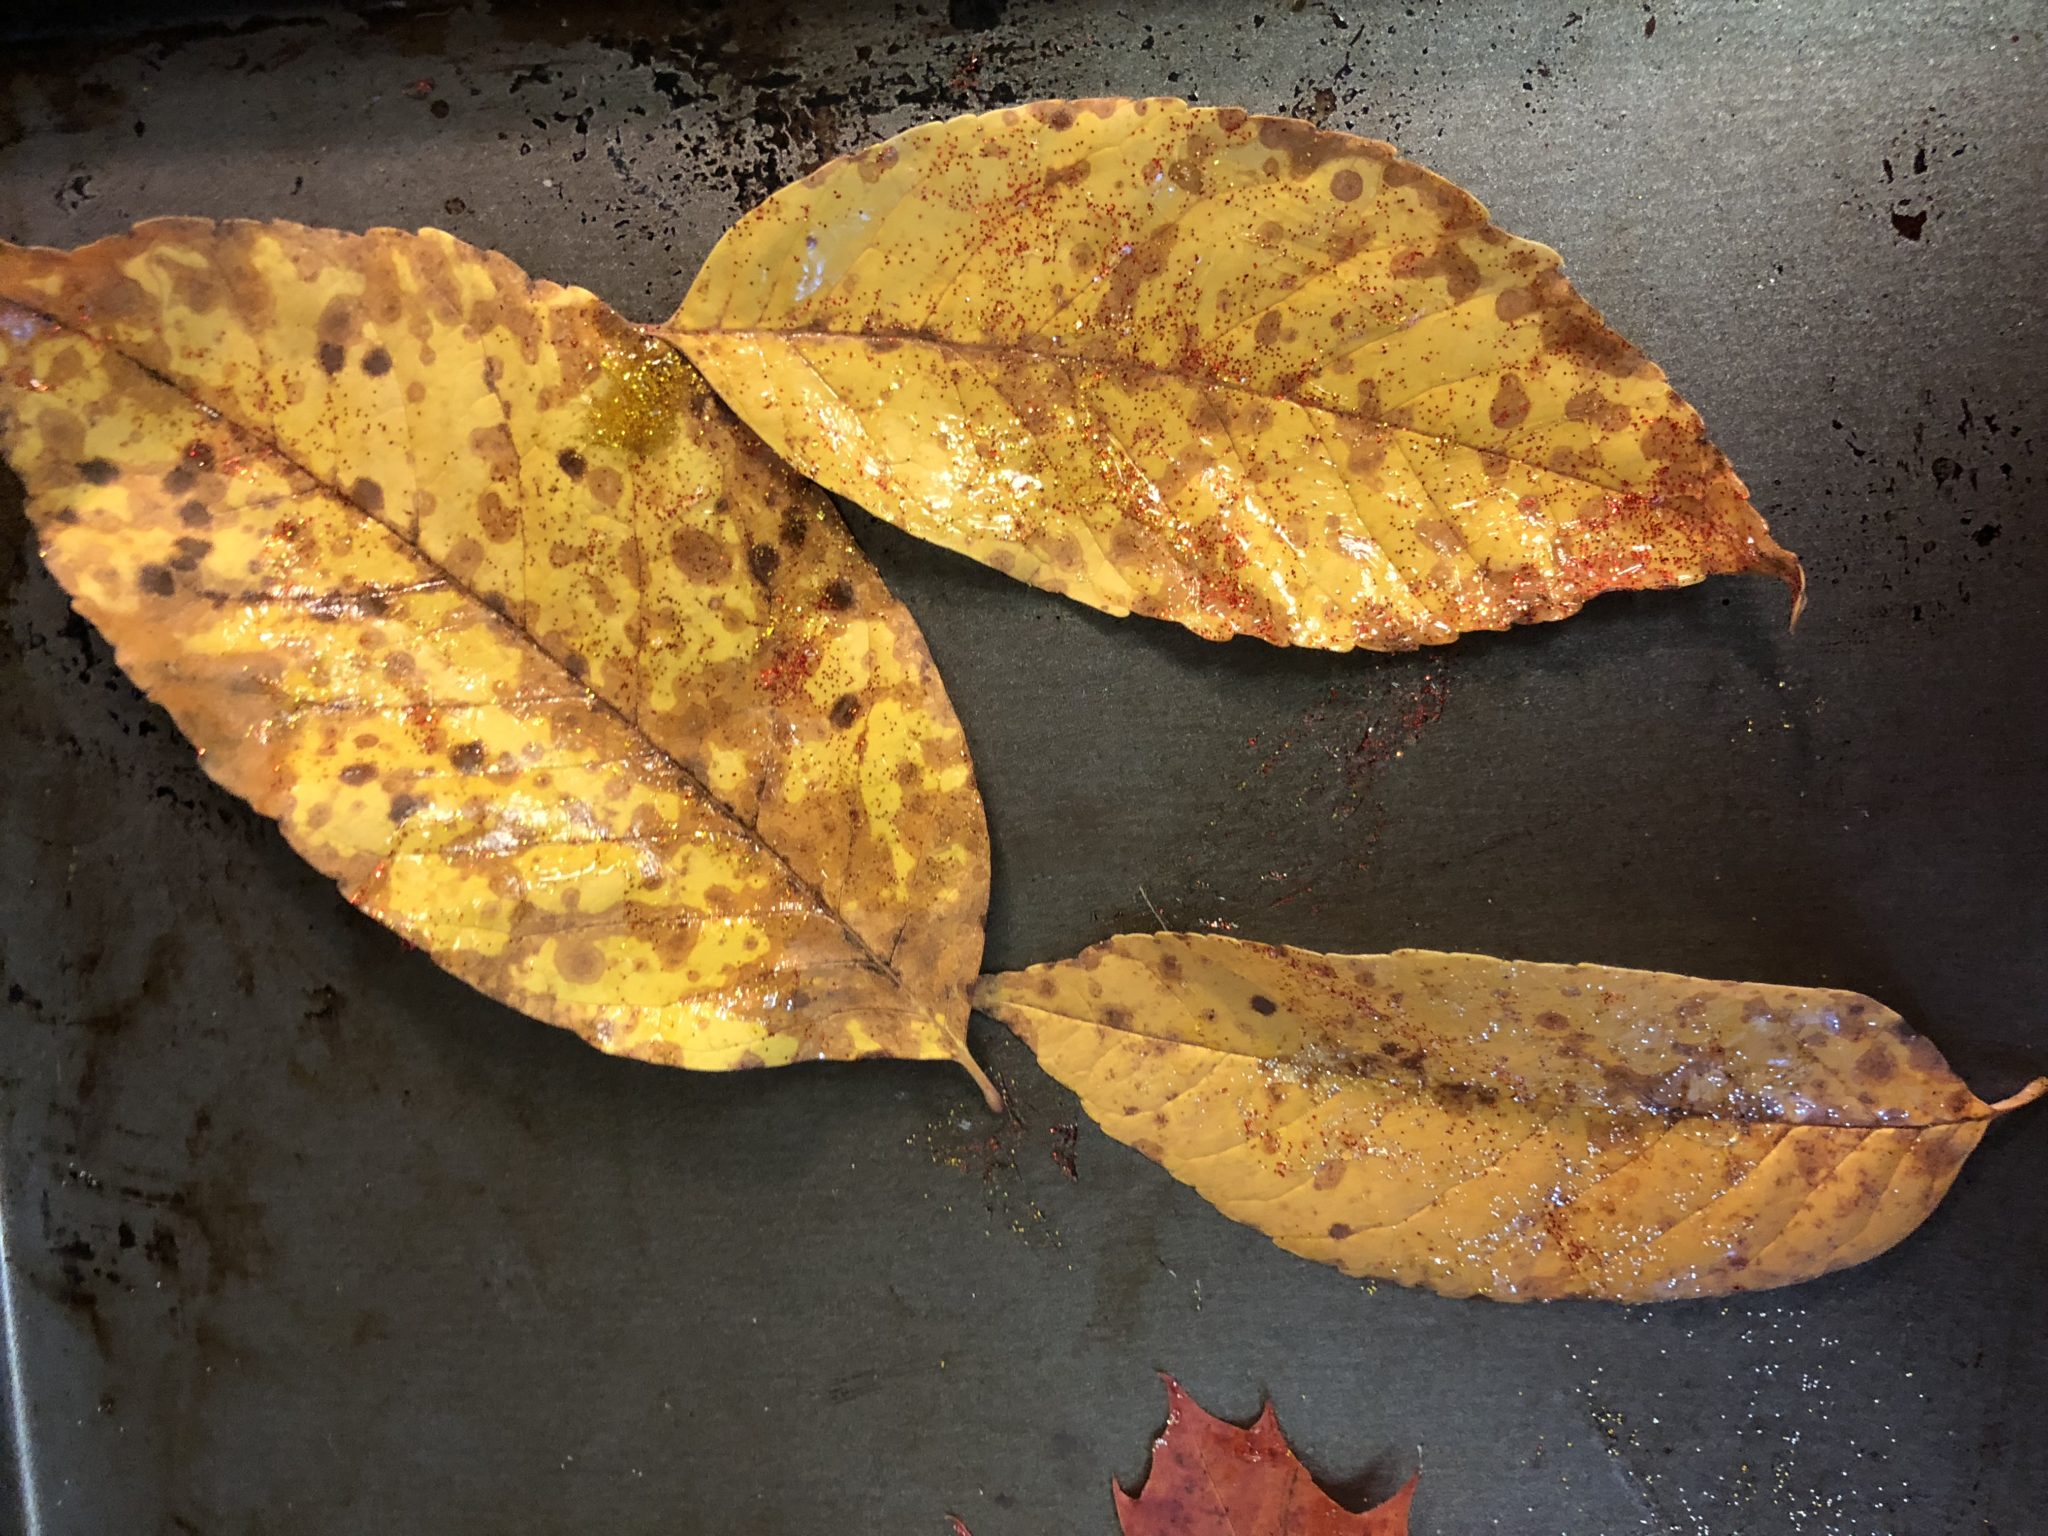
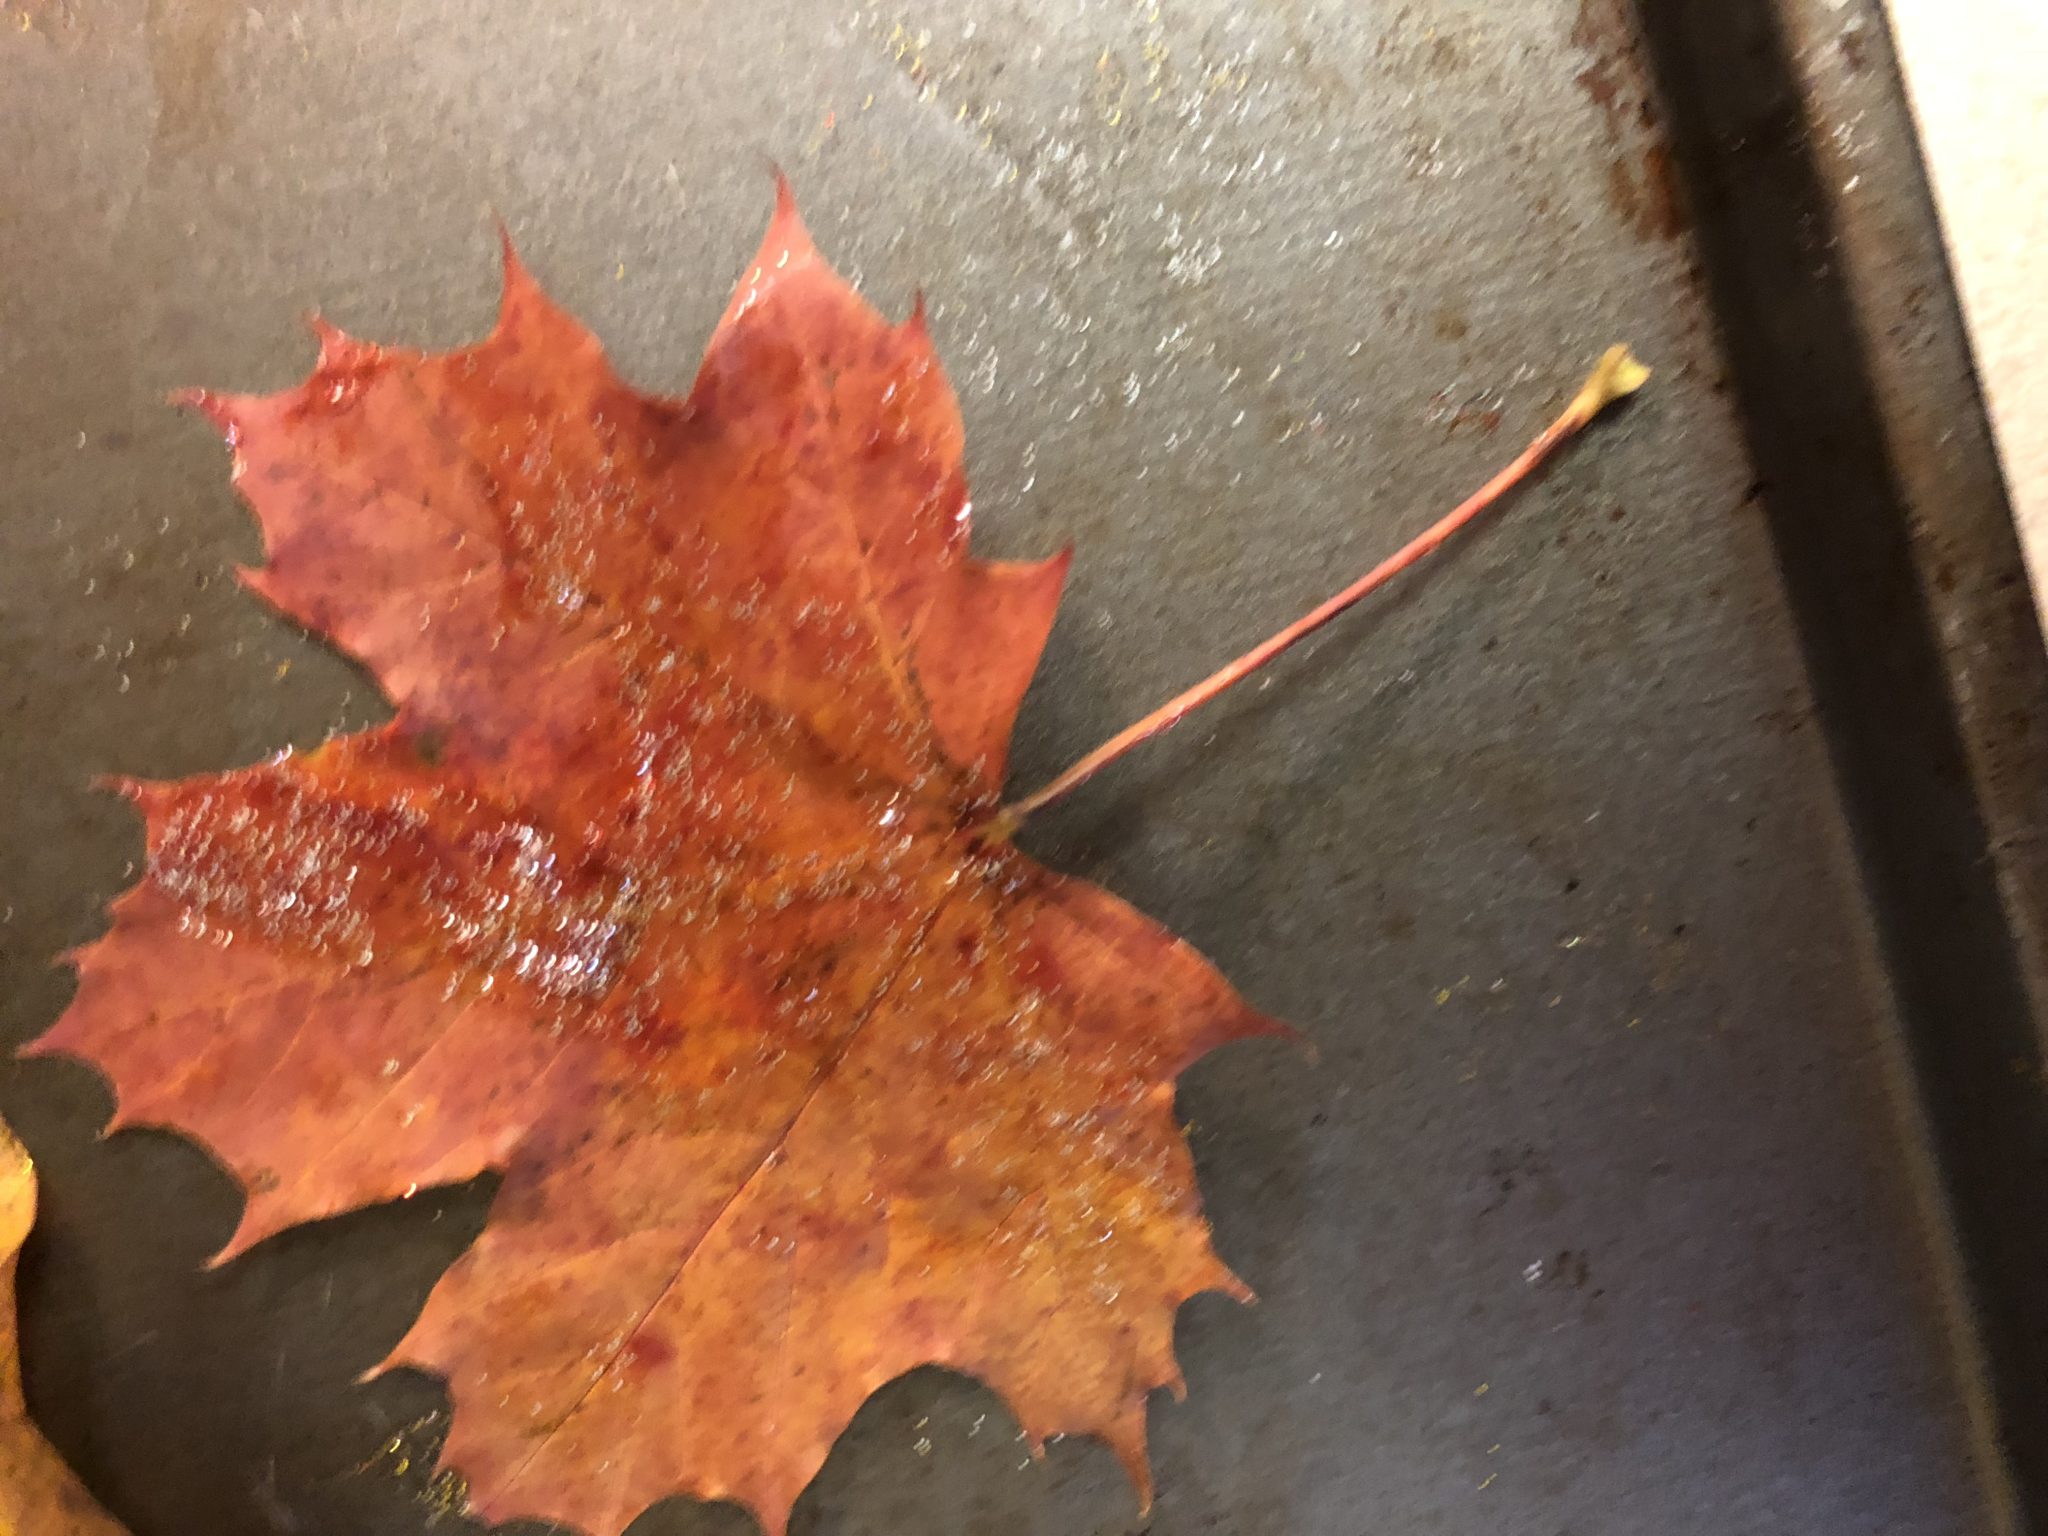
1. Lay leaves on a flat surface and paint them with the glitter glue. You can paint just parts of the leaf or the entire thing. We used three different colors of glitter glue.
2. Set aside to dry.
3. Paint leaves with mod podge.
4. When dry, arrange leaves in contact paper or sheet protector. I didn’t have any contact paper so I just glued the leaves inside the sheet protector.
5. Punch hole in contact paper and tie a string. If you use a sheet protector, the holes are already there.
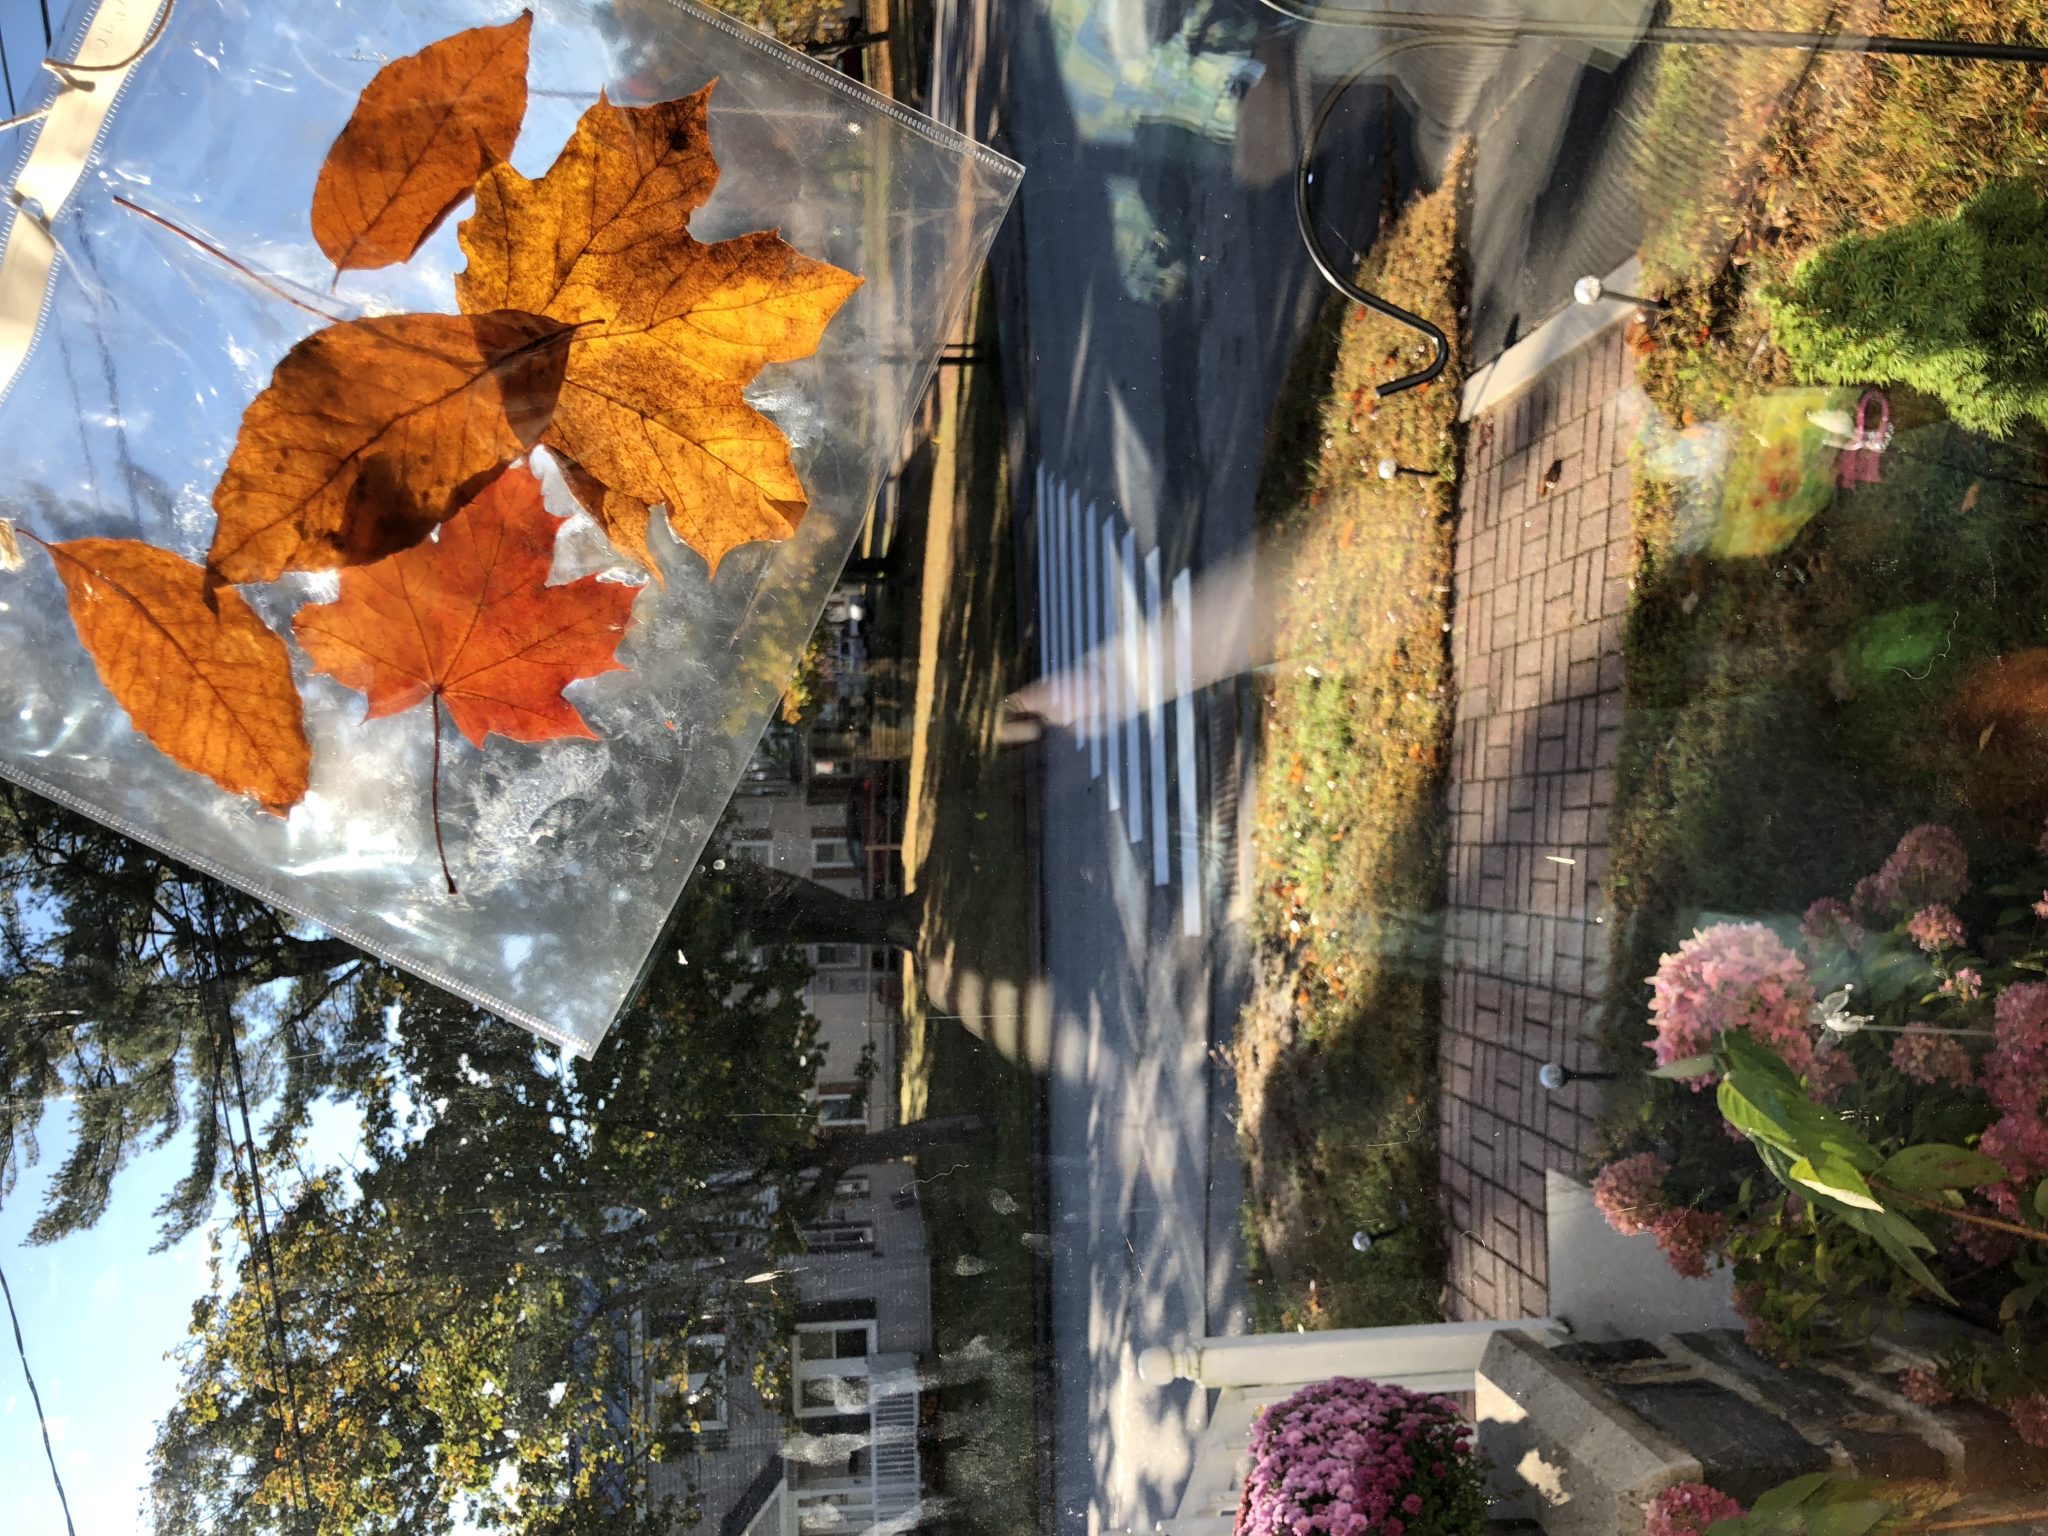
6. Find a nice place to hang your creation. Some leaves will catch the sun and others will not depending on the color. Either way, you have a nice glittery fall decoration.
What are you making with leaves this fall? Let me know in the comments.
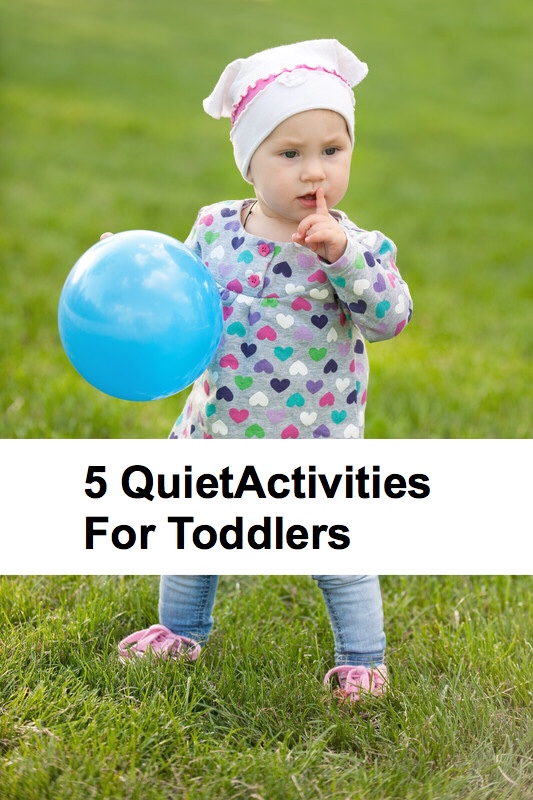
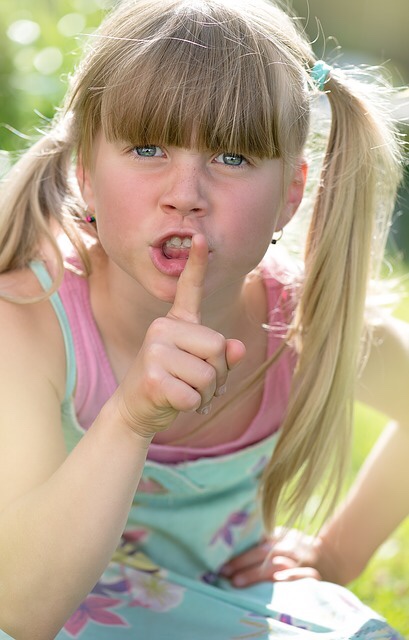
Anyone who has kids knows that they are loud. They run instead of walk. They think everything is a drum. It could be pots and pans, the ball they were just playing catch with or the kitchen table. On some days, their voice has only one volume, loud! While I love listening to Rosebud’s conversations with herself and enjoy watching her take on life with such energy and enthusiasm, I definitely need a few quiet moments here and there. Here are a few activities that can give you just that. Peace and quiet.
1. Sensory Bottles
These can contain anything. I made this one for Rosebud when she was an infant. I used shells, acrylic jewels, glass marbles and glitter. Fill the bottle with water, ceil the top and your child will have some quiet time looking for and watching the objects floating around. Sensory bottles can be loud depending on what you put in them, but other quiet ideas include pompoms of different colors, sand with shells, foam numbers and letters, or vegetable oil and water which can be interesting because the two substances don’t mix. Sensory bottles can be done in any theme.
Here are some really cool sensory bottles I’ve found.
Felt boards are great for stories, rhymes and even learning about the seasons. In our preschool room, we had felt parts of a tree and flowers and the kids could make a felt garden. You can use a felt board to work on sight words with letters. They also have felt doll dress up sets. The Weather Bears Felt Board Set
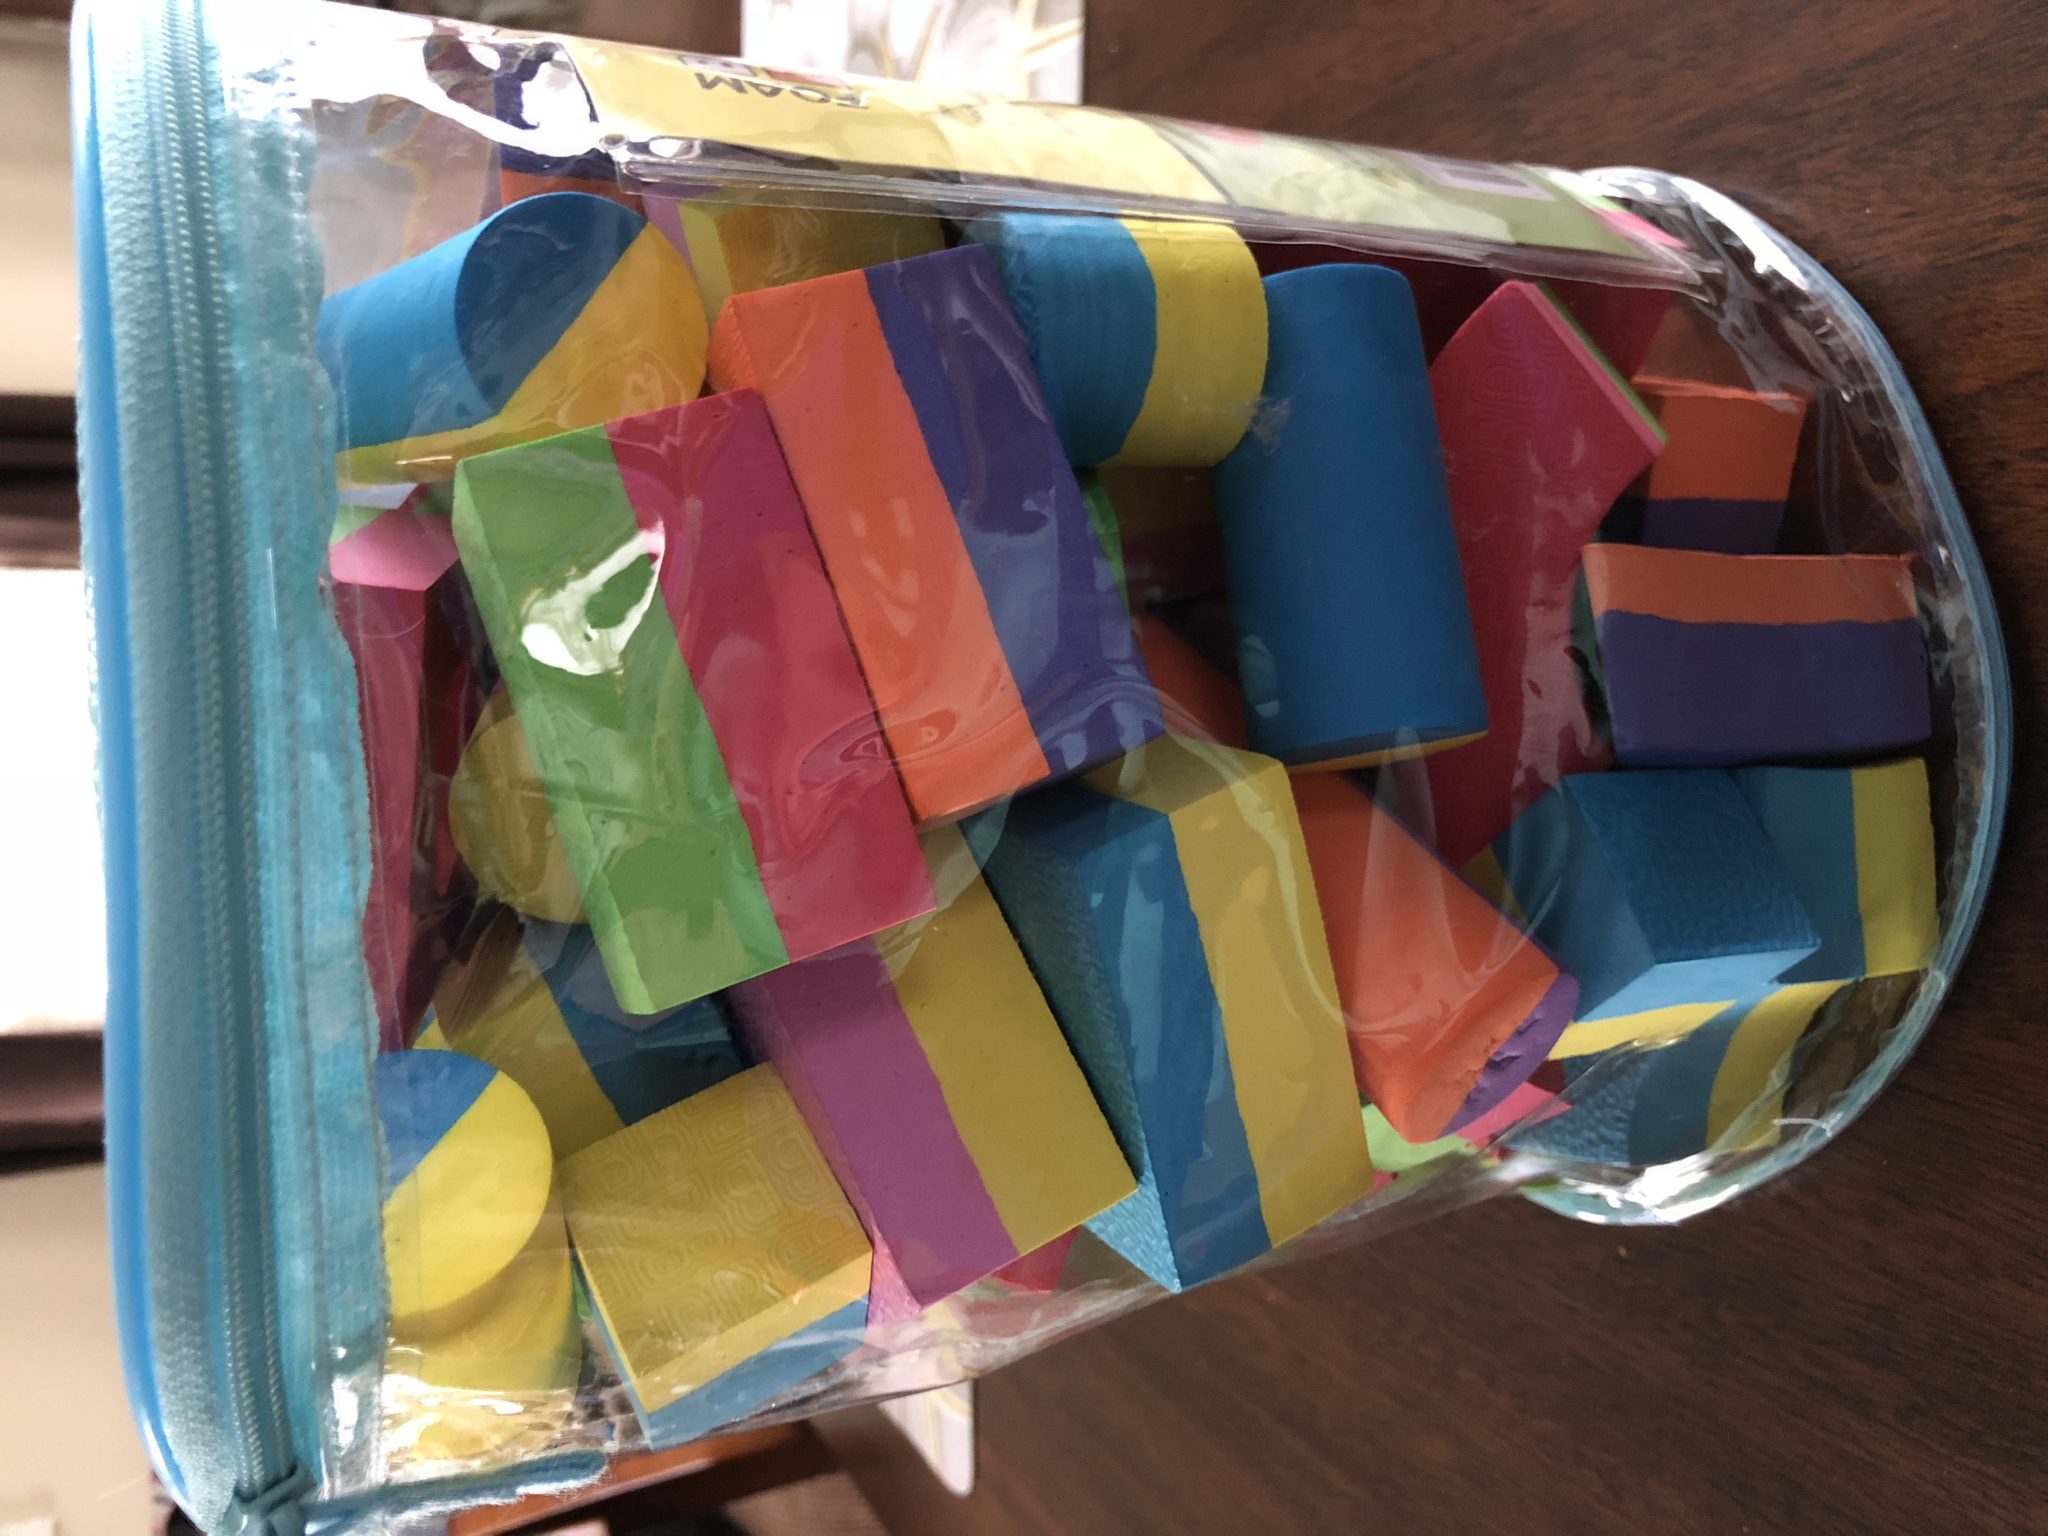
3. Blocks
You must be thinking that blocks can’t be a quiet activity, but hear me out. Last year, I found some great foam blocks that I gave to Rosebud for Christmas. When she is building alone with these and is concentrating on what she is building, it can be very quiet. The other great thing about this activity is they can do this on their own.
I had to share this image. We were building today and I figured out how to put some of the shapes together to make a heart. I asked Rosebud if I could take a photo of it and she said, “Of course.” Each time I went to take a photo, she’d throw another block in the middle of the heart. On my phone, I have the live photo feature enabled so when I click on it, I see the block being thrown in the middle of the heart.
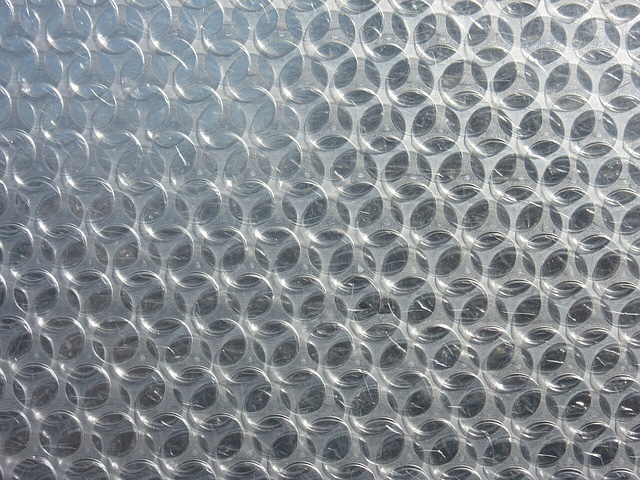
4. Bubble Wrap
This obviously can be very loud, especially if you have the bubble wrap with larger bubbles, but I have found that the bubble wrap with smaller bubbles is great for small hands. The pops are relatively quiet. If you are watching TV, preparing a meal or are engrossed in a phone conversation, you probably won’t even hear the little pops. This is a great activity for developing those fine motor skills and concentration. After you show them how it works a couple of times, they can do this activity without help.
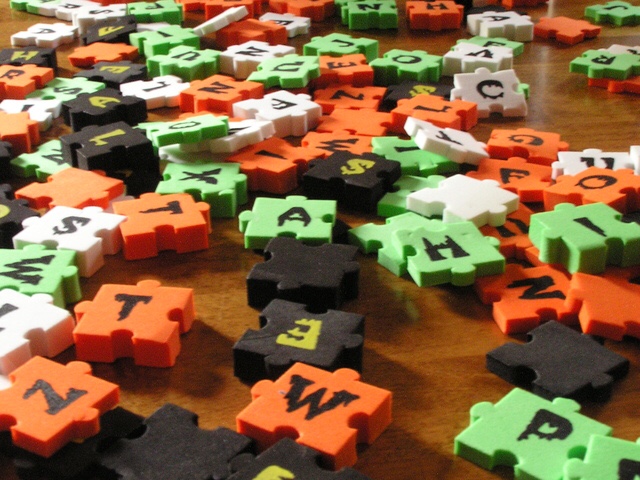
5. Puzzles
There are lots of puzzles to choose from, but the quietest are foam puzzles. If puzzles are at the appropriate developmental level for your child, they should be able to figure them out on their own. I usually show Rosebud a couple of times and then she gets it. She loves knowing that she can put them together herself. This is also another great activity for developing fine motor skills and concentration.
These activities are great for a nap time when a child doesn’t sleep. They are also great for a quiet corner or for those times when a child is so wound up and needs to relax. What are your favorite quiet time activities for kids? Tell me in the comments.
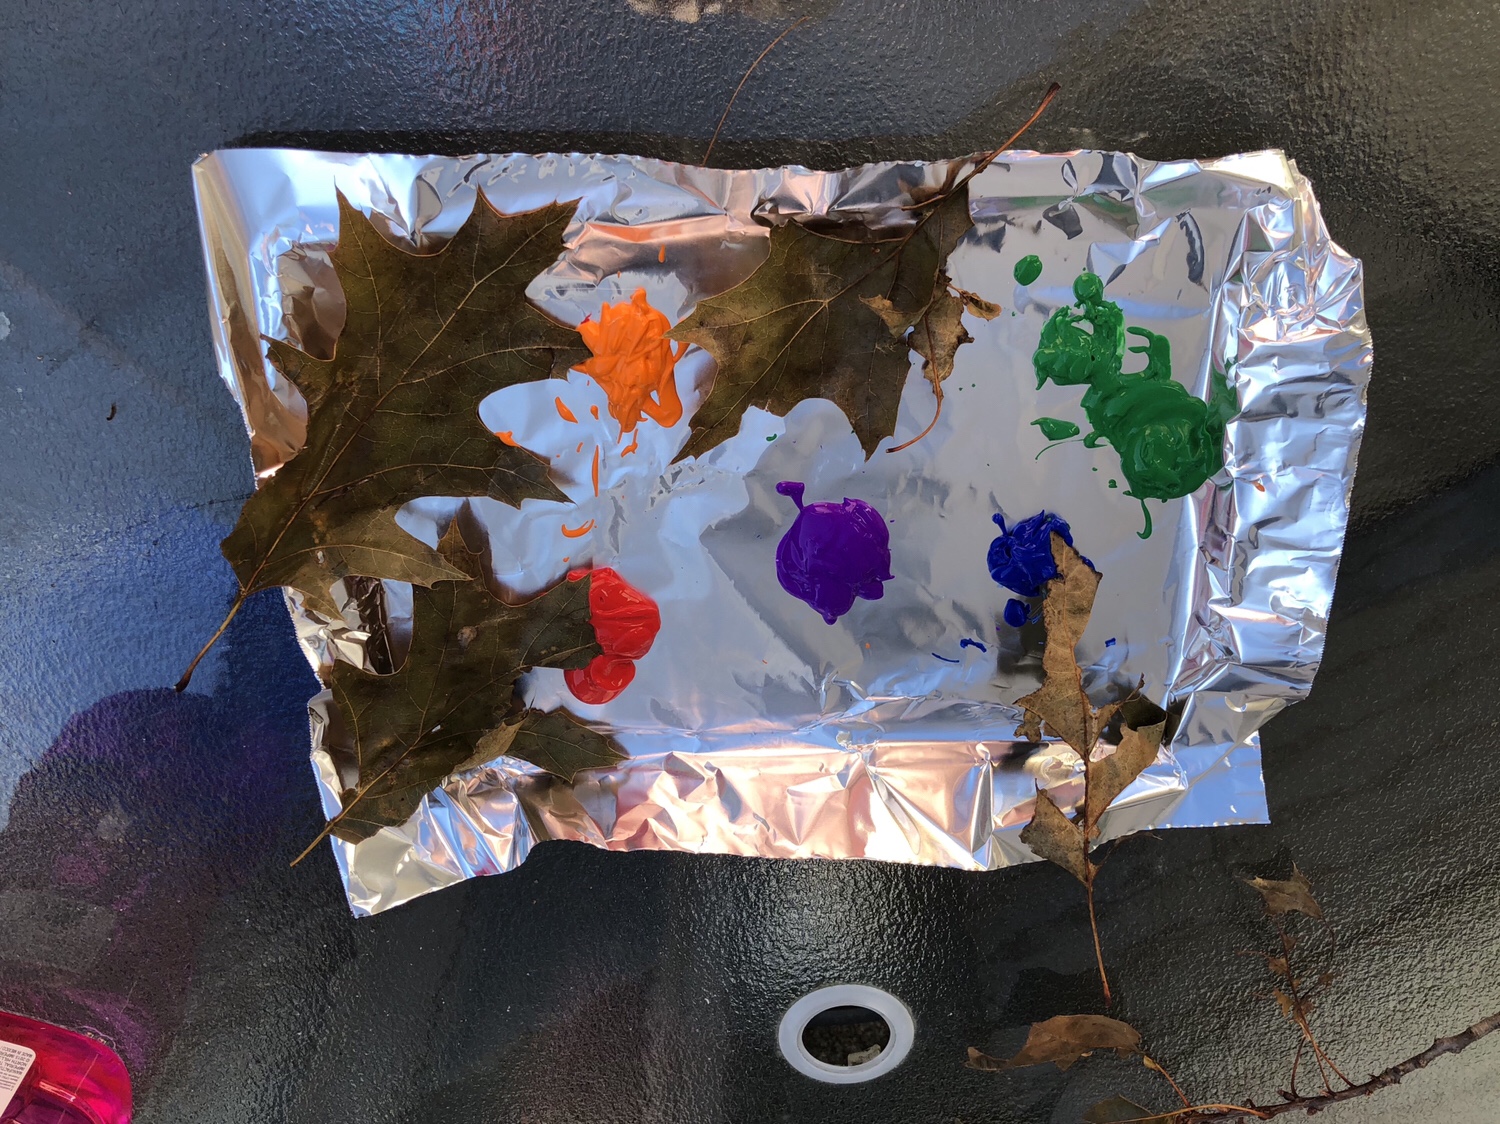
I just took a cookie sheet, lined it with foil and put some globs of paints in different colors on it. Then I put one leaf in each color of paint so they wouldn’t be mixed at first.
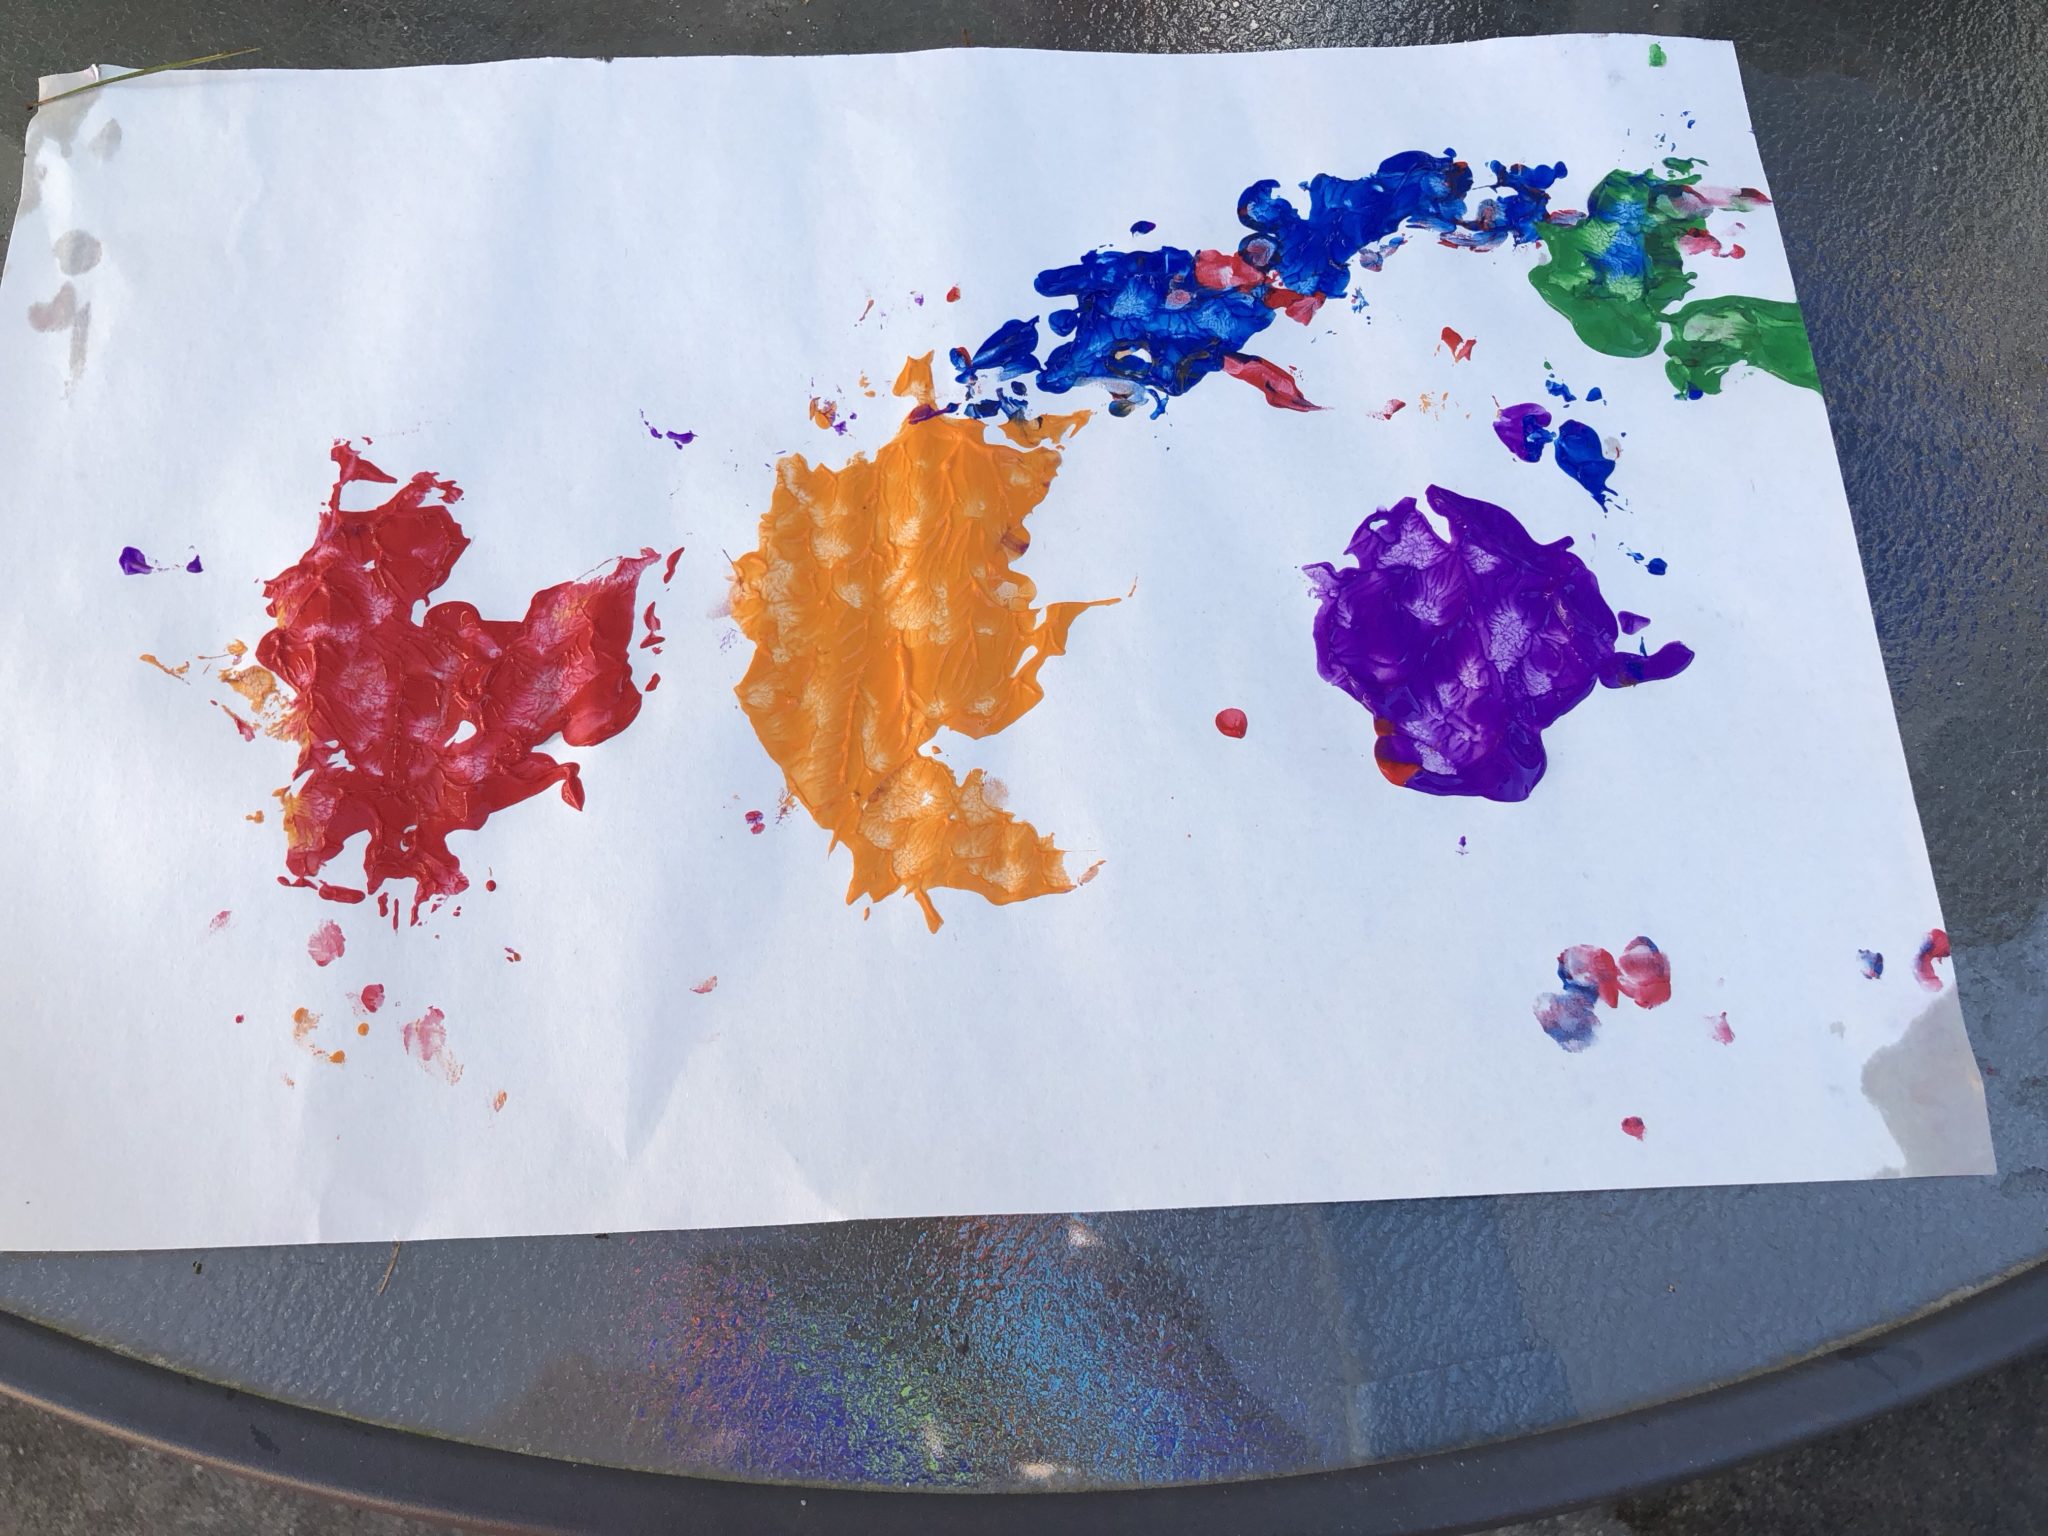
All you do is cover the leaf with paint and stamp it on the paper. I showed Rosebud once and then she got to work, creating her pictures.
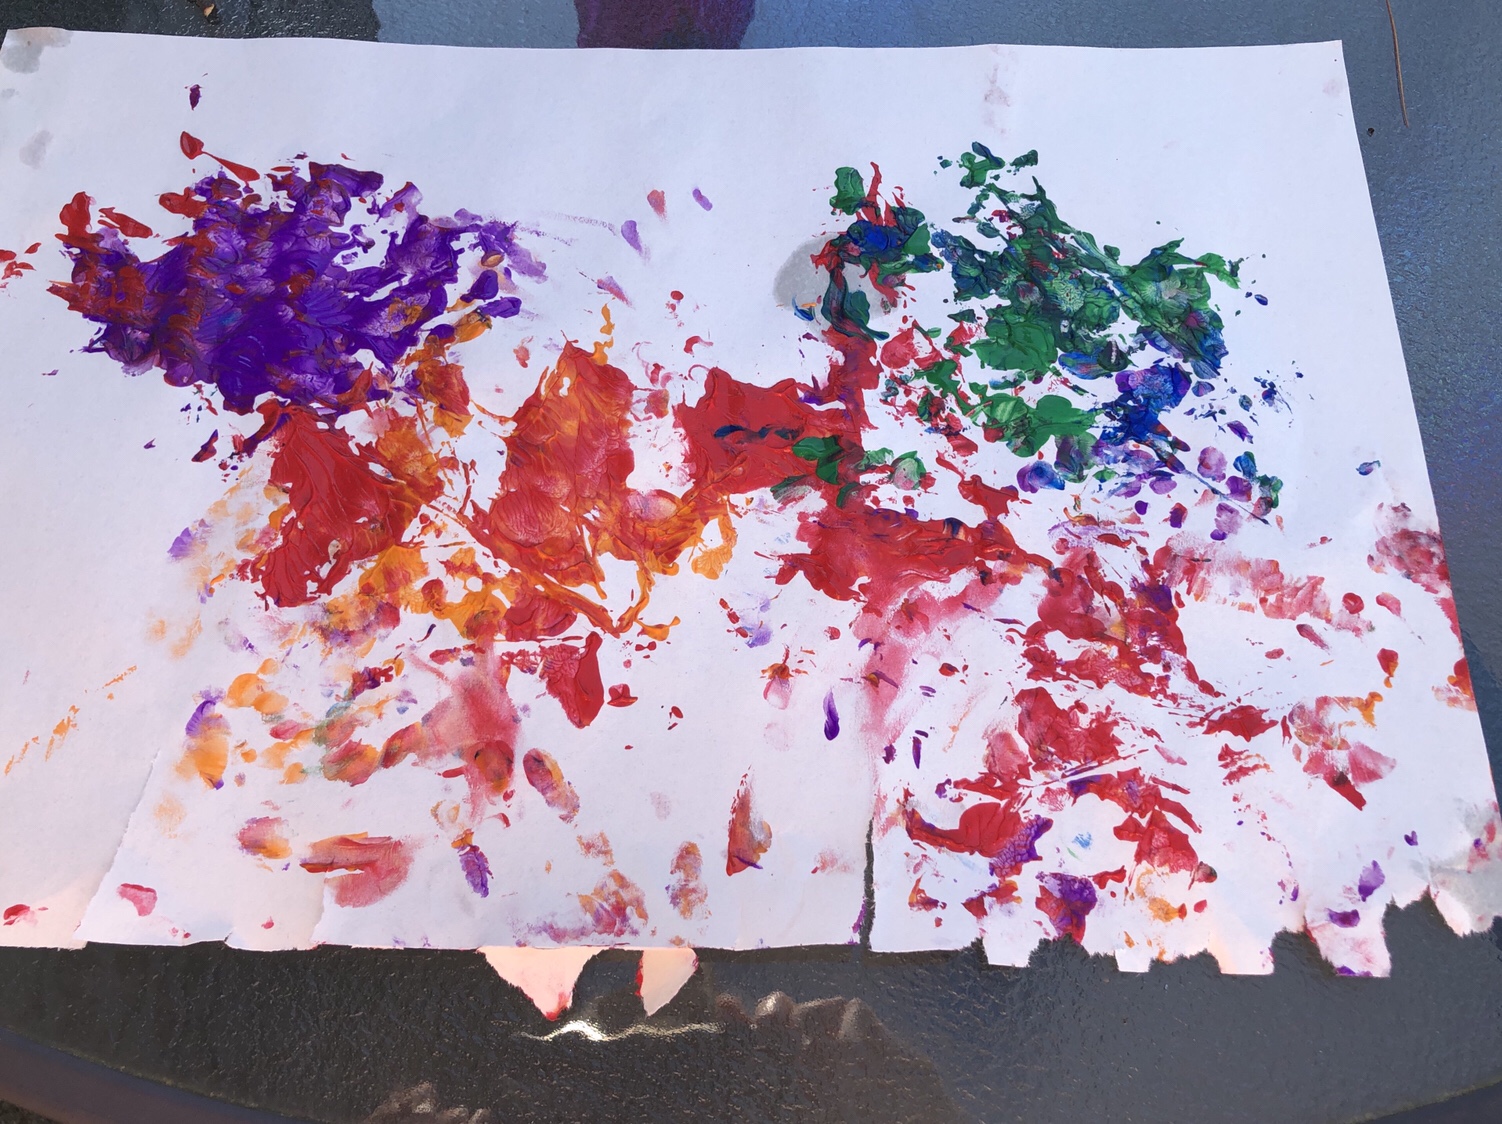
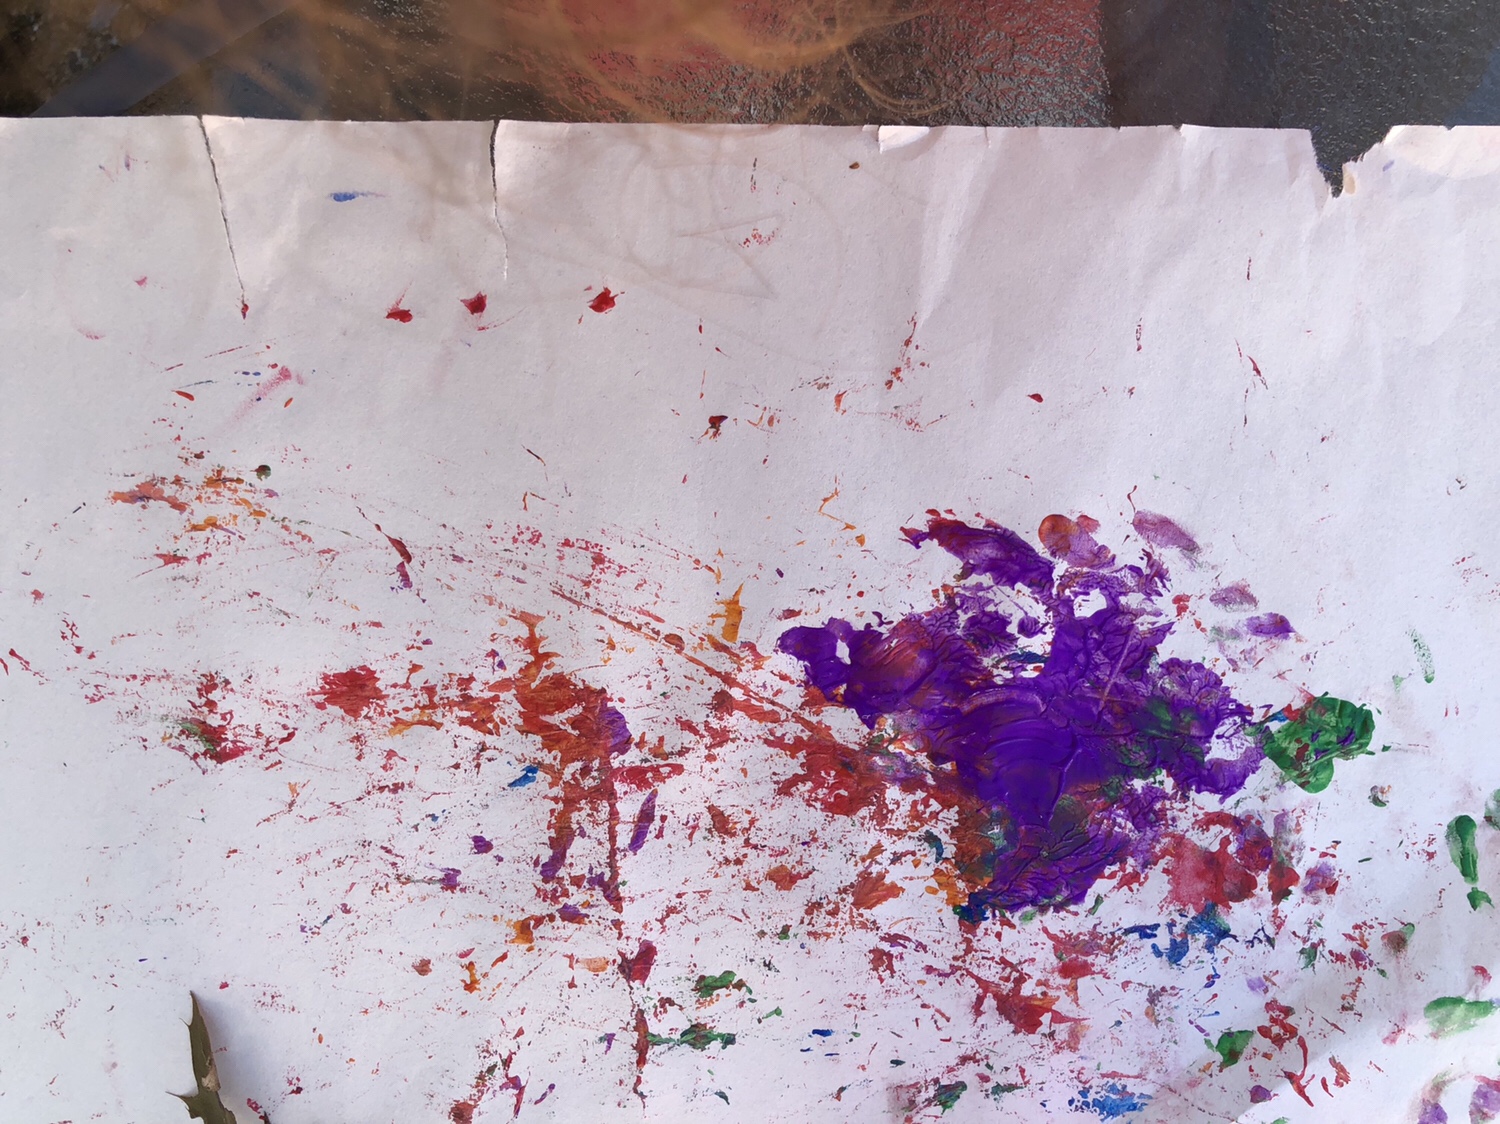
I didn’t have much paint so by the time we got to our third picture, I showed her how she could use the leaves as paintbrushes.
I’m looking forward to doing more fall activities. What are your favorite fall crafts and activities? Let me know in the comments.
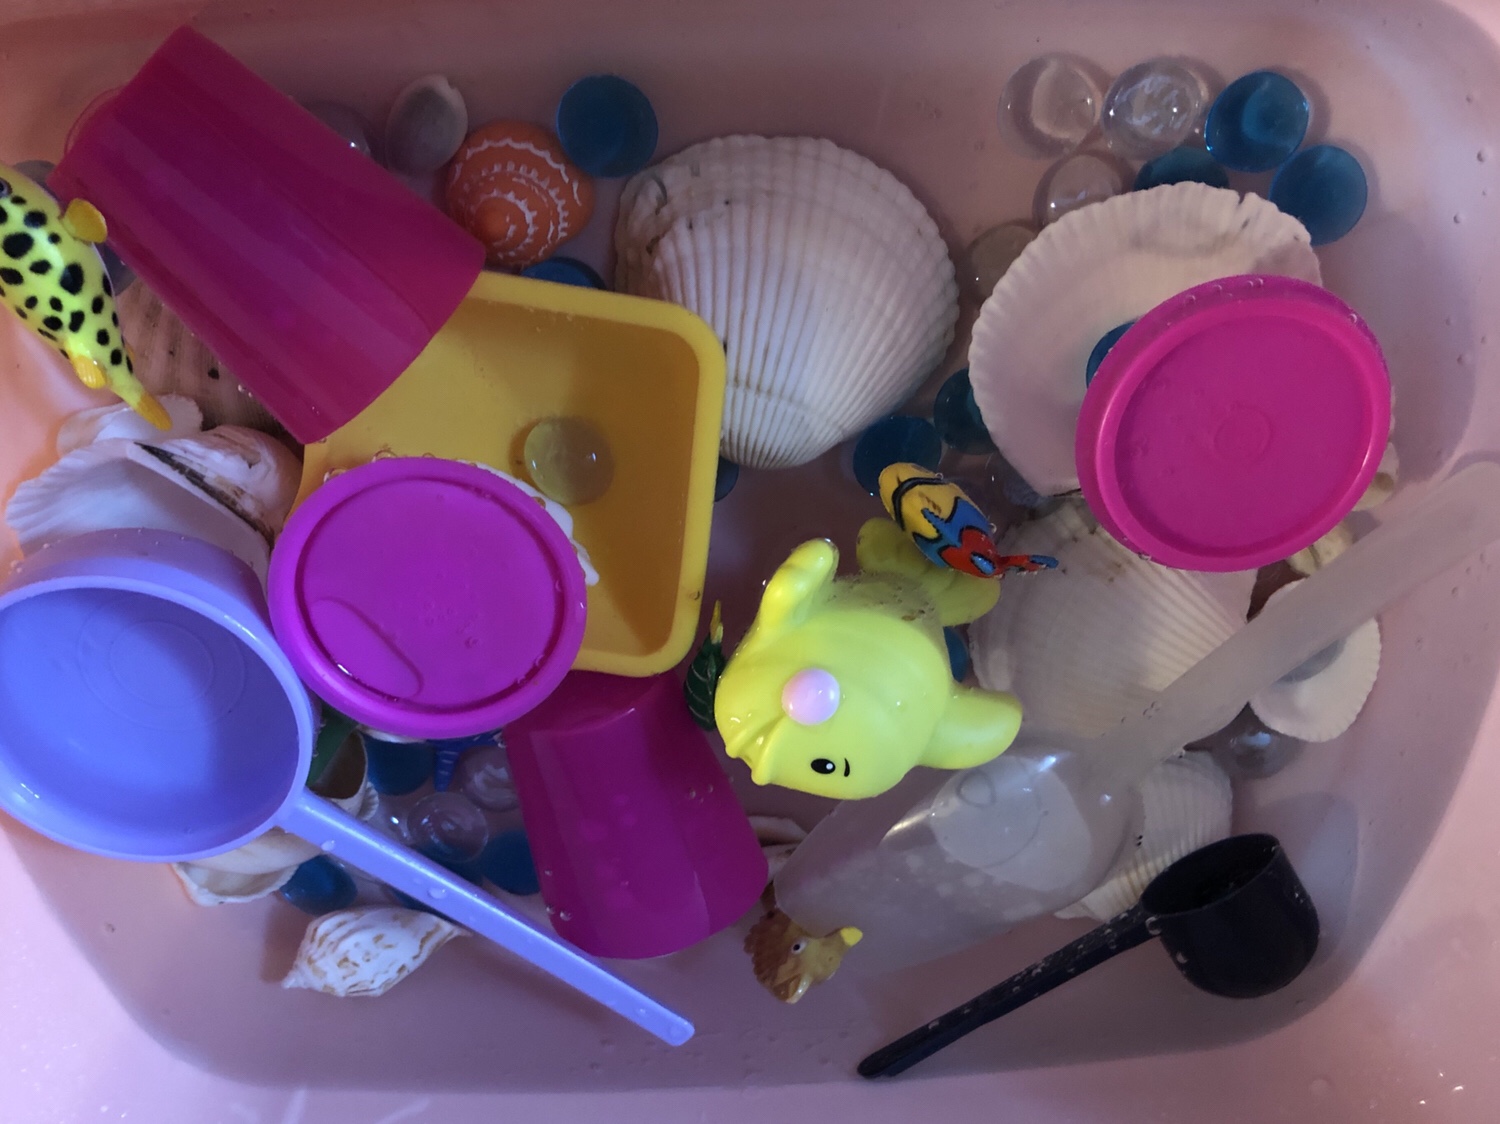
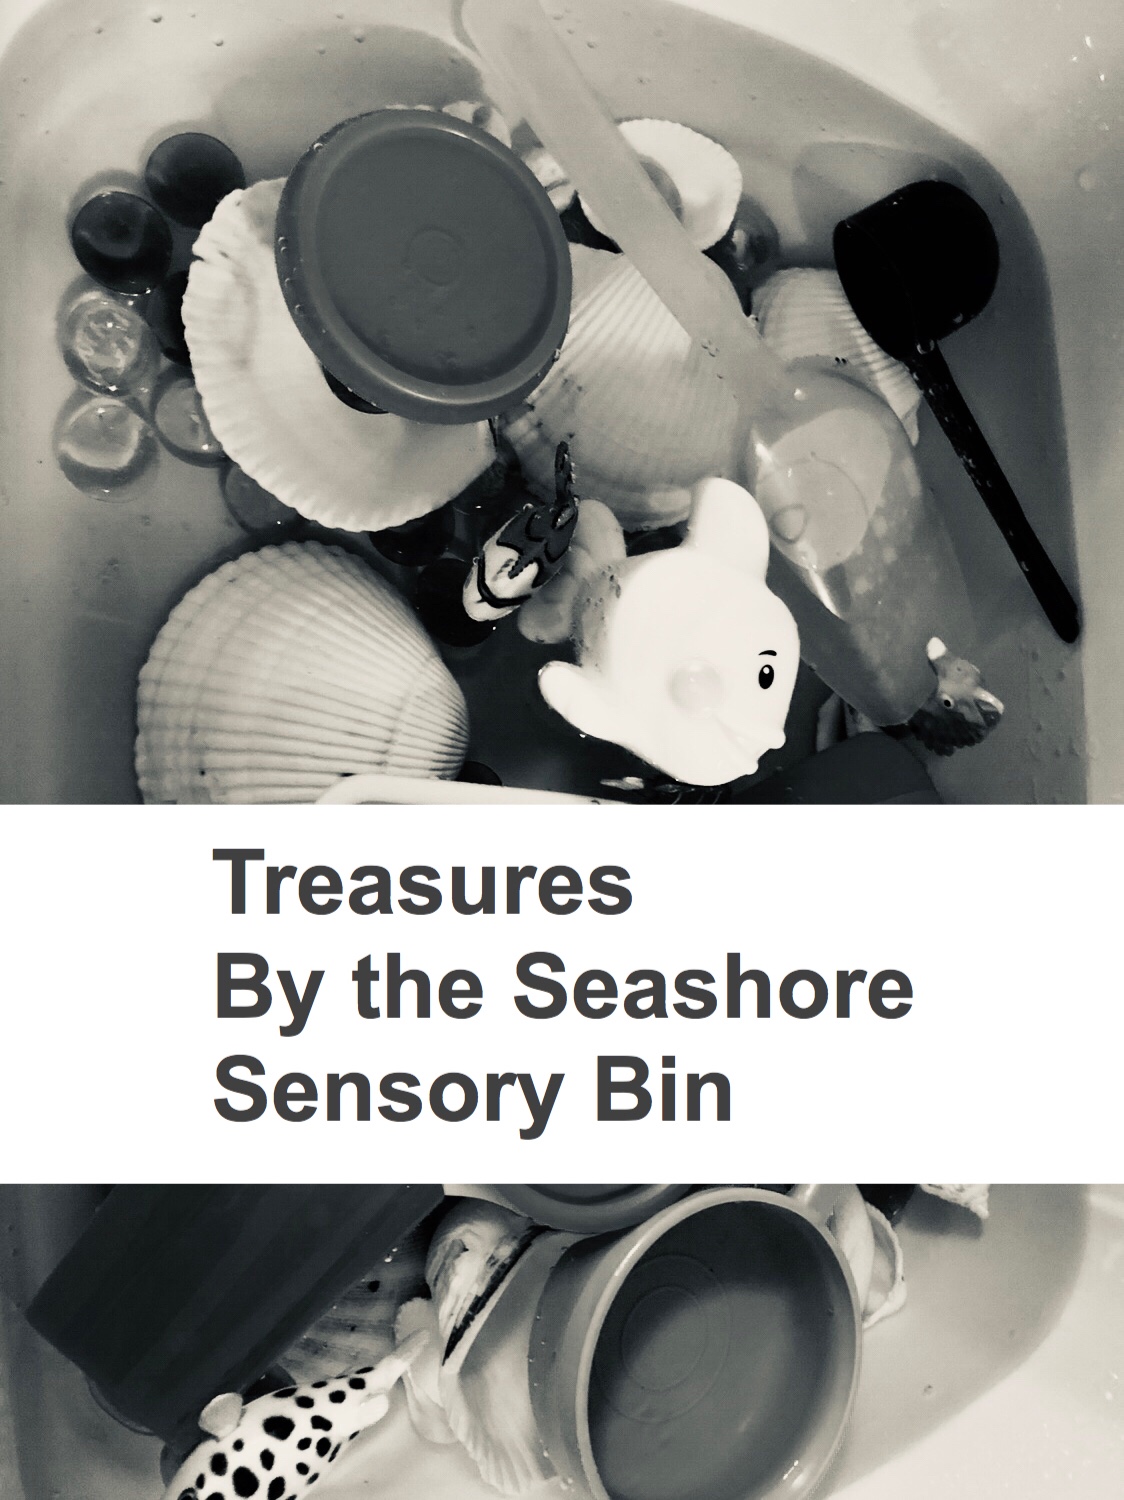
Here’s a simple sensory tub that we’ve been using a lot this summer. I know I’m very late posting this, but there is still plenty of sunshine outside and if you are not ready for fall, then this is for you. It started off as an ocean themed sensory tub, but Rosebud decided that she was a pirate looking for treasures. I’ve used this set up with and without water. She enjoys it either way.
What you’ll need:
Water,
Scoops and or measuring cups,
Mini toy fish,
Seashells,
Glass marbles.
If you are really adventurous, you could add sand for the real seashore experience.
Ideas for play:
Counting marbles or sorting them by color if you use multiple colors. Those were the treasures in our case.
Sort seashells.
Identify types of fish.
Work on fine motor skills with scooping and pouring.
Watch your child using their imagination and see what they come up with.
This website uses cookies to improve your experience. We'll assume you're ok with this, but you can opt-out if you wish.AcceptRejectRead More
Privacy & Cookies Policy
Privacy Overview
This website uses cookies to improve your experience while you navigate through the website. Out of these cookies, the cookies that are categorized as necessary are stored on your browser as they are essential for the working of basic functionalities of the website. We also use third-party cookies that help us analyze and understand how you use this website. These cookies will be stored in your browser only with your consent. You also have the option to opt-out of these cookies. But opting out of some of these cookies may have an effect on your browsing experience.
Necessary cookies are absolutely essential for the website to function properly. This category only includes cookies that ensures basic functionalities and security features of the website. These cookies do not store any personal information.
Any cookies that may not be particularly necessary for the website to function and is used specifically to collect user personal data via analytics, ads, other embedded contents are termed as non-necessary cookies. It is mandatory to procure user consent prior to running these cookies on your website.

 We worked on math skills by counting the number of pompoms in a box. We used our listening skills to guess what was inside the boxes. We discovered that we can always tell when one of the bells were in the boxes, but we could only hear the pompoms depending on the size and style of the box. Rosebud folded wrapping paper and tried to tie ribbon to practice those fine motor skills.
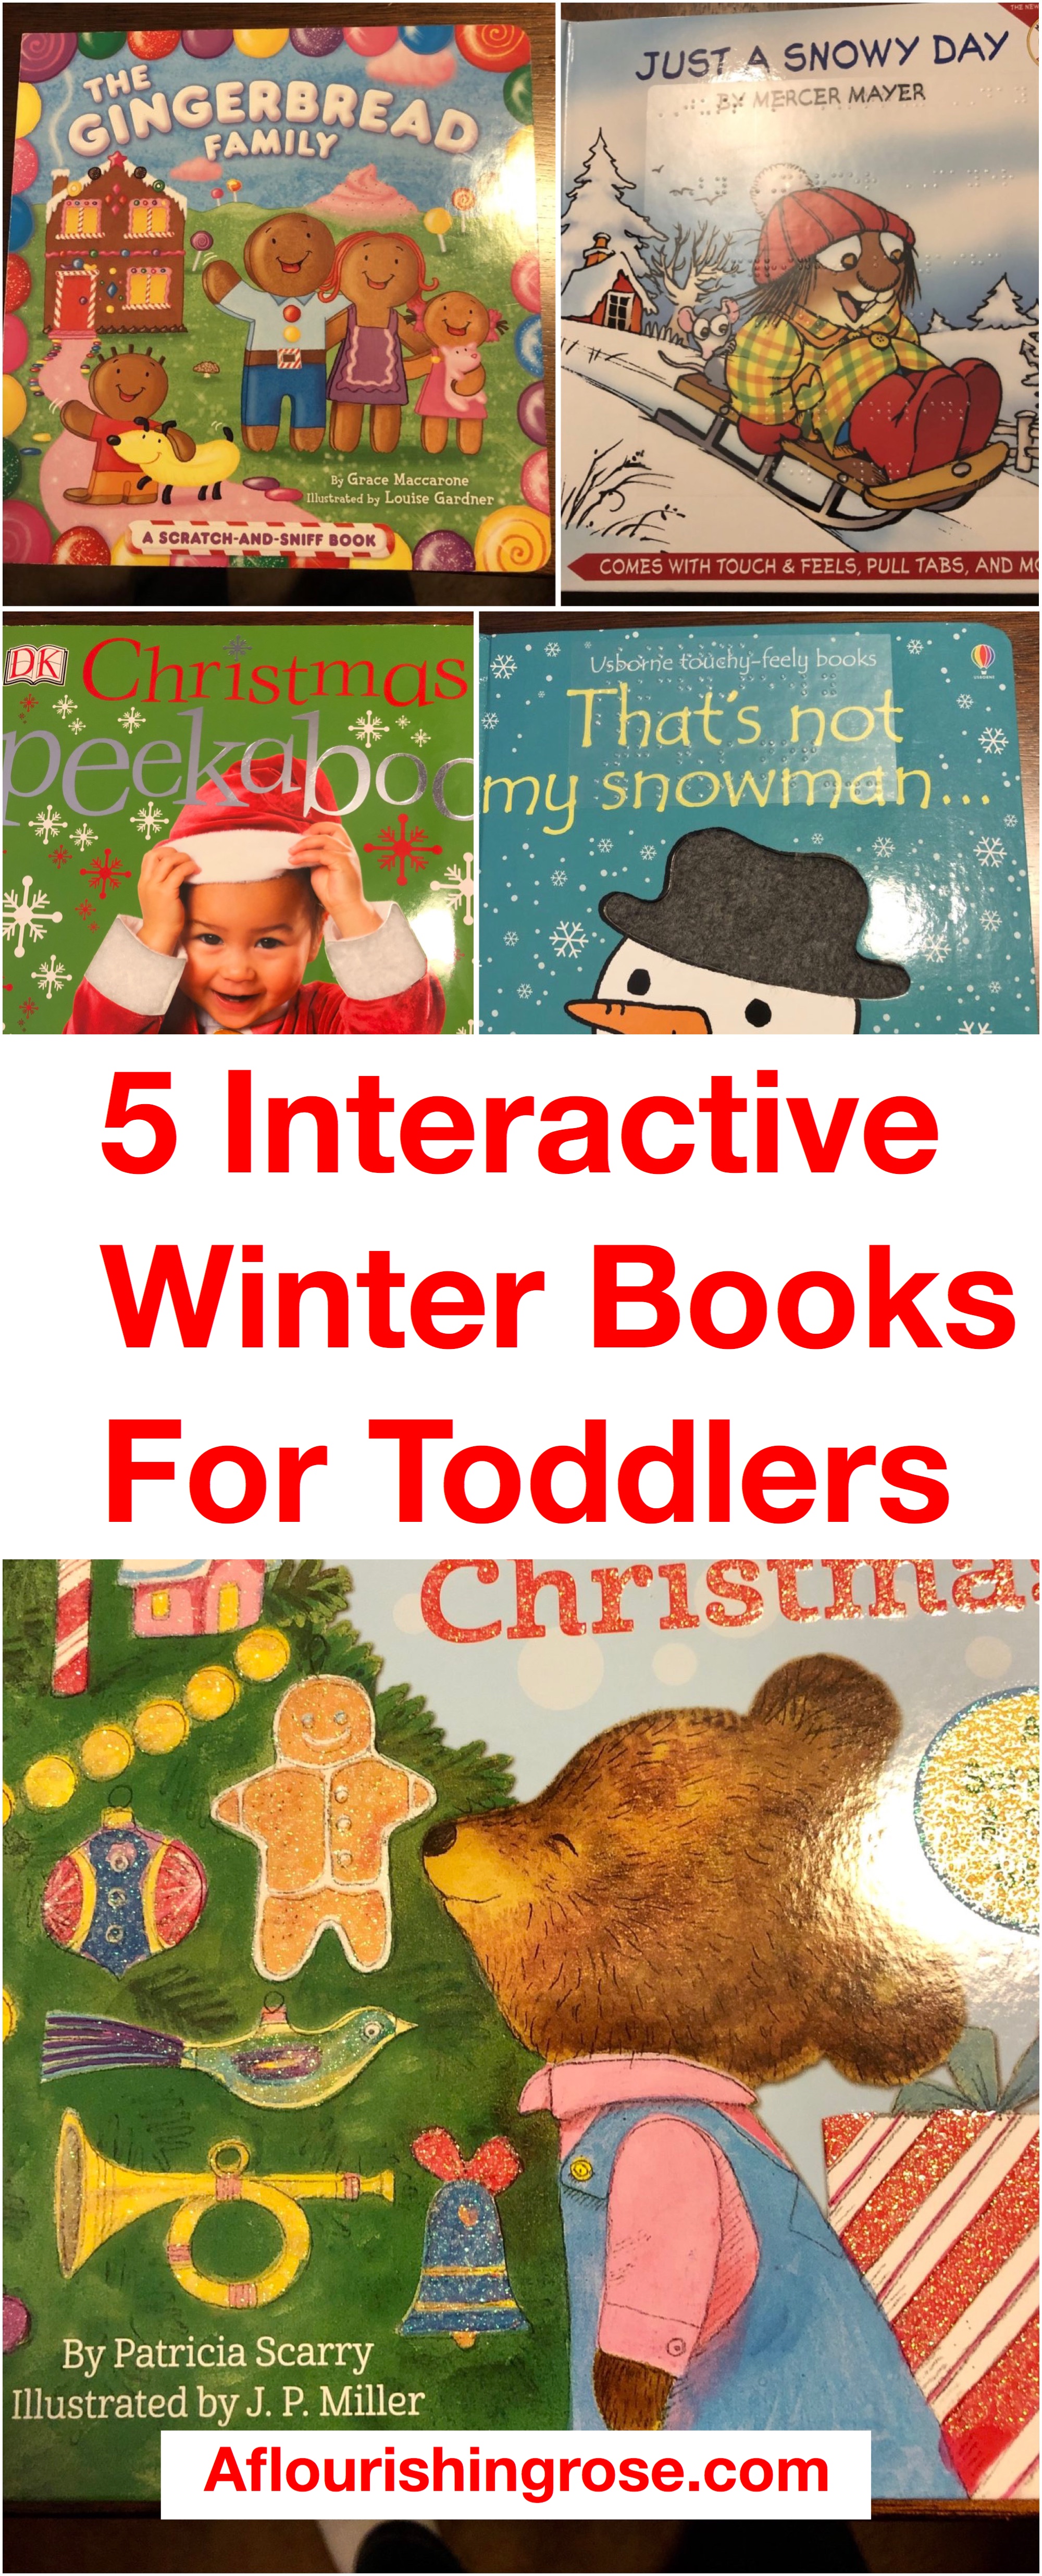

 1. Put glue on your paper. I’d suggest using a paintbrush to spread it out. I used glitter glue from the dollar store which doesn’t appear to be a good choice because it barely glues things down, but it’s the only glue I had. Rosebud didn’t want me to take a good picture of this. Each time, she’d move the paper or put her hand in the way.
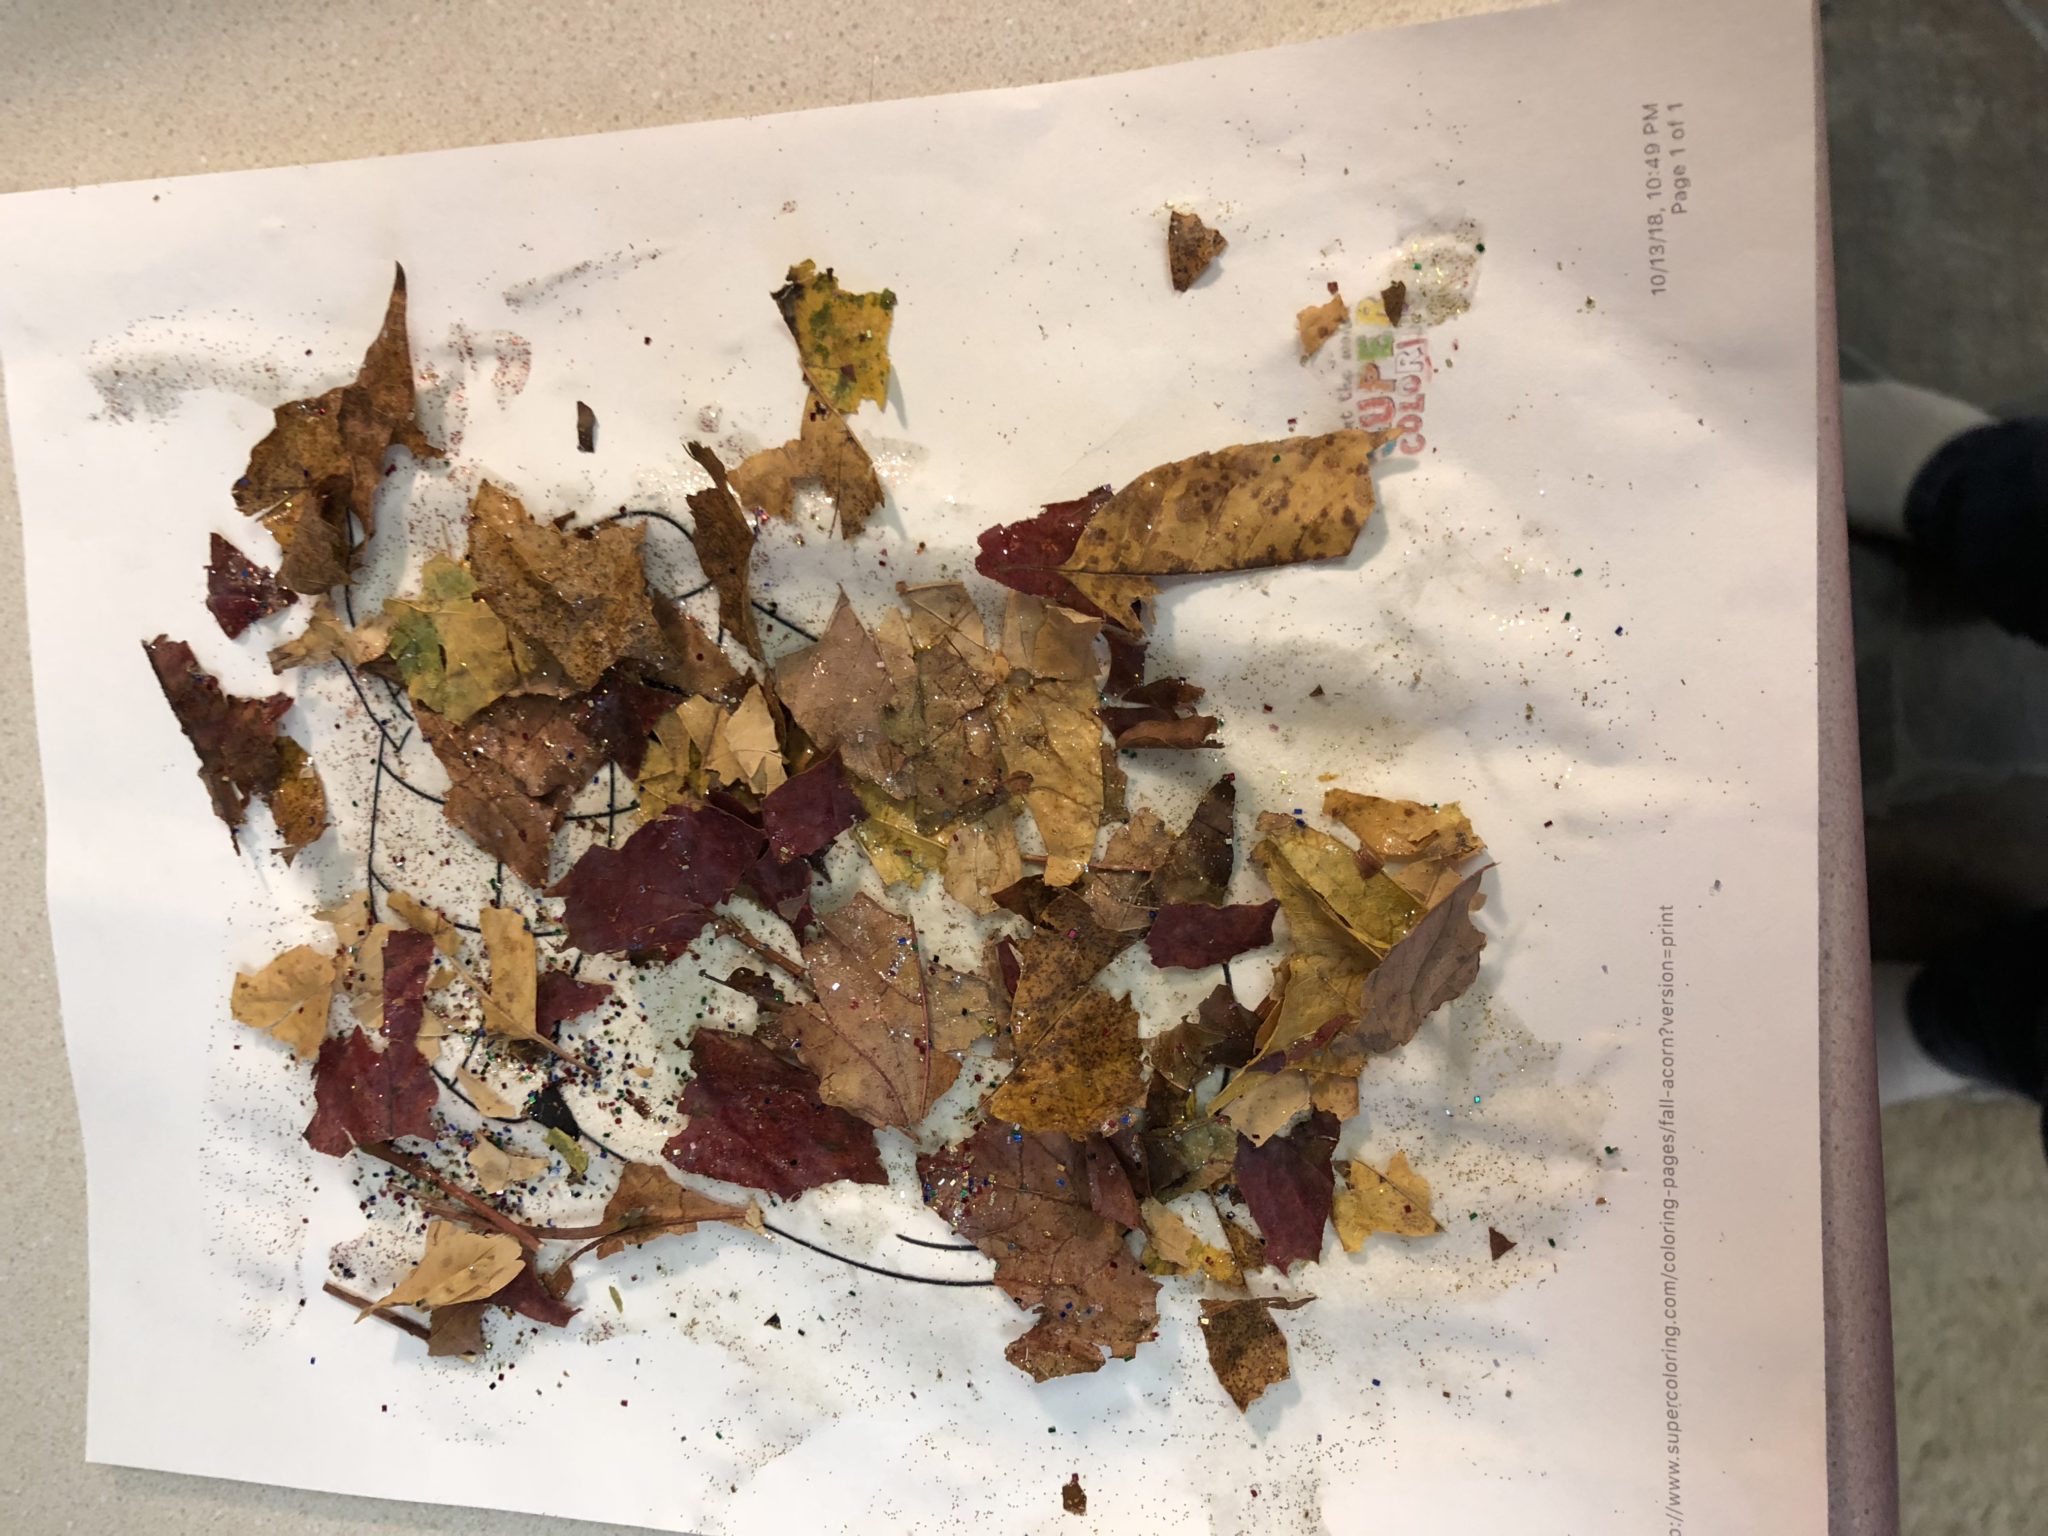
 2. Set aside to dry.
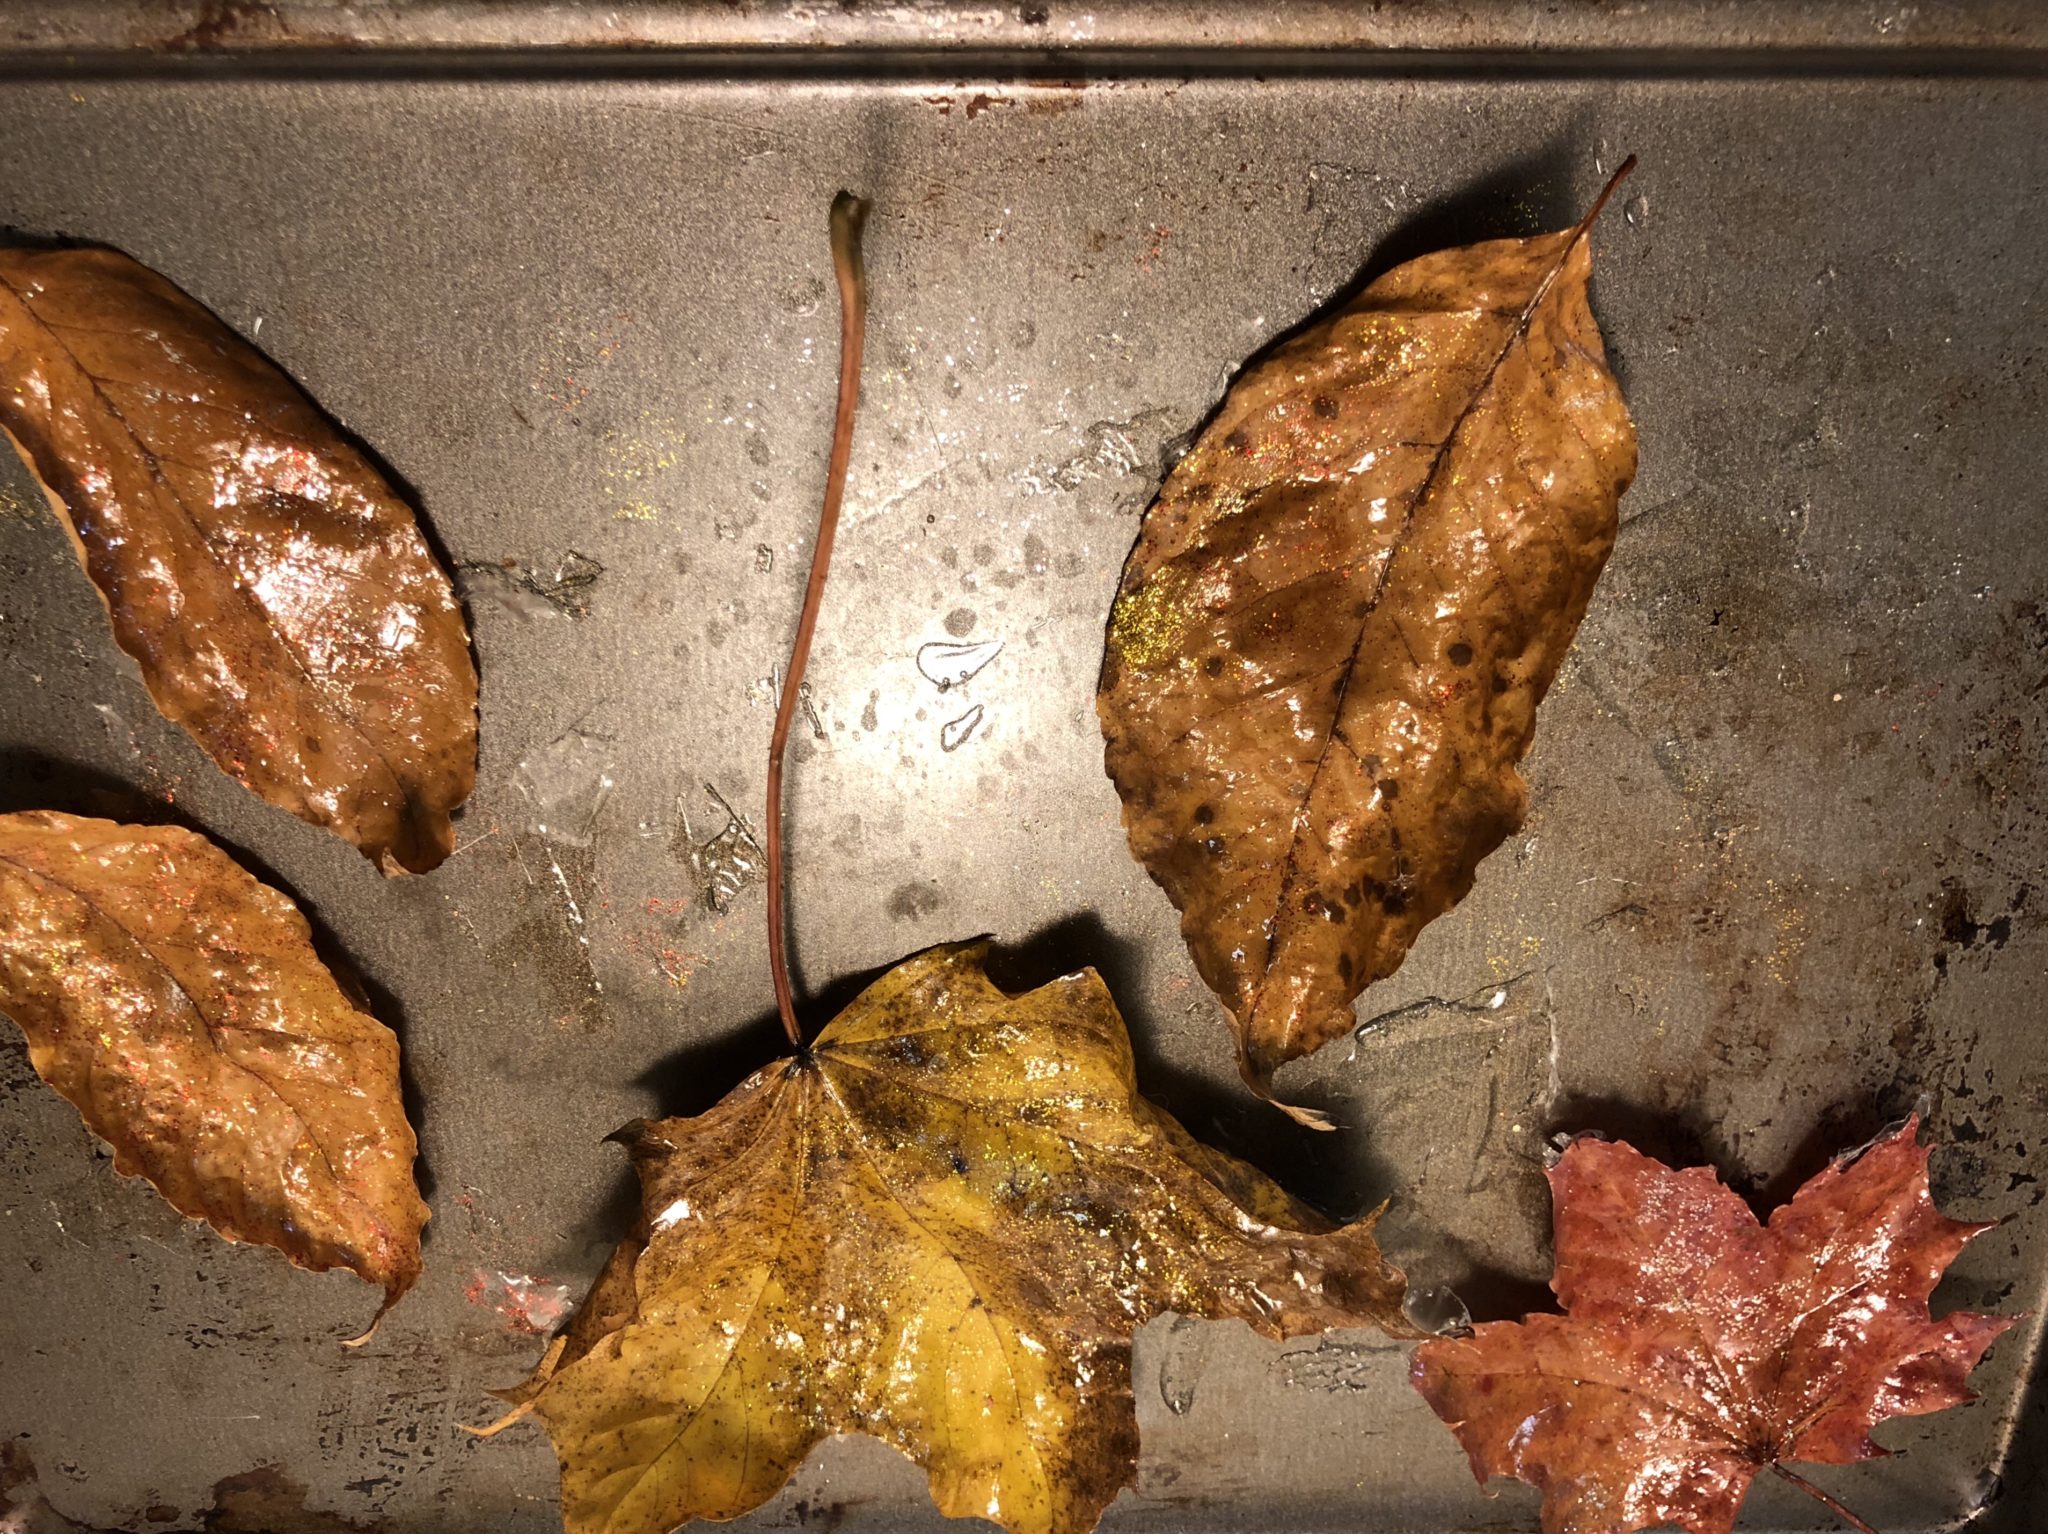 4. When dry, arrange leaves in contact paper or sheet protector. I didn’t have any contact paper so I just glued the leaves inside the sheet protector.
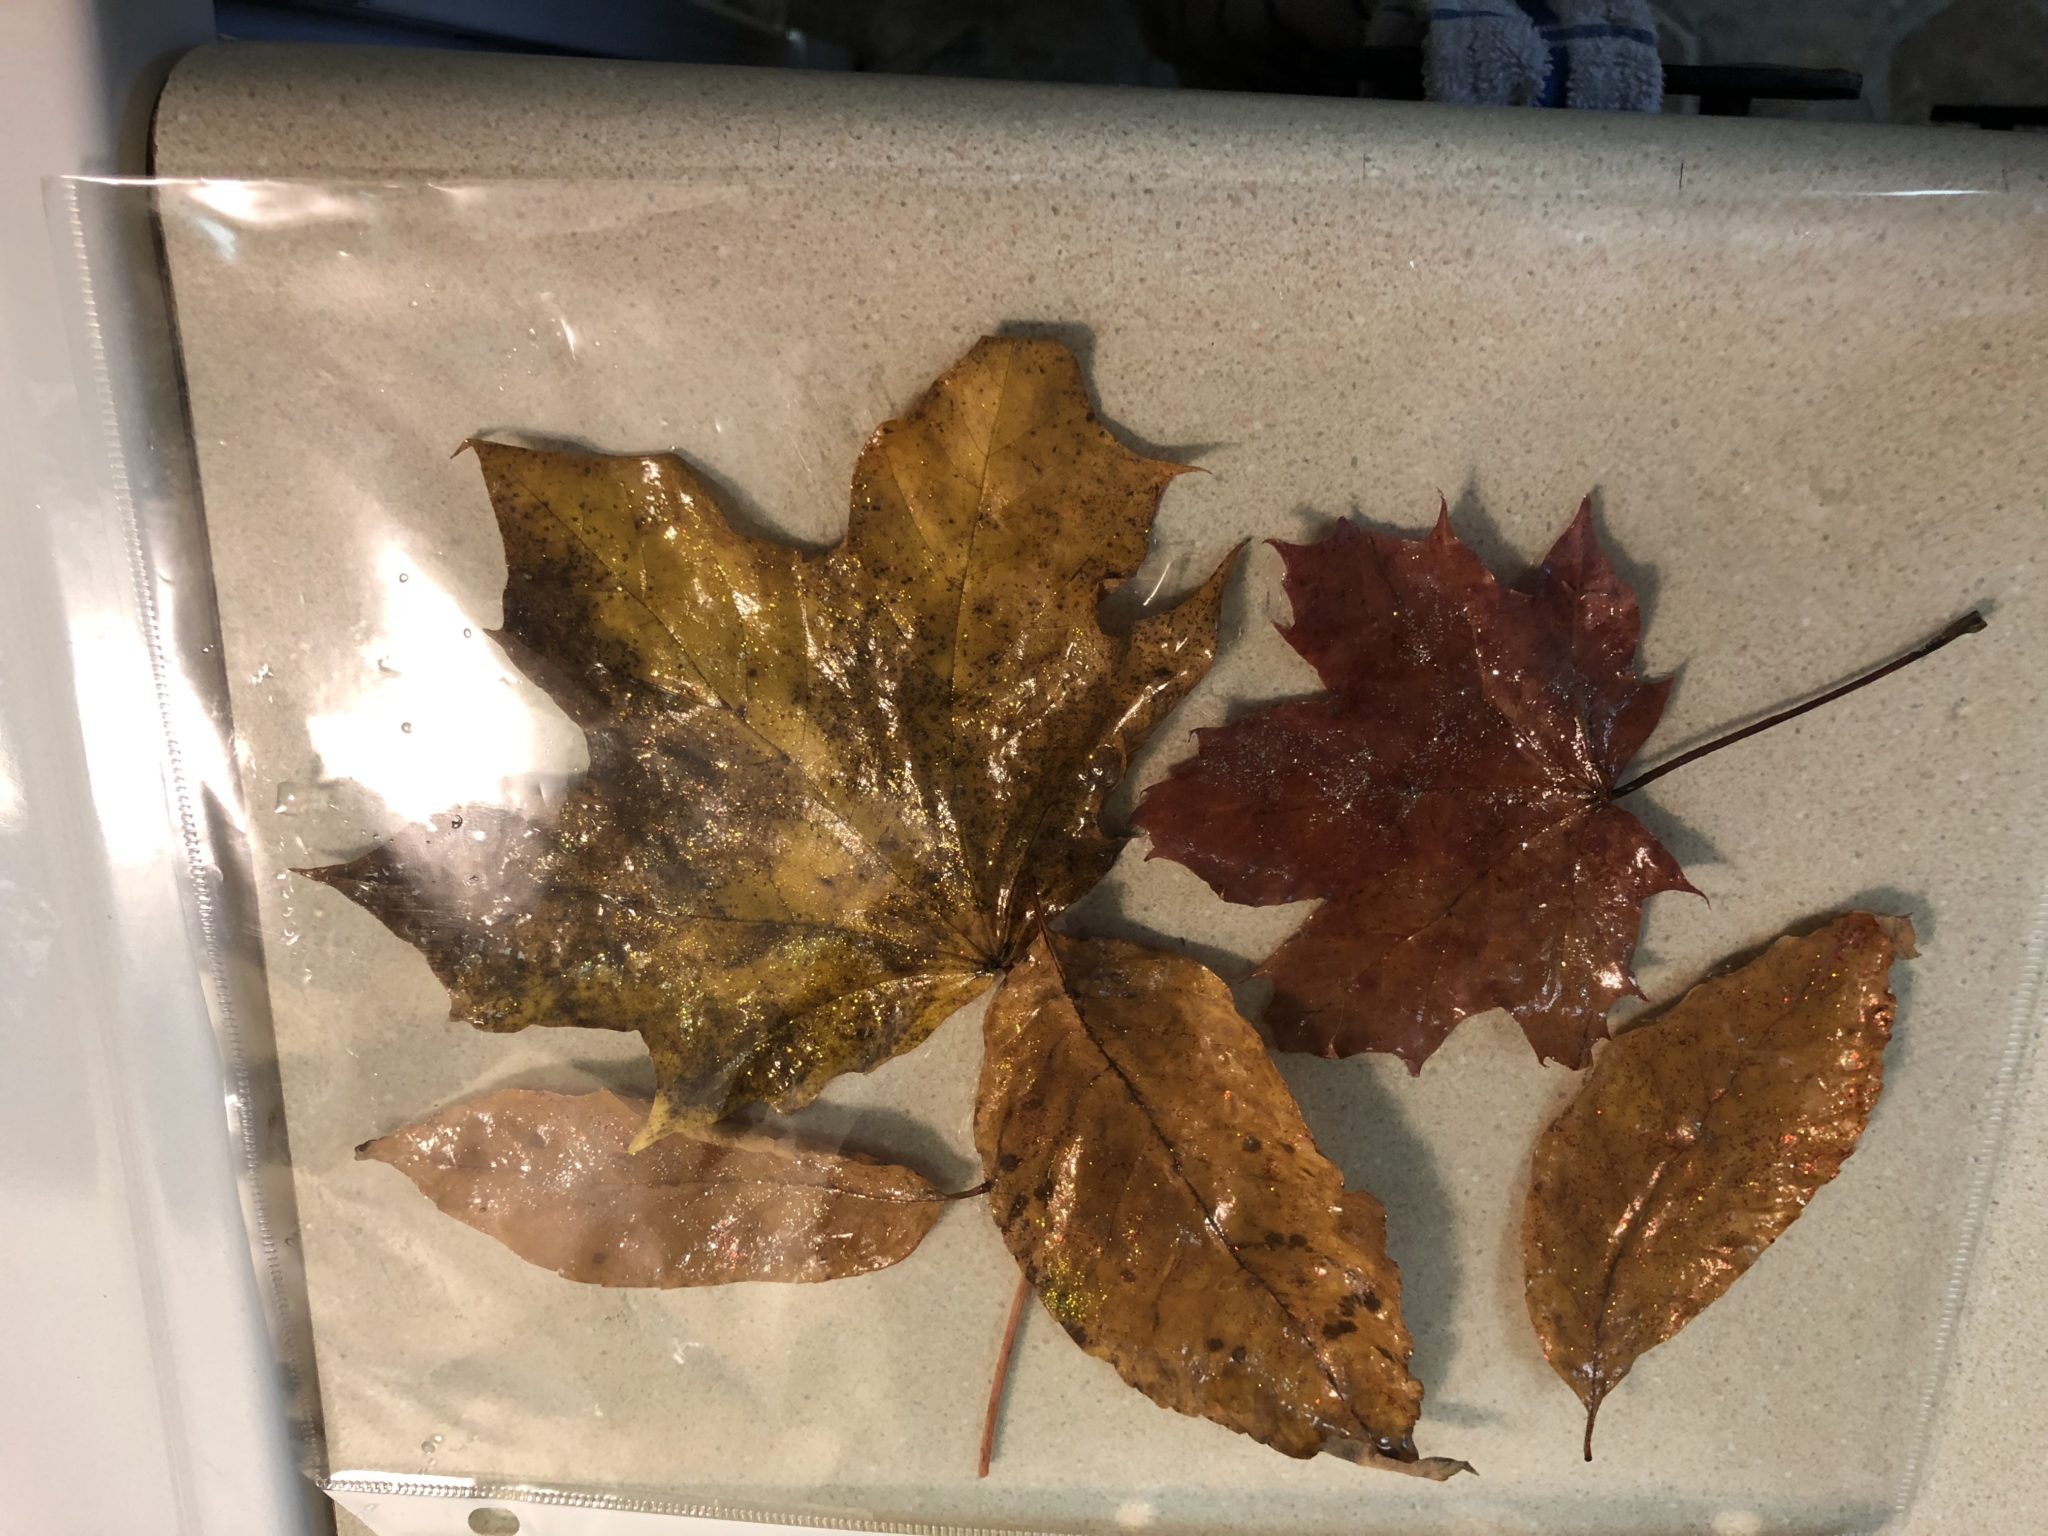 5. Punch hole in contact paper and tie a string. If you use a sheet protector, the holes are already there.
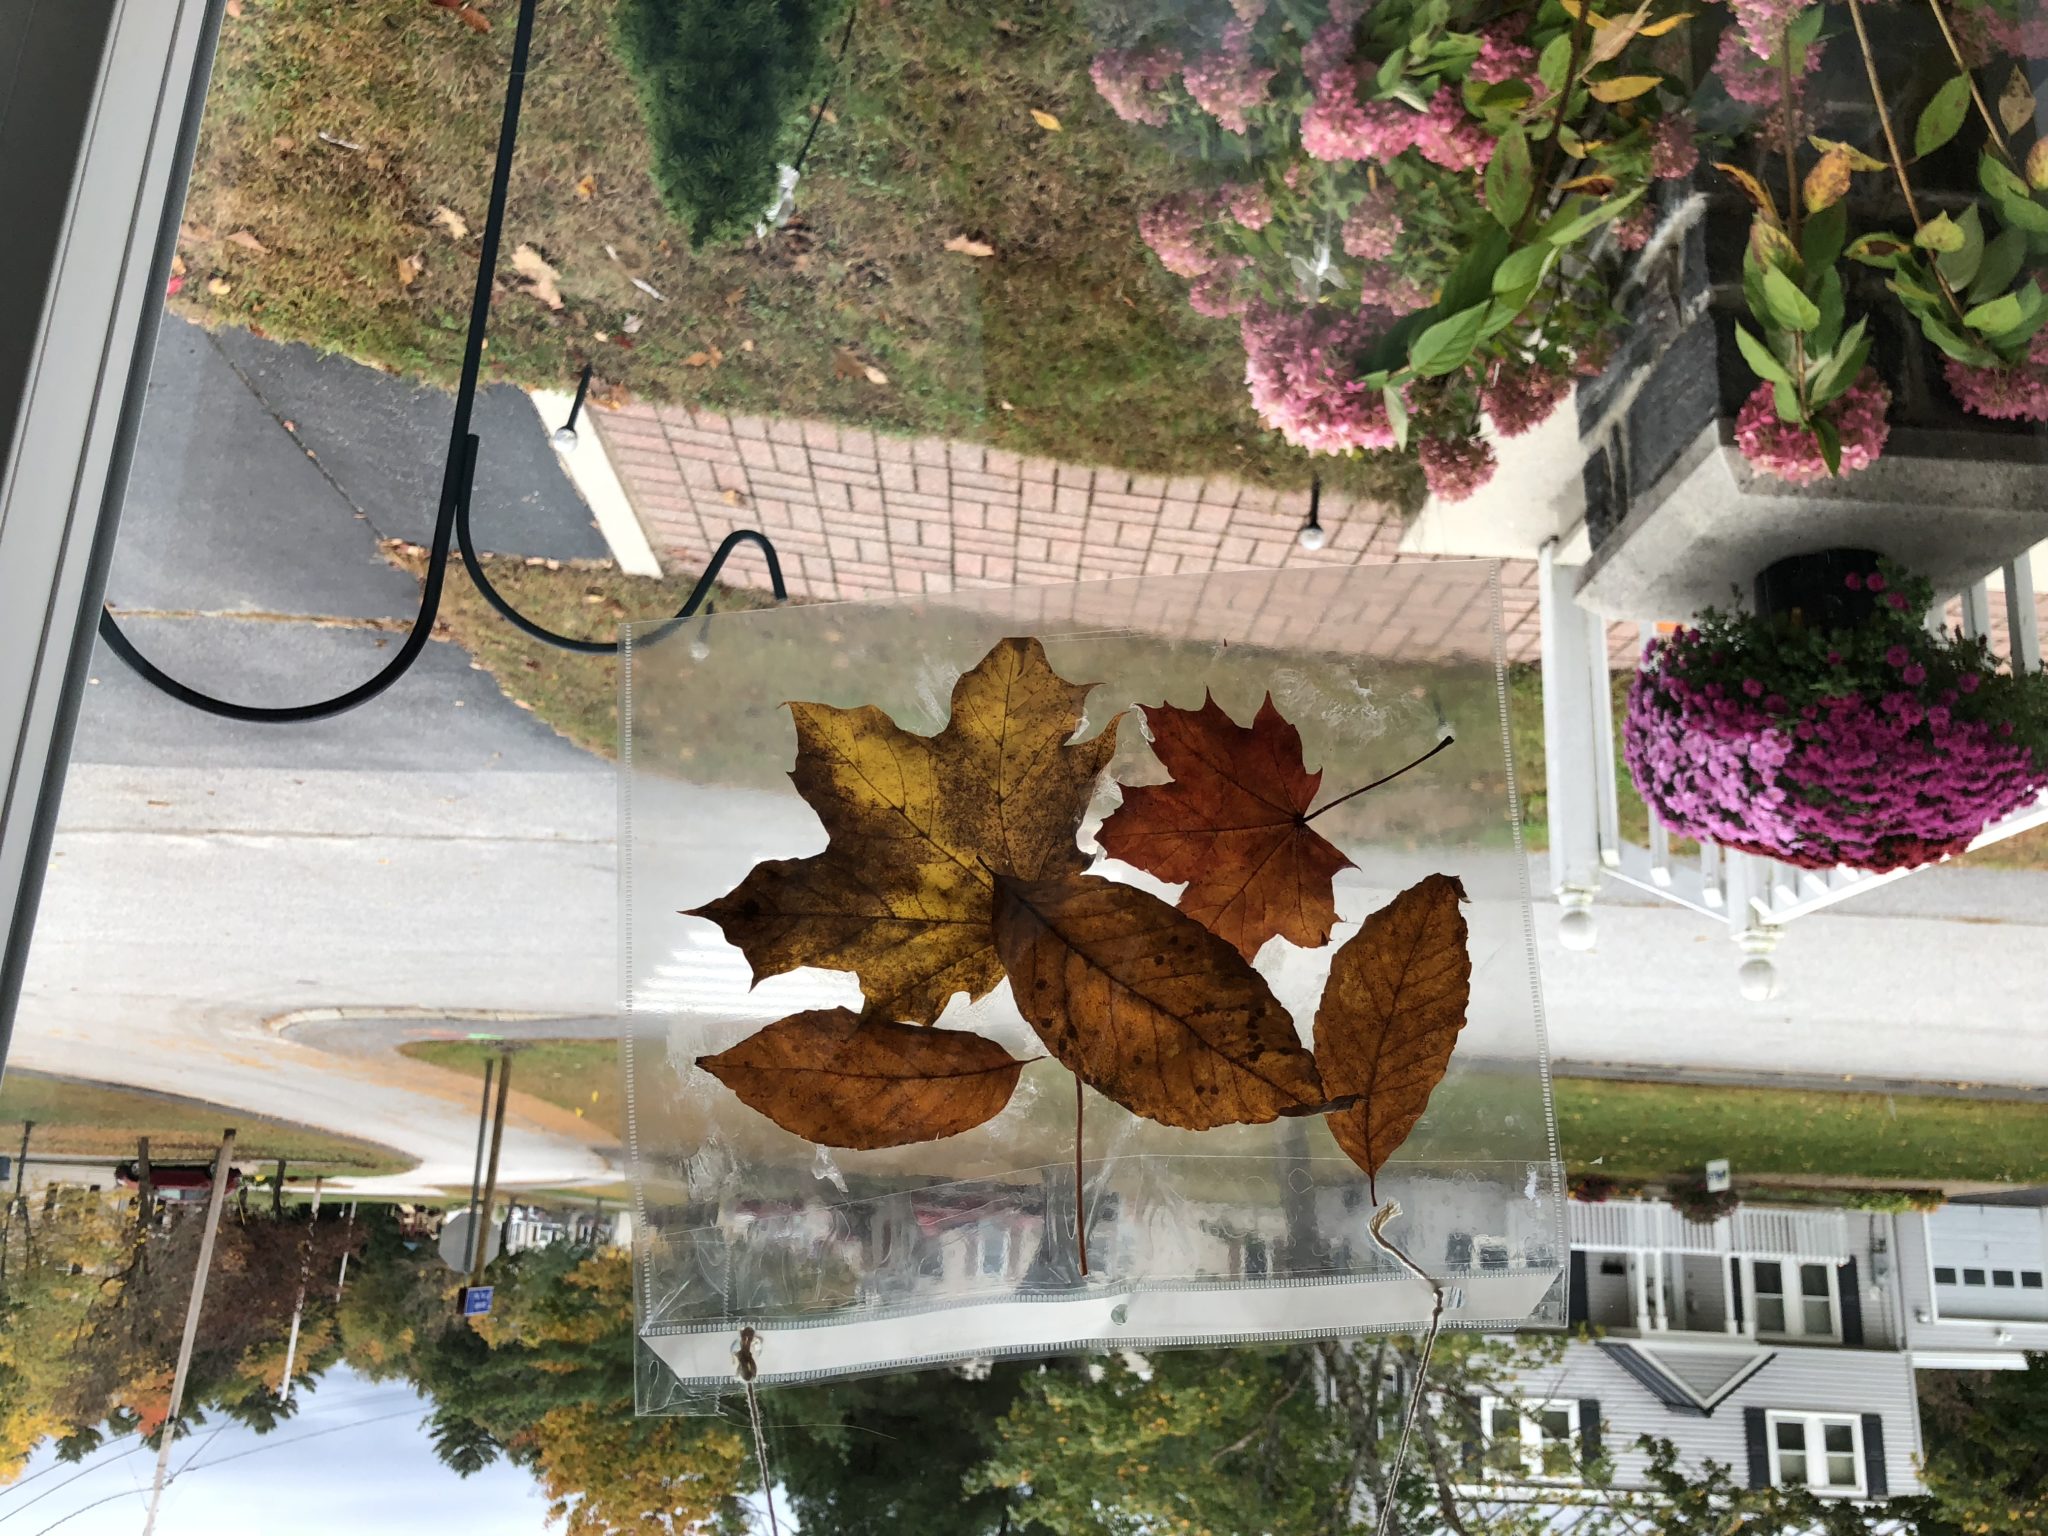
 Anyone who has kids knows that they are loud. They run instead of walk. They think everything is a drum. It could be pots and pans, the ball they were just playing catch with or the kitchen table. On some days, their voice has only one volume, loud! While I love listening to Rosebud’s conversations with herself and enjoy watching her take on life with such energy and enthusiasm, I definitely need a few quiet moments here and there. Here are a few activities that can give you just that. Peace and quiet.
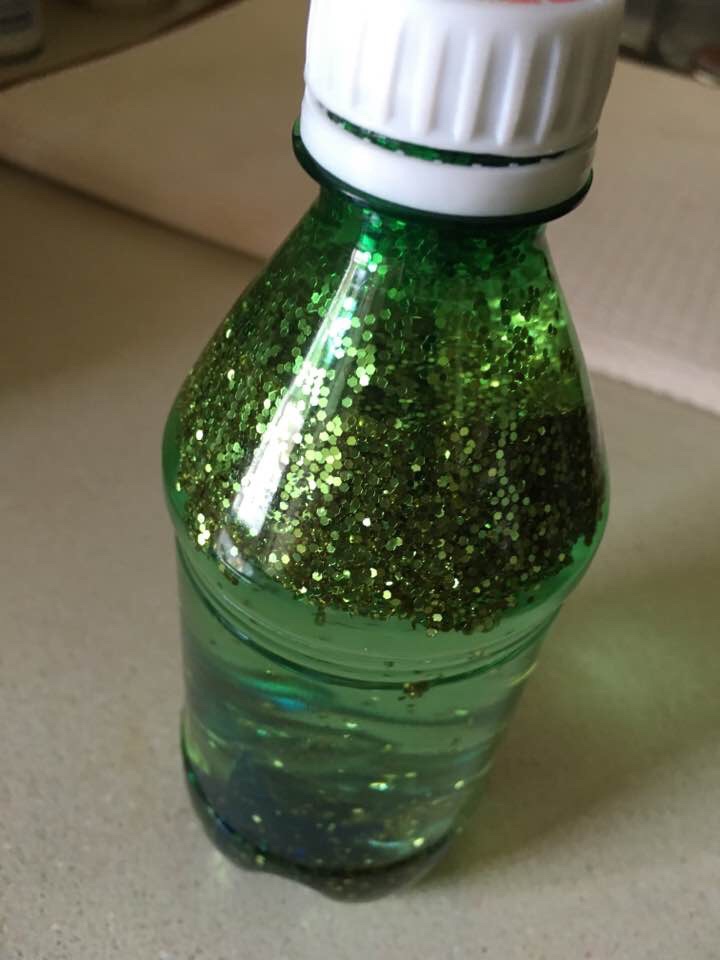
 3. Blocks
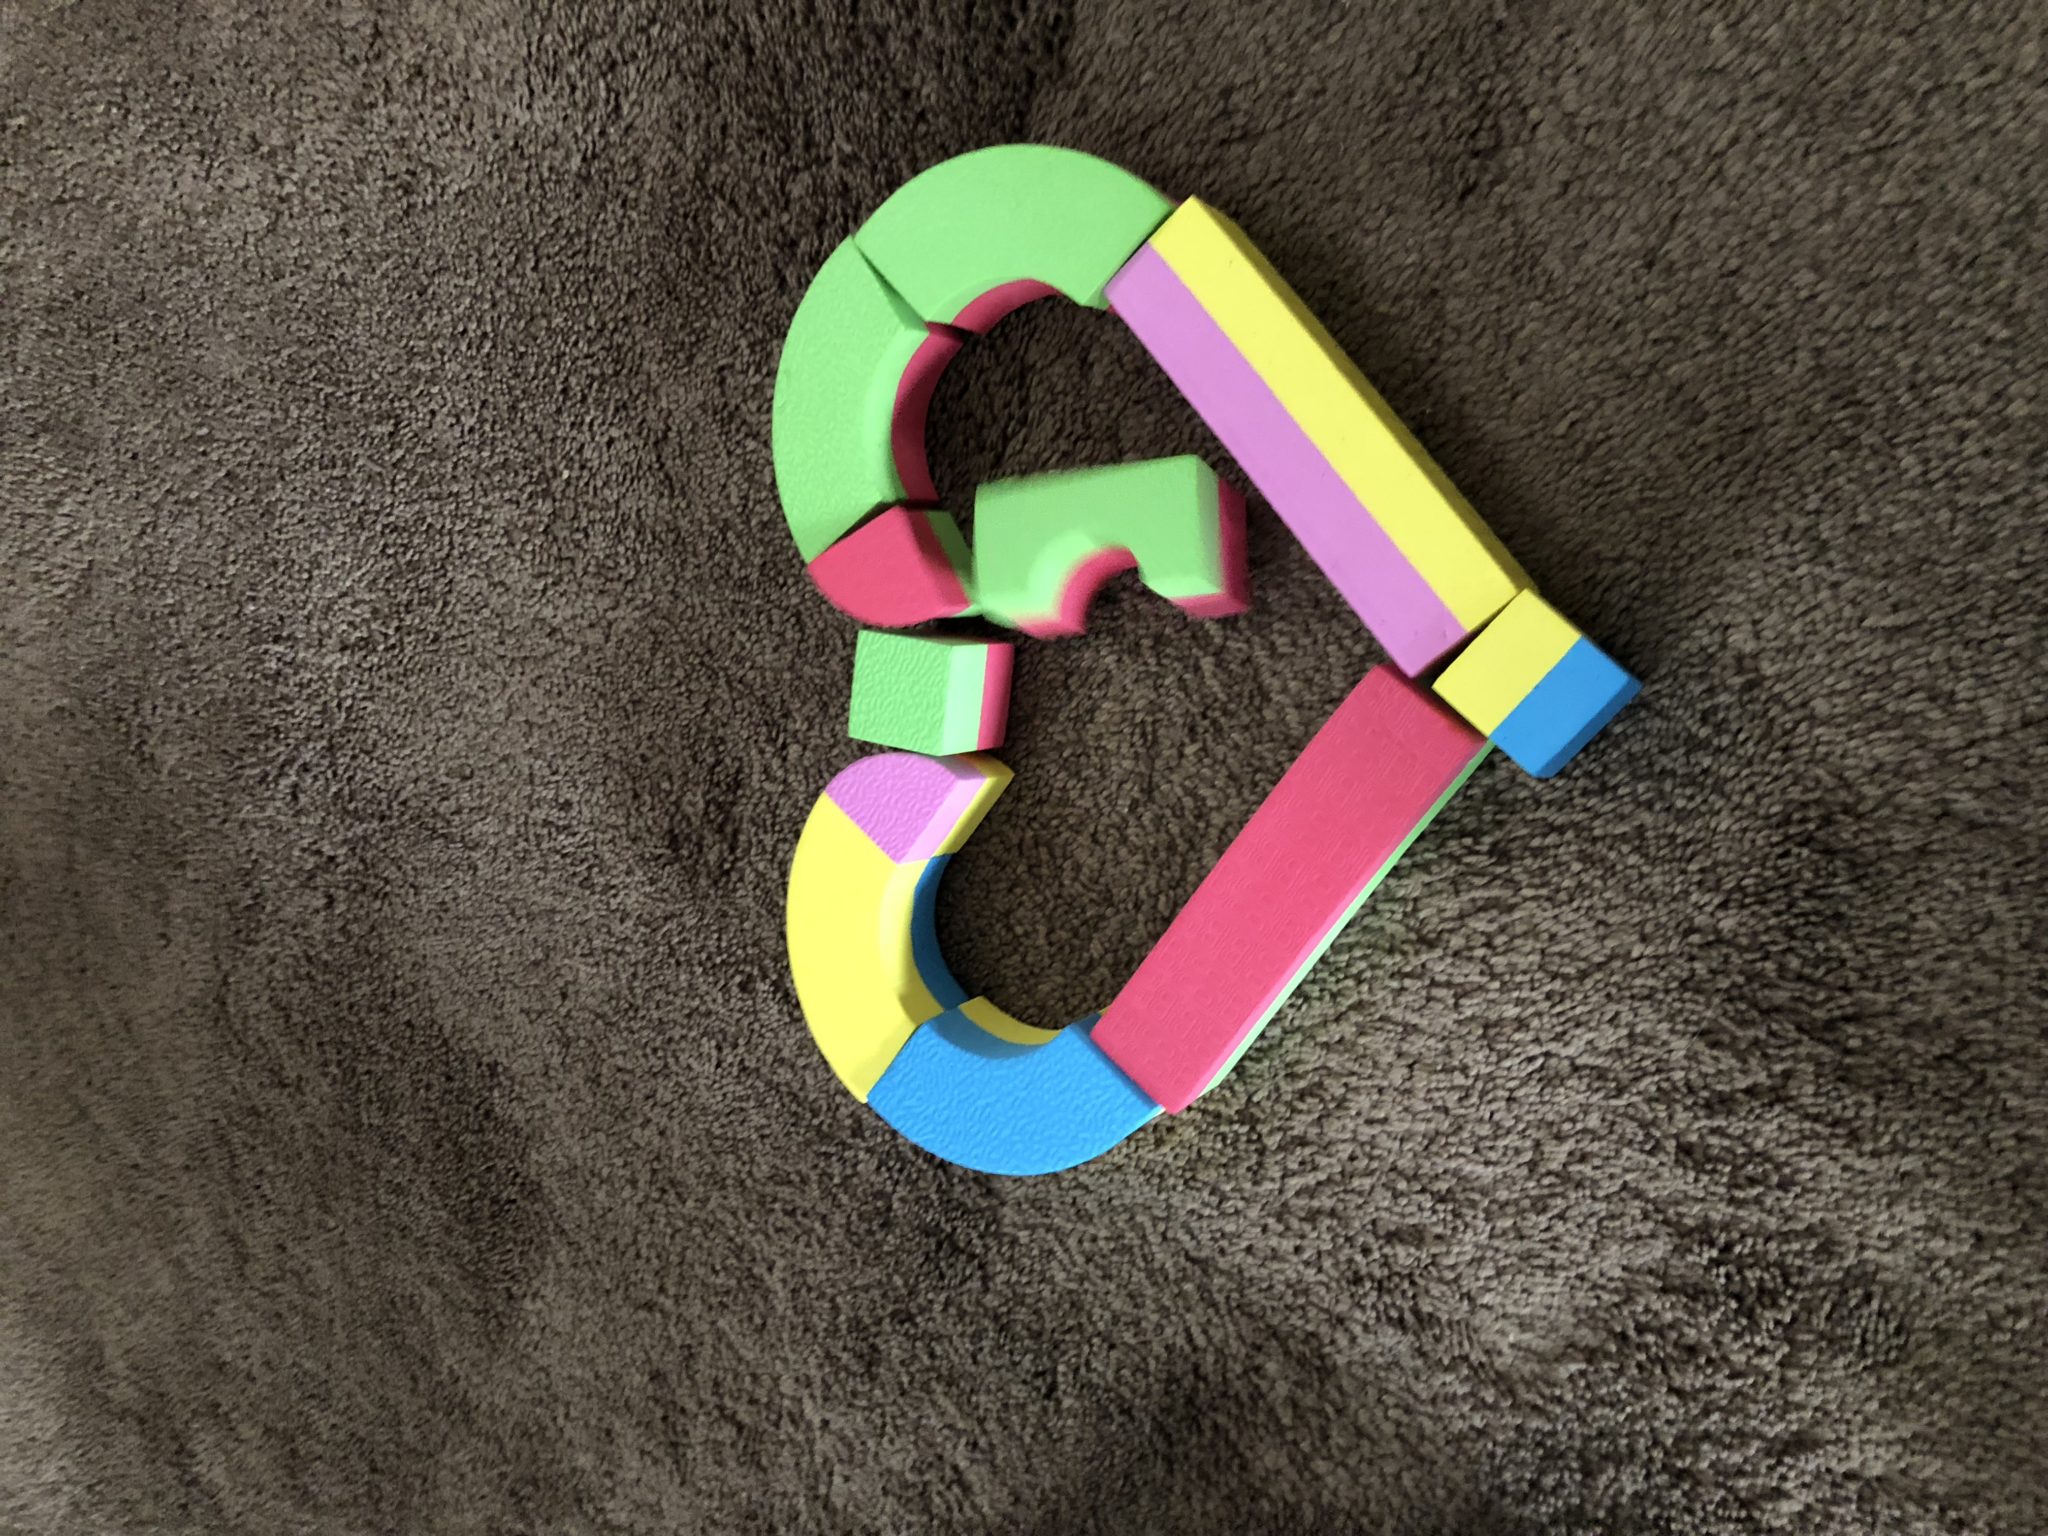
 These activities are great for a nap time when a child doesn’t sleep. They are also great for a quiet corner or for those times when a child is so wound up and needs to relax. What are your favorite quiet time activities for kids? Tell me in the comments.