Painting

Our Fall Crafts

Are you looking for some quick fall crafts? Here are some of the crafts Rosebud and I have done so far this fall. These are simple glueing activities that are perfect for toddlers and preschoolers.
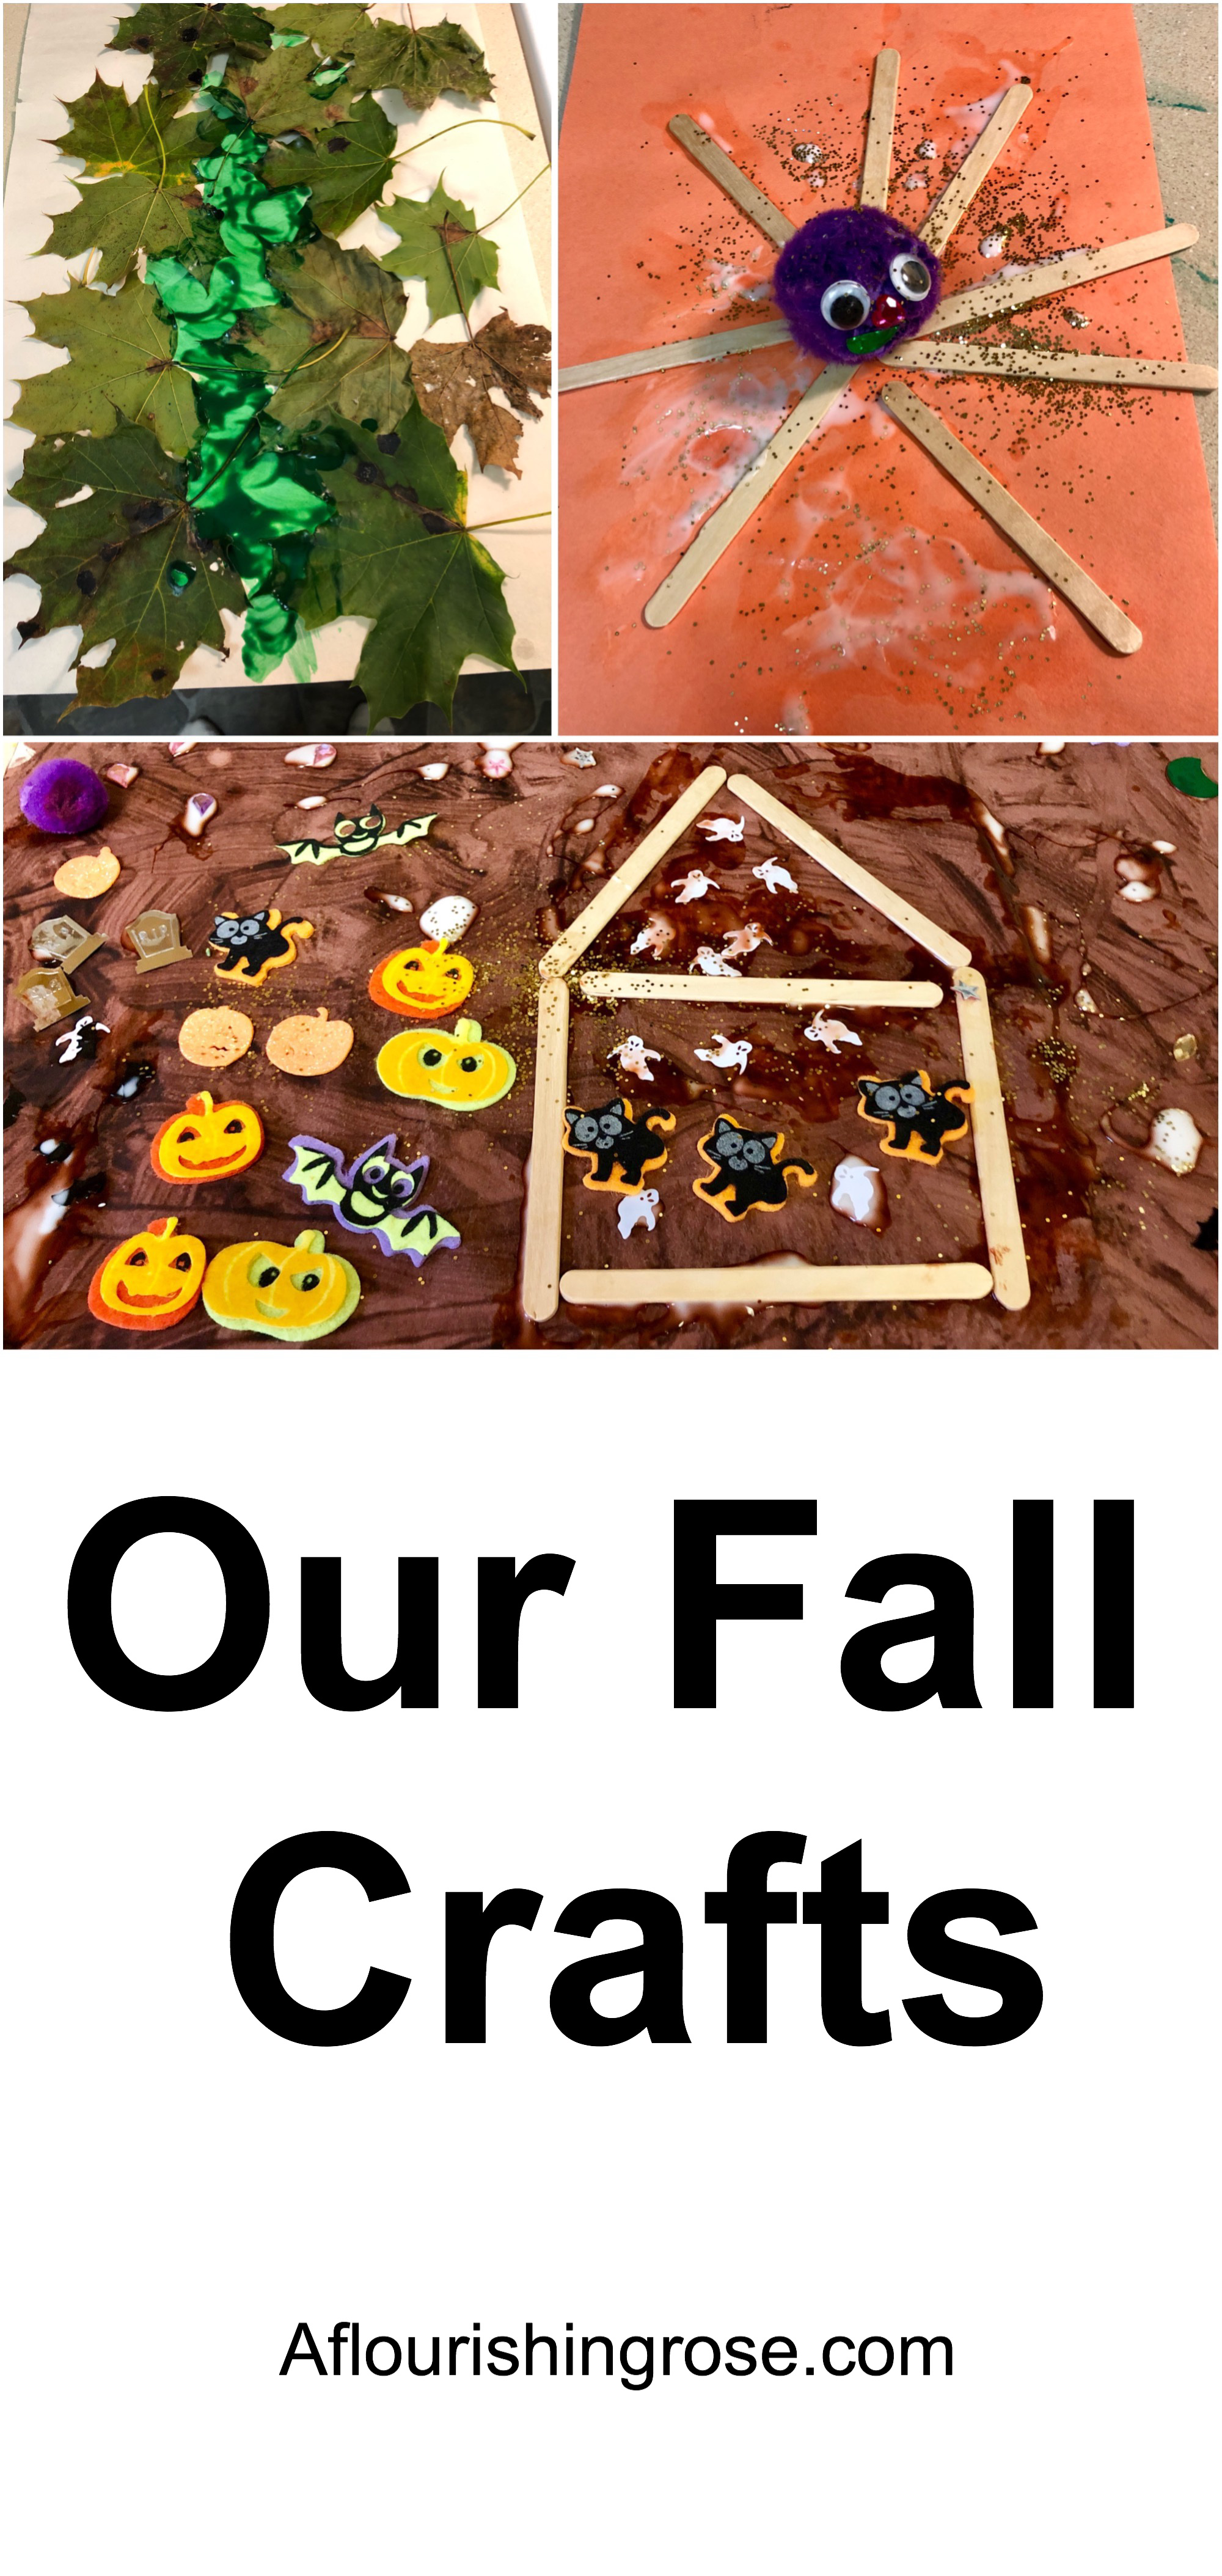
Our fall crafts pin

Leafy Tree

Supplies

  • Leaves,
  • Paper,
  • Glue,
  • Green paint.

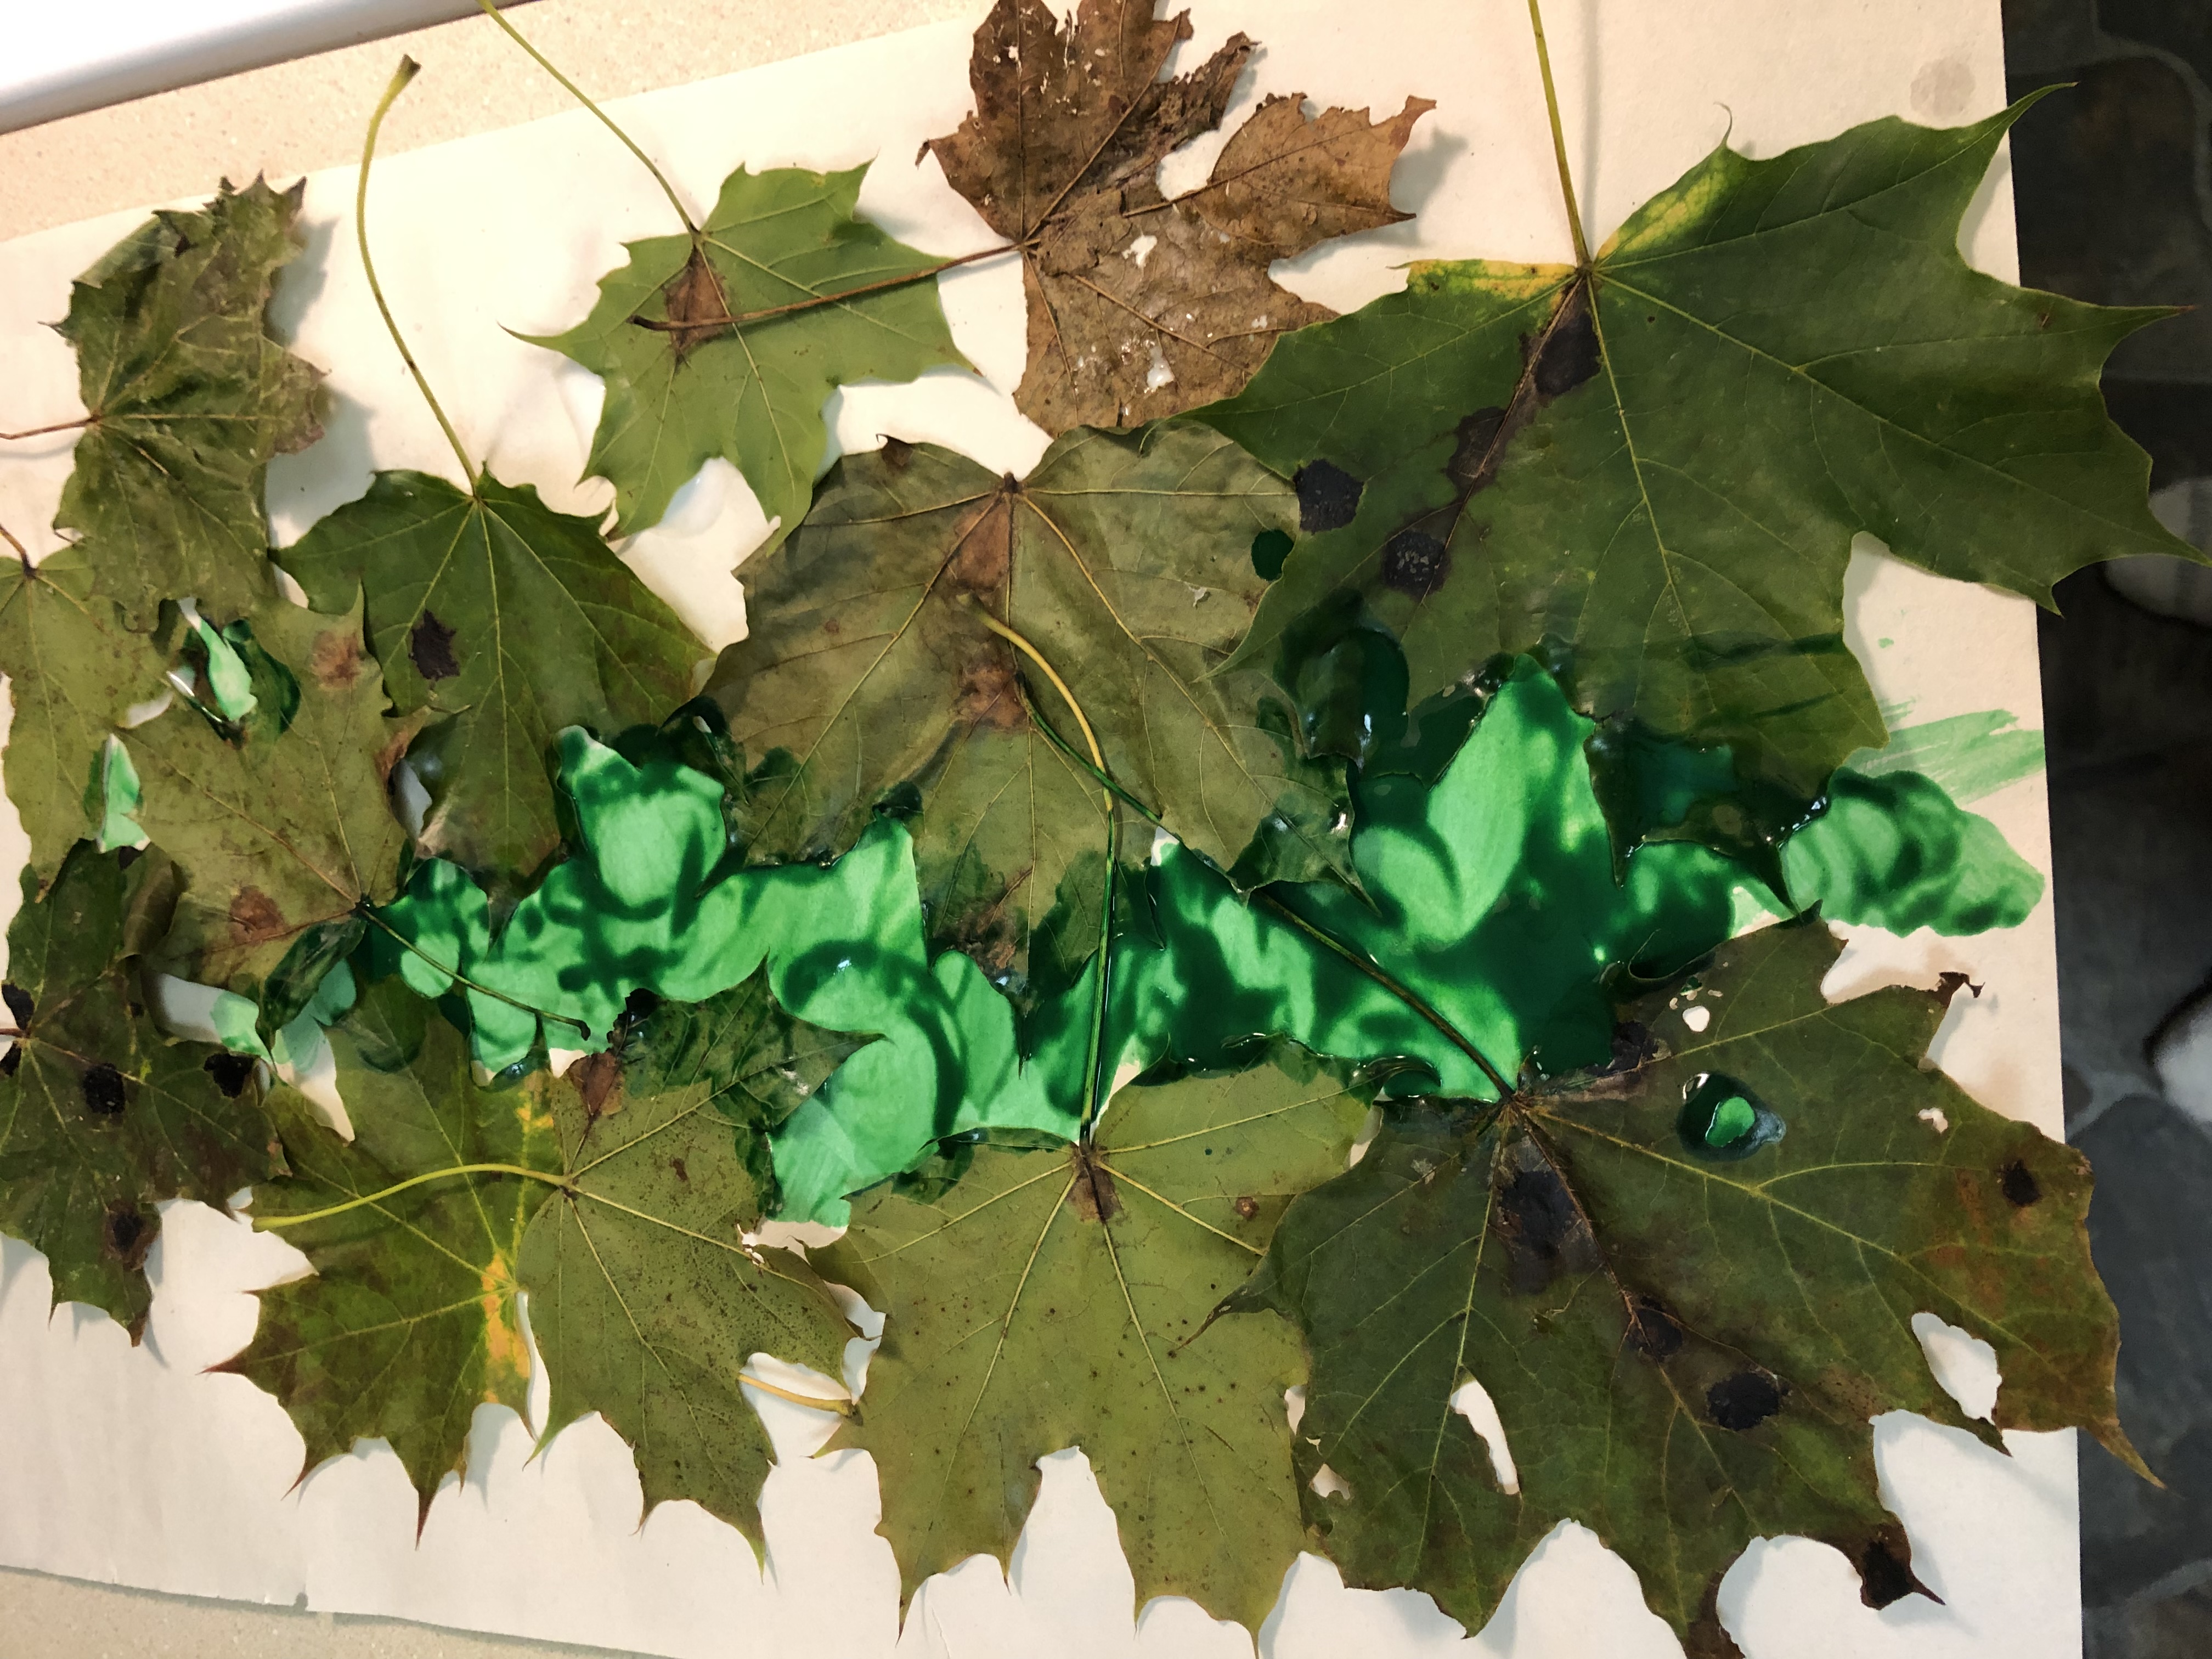
Leafy tree

First, we made this leafy tree. It started out as just a simple leaf collage. Rosebud and I went for a walk and found a bunch of leaves. She wanted to make art with them, so we just started gluing. After she glued all the leaves, we realized there was a vertical space in the middle, so we painted it green to look like a tree.

To make it look more like a tree, you can draw the outline first or use other natural items to decorate it.

Halloween Spider

Supplies

  • Craft sticks,
  • Pompoms,
  • Google eyes,
  • Glue,
  • Glitter,
  • Construction paper.

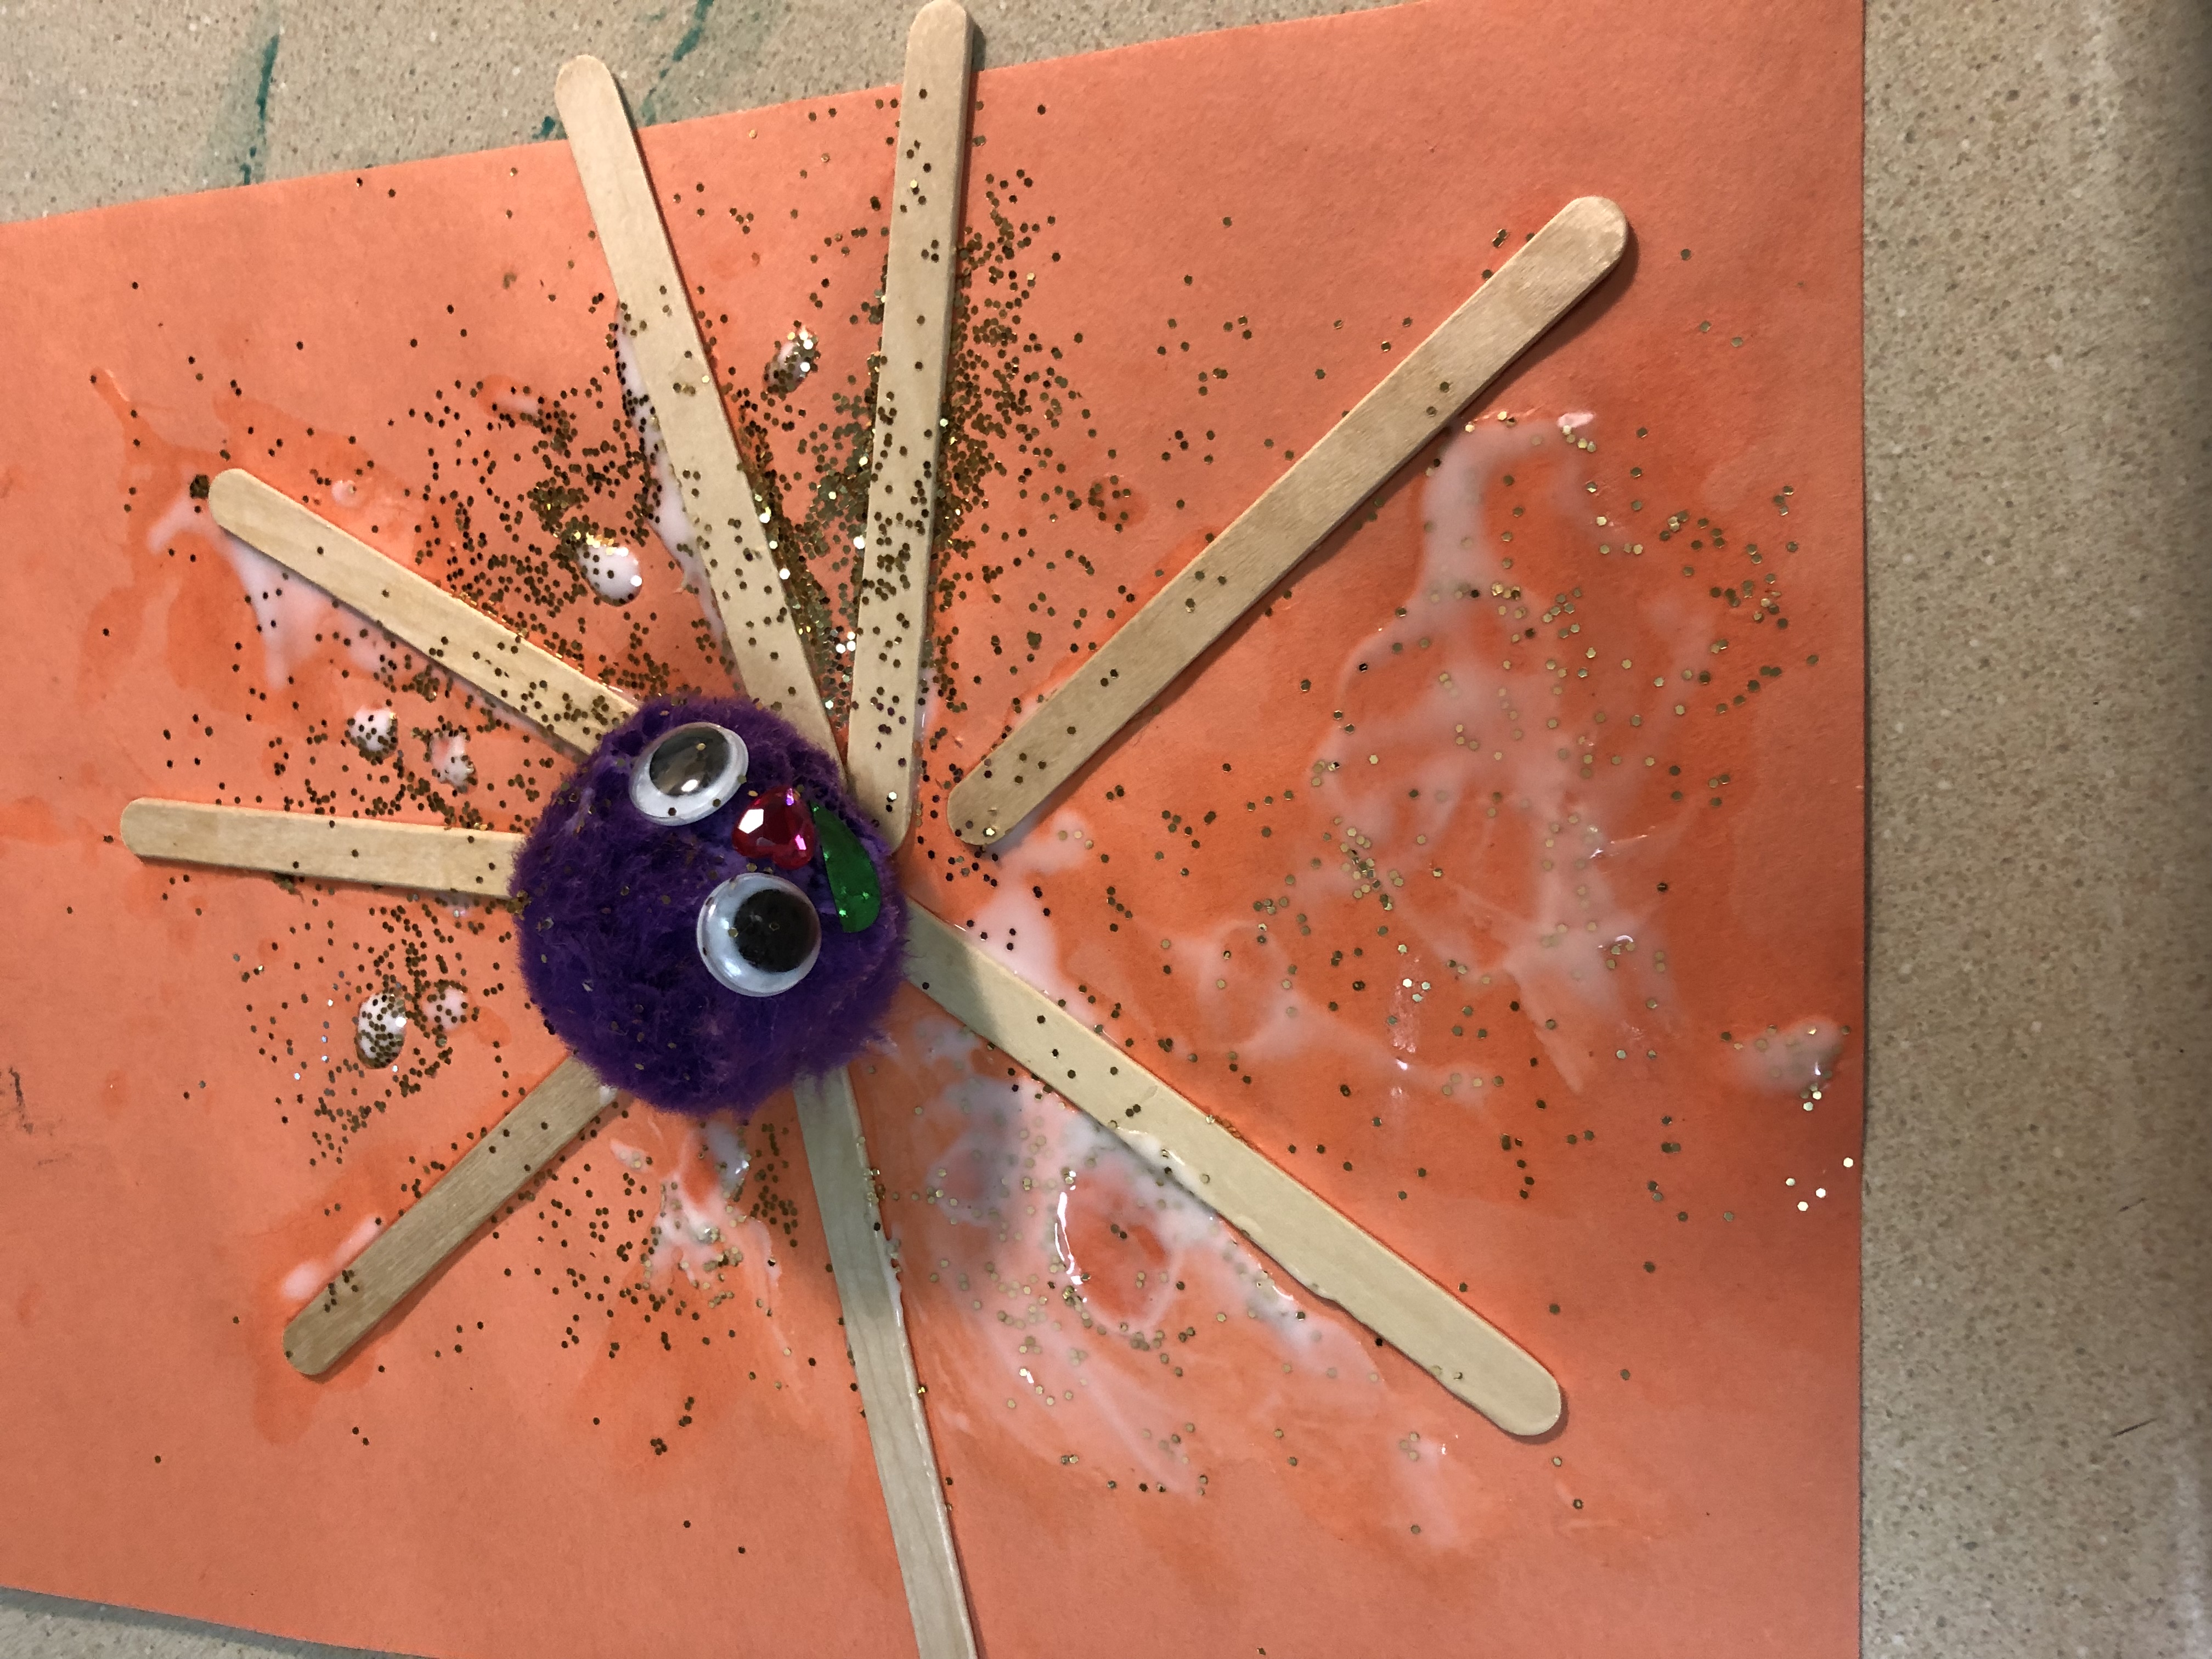
Halloween spider

I asked Rosebud what she wanted to make one afternoon and she really wanted to make a spider. When I asked her how she wanted to make it, she said she wasn’t sure, so I looked through my craft basket. We started off by gluing craft sticks for legs, adding a pompom for the body and then adding the eyes. Then she wanted to add a mouth and nose. To top it off, she wanted to add glitter and there is our Halloween spider. Not scary, but definitely a Rosebud creation.

Haunted House

Supplies

  • Craft sticks,
  • Construction paper,
  • Halloween foam stickers,
  • Jewels,
  • Glitter,
  • Glue.

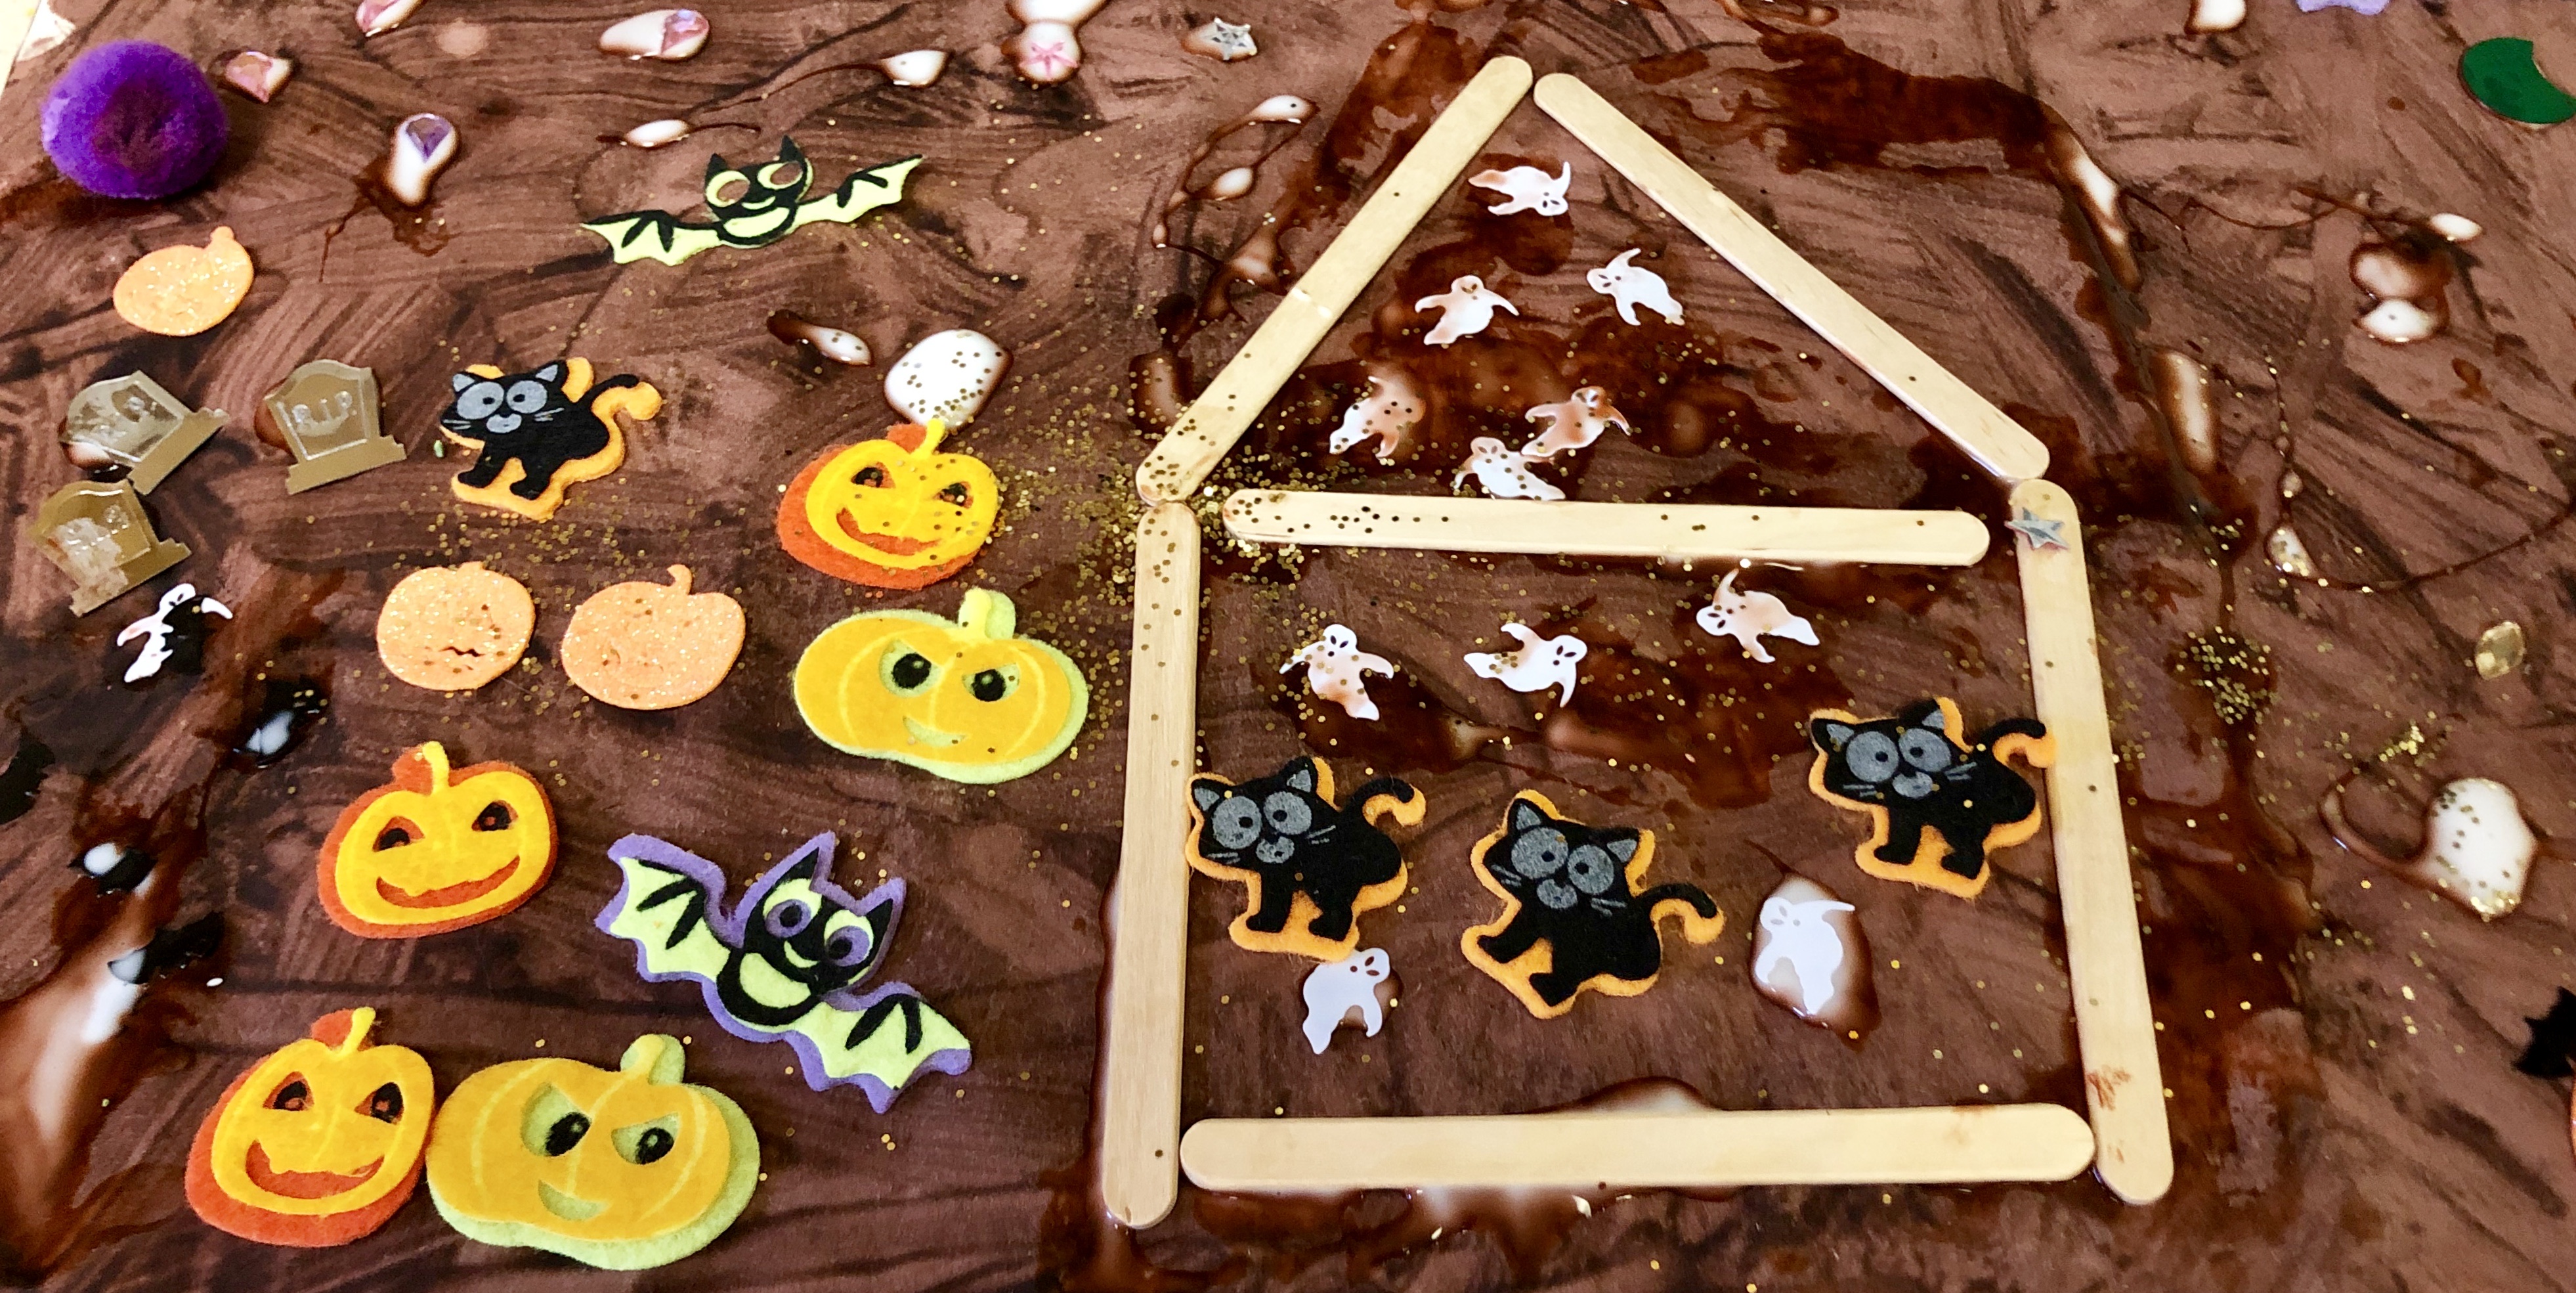
Haunted house

I found a bunch of Halloween stickers at the dollar store and thought they’d be great for a collage. I got the idea to do a haunted house, so we did a 2d version with craft sticks. This project is great for fine motor skills because not only are they gluing and arranging items, but pealing stickers as well. Plus halloween is right around the corner. We started this project by painting a big piece of white paper all black for the night sky. At Rosebud’s haunted house, there is a pumpkin patch, a graveyard, the bat cave and the night sky with half moons and stars. Not to mention all the black cats and ghosts in and around the actual house. We had fun with this one.
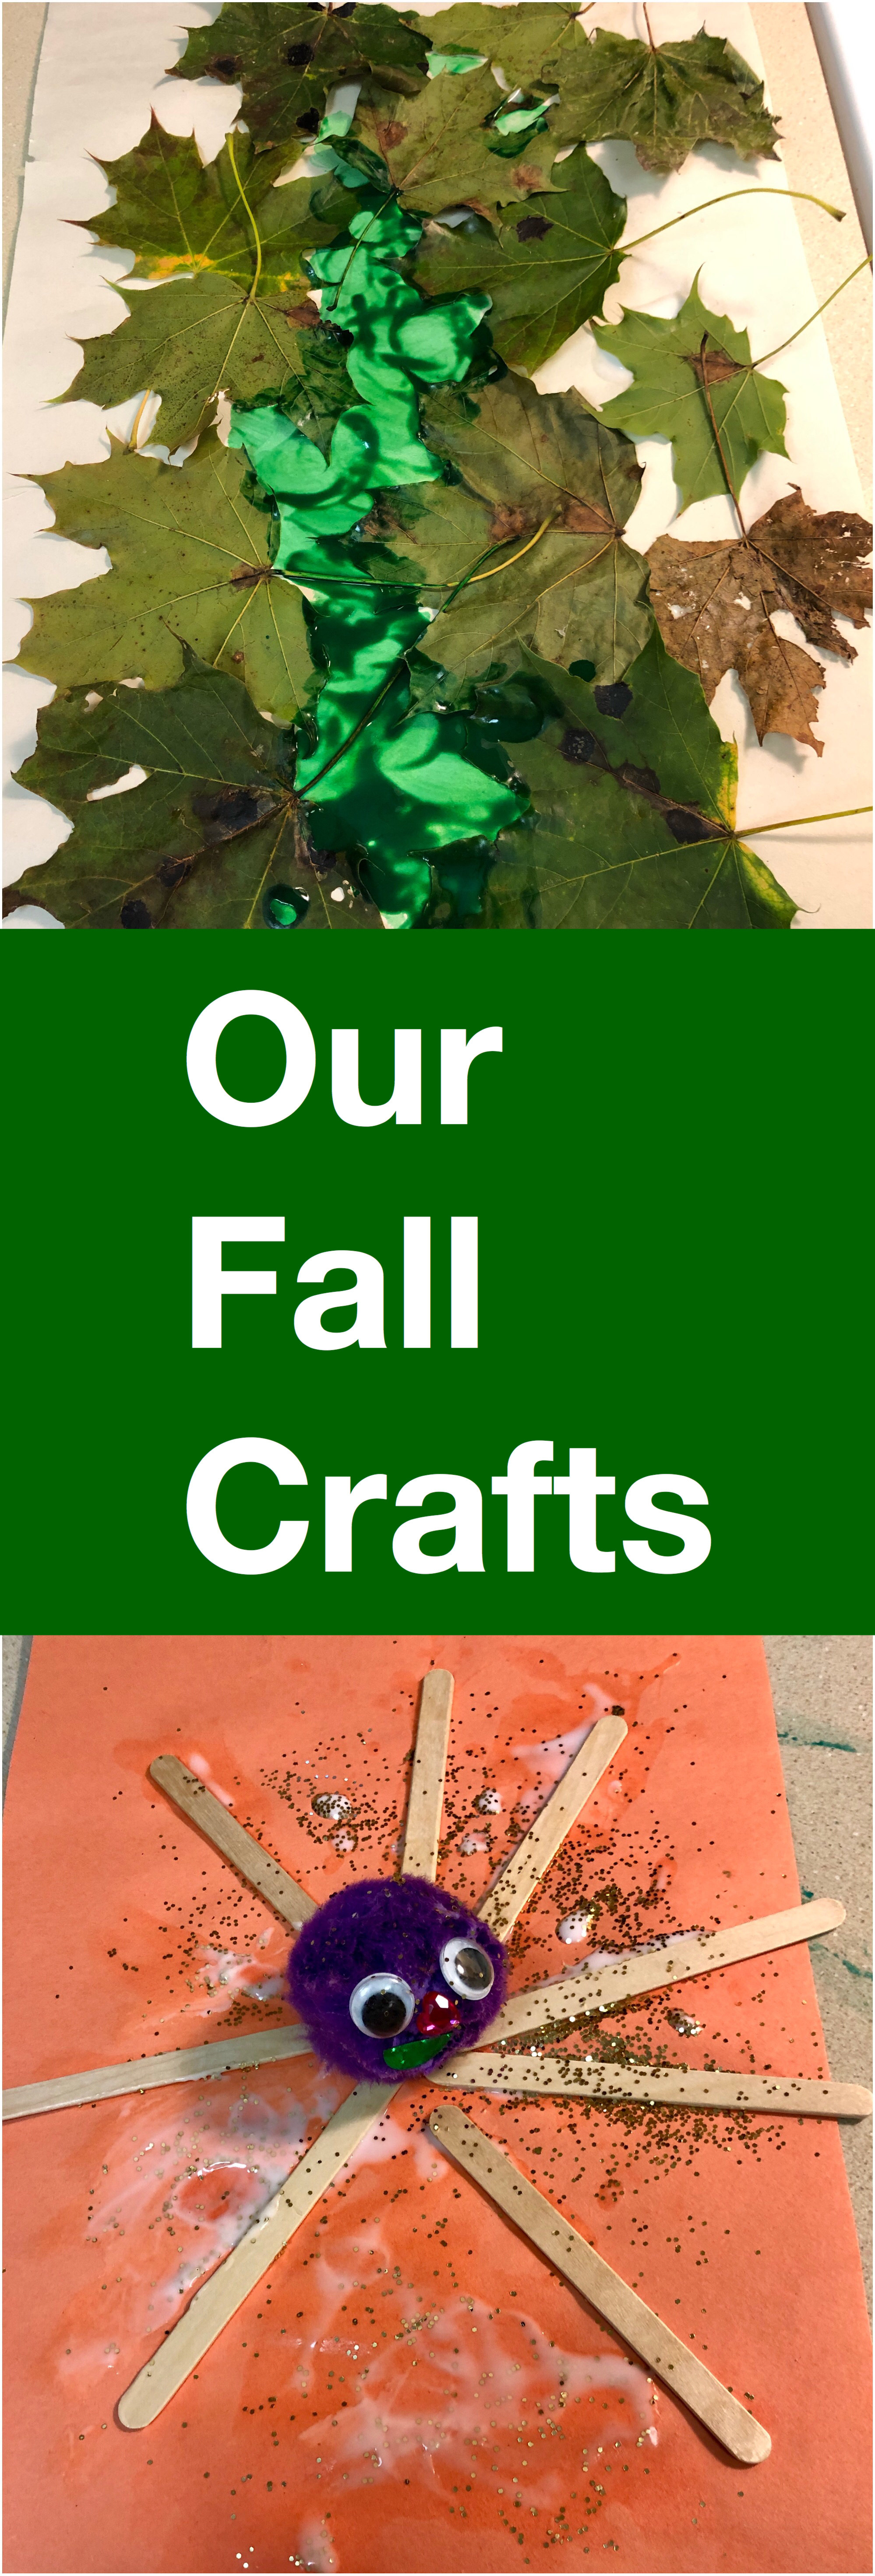
Our fall crafts pin

Here are some supplies for your convenience.


What crafts are you doing this fall? Tell me in the comments.

1 Comment

Salt Dough Keepsakes

I wanted to come up with an inexpensive and creative gift for my mother’s birthday. I also wanted Rosebud to be involved in making it so I decided to see what we could create with salt dough.

Ingredients:

  • 1 cup salt,
  • 2 cups all purpose flour,
  • 1 cup warm water,
  • A pinch of cinnamon, (Optional)
  • Food coloring or powder paint. (Optional)
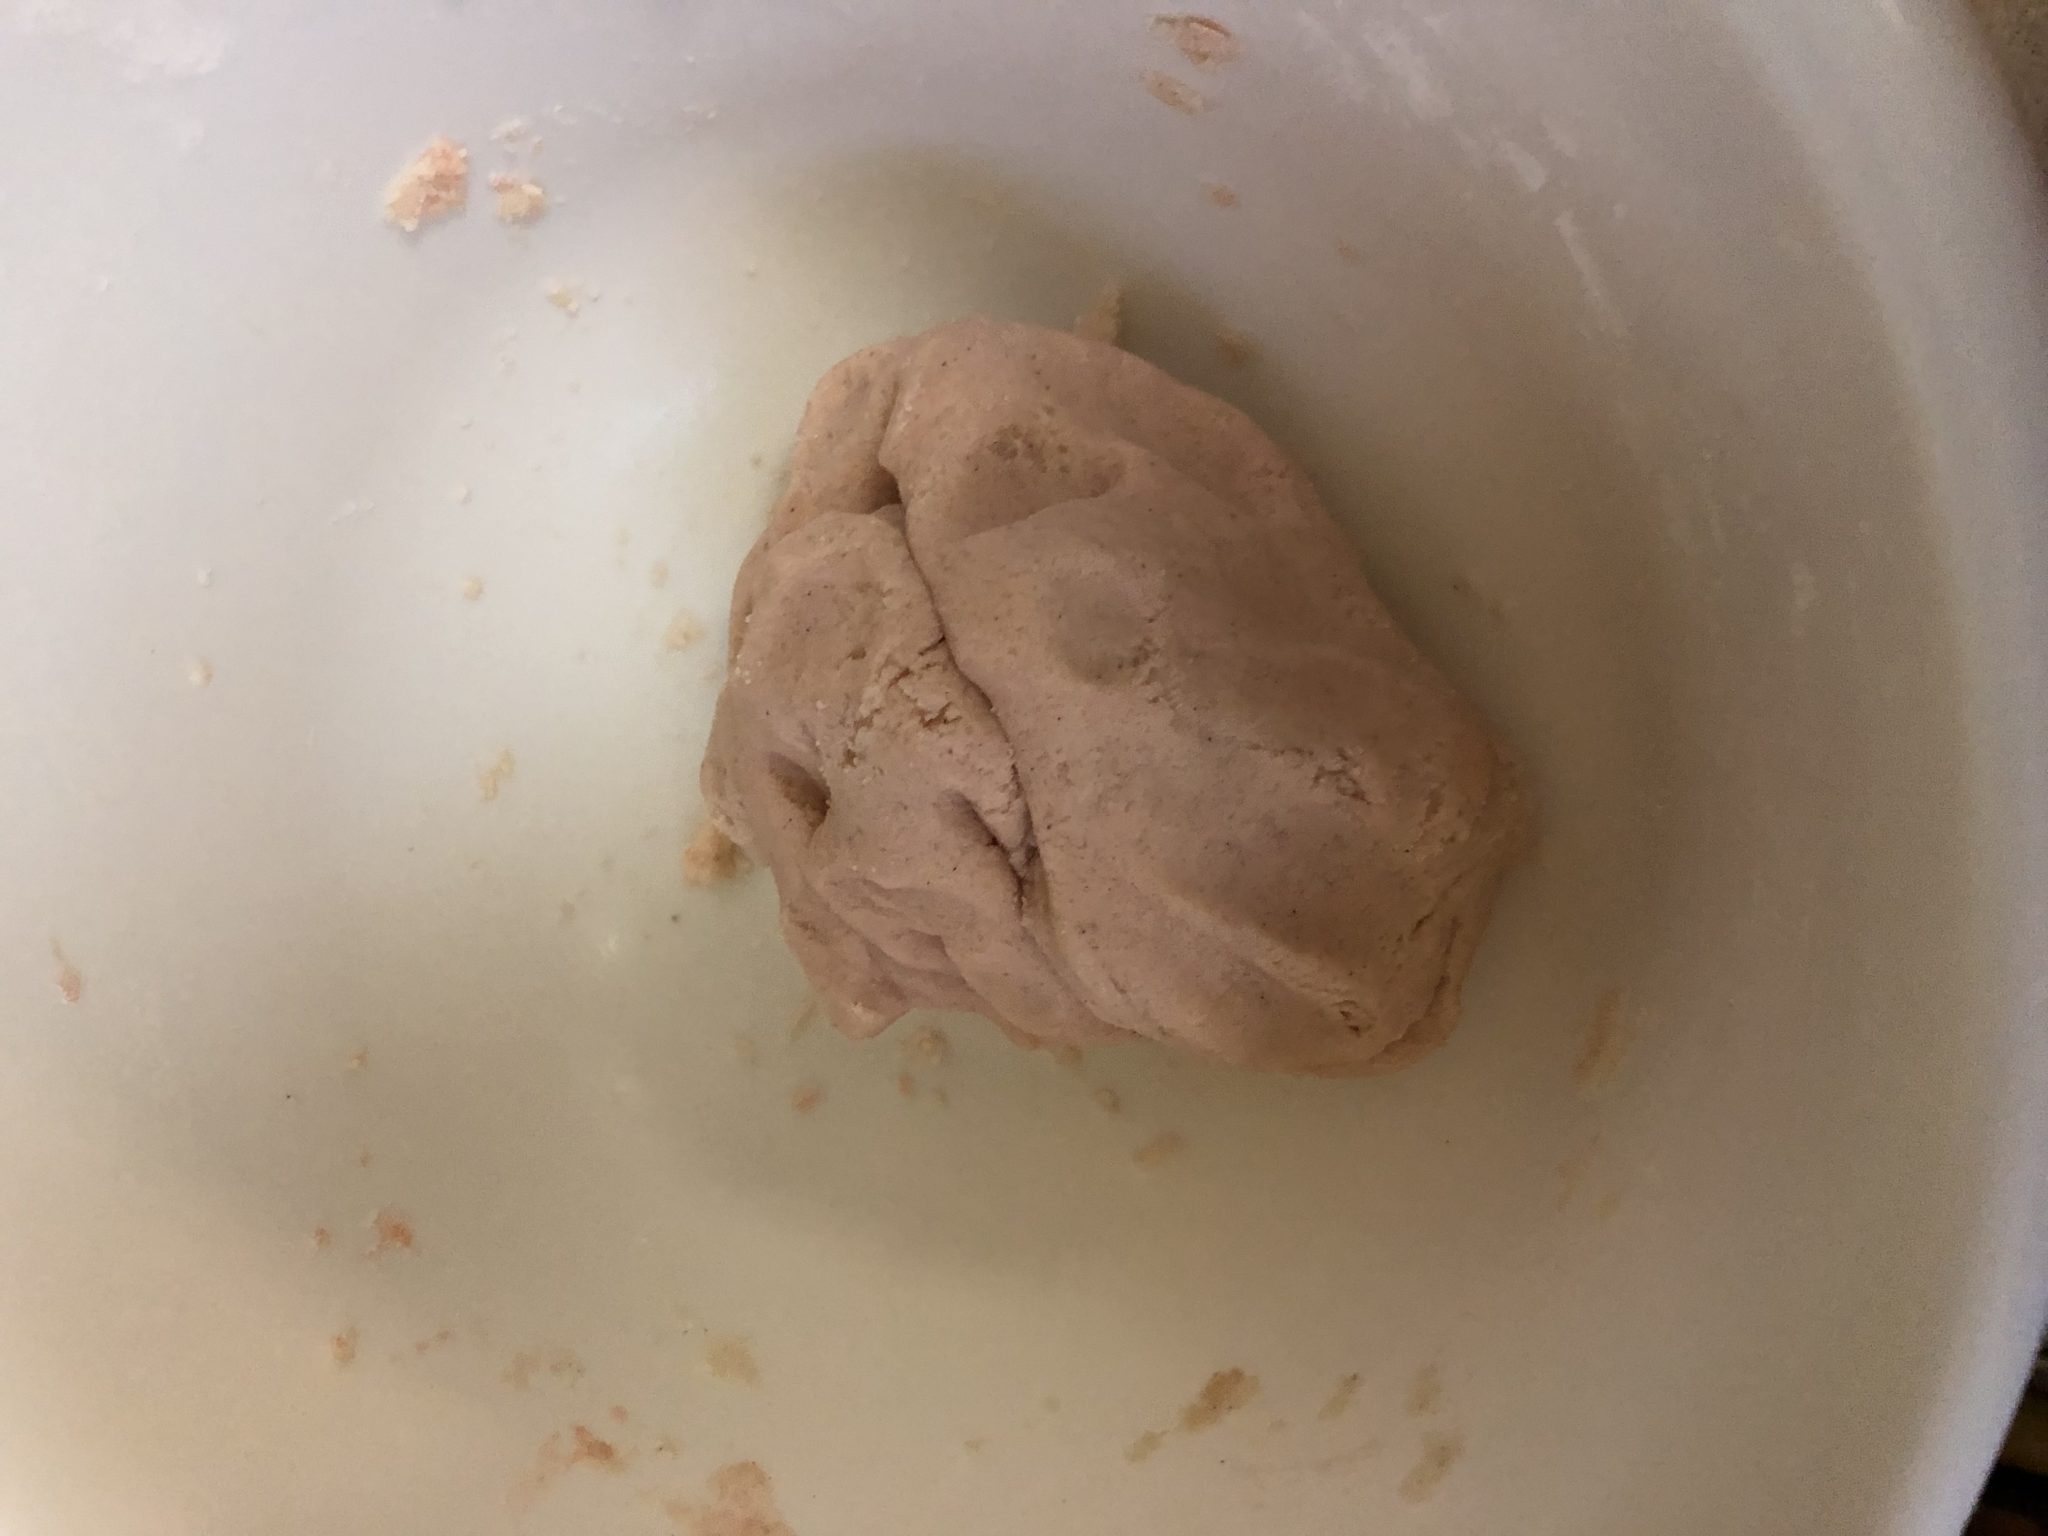
  • Homemade salt dough
    Directions:

    • 1. Mix salt and flour together in a bowl.
    • If you are using powder paint to add coloring, you’ll want to mix it with the dry ingredients.
    • I added the pinch of cinnamon at this stage for a hint of scent, but that is totally optional.
    • 2. Gradually add the warm water and stir until dough forms.
    • If you are using food coloring, add it into the water before mixing with the dry ingredients.
    • 3. Once you have your dough, shape it into a ball and kneed for five minutes. the more you kneed, the softer it gets.
    • 4. Time to have fun and see what you can create.

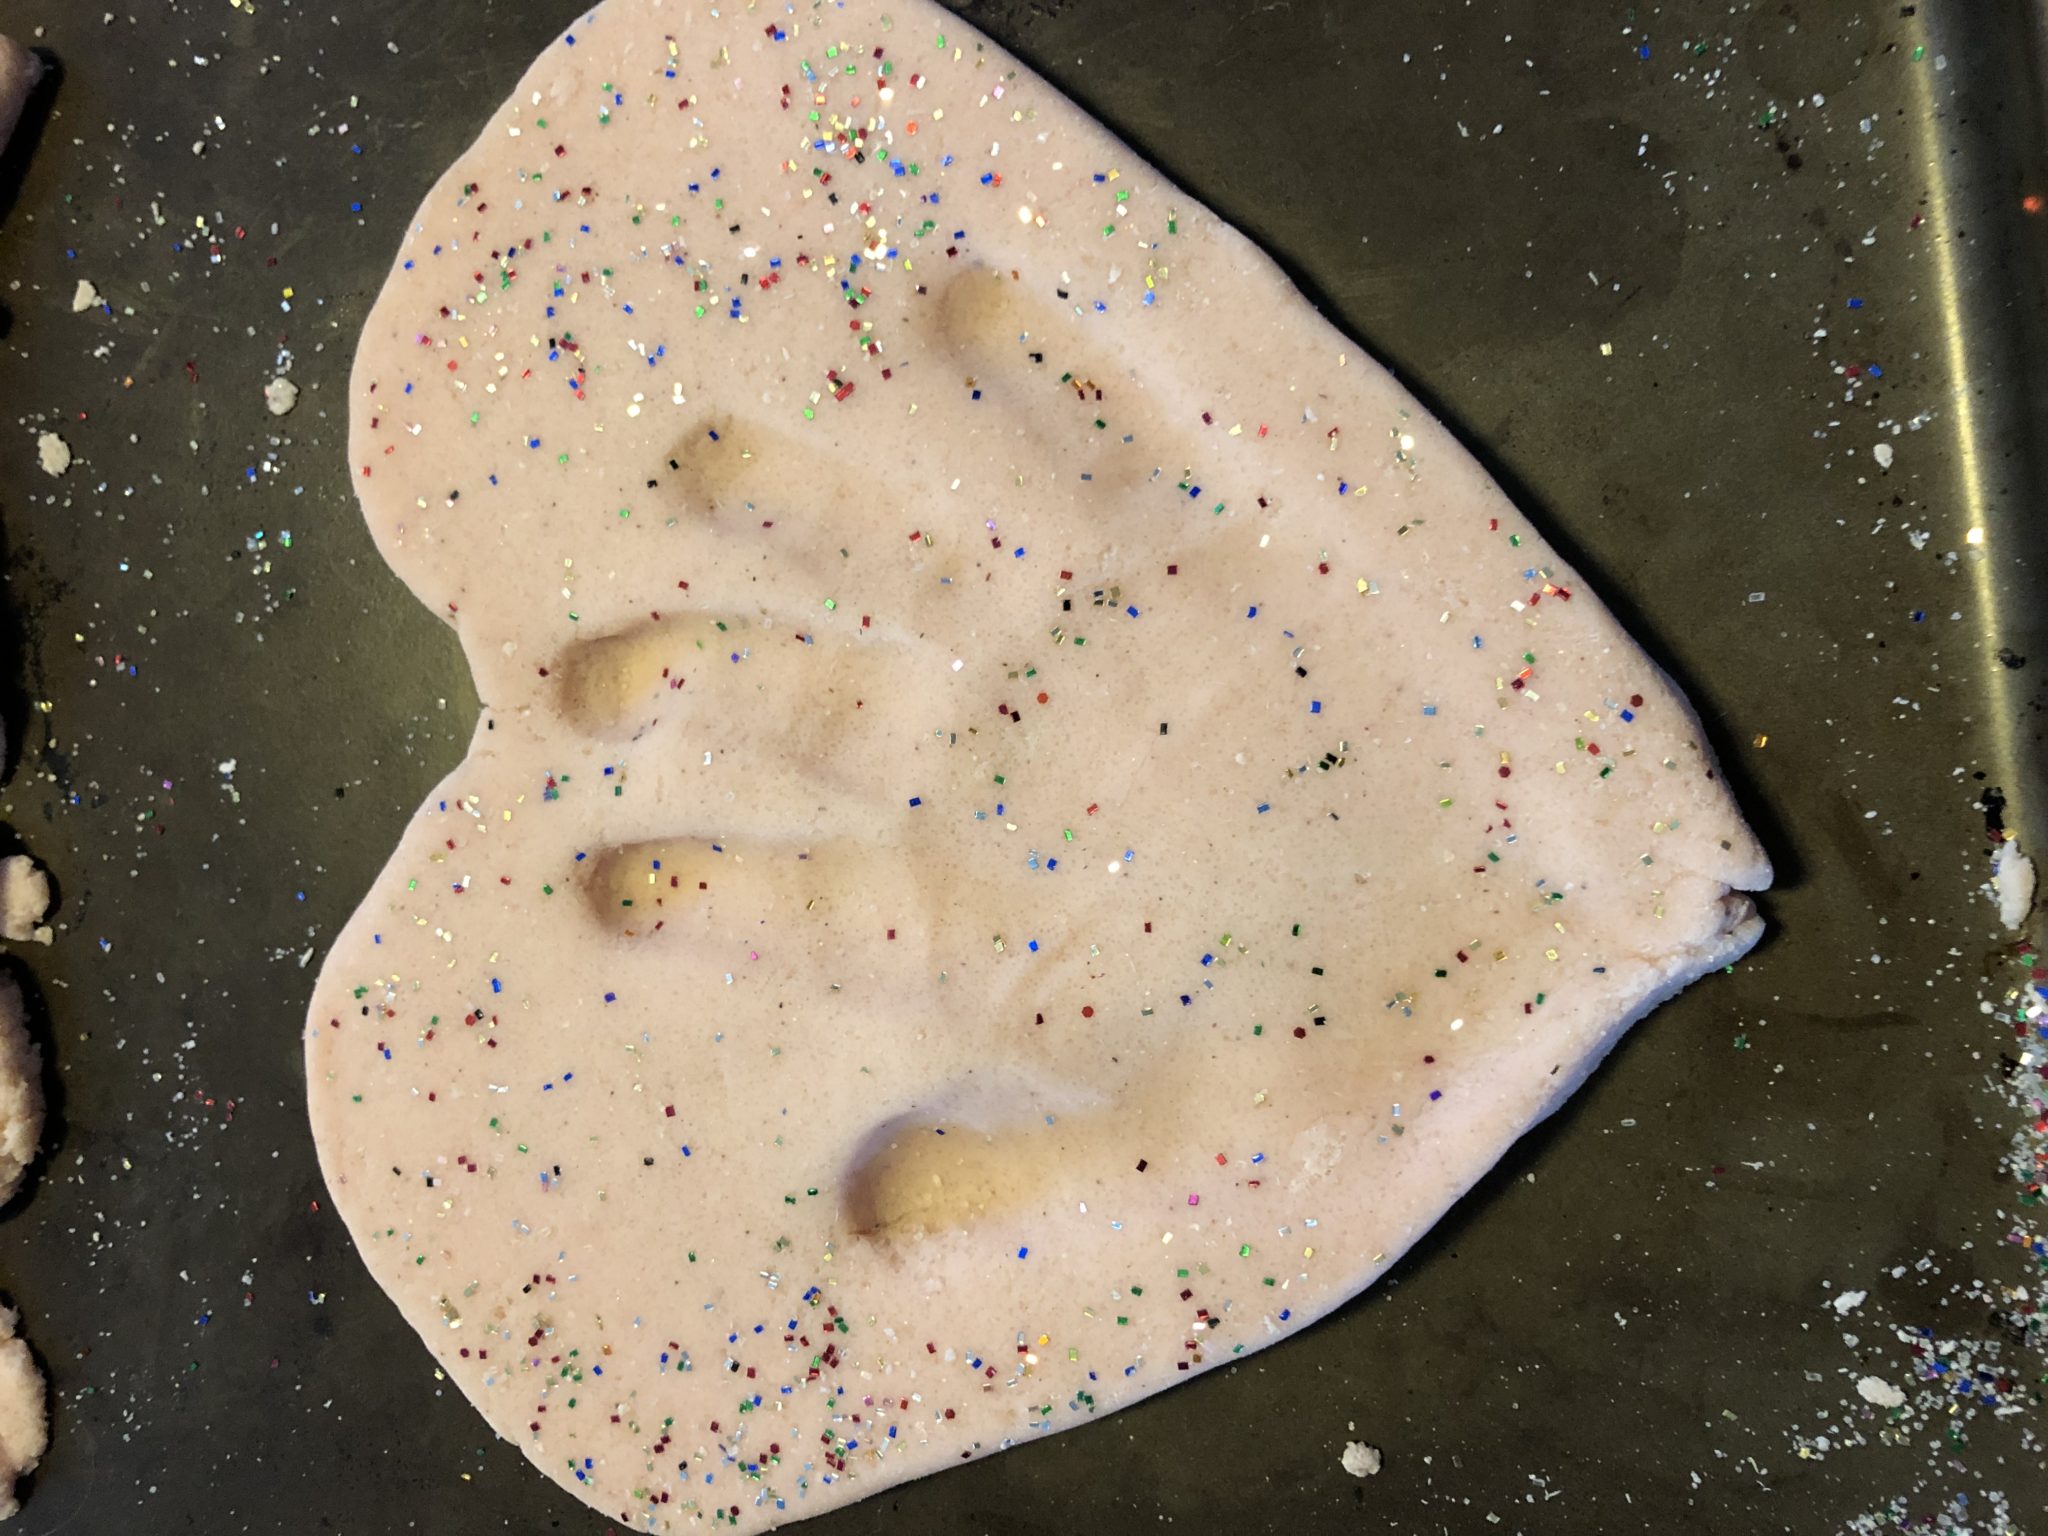
    Salt dough heart ornament

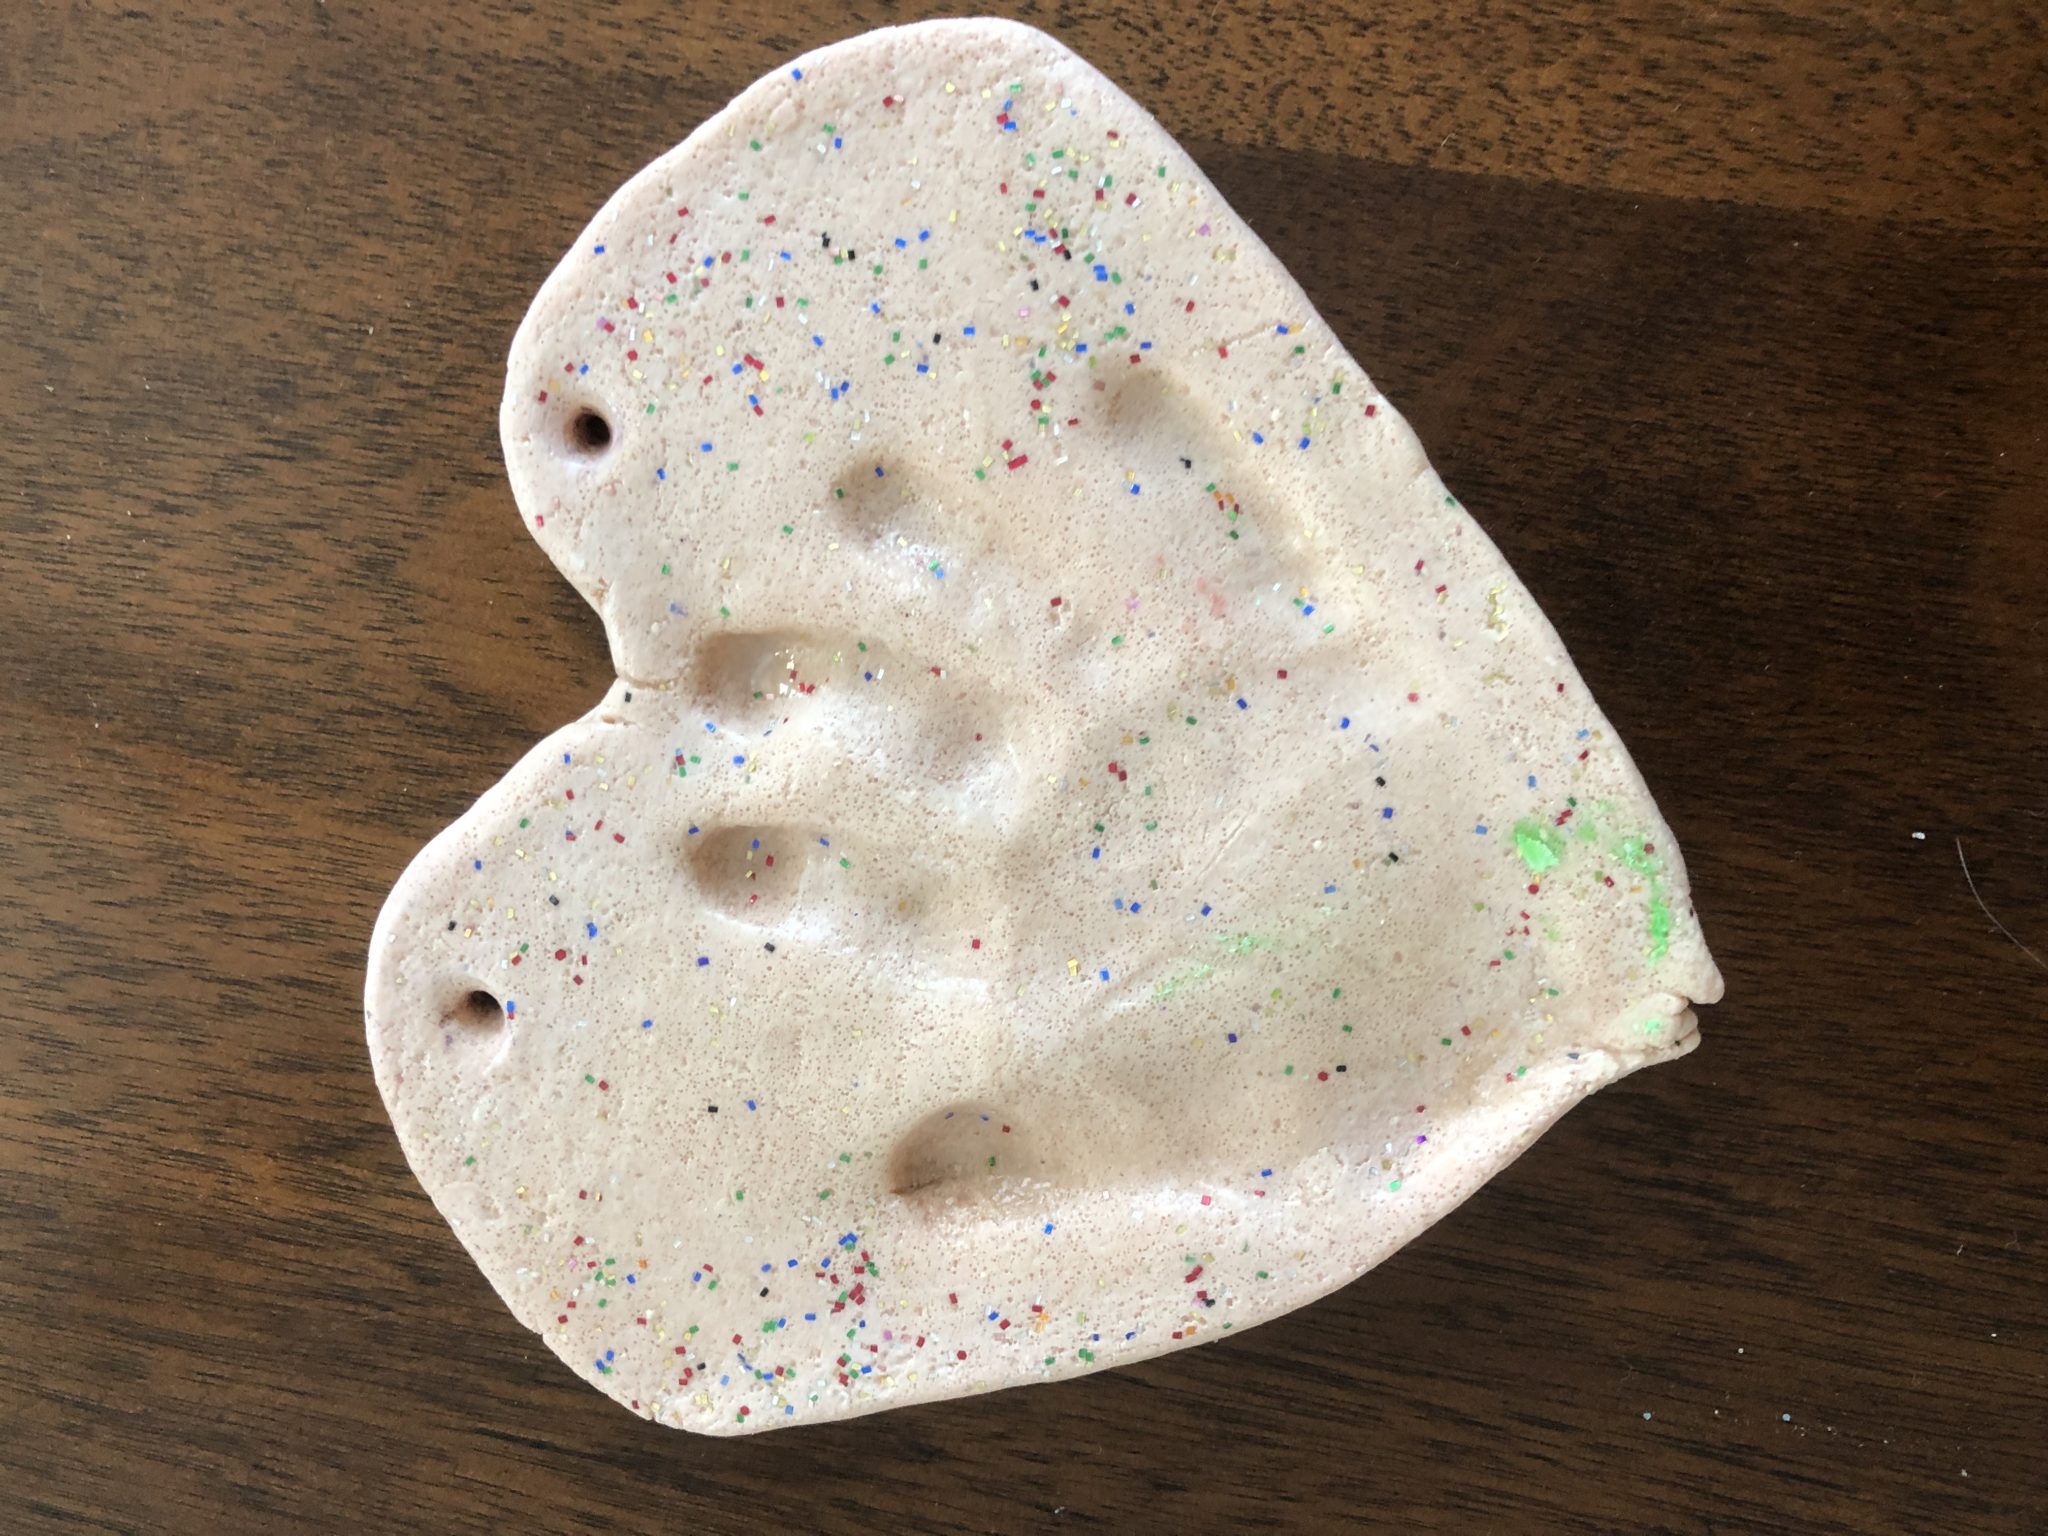
    It took several tries, but I shaped the dough into a flat heart and Rosebud pushed her hand in the center to make the handprint. Trying to get a tired child to do something like this can be pure torture, but after the sixth try, we got our final product. The other handprints were missing fingers, missing part of the hand itself or barely noticeable.

    Salt dough heart, dried

    To add some sparkle, I put some glitter on the heart. Finally, I poked two holes in the top so the heart can be hung as a decoration. I used a pencil to get good sized holes.

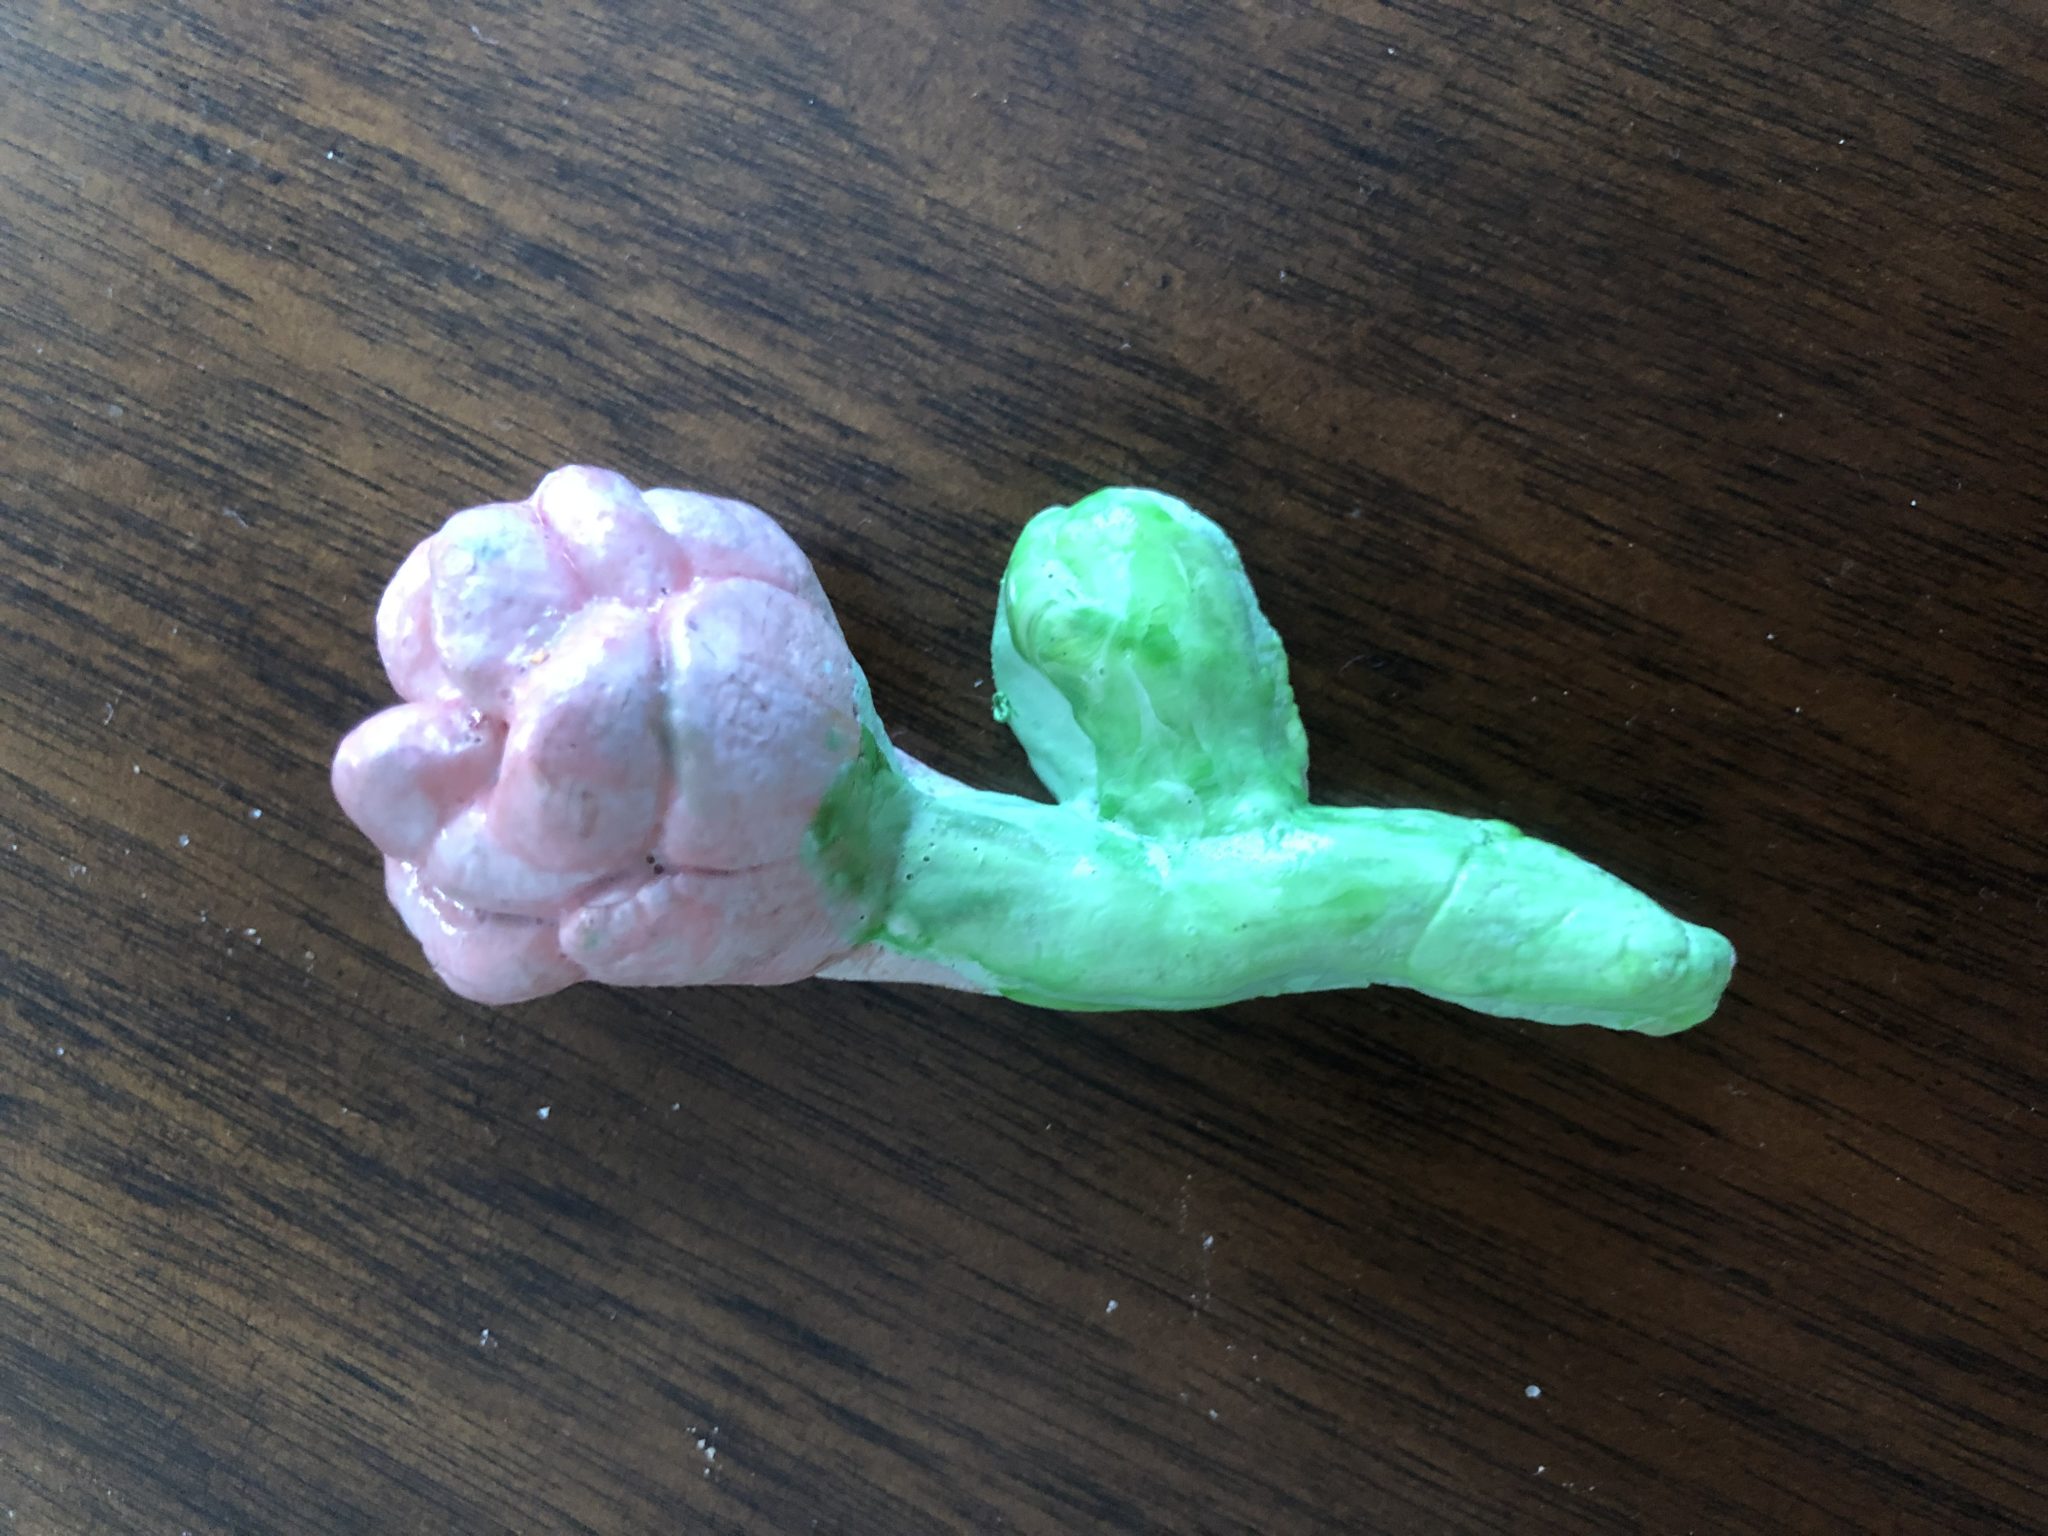
    Salt dough rose

    Next, I worked on the small rose. I roled out a coil for the stem and then made the leaf and rose petals by hand. You role the dough into tiny balls, shape them like a fingerprint and then smooth and bend the pointy ends into the stem. I start out with the outside petals which are larger and then work my way into the smallest center petals.

    I baked the decorations for one hour at 200F and covered them with foil to avoid browning. The heart could’ve been baked a bit longer, but it air dried the rest of the way.

    When it was cool, I painted them. For the heart and flower, I mixed white paint with a tiny drop of red food coloring. For the stem and leaf, I mixed the white paint with some green food coloring. When the paint was dry, I covered it with a coat of modpoj.

    Rosebud was proud to give the birthday gifts and I was happy that we created something together. Have you made anything with salt dough? If so, what are your best creations?

    6 Comments

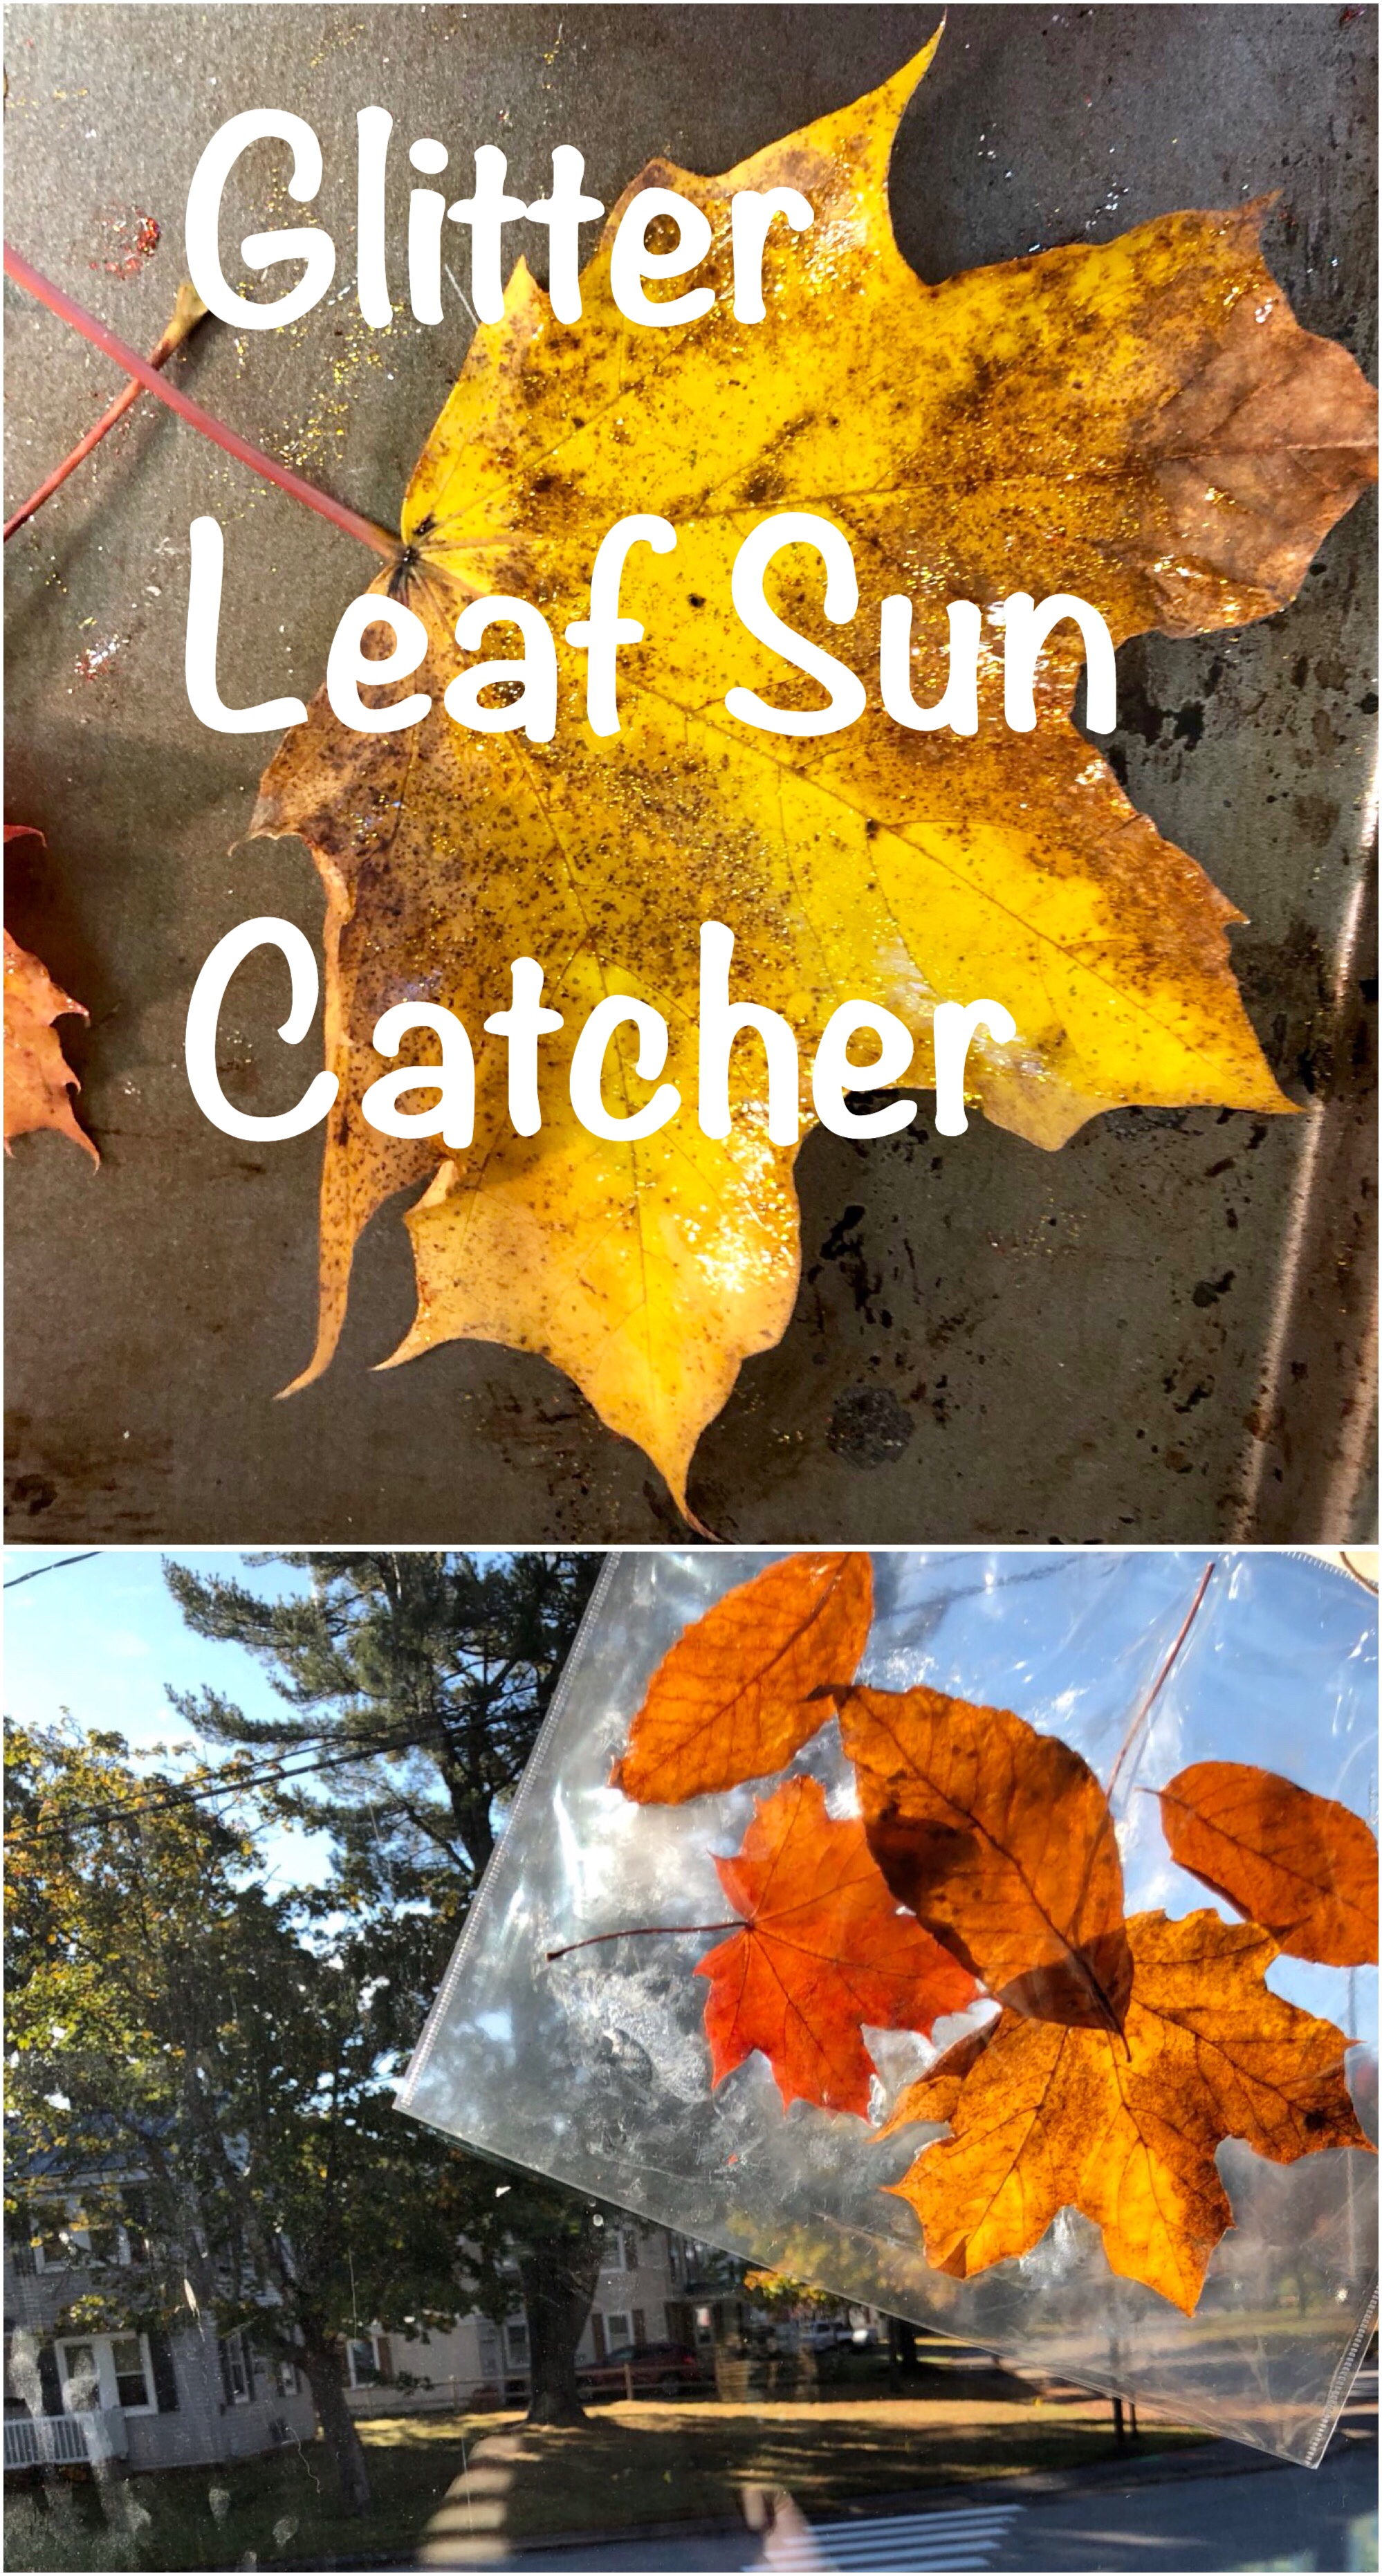
    Glitter Leaf Sun Catcher

    Glitter Leaf Sun Catcher pin

    Lately, we’ve been doing activities with leaves. I was inspired by this post from, On Your Own, But Never Alone. I thought why not use the glitter leaves as sun catchers?

    What you need:

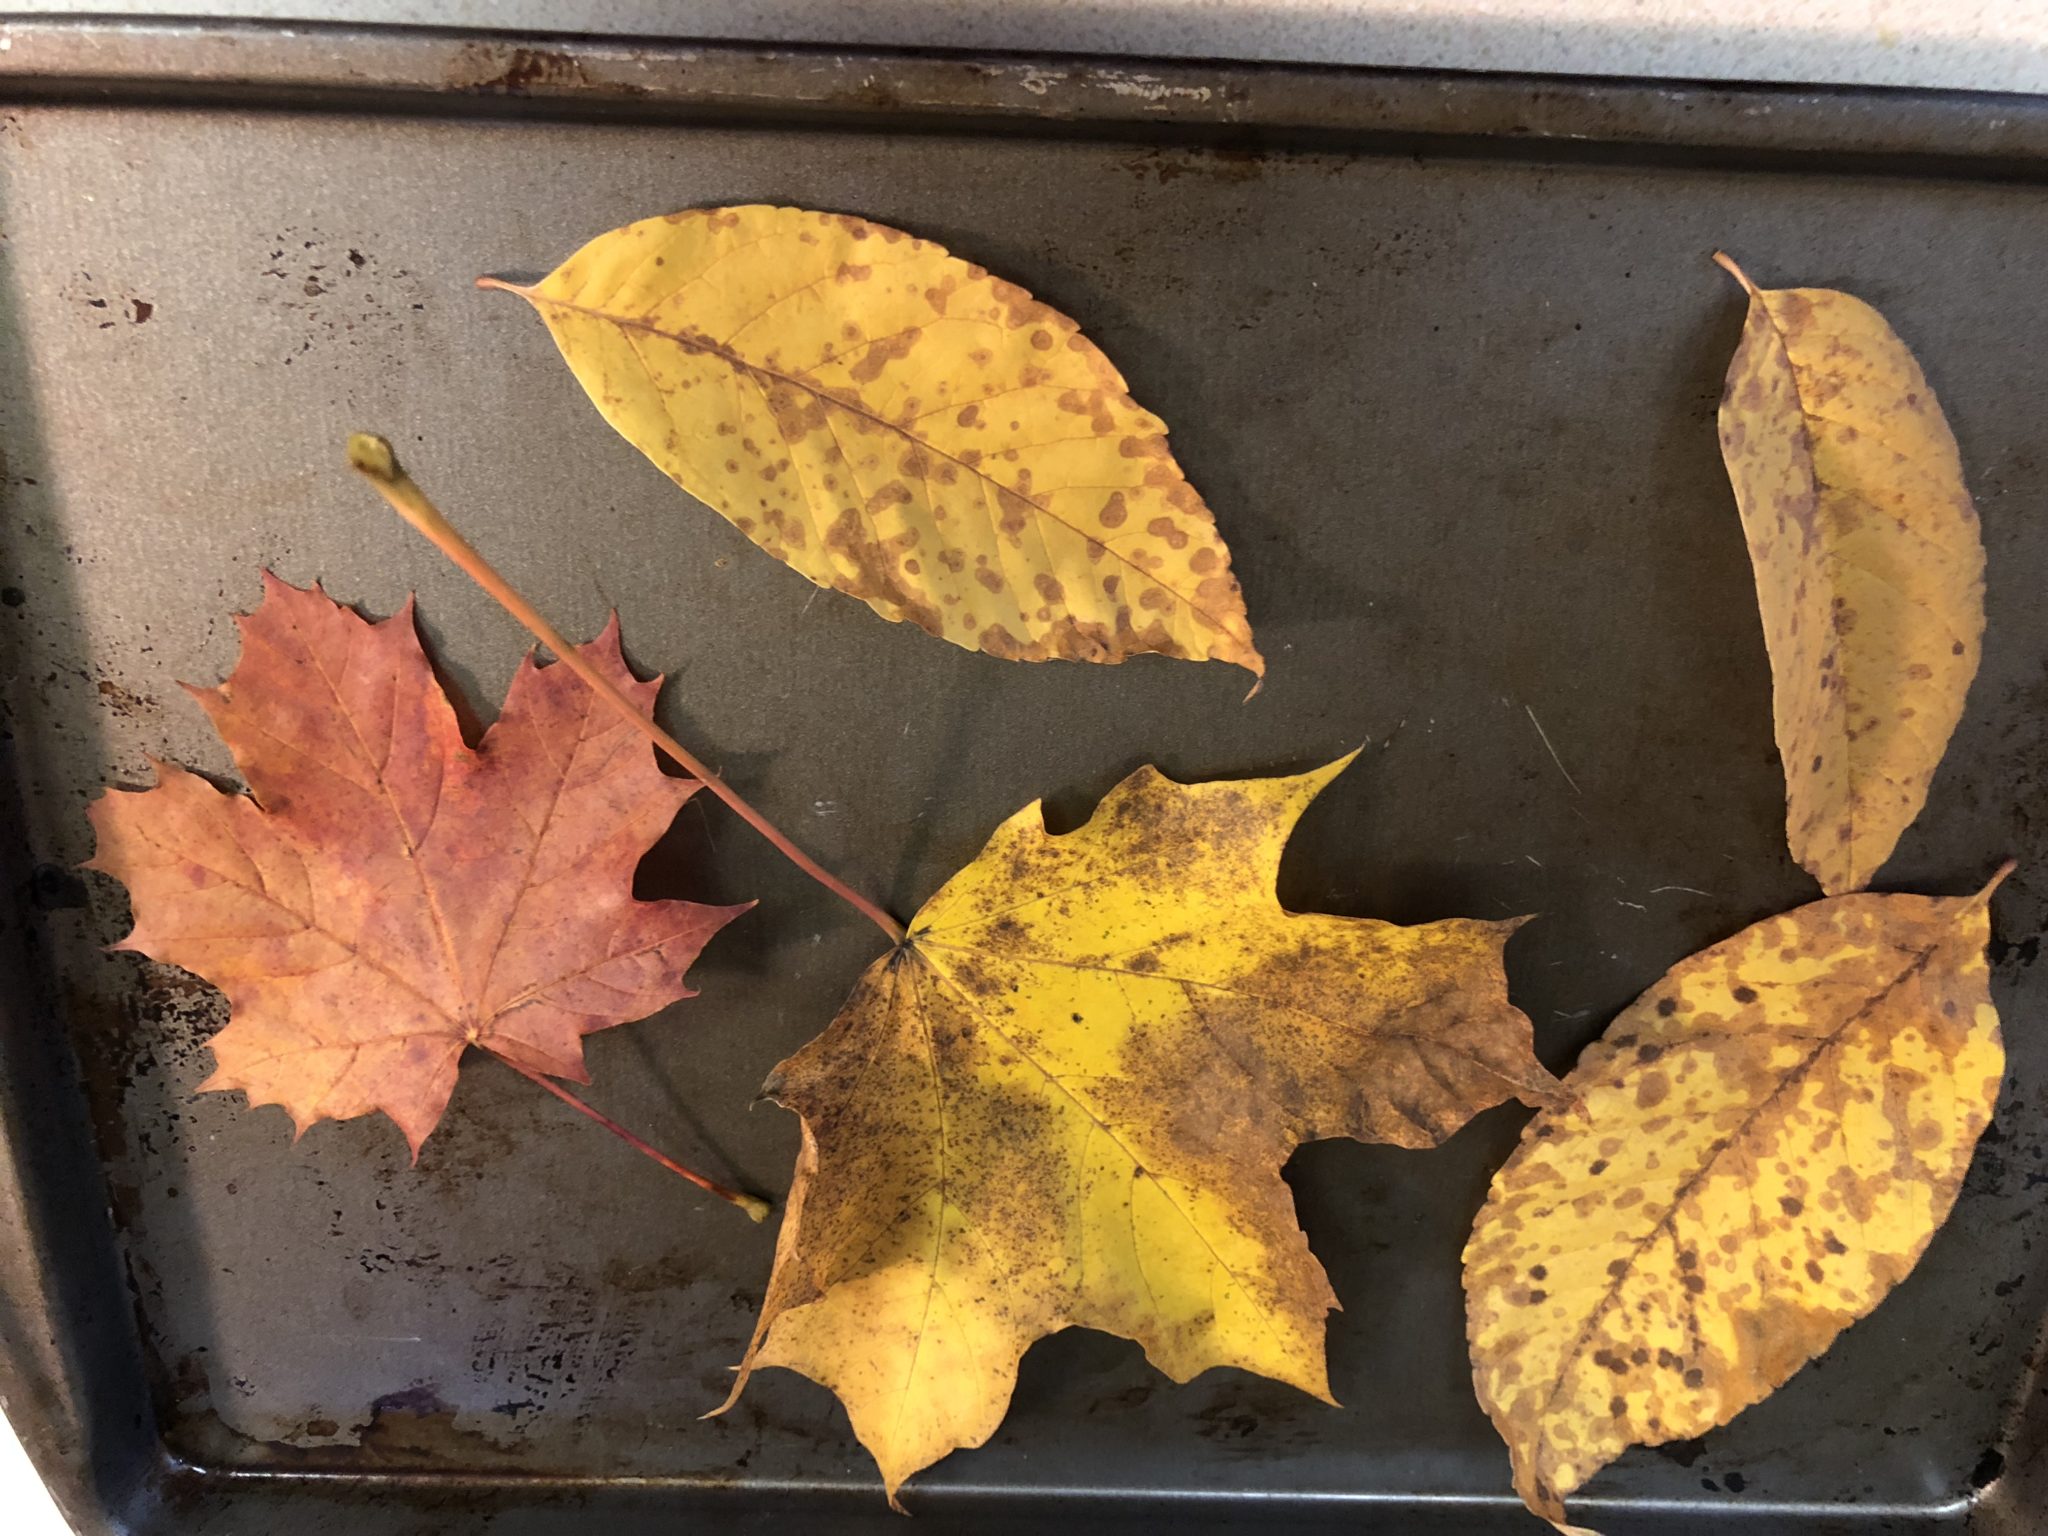
    Leaves on a cookie sheet

    • Leaves that are dry, but not crunchy,
    • Glitter glue,
    • Paint brushes,
    • Mod podge,
    • Contact paper or clear sheet protectors,
    • String.

    Close up of glitter leaf

    What you do:

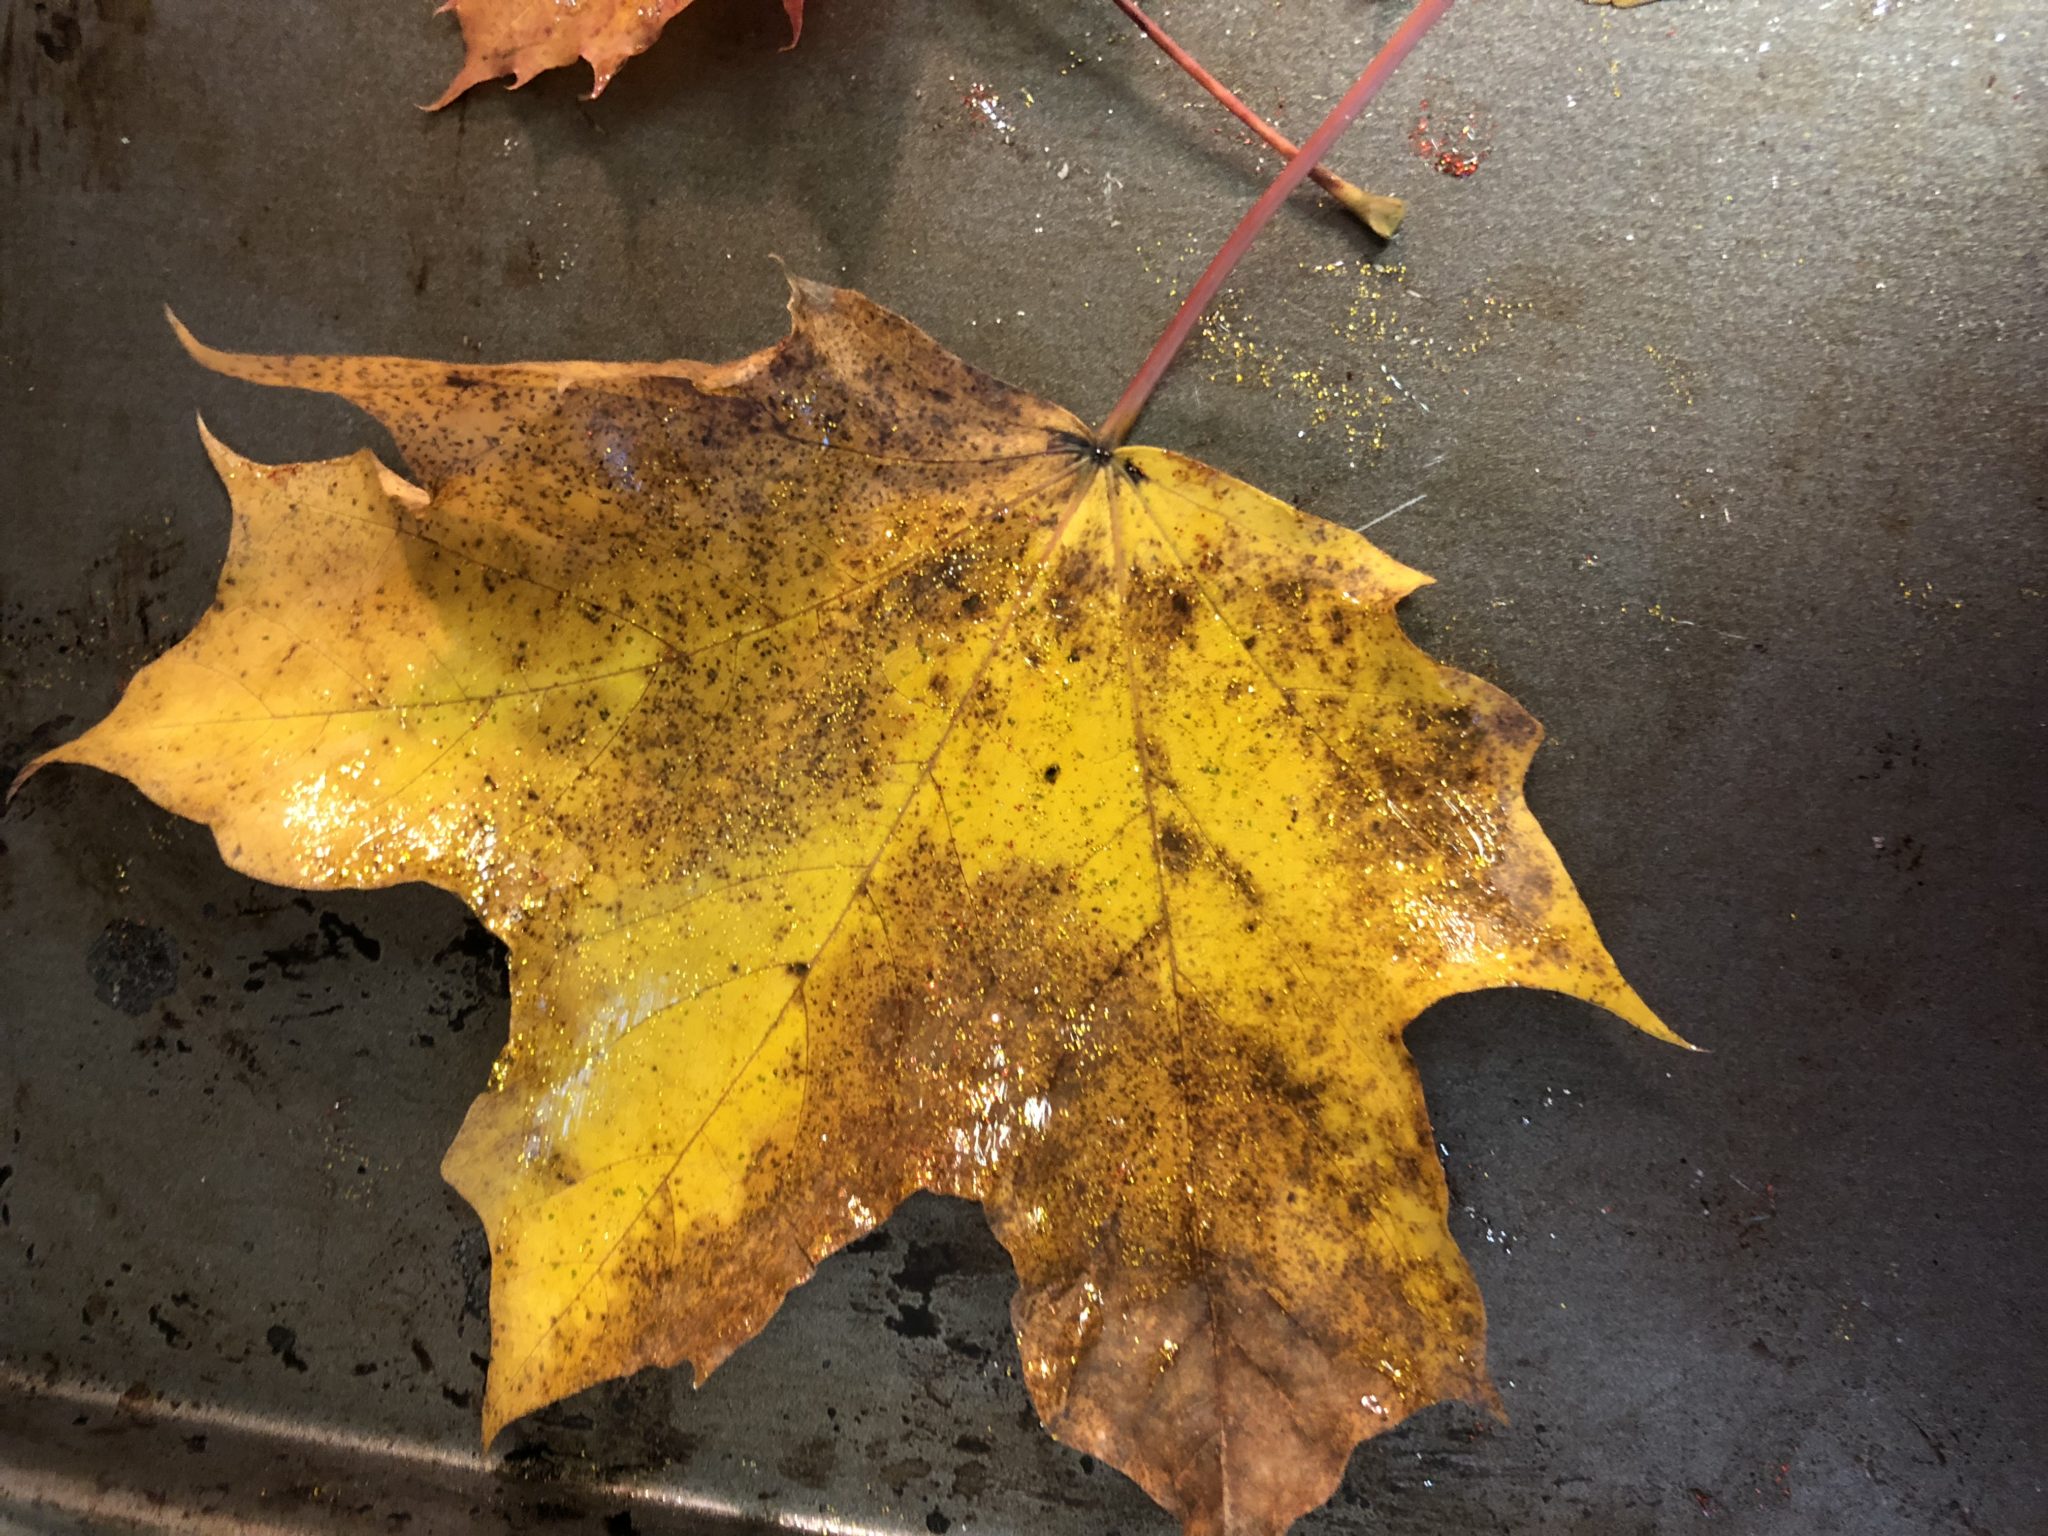
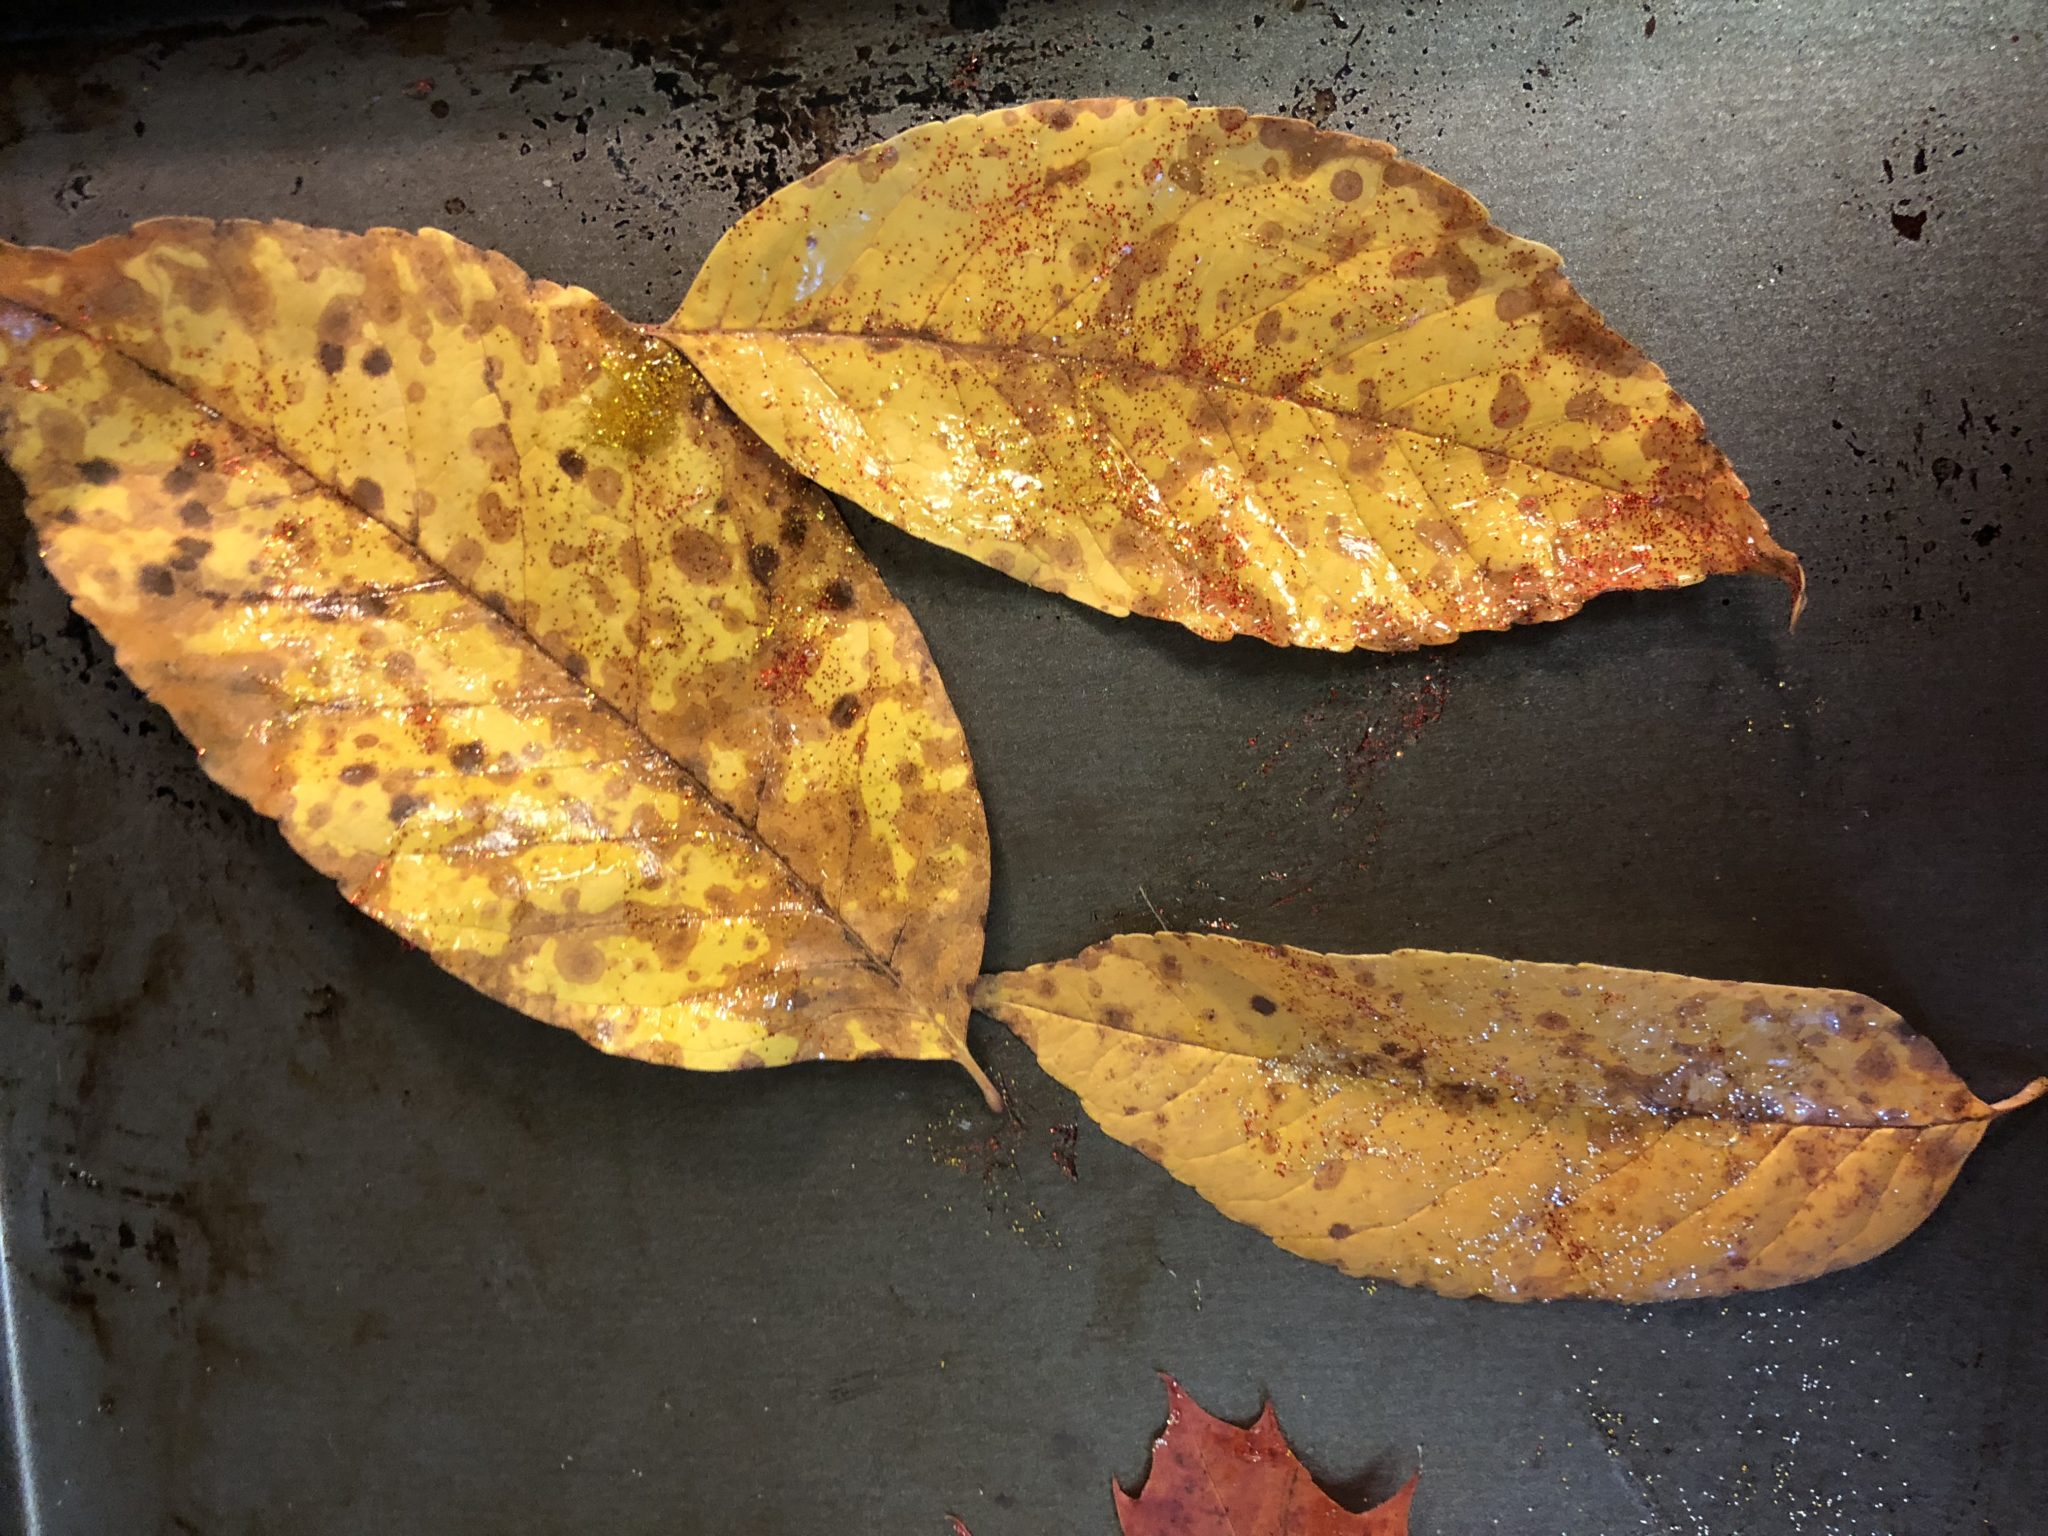
    1. Lay leaves on a flat surface and paint them with the glitter glue. You can paint just parts of the leaf or the entire thing. We used three different colors of glitter glue.

    Glitter leavesGlitter leaf2. Set aside to dry.

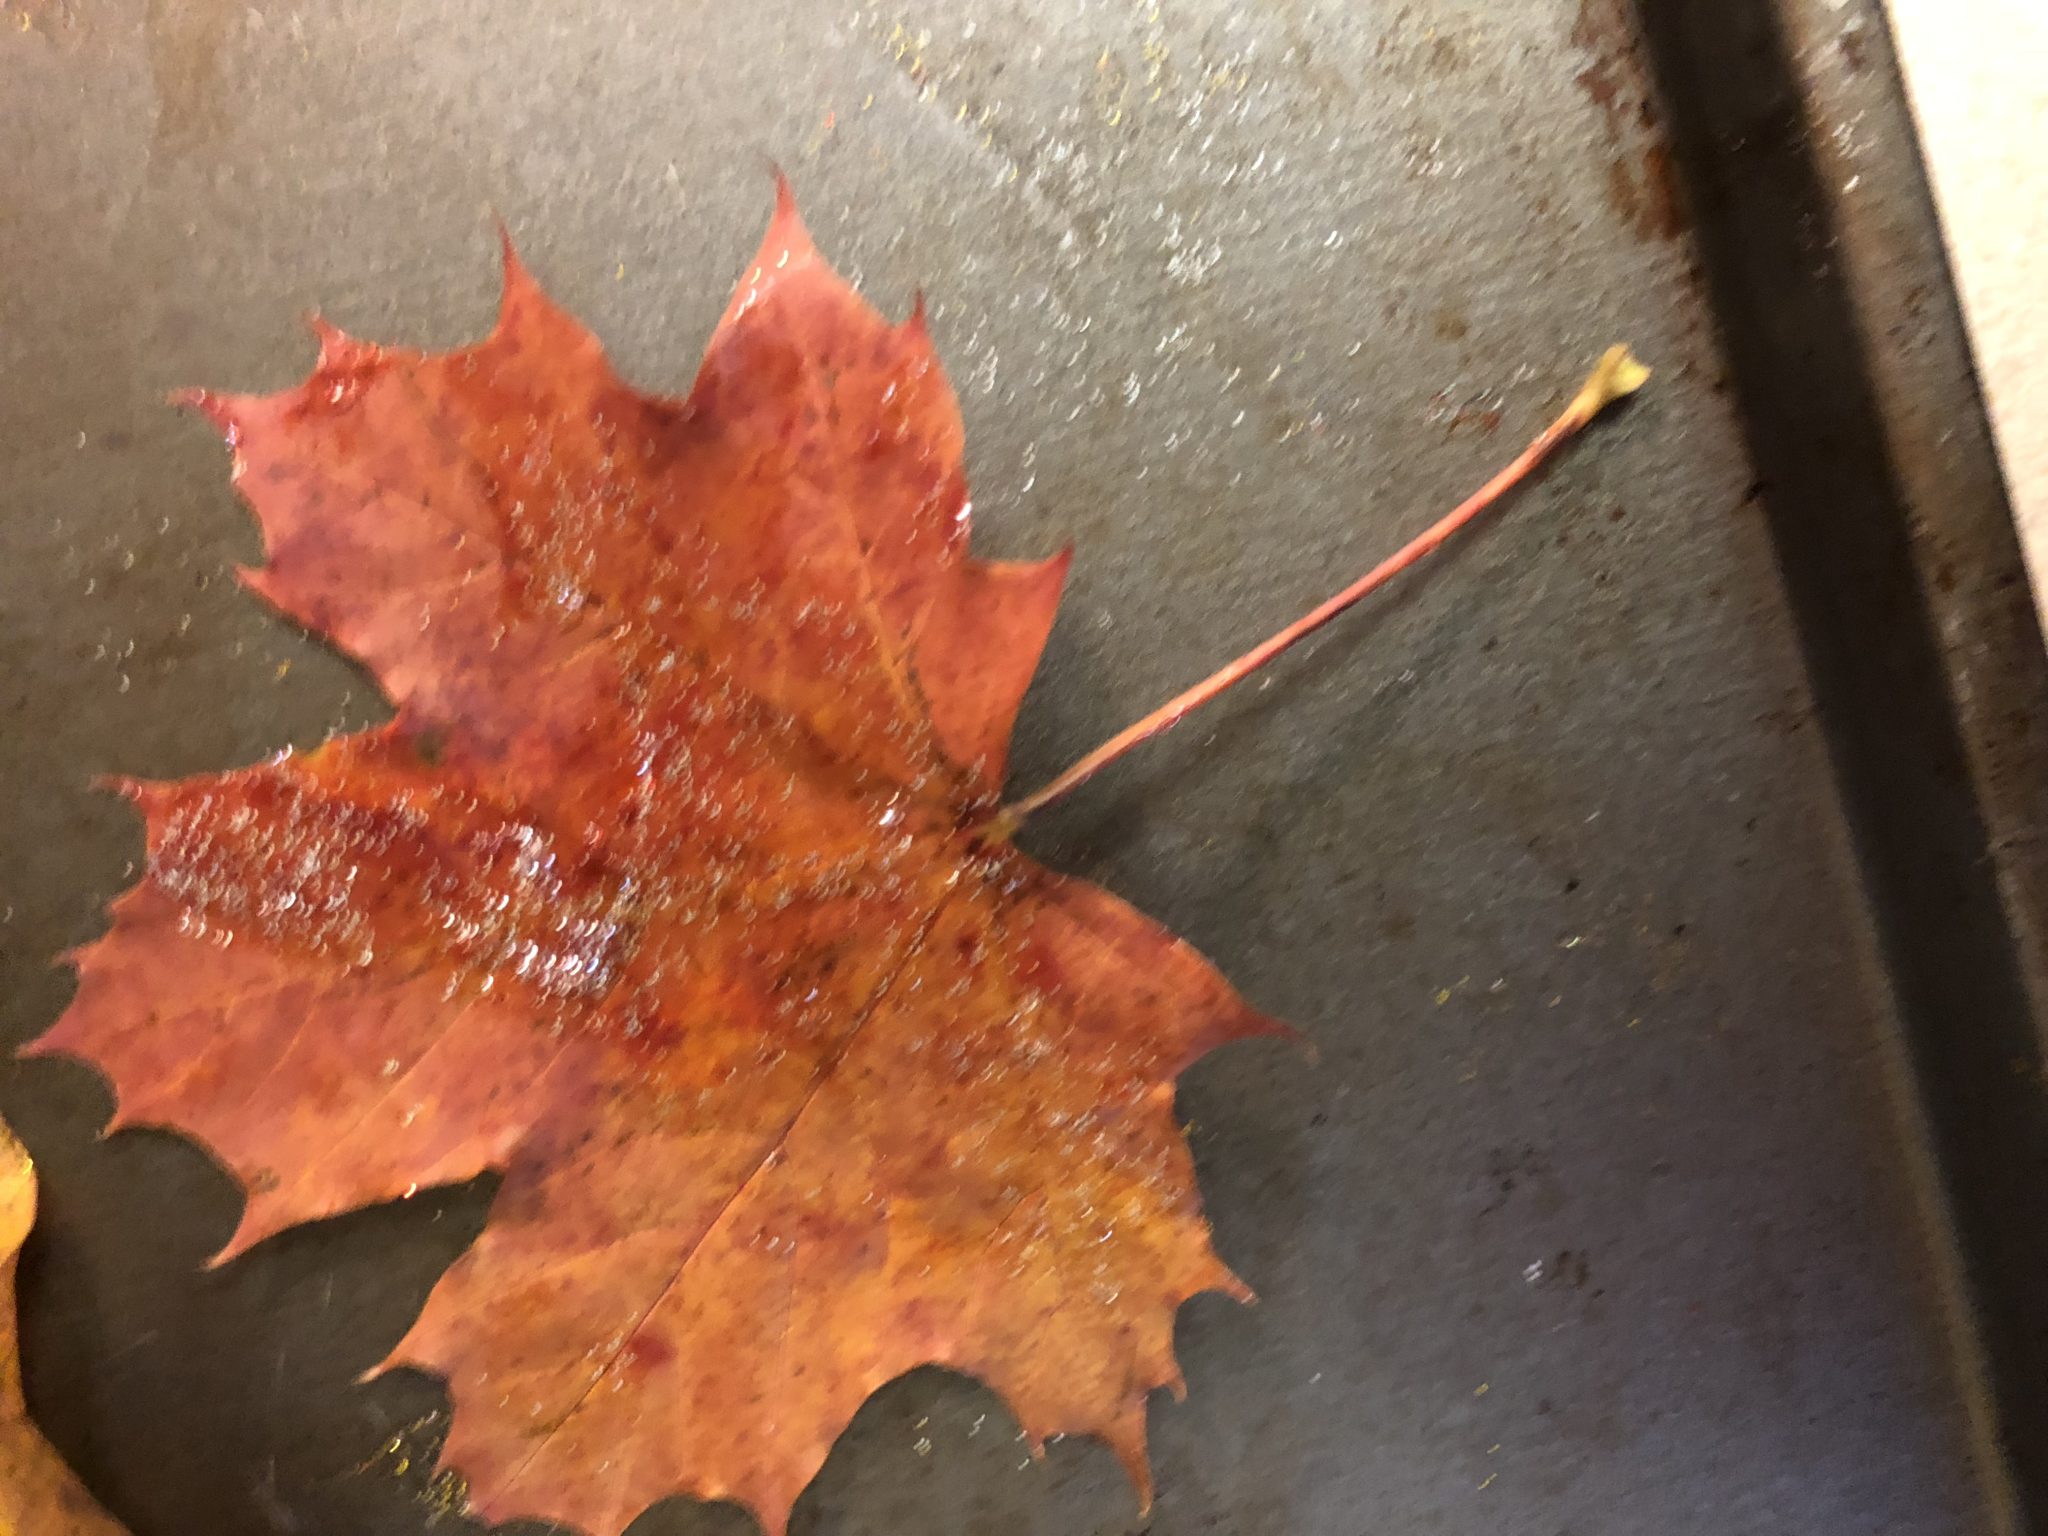
    3. Paint leaves with mod podge.

    Leaves with Mod Podge4. When dry, arrange leaves in contact paper or sheet protector. I didn’t have any contact paper so I just glued the leaves inside the sheet protector.
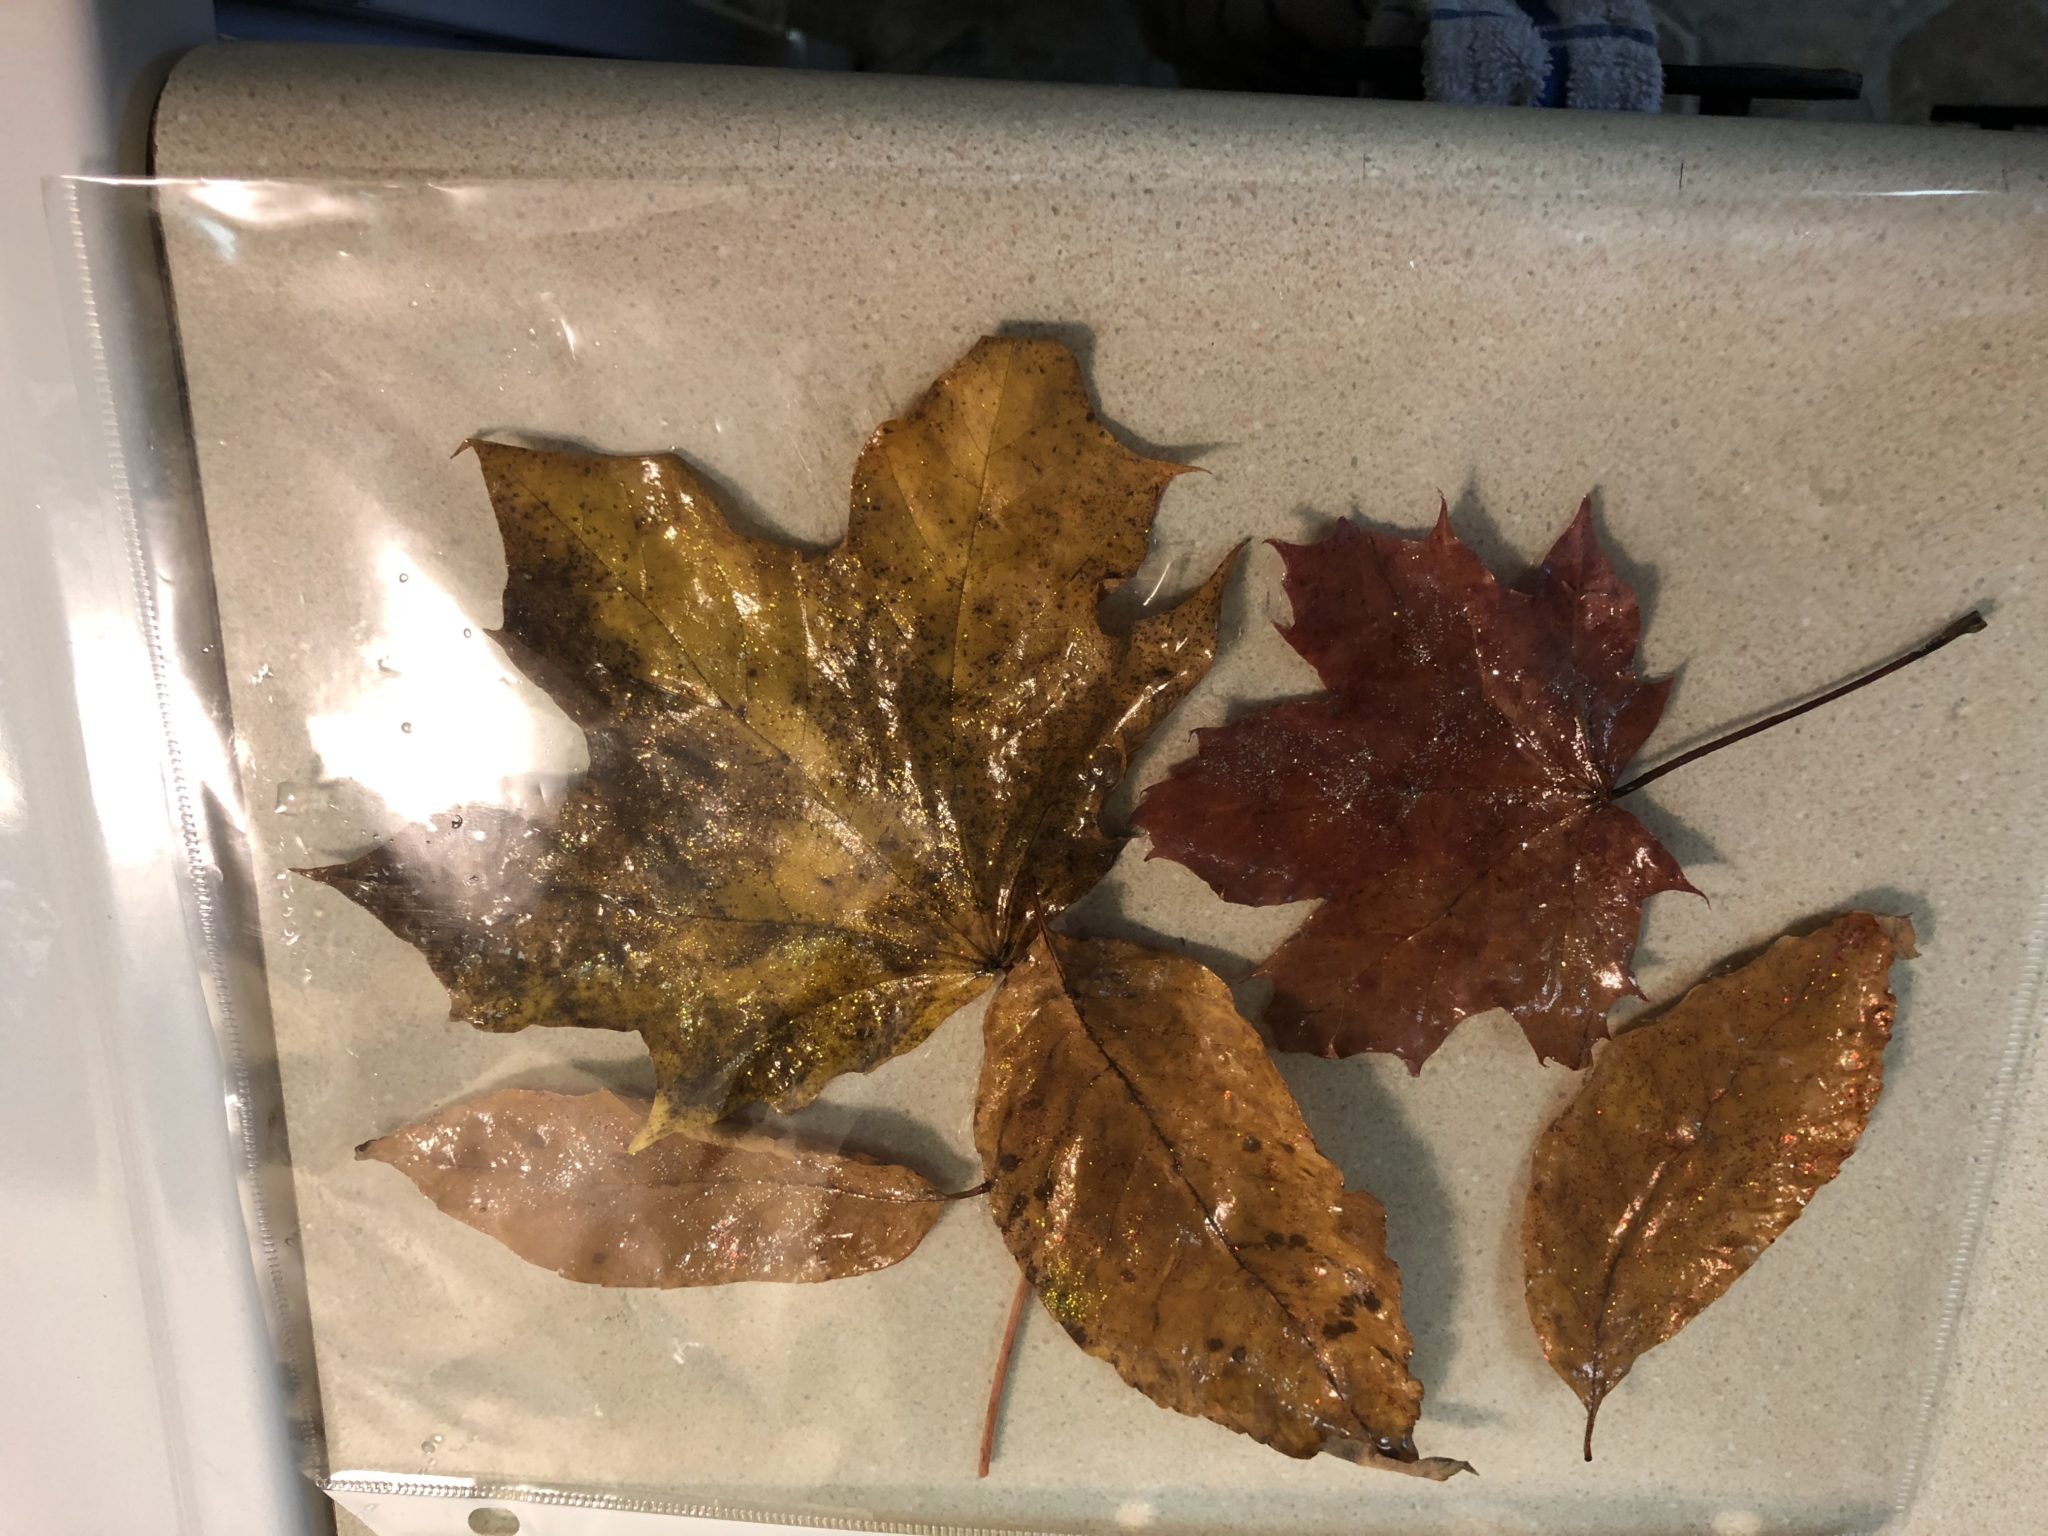
    Leaves inside sheet protector.5. Punch hole in contact paper and tie a string. If you use a sheet protector, the holes are already there.
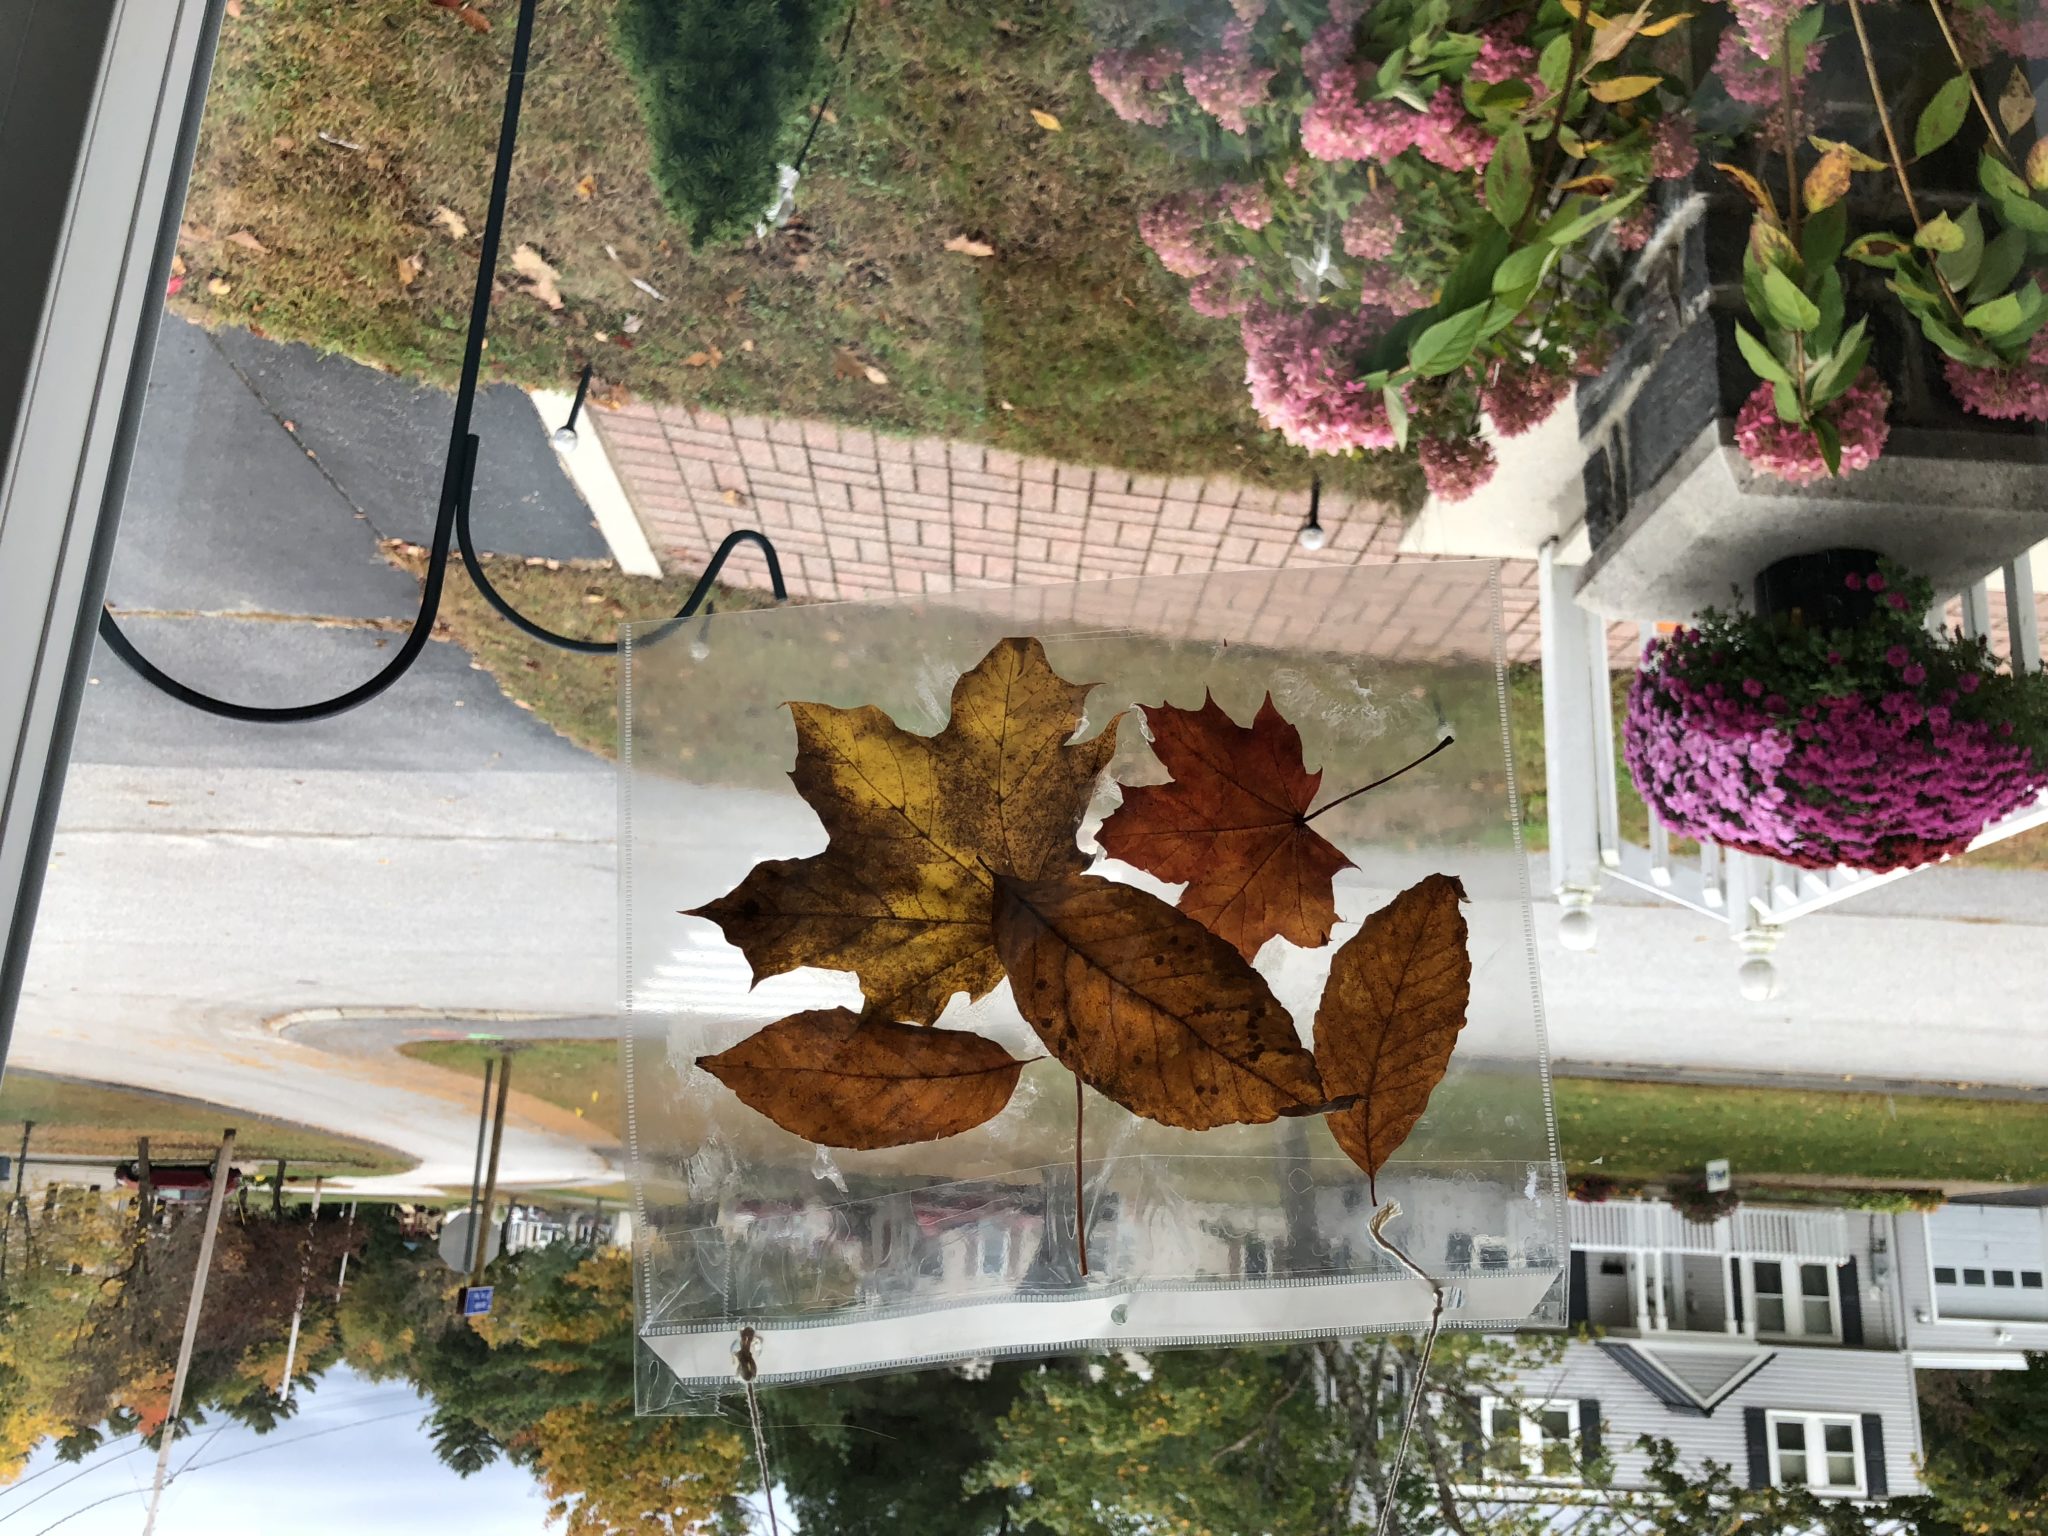
    Sun catcher in window on cloudy day.

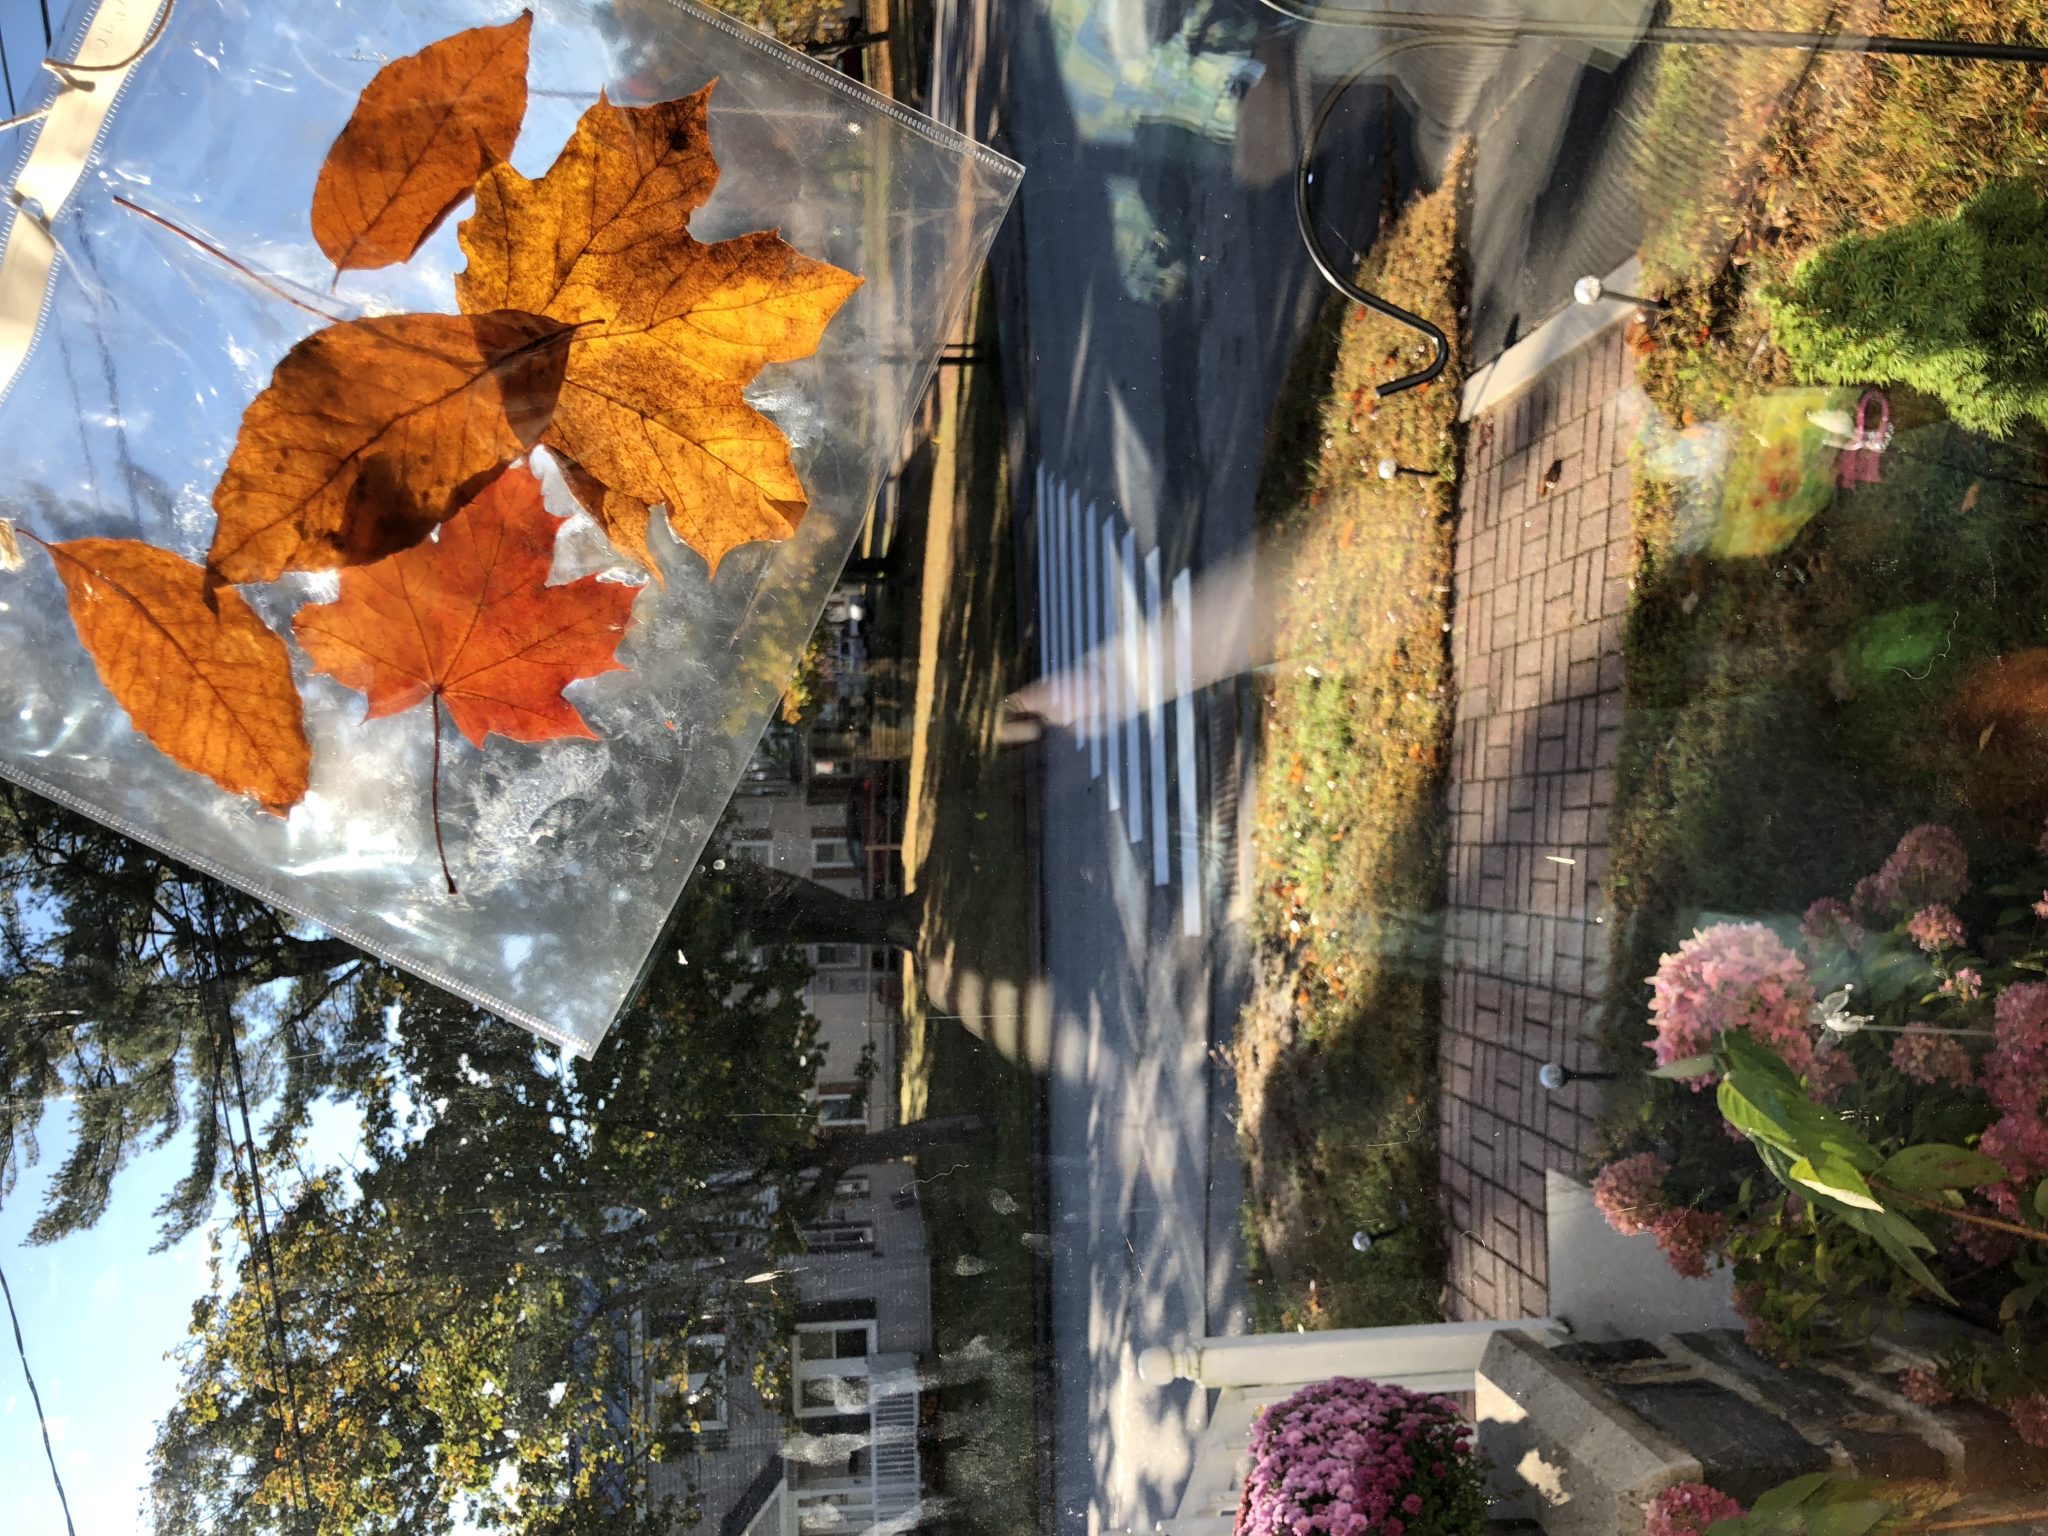
    6. Find a nice place to hang your creation. Some leaves will catch the sun and others will not depending on the color. Either way, you have a nice glittery fall decoration.

    Sun catcher in window on sunnny day.

    What are you making with leaves this fall? Let me know in the comments.

    1 Comment

    Leaf Painting

    Here’s a simple painting activity for the fall.

    What you’ll need:

    • Paint,
    • Paper,
    • Leaves,
    • Tray or some other way to set up the paint.
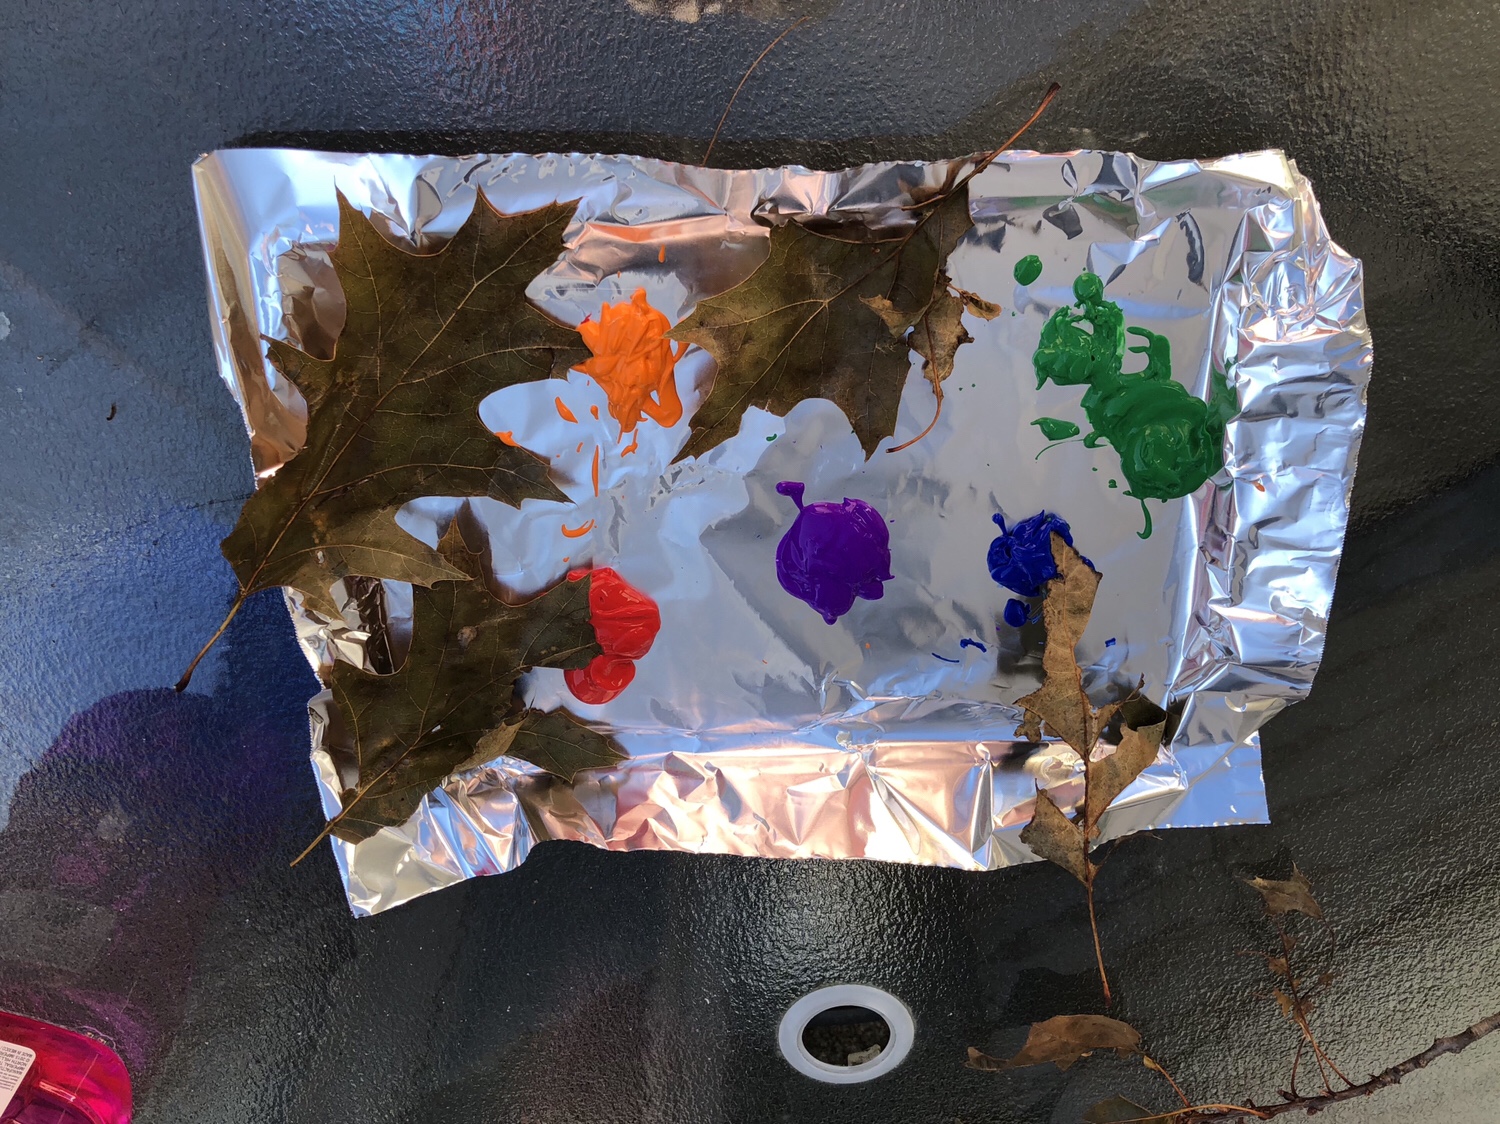
    • Cookie sheet with paint and leaves.

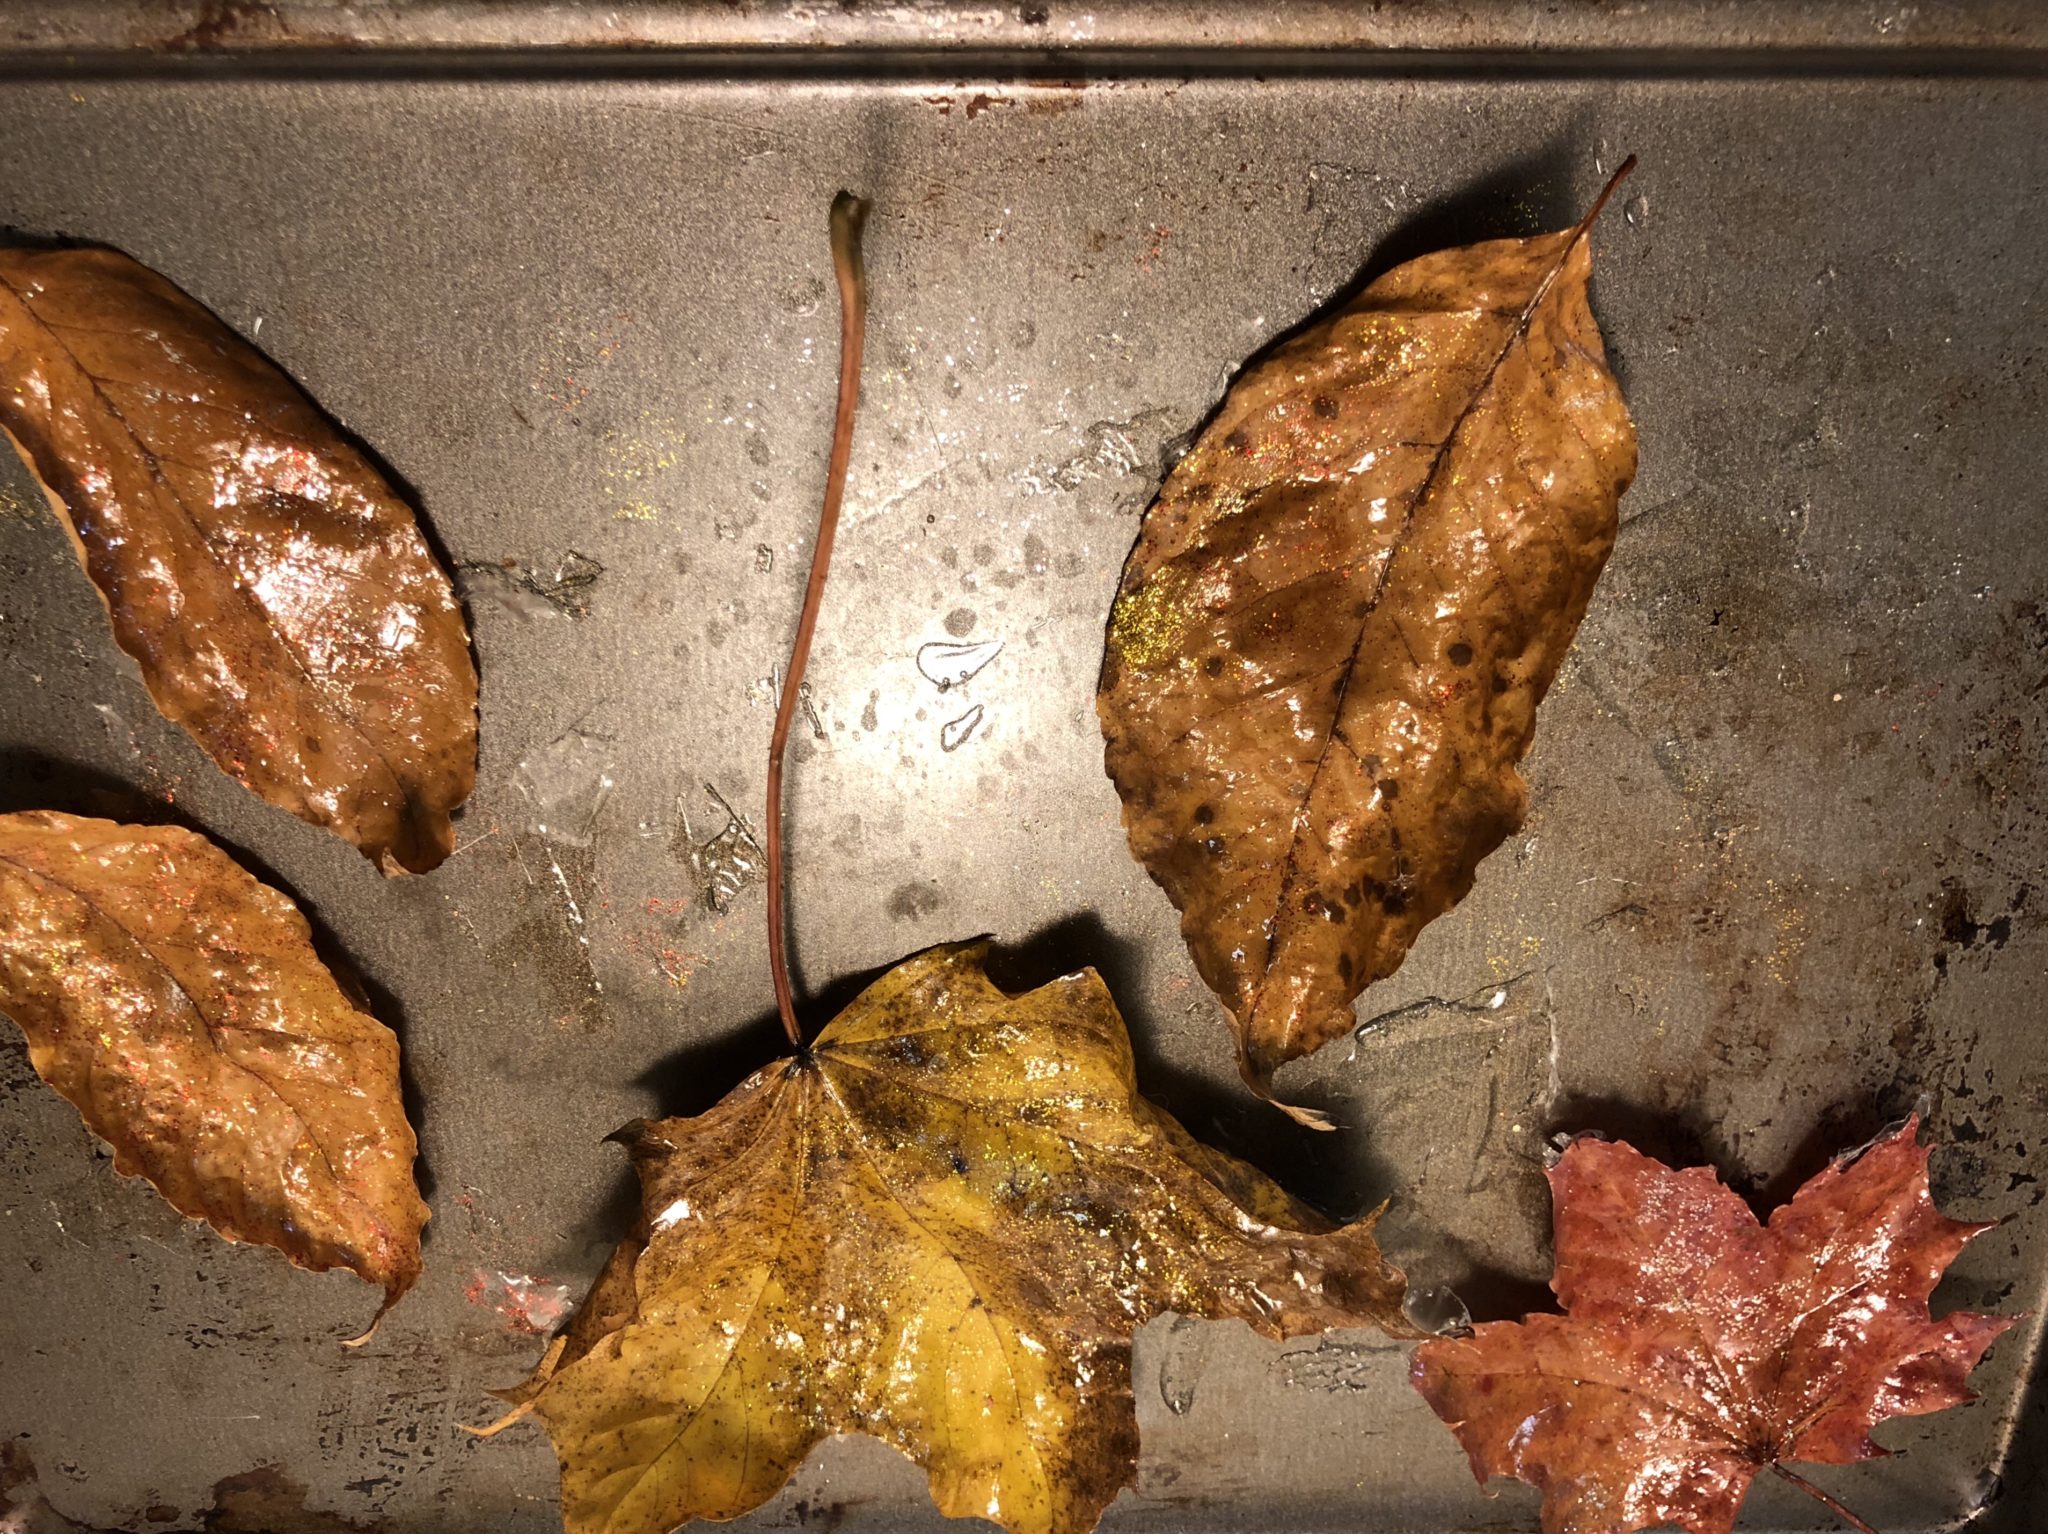
    I just took a cookie sheet, lined it with foil and put some globs of paints in different colors on it. Then I put one leaf in each color of paint so they wouldn’t be mixed at first.

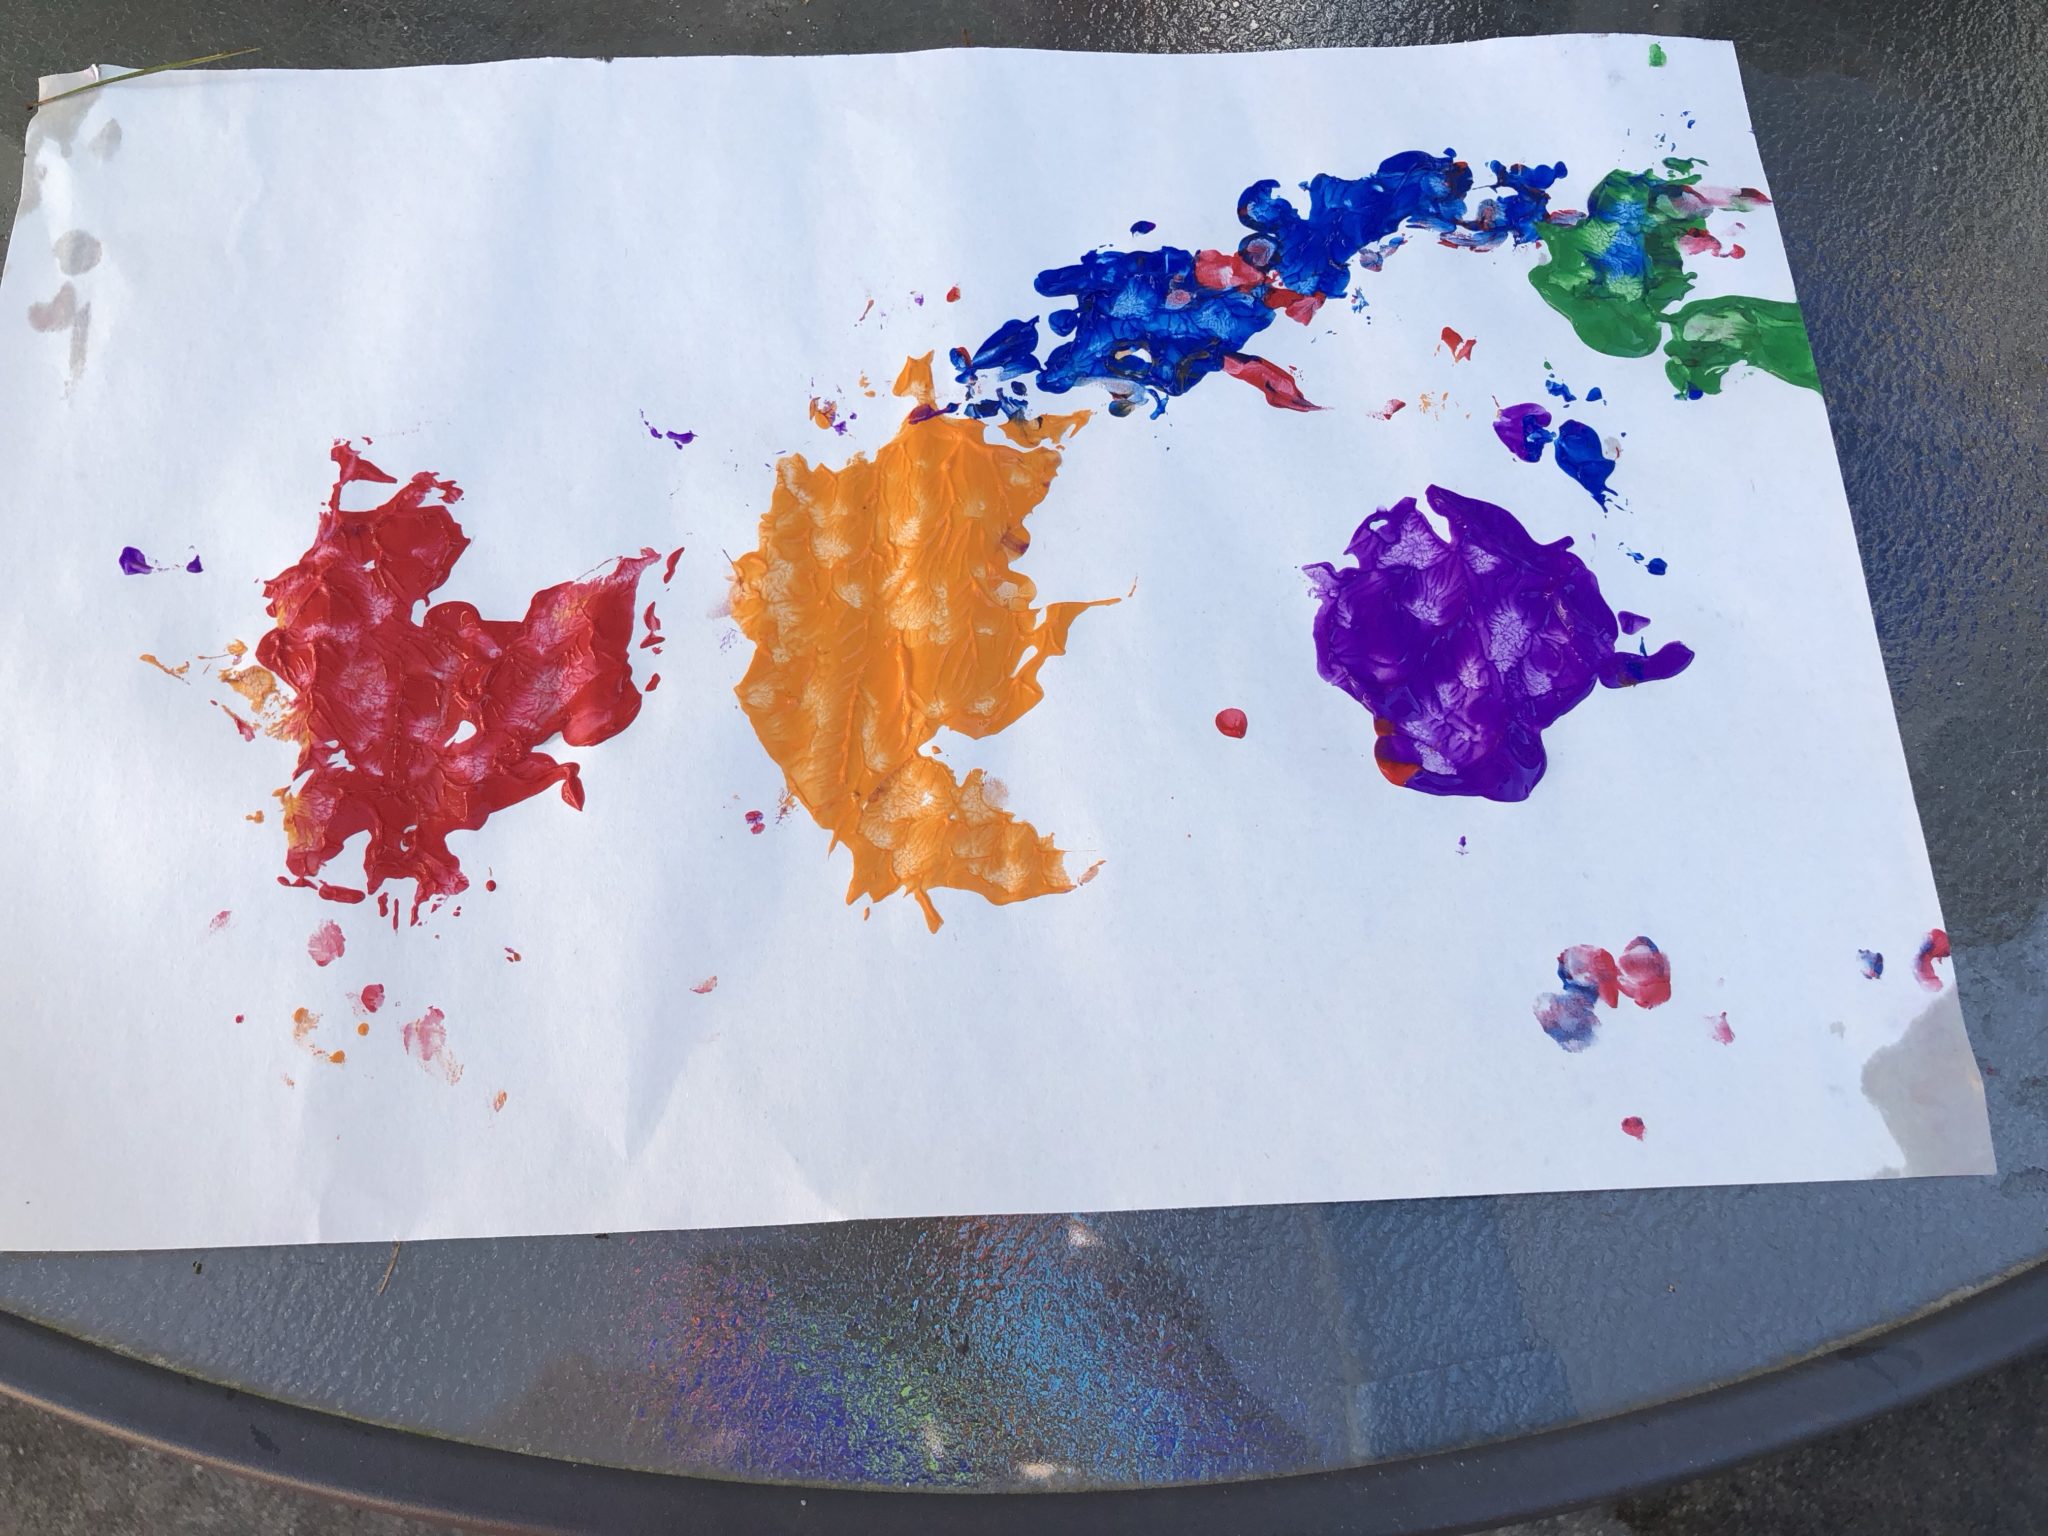
    Leaf print 1.

    Leaf print 2.

    All you do is cover the leaf with paint and stamp it on the paper. I showed Rosebud once and then she got to work, creating her pictures.

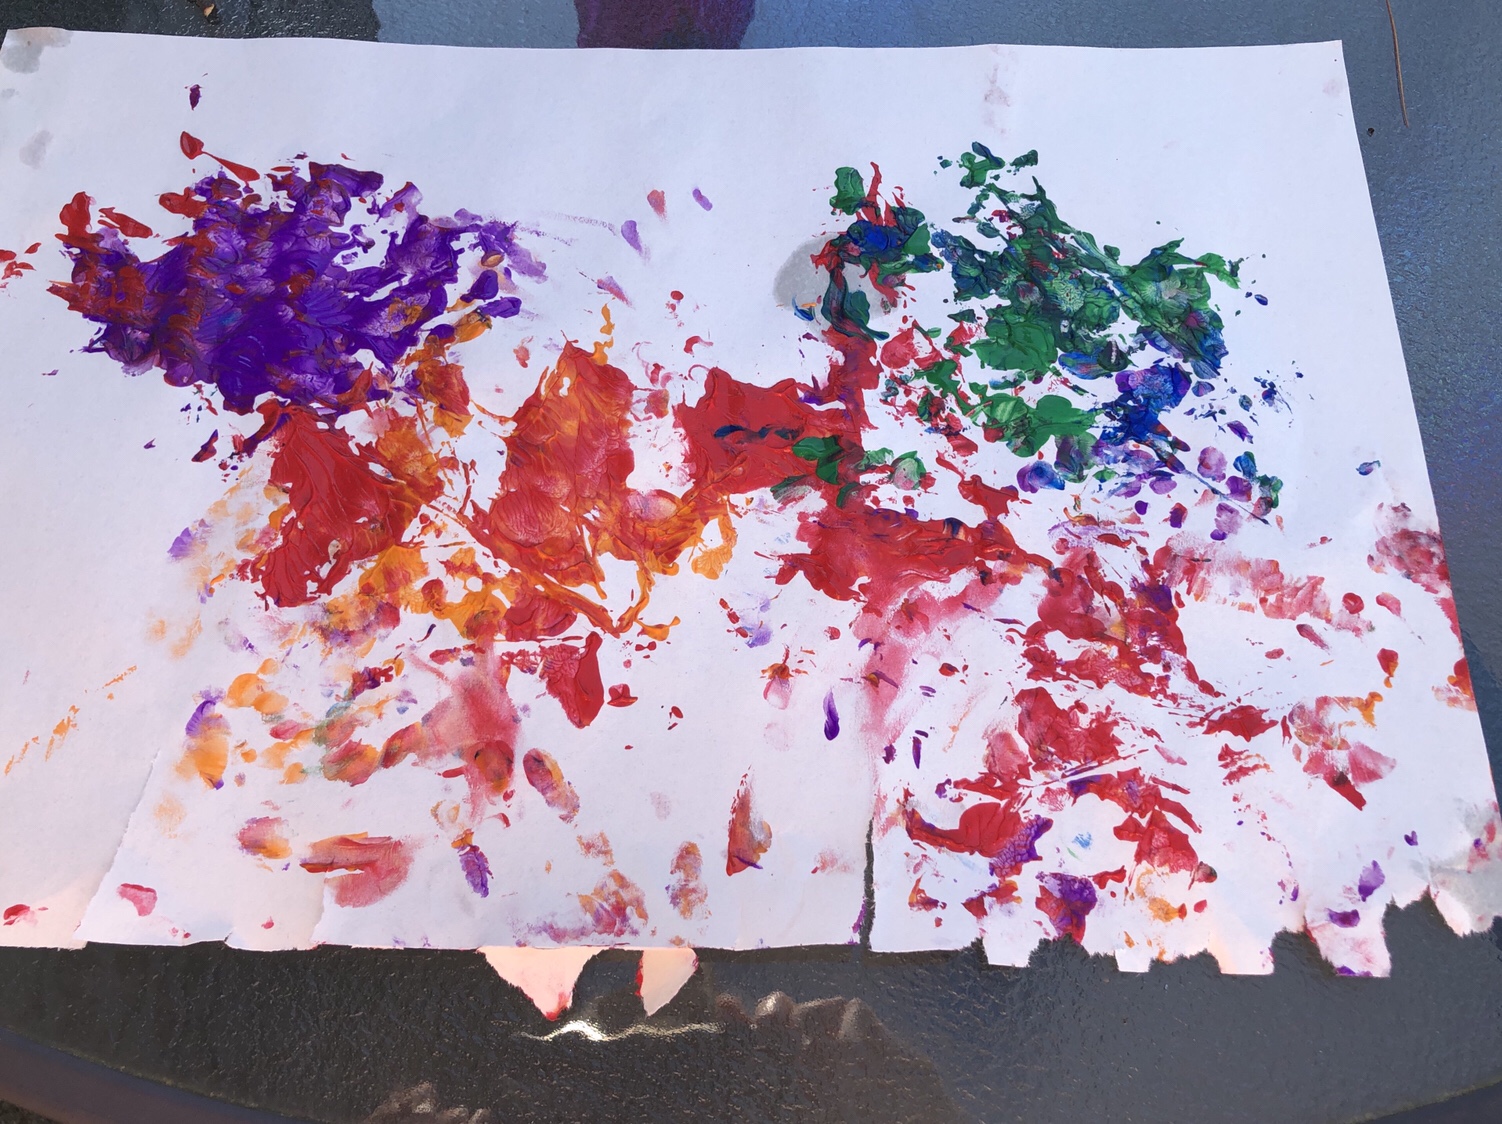
    Leaf print 3.

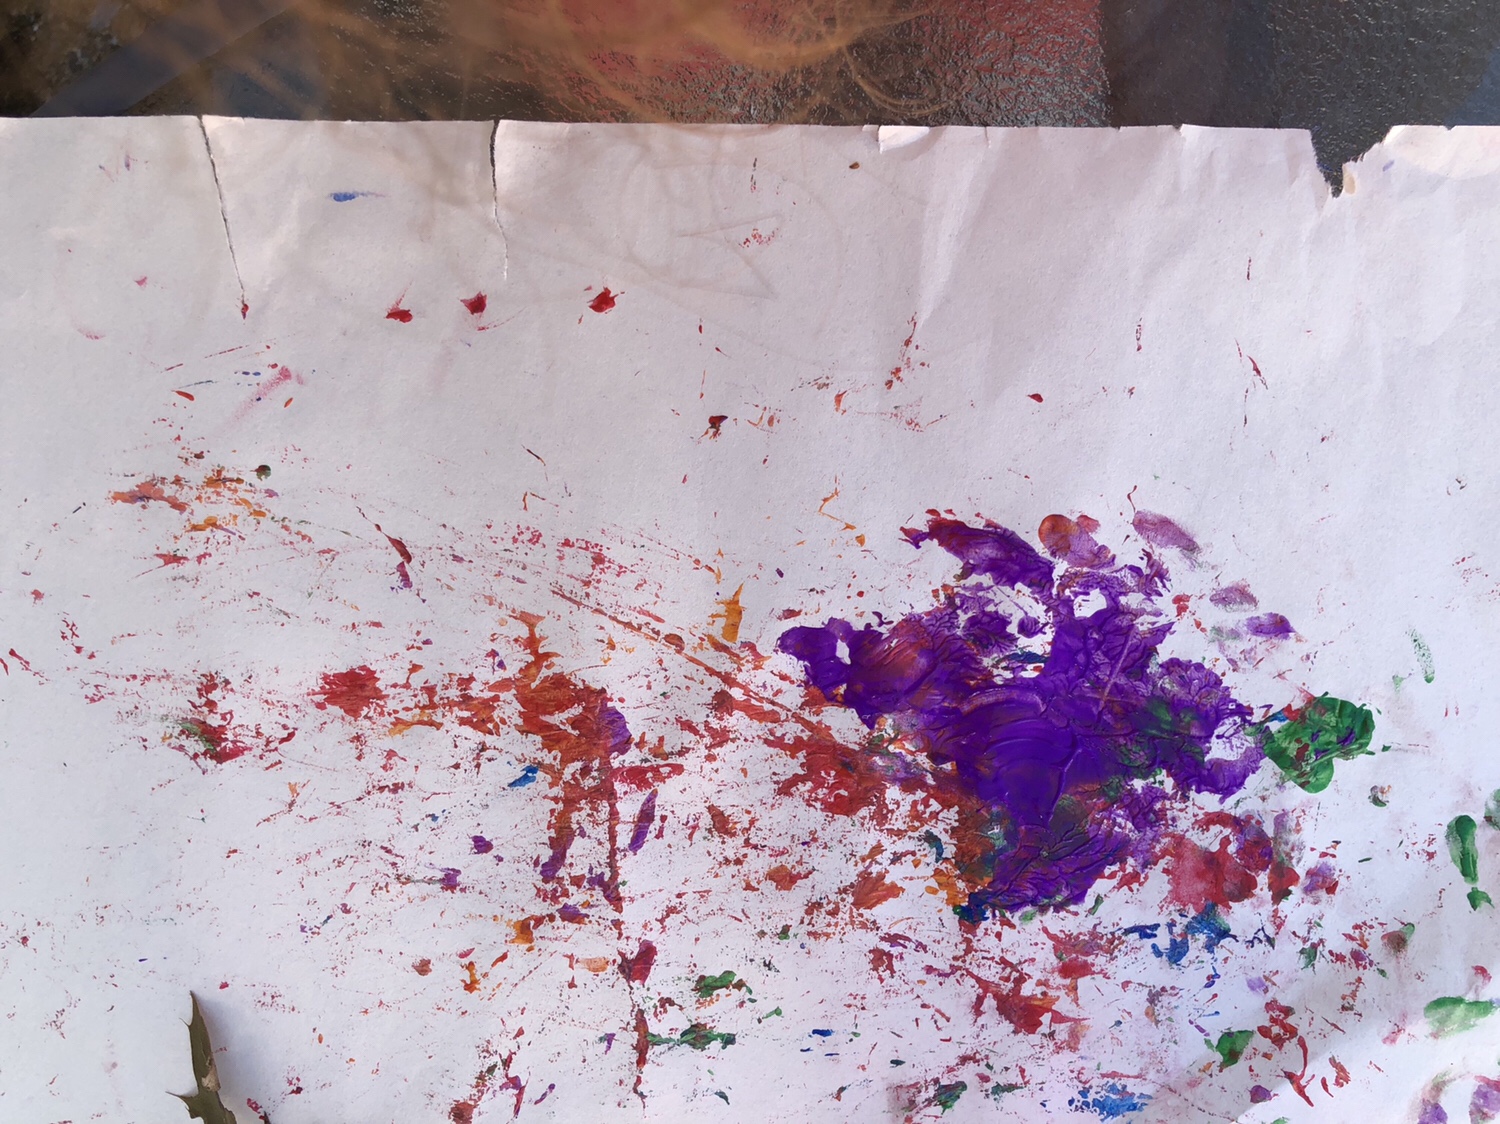
    I didn’t have much paint so by the time we got to our third picture, I showed her how she could use the leaves as paintbrushes.

    I’m looking forward to doing more fall activities. What are your favorite fall crafts and activities? Let me know in the comments.

    2 Comments

    Shell Painting

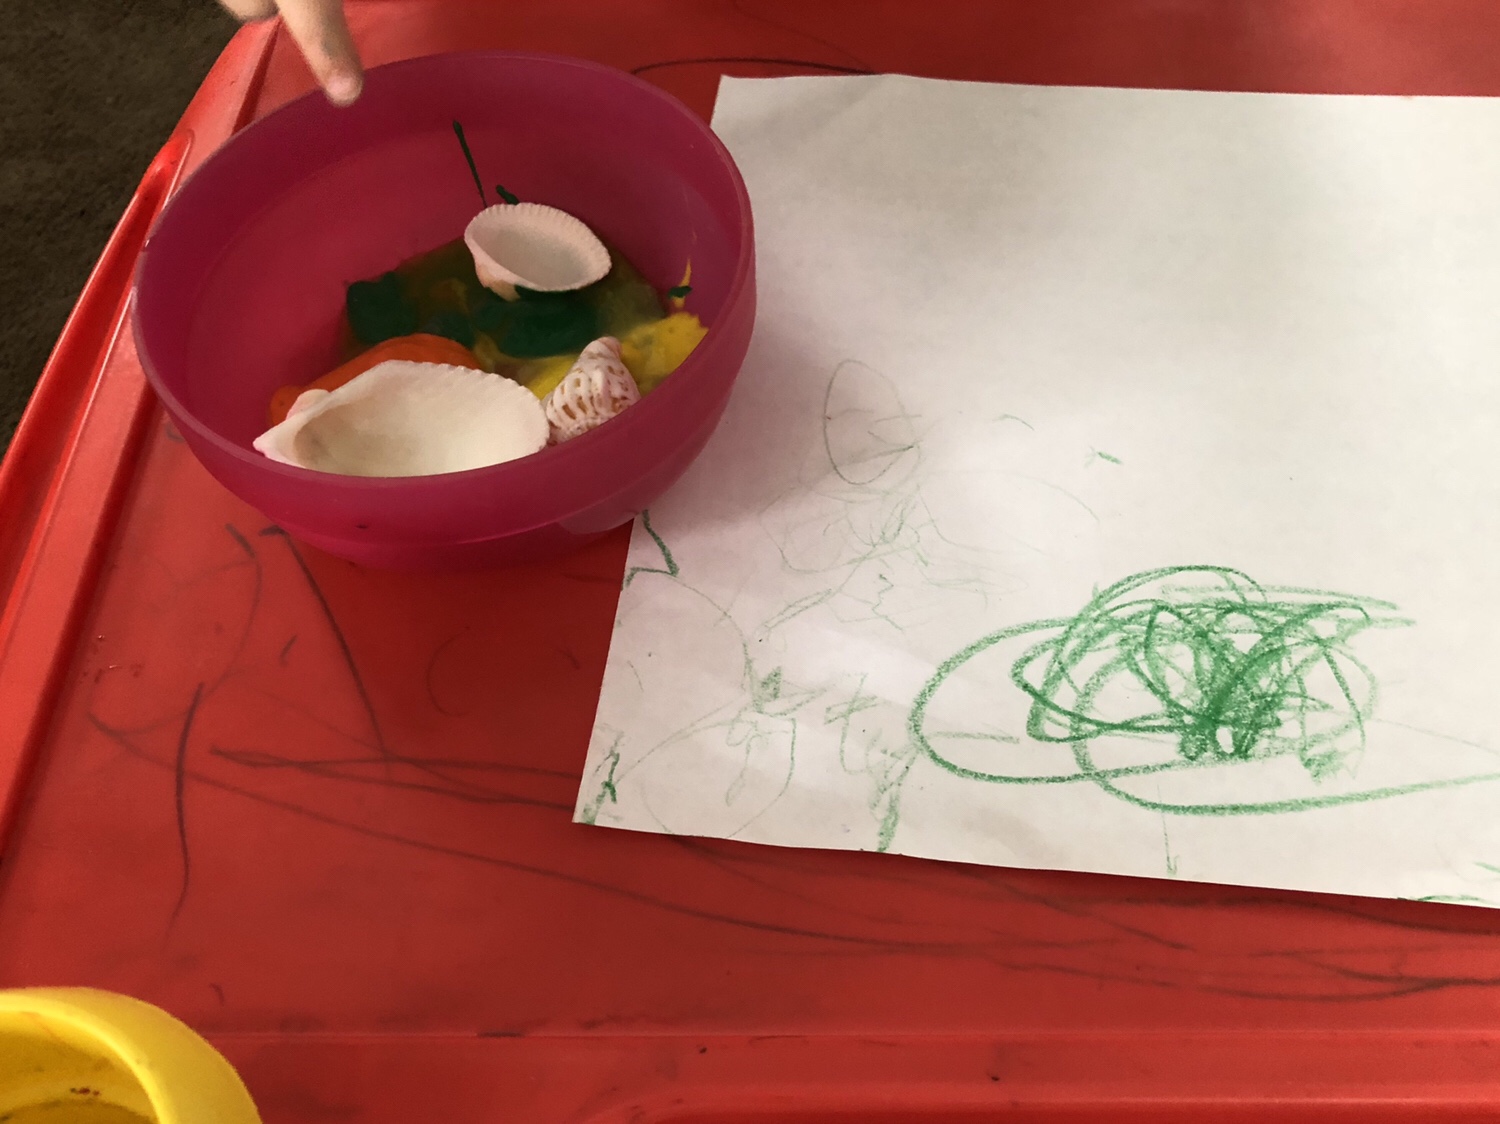
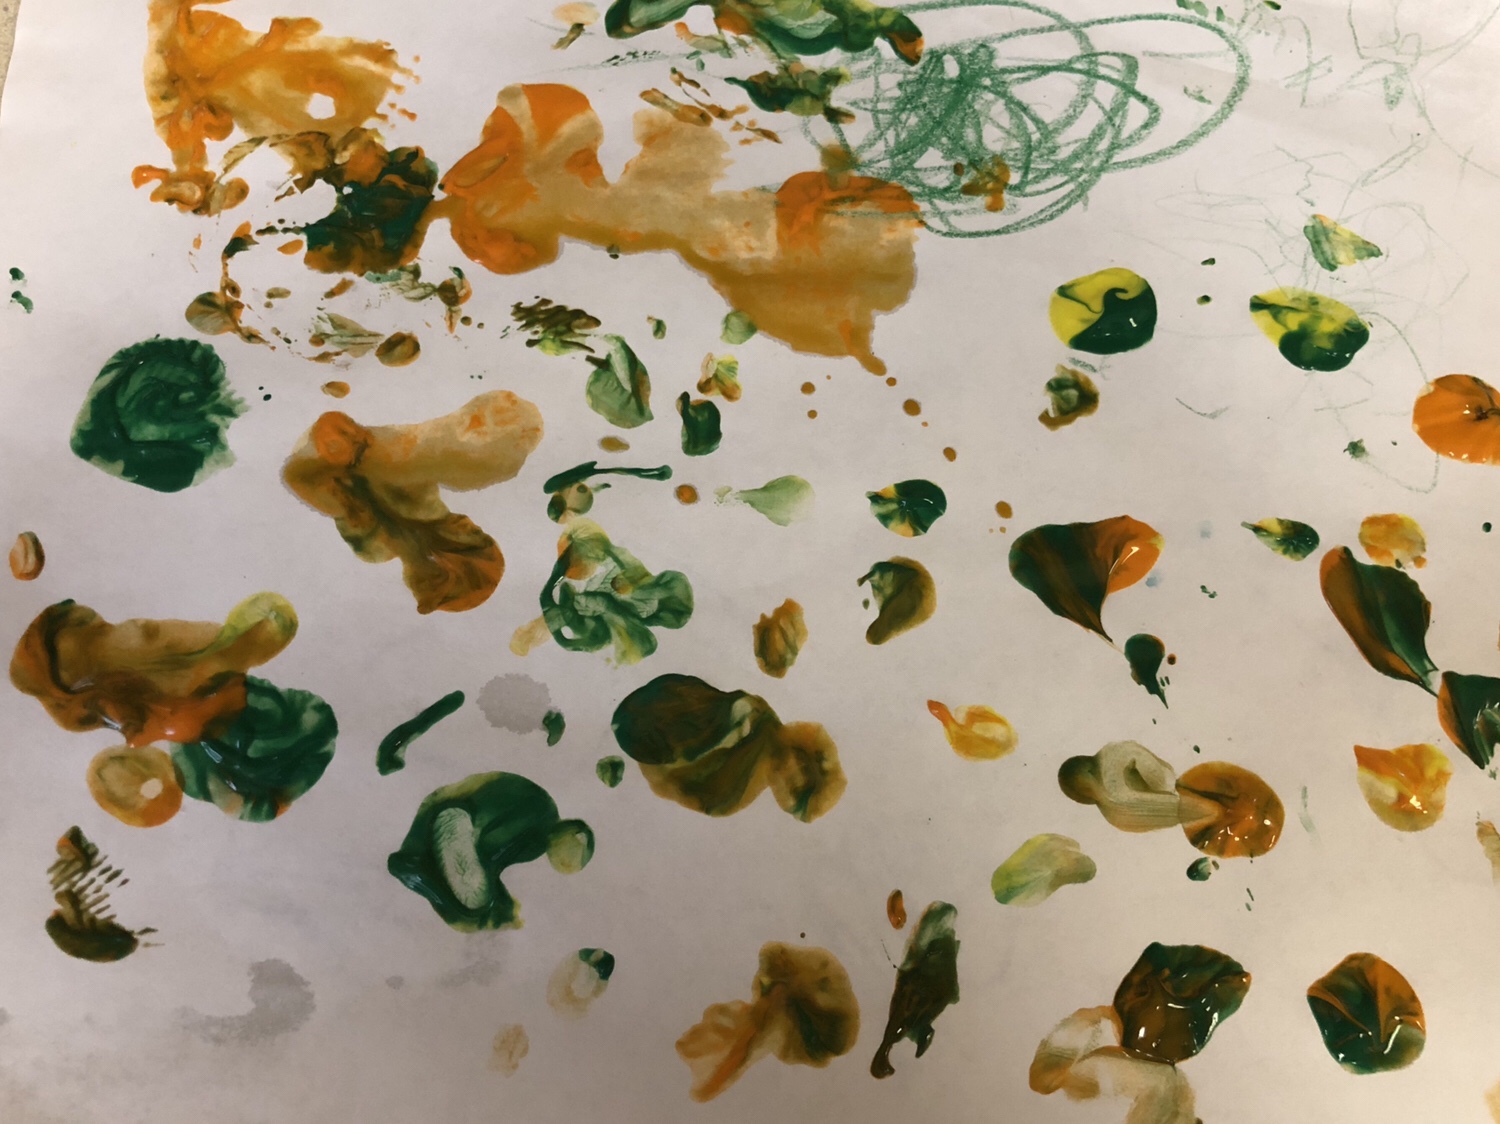
    Here’s another simple painting activity. We’ve been doing some ocean themed activities lately so I thought we’d try stamping with shells. The shells didn’t stamp on the paper as expected. You have to move the shell to get the full stamp, but Rosebud had fun with this. she loves painting of any kind.

    Three shells sitting in a bowl of paint next to a piece of paper.What you need:

    Paints,

    Paper,

    Shells.

    Directions:

    There are no directions except to see what you can create. Use different colors. Use different types of shells. You could also keep the colors totally separated and make neat patterns.

    Rosebud’s shell painting.

    My only suggestion is to have plenty of paint. Enough to dip the entire half of the part of the shell you will be stamping.

    0 comments

    It’s About the Process, Not the Product

    Here is another simple painting activity. All you need are some paints, paper and pinecones. Rosebud and I went over to the playground yesterday where she found a pinecone. I immediately thought we could use it for a painting activity.

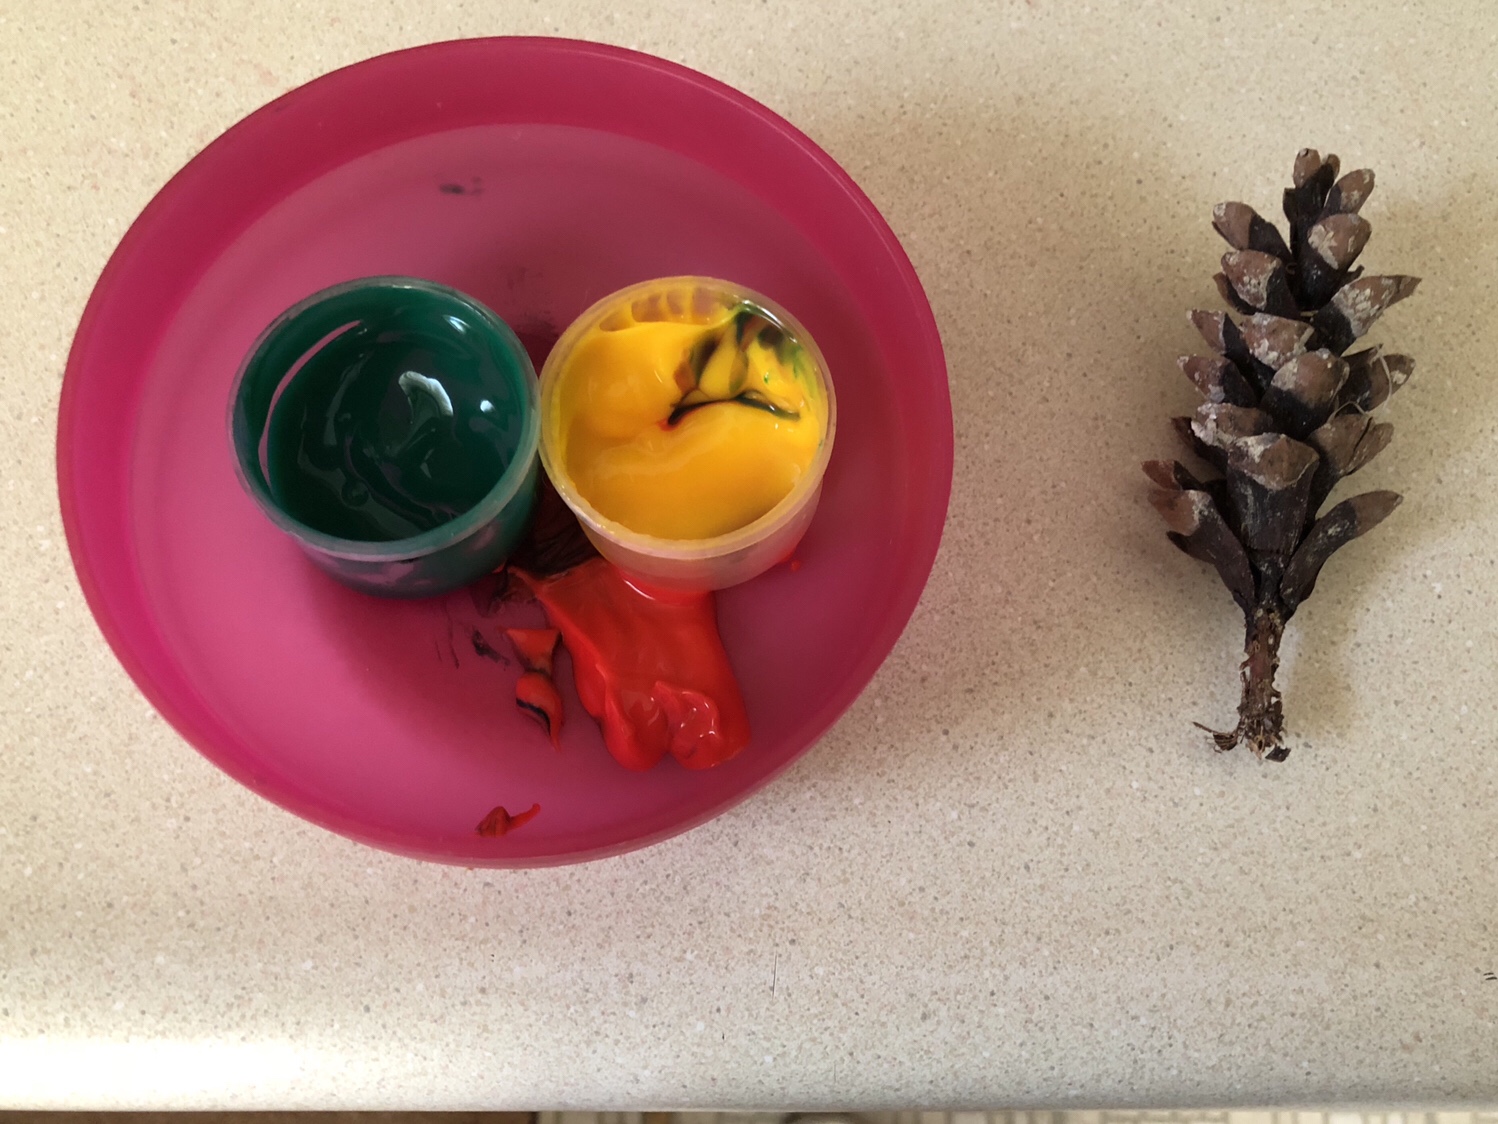
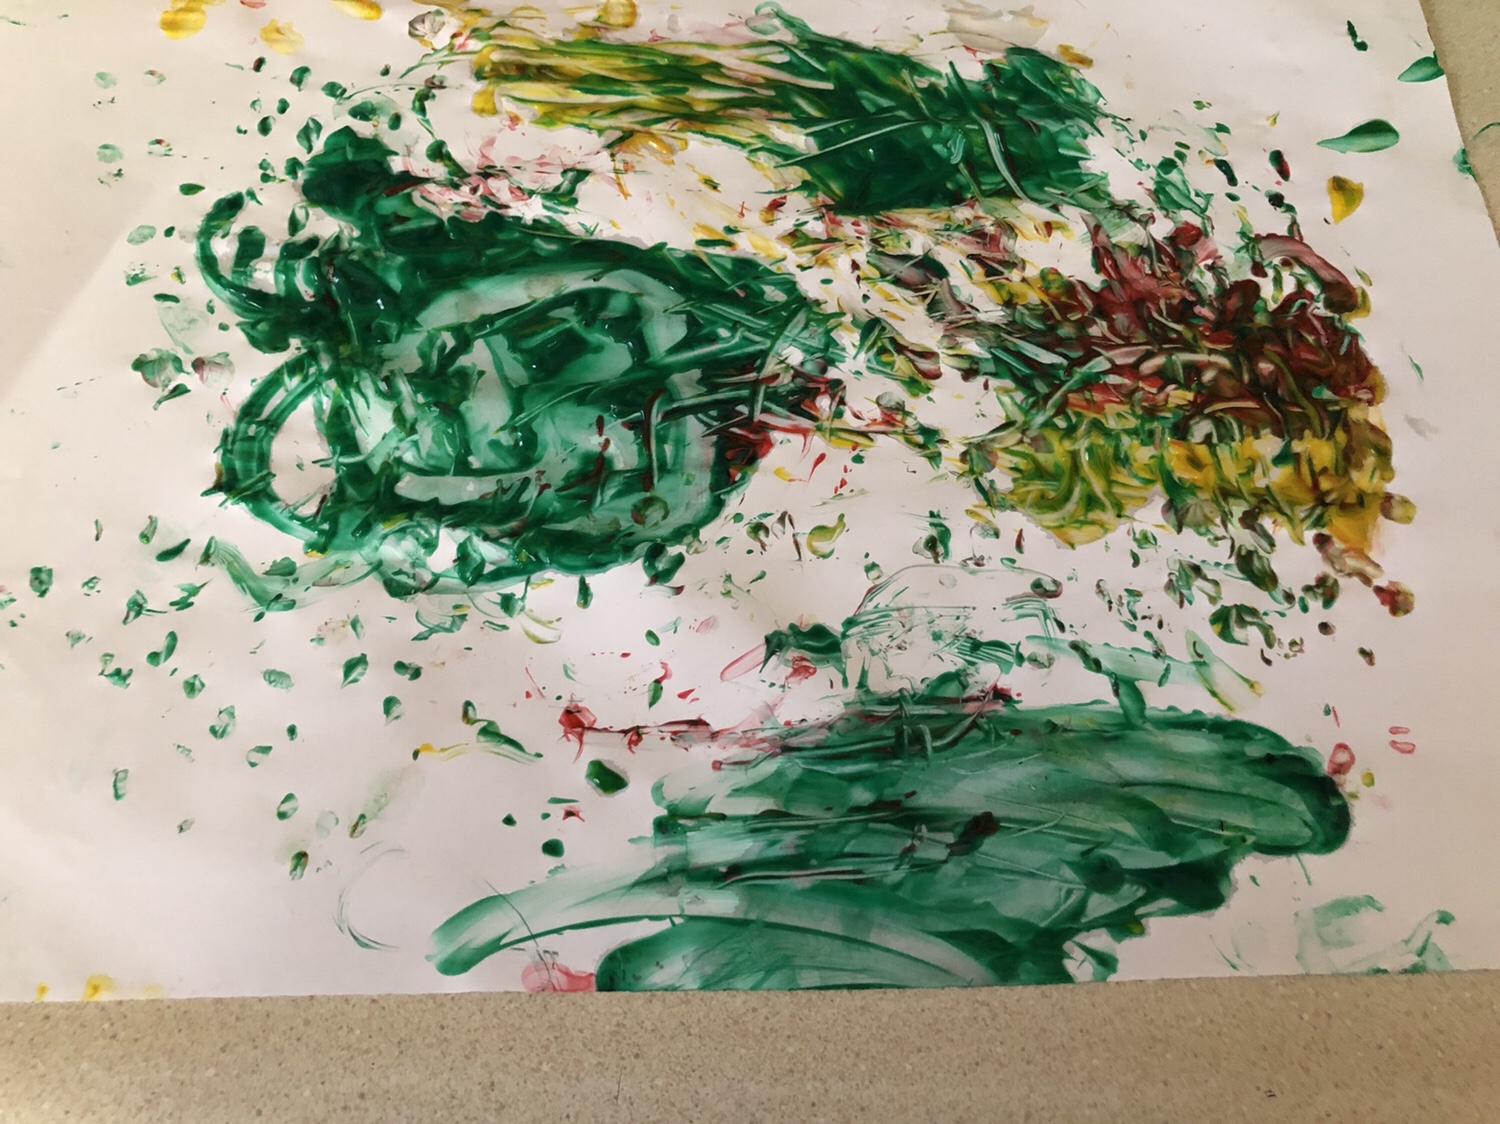
    We were trying to stamp with the pinecone because using it like a brush was too hard on the paper. As the title says, the process is more important than the product with this activity. My only suggestion would be to have more paints and more pinecones. I would put each color of paint in a container large enough to dip the entire pinecone so it could be stamped or rolled across the paper. I’d also suggest having one pinecone for each color of paint. I didn’t think of this until we had already gotten started.

    Different colored paints with a pinecone

    Eventually I had to just dump the paints on the paper because trying to dip the pinecone wasn’t working. I had little containers of paint from the dollar store. Although this didn’t work as expected, I’m interested in trying to paint with other natural items to see what we come up with.

    Pinecone painting creation

    0 comments

    Flower Painting

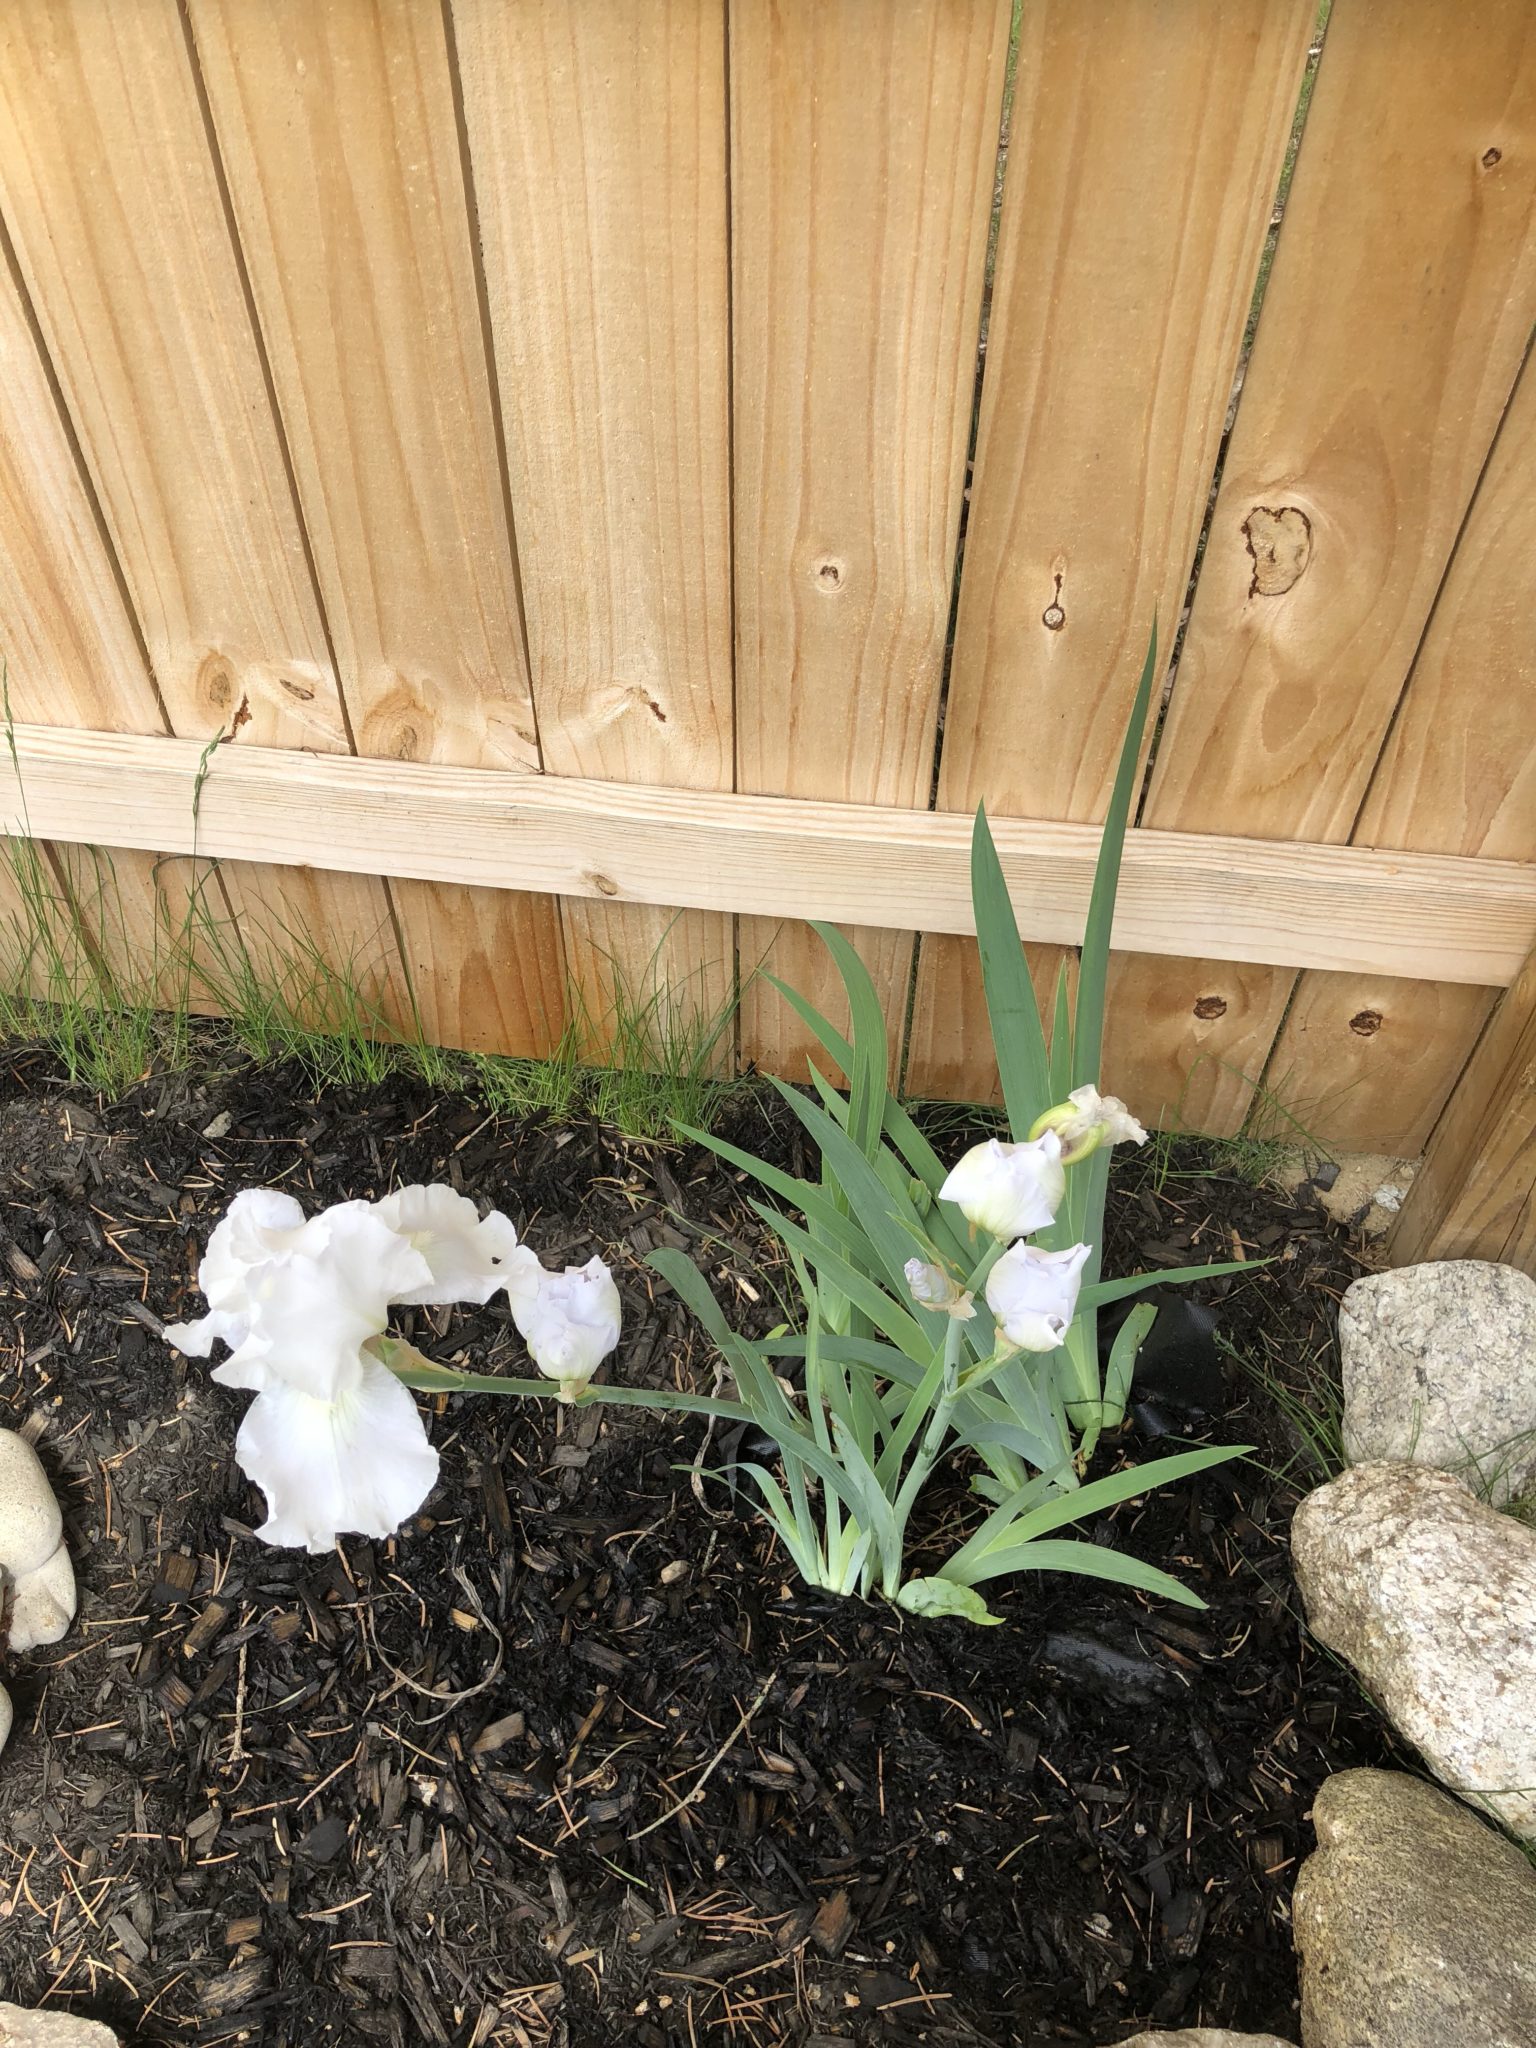
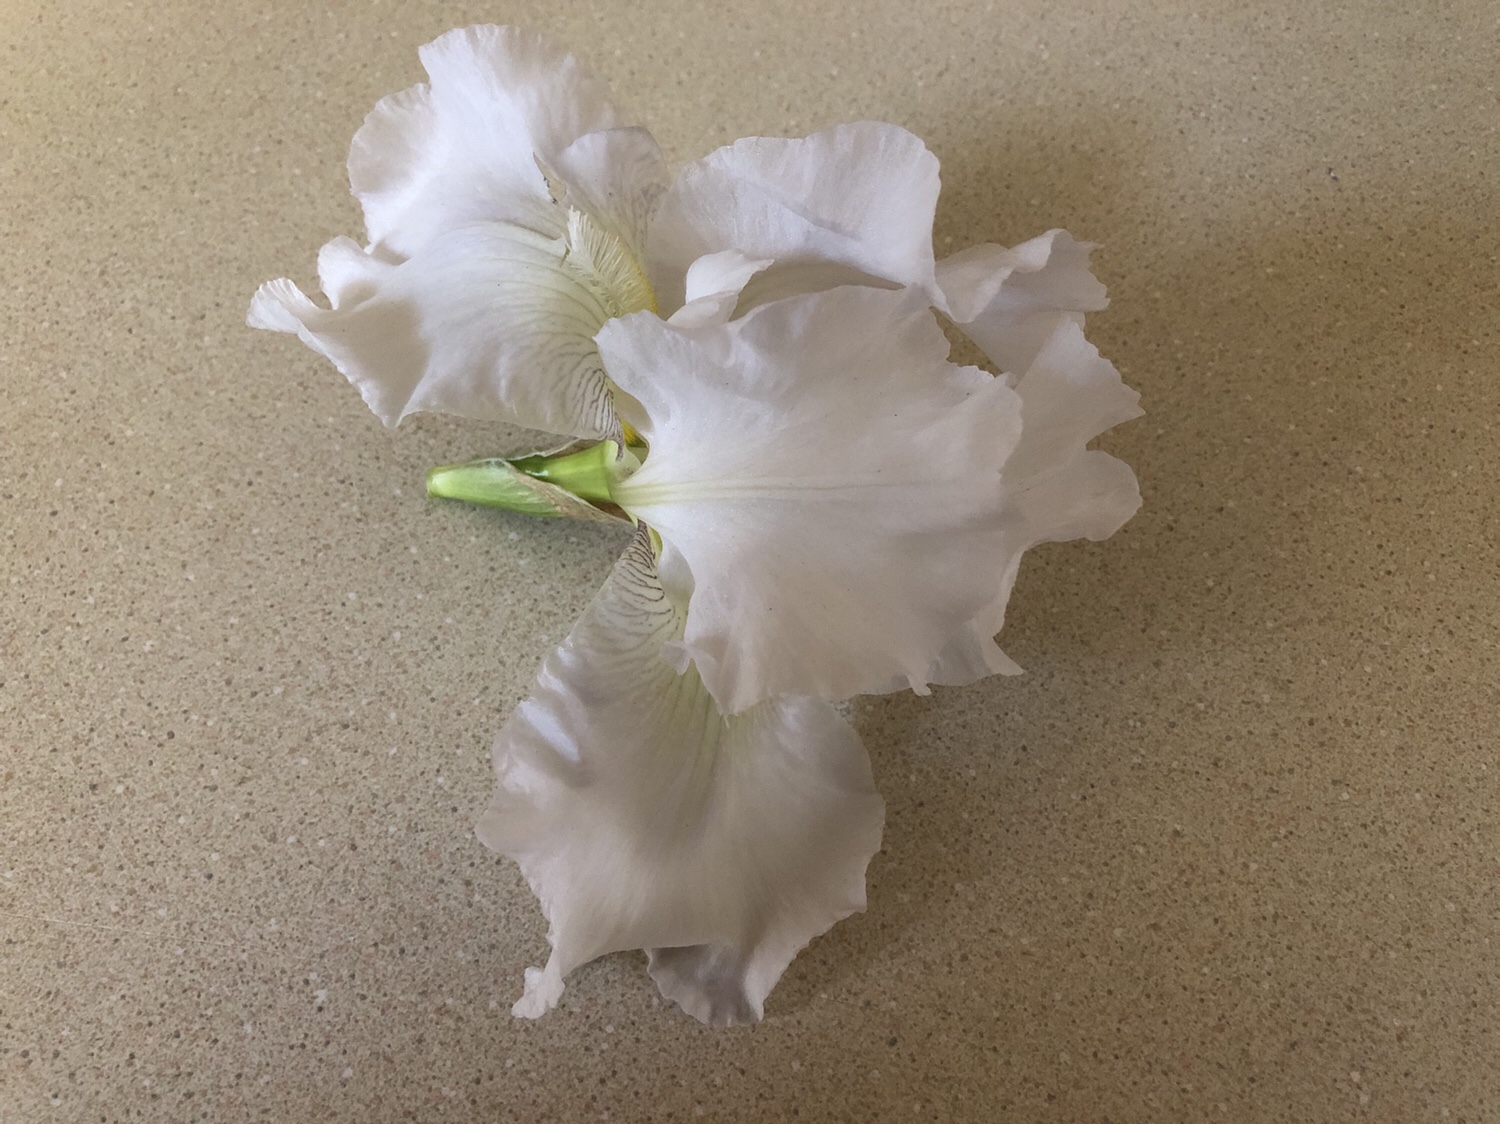
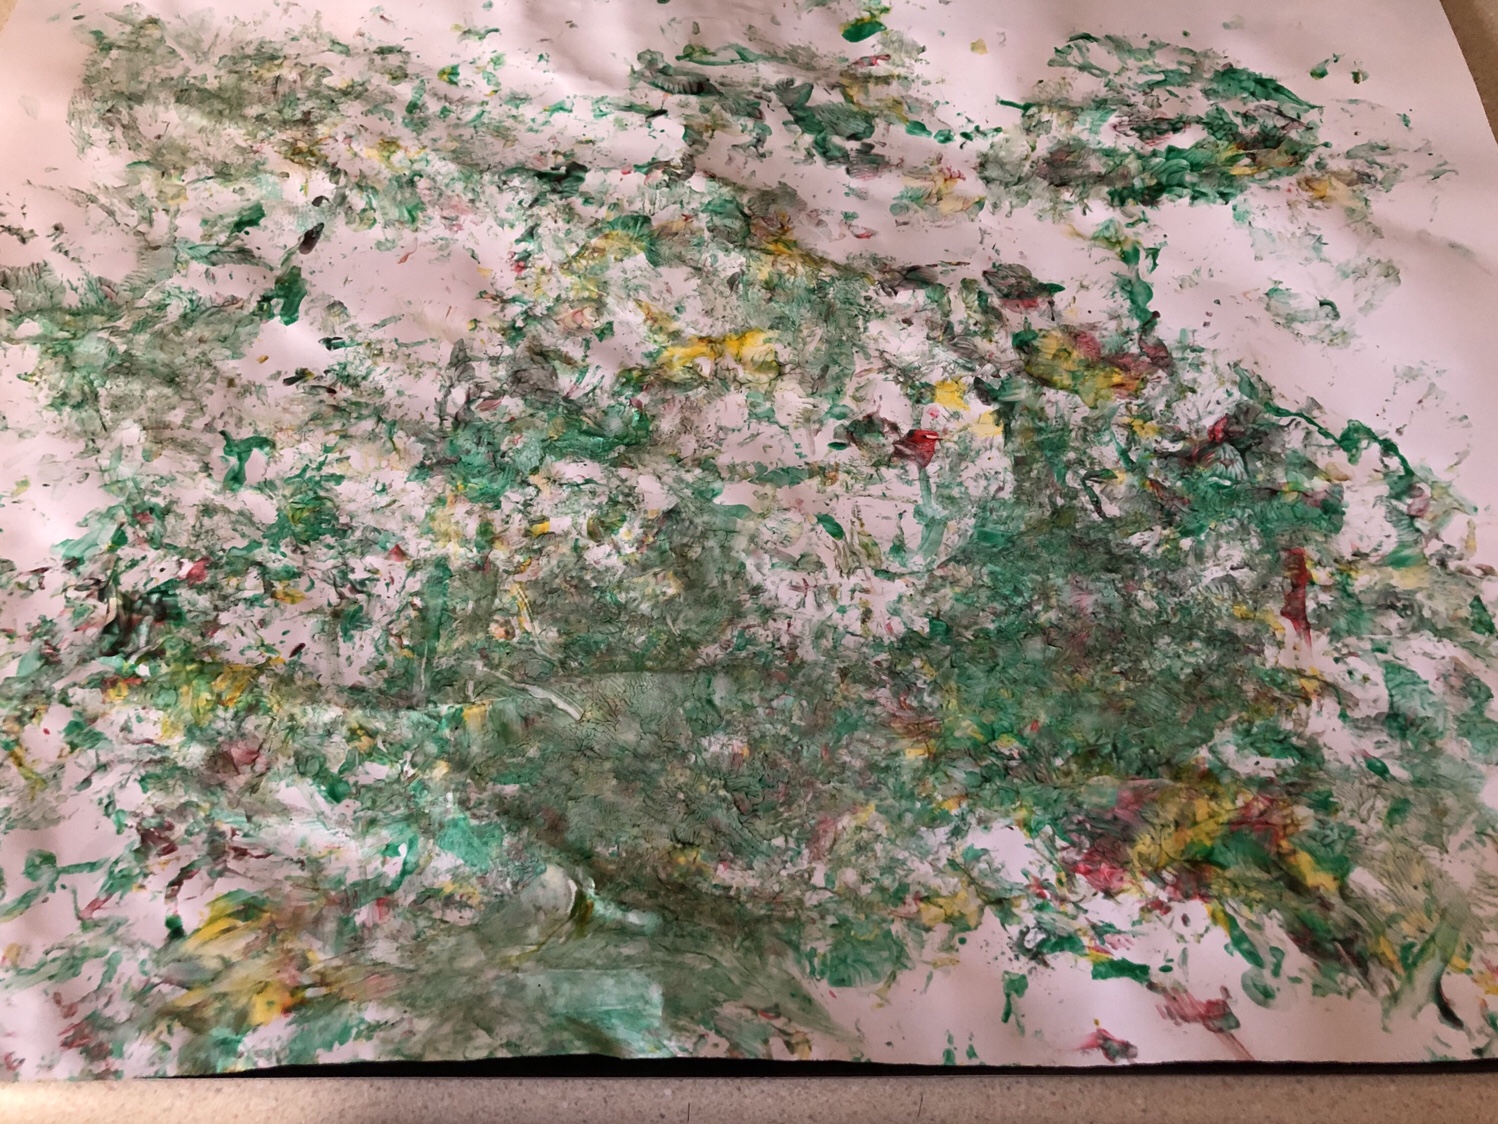
    Yesterday Rosebud and I did another simple painting activity. I set out several colors of paint in a bowl. A flower fell off one of my plants and recently we painted with flowers in my preschool class so I wanted to do the same with Rosebud.

    I grabbed the paint, paper and the flower and headed outside. We sat at Rosebud’s picnic table and painted. That was after Rosebud smelled the flower and decided it smelled good. After a few minutes, the flower started to fall apart so we stamped with the petals instead of using the flower like a paintbrush.

    I want to try this with different flowers and other natural items throughout the summer. This is how her picture came out. We are waiting for the next flower to fall so we can work on the next master piece.

    0 comments

    Rolling Pin Painting

    Here is another simple painting activity you can do with toddlers.

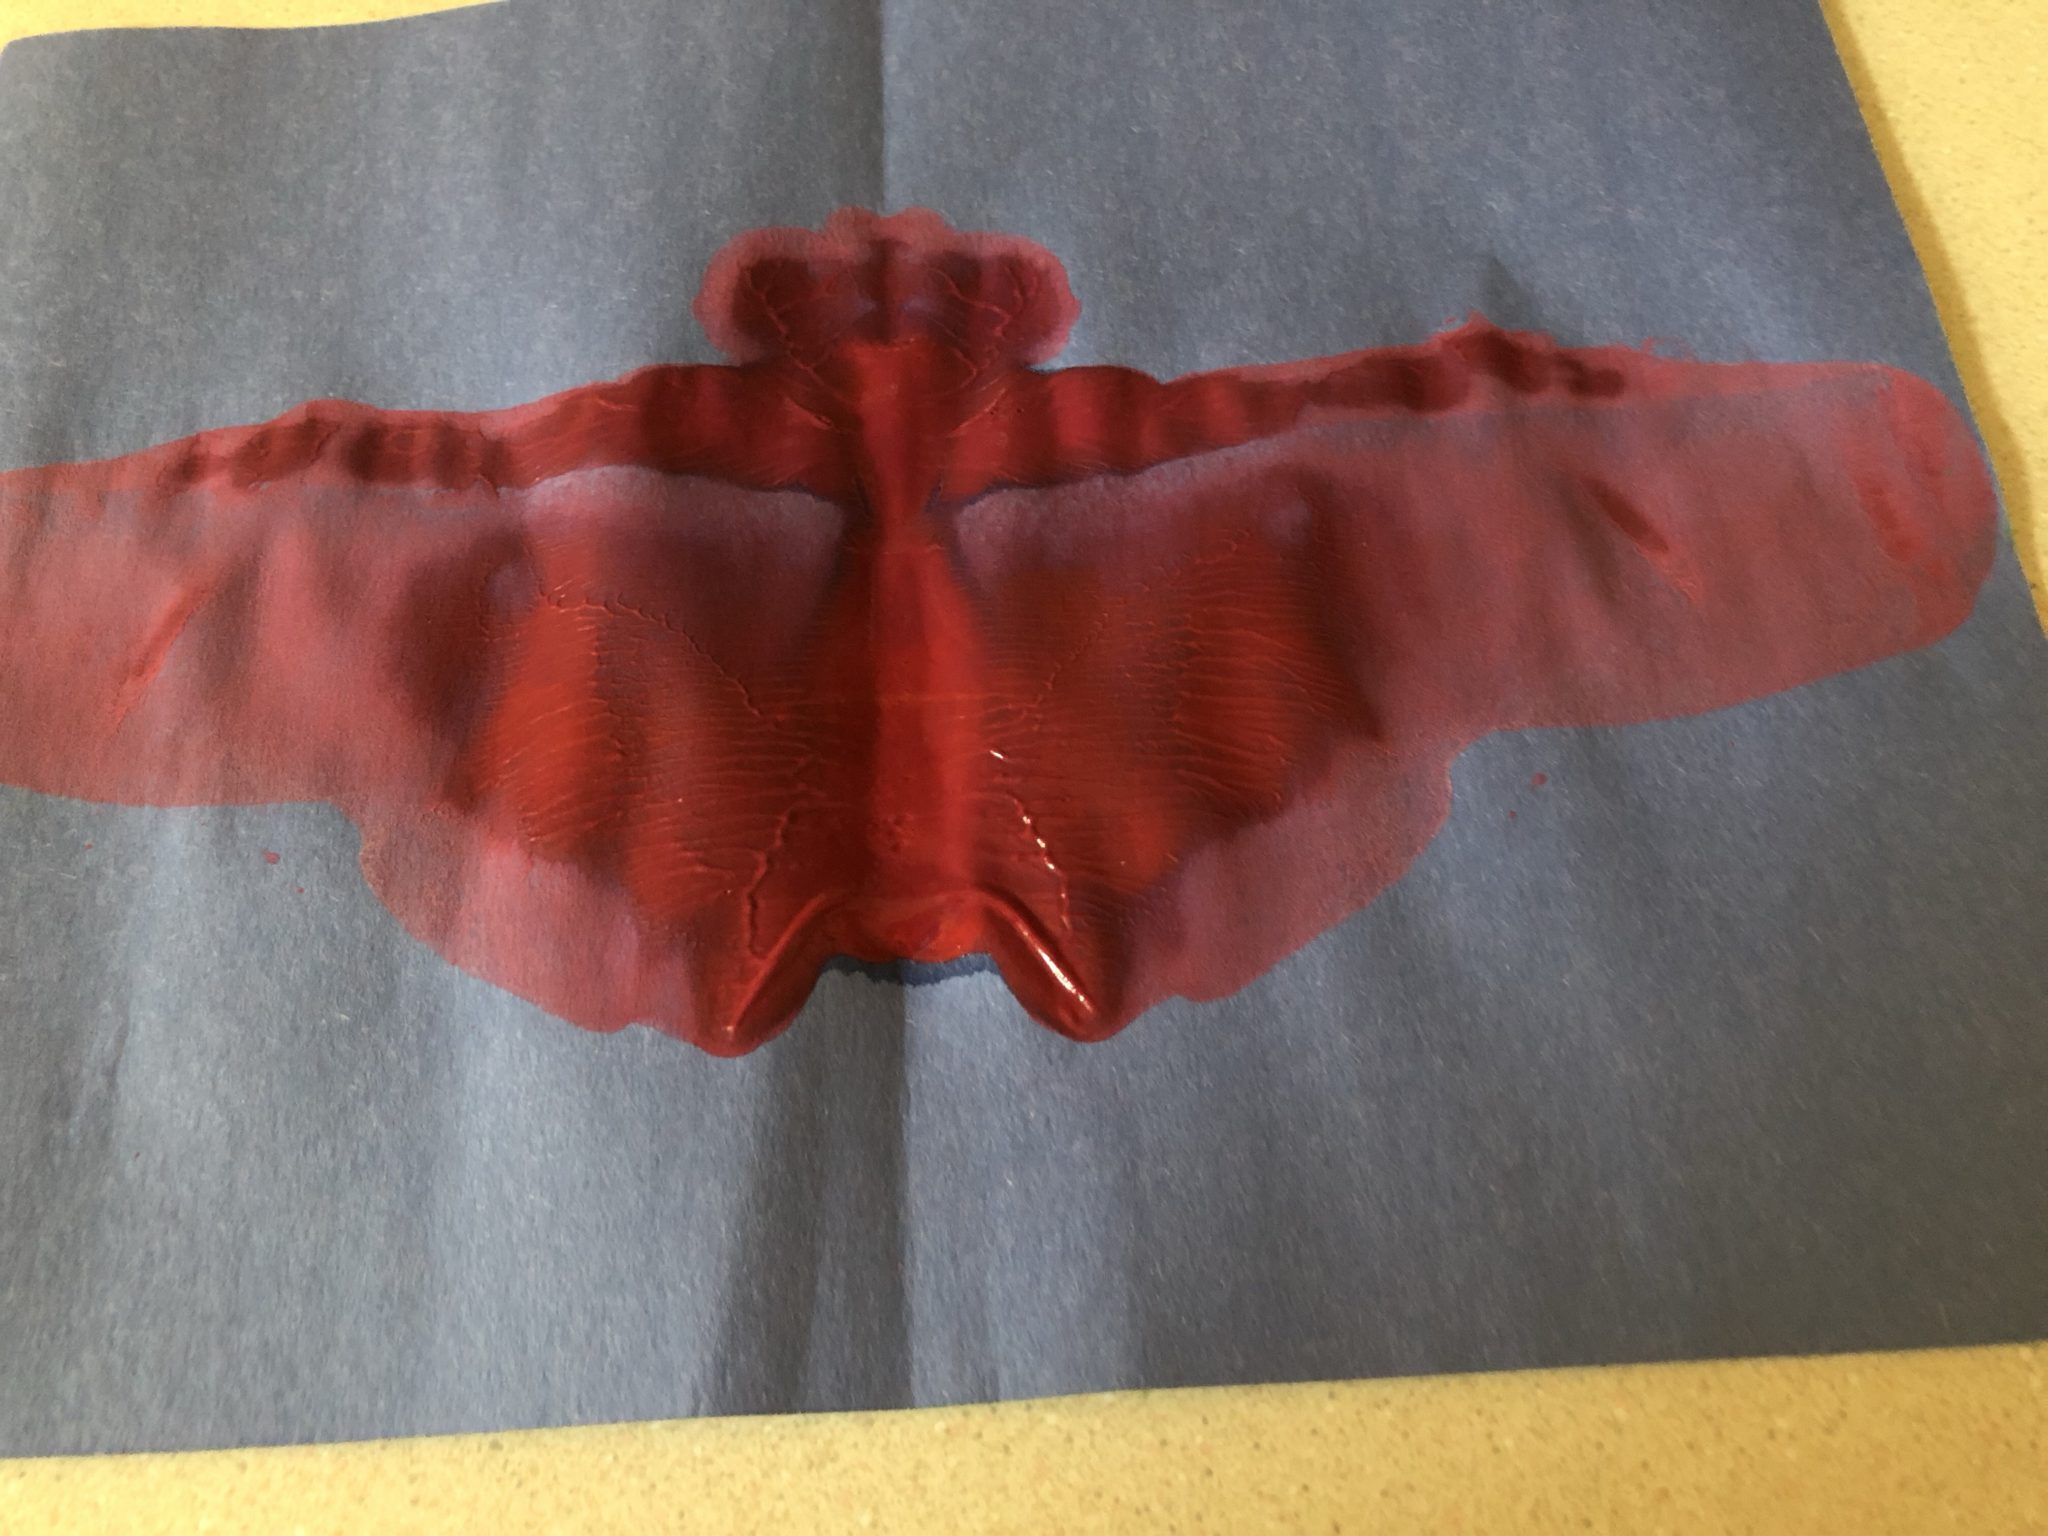
    All you do is put a couple globs of paint on a piece of paper and fold it in half. You can use two or more colors and see how they mix or you can stick with one. Then have your child role the rolling pin back and forth over the paper. Open the paper and see the surprise painting. It’s that simple. Rosebud could’ve done more, but we only did two and each of them came out totally different.

    The butterflyJust a design

    0 comments

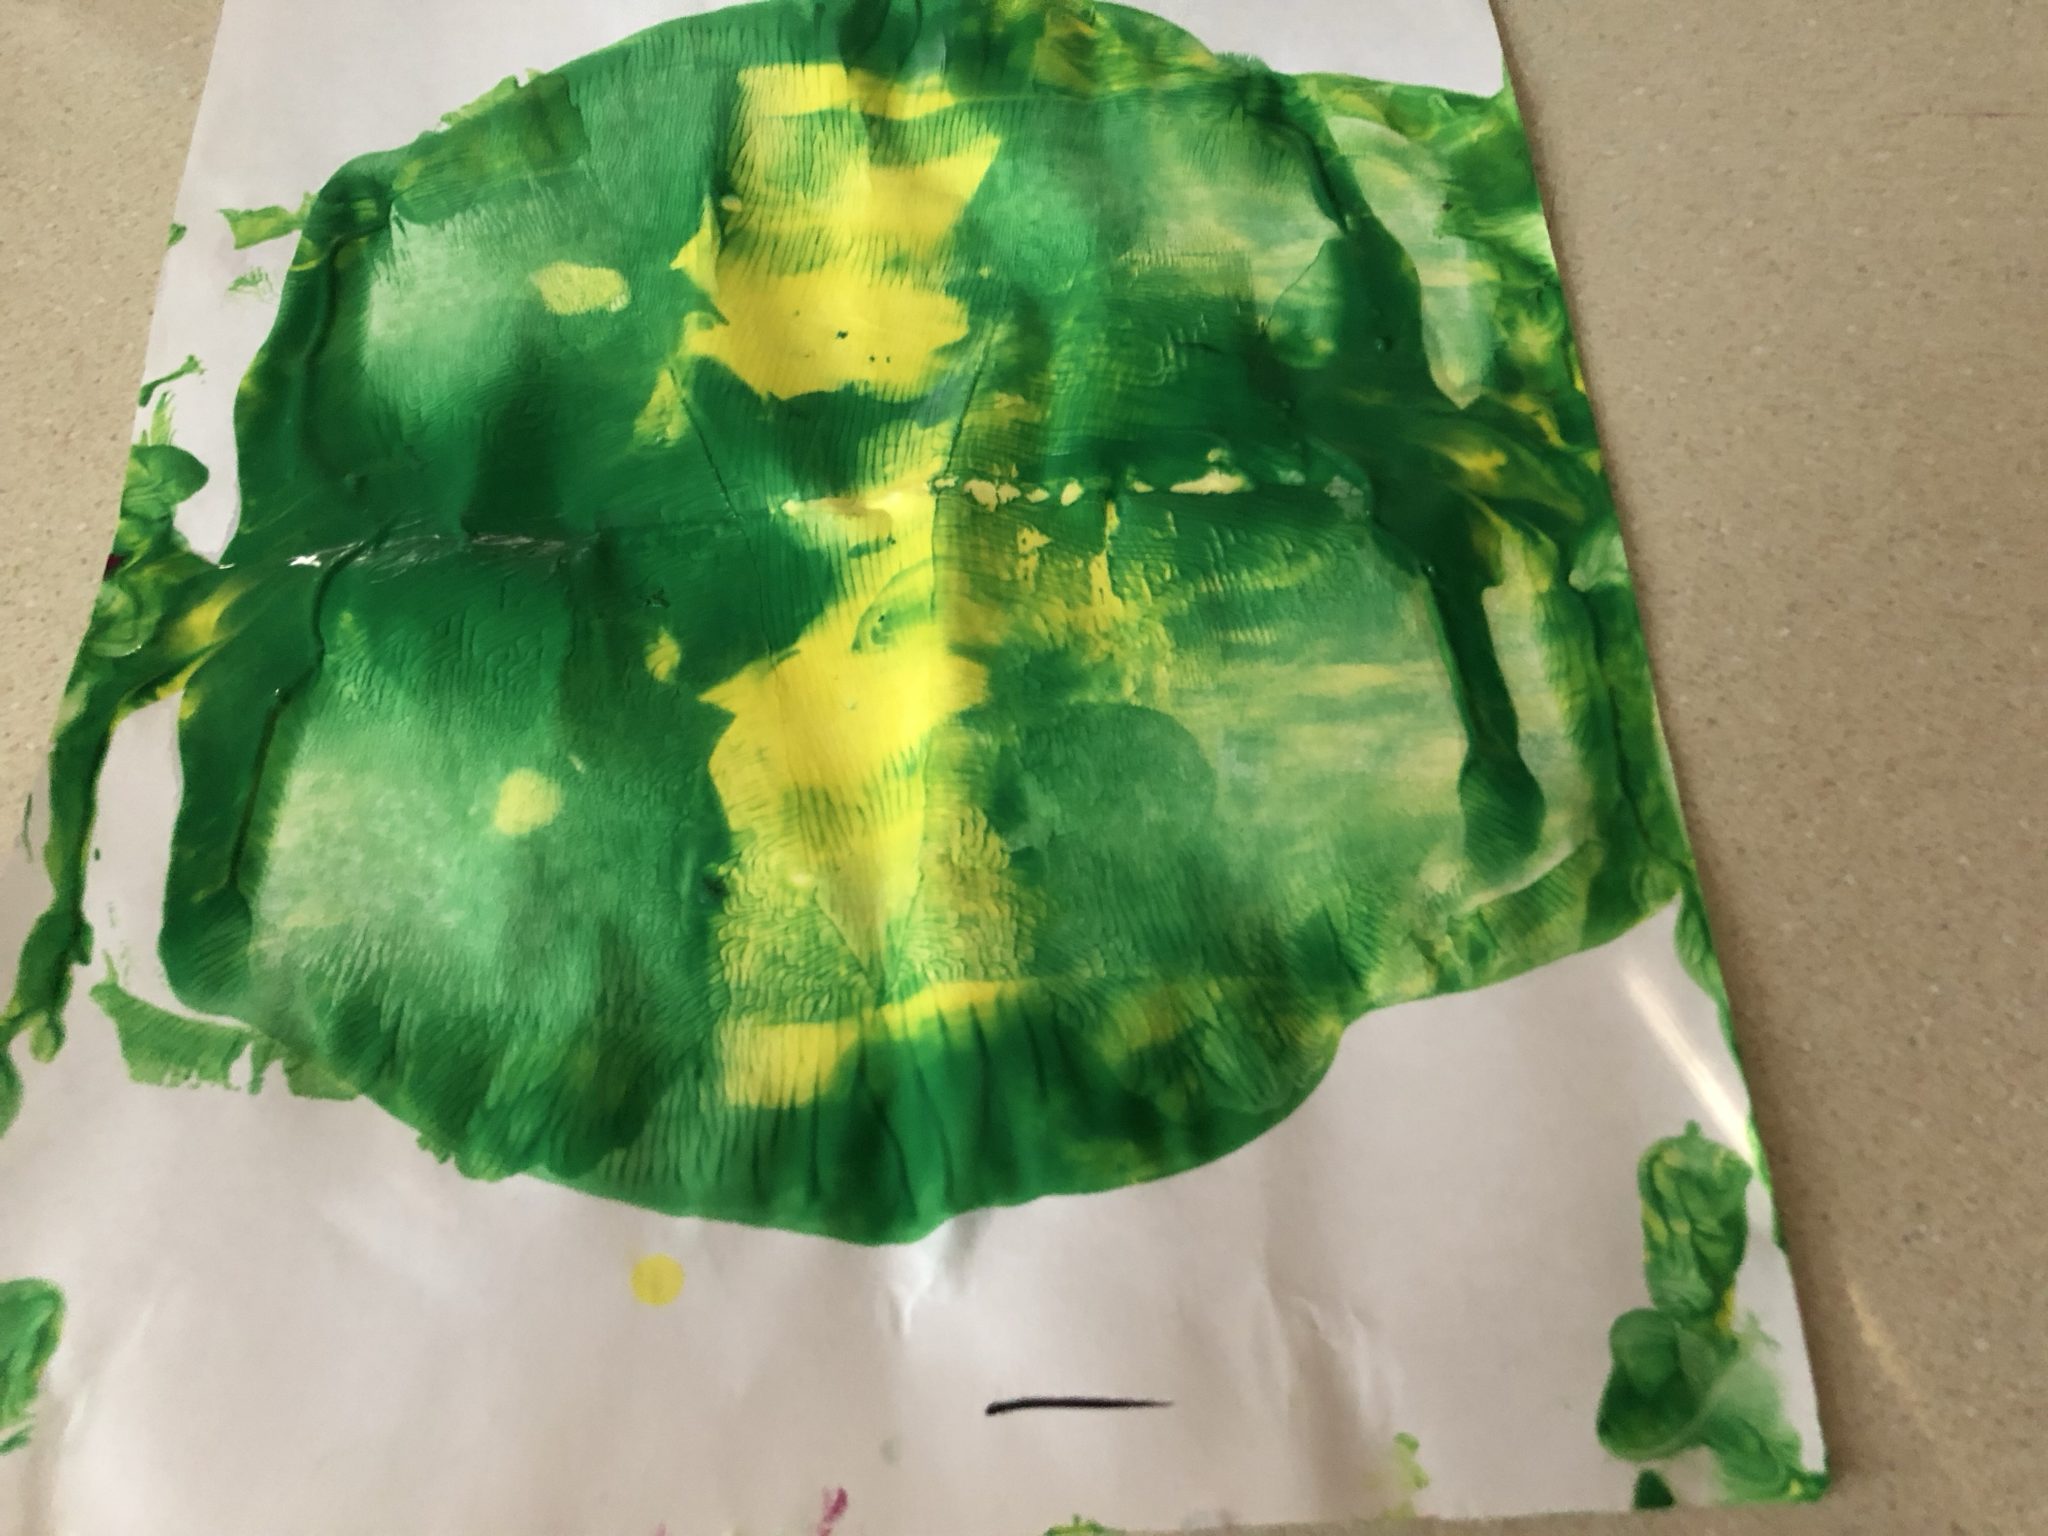
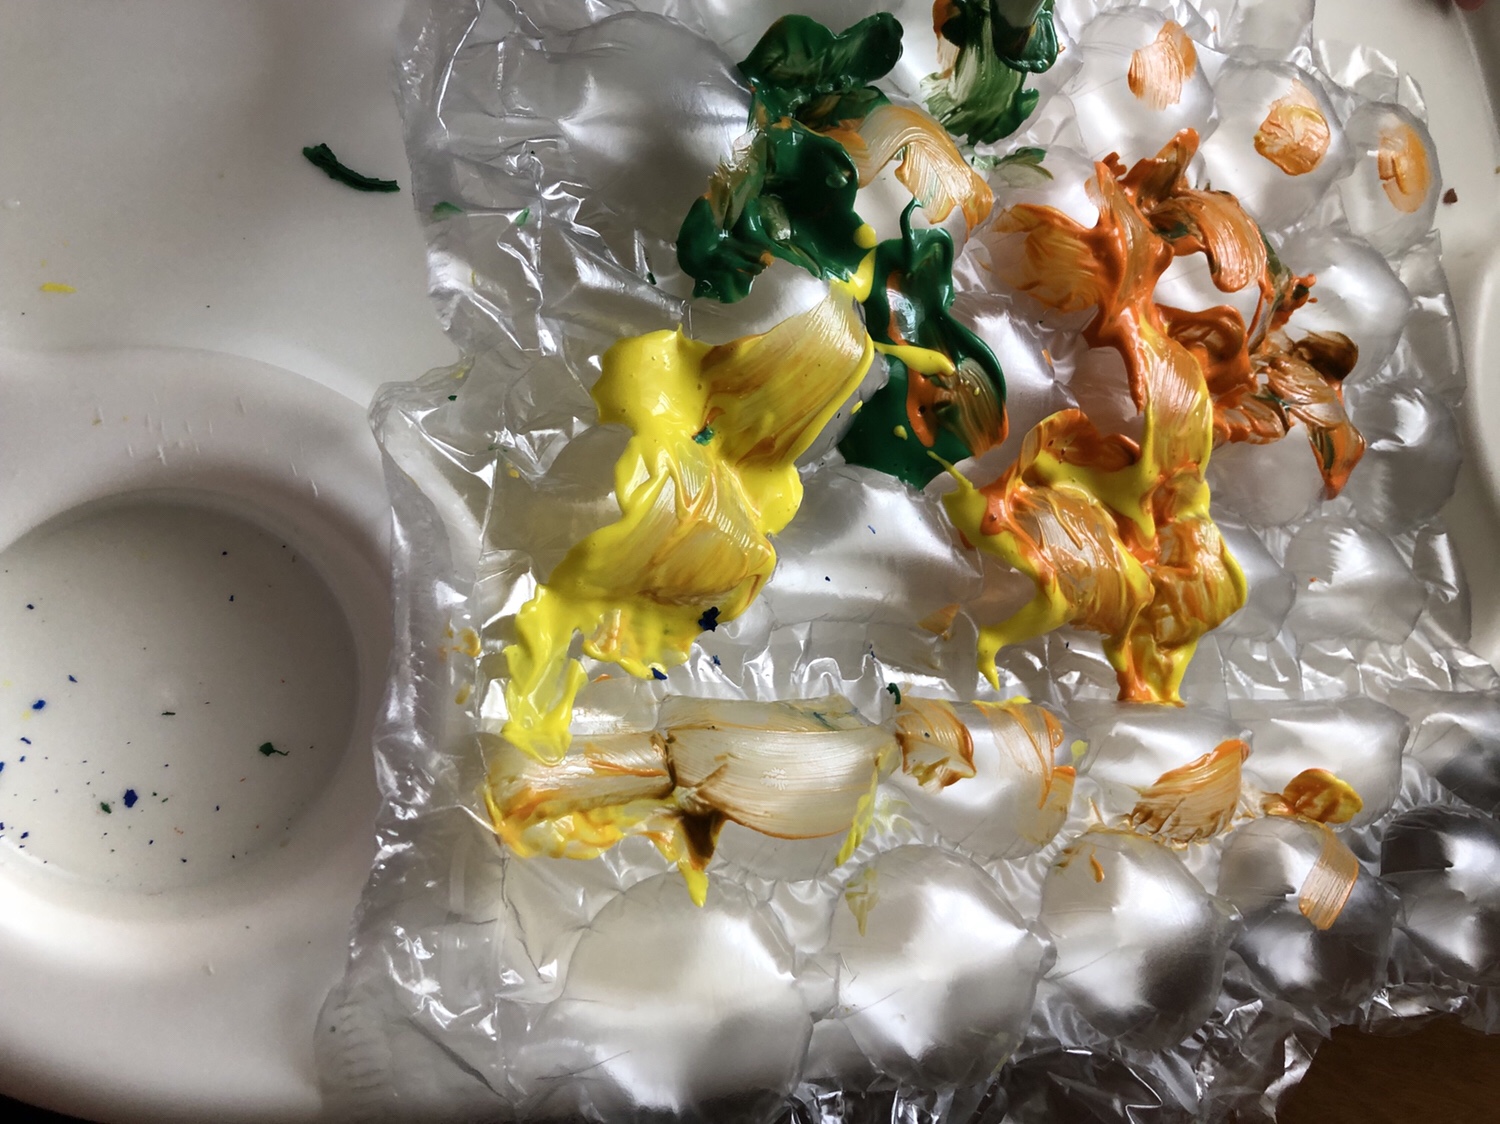
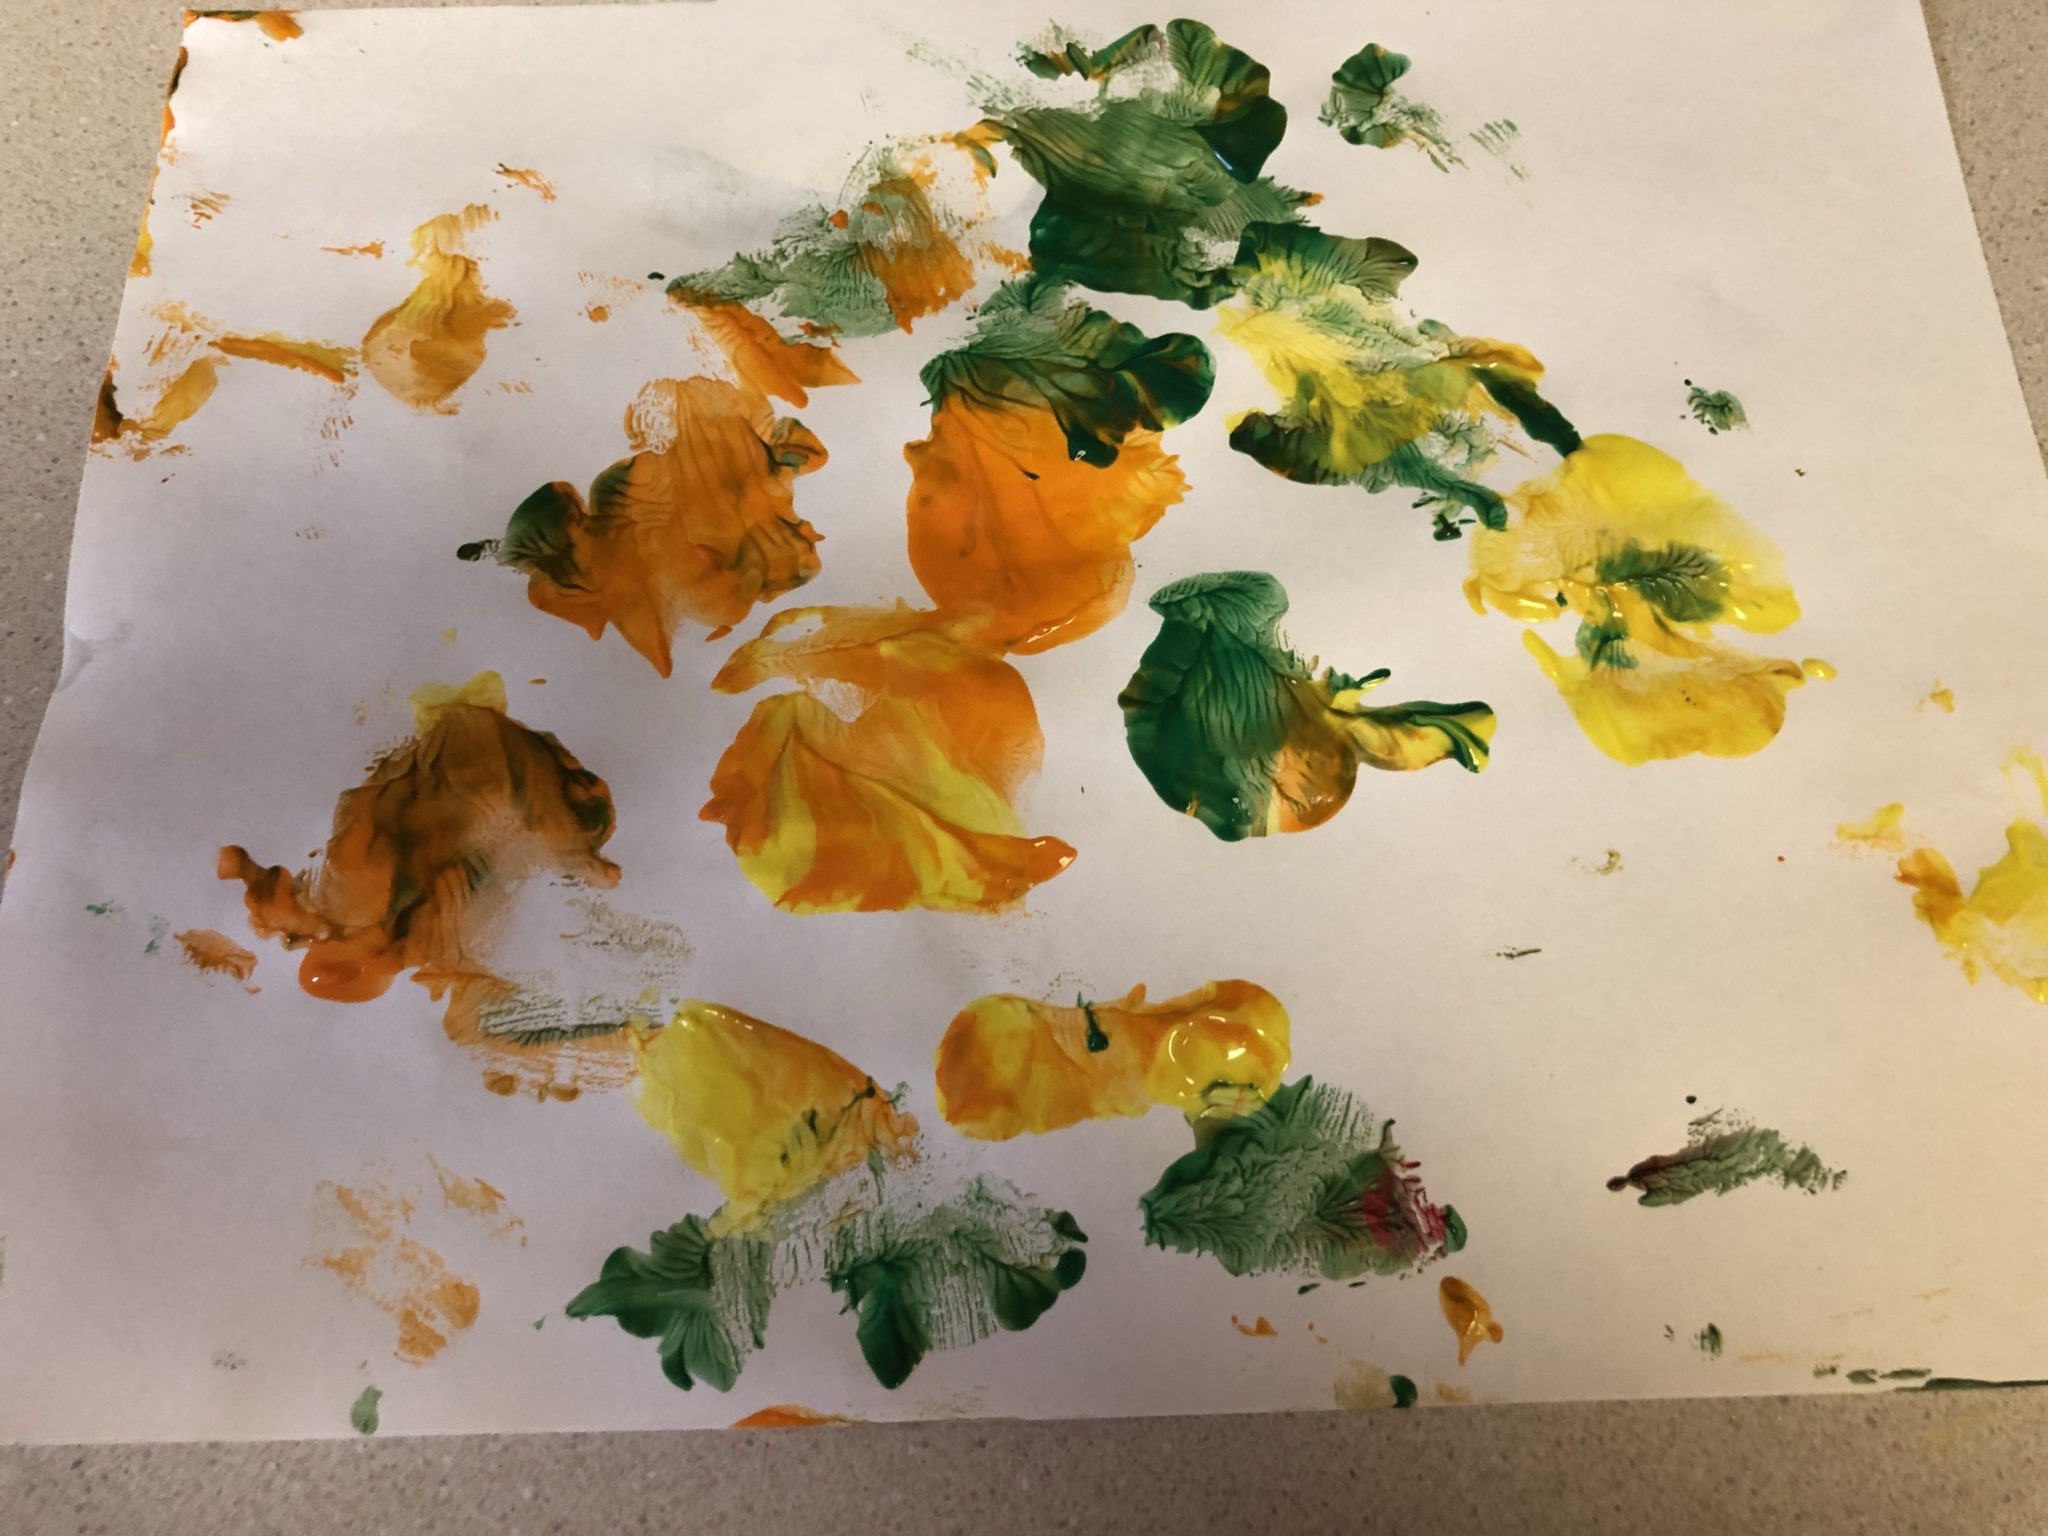
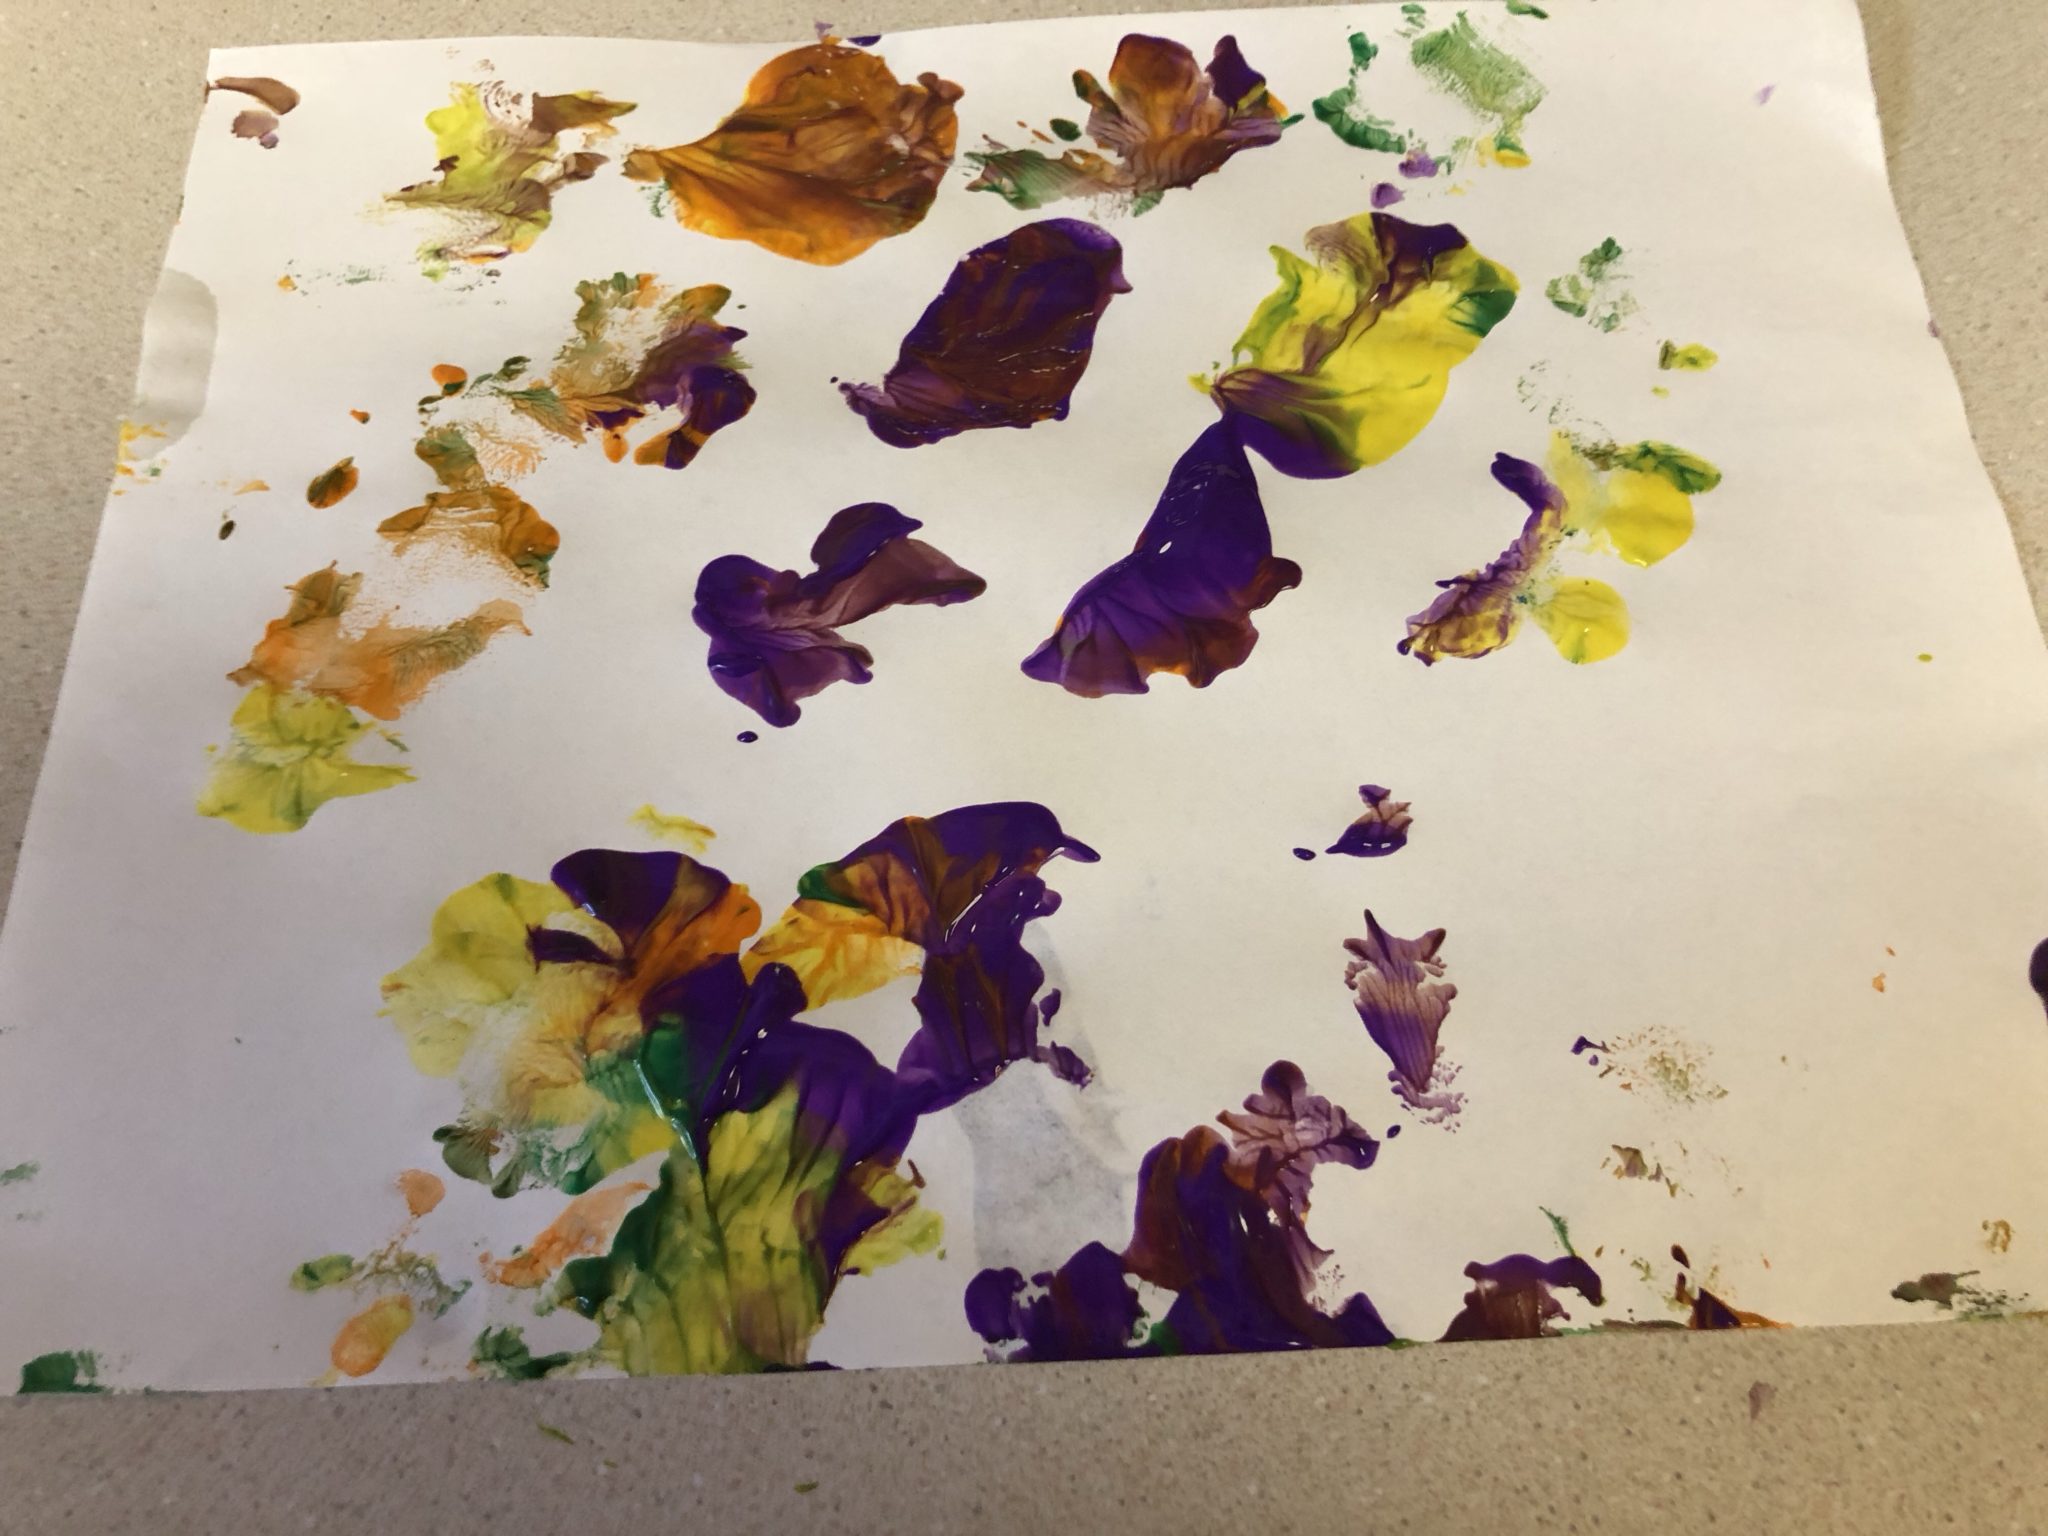
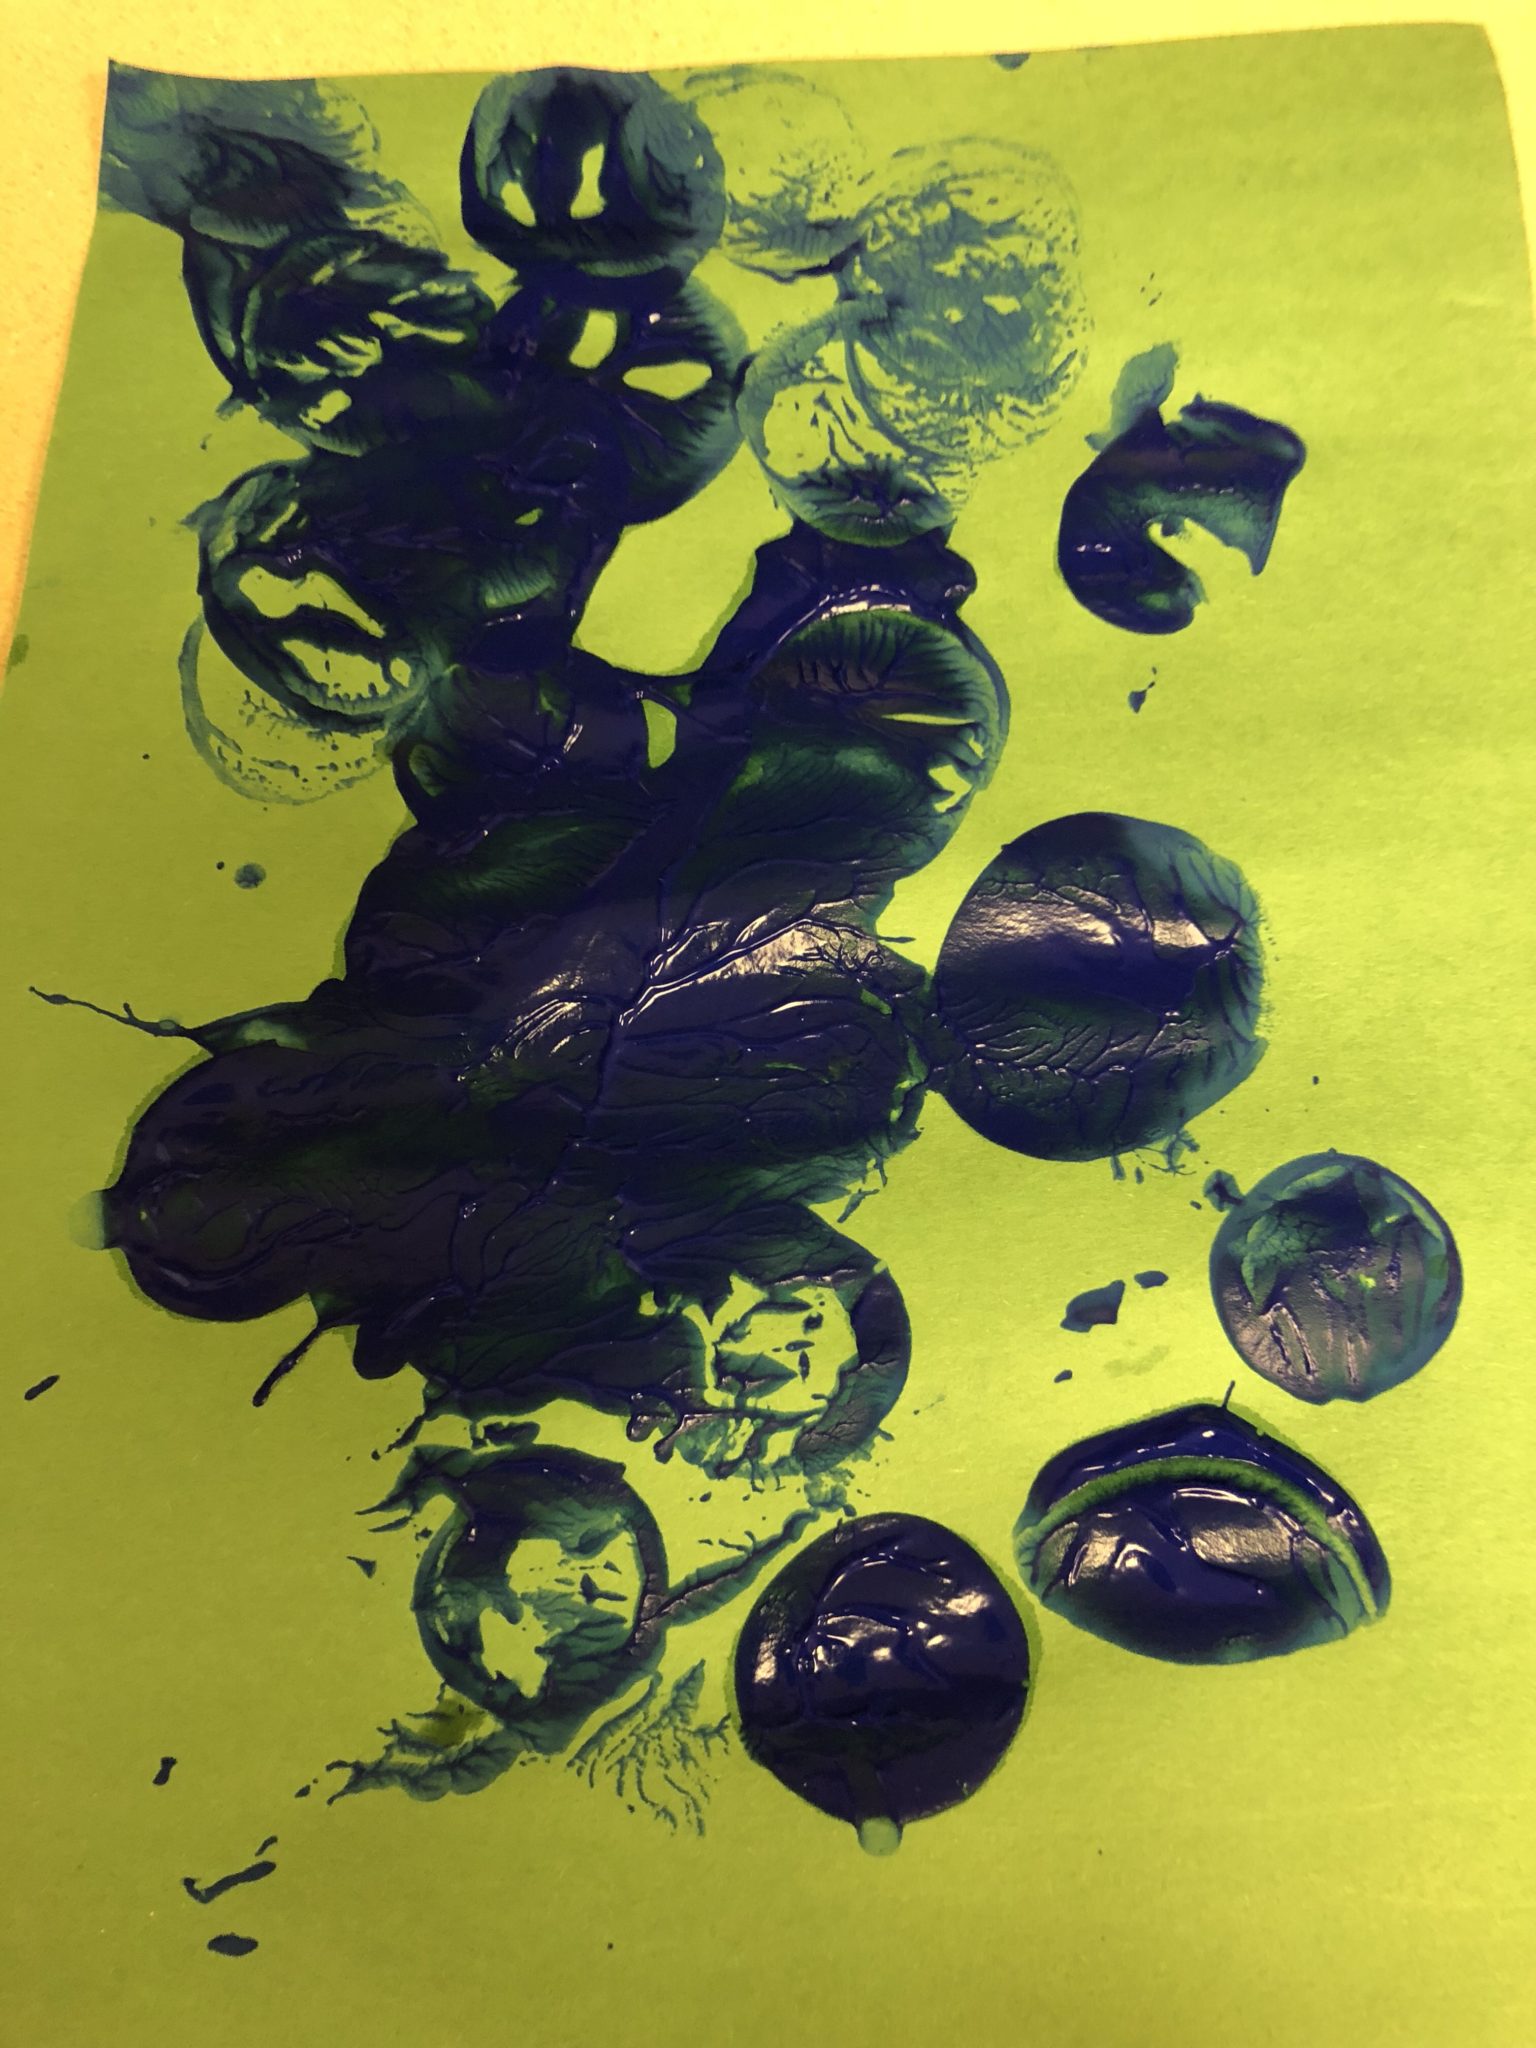
    Bubblewrap Painting

    Here’s another simple painting activity. I had Rosebud paint the bubblewrap.

    Then we put the paper over it to get the prints. Rosebud didn’t understand and just wanted to paint on the paper, but here’s what we ended up with.

    This bubblewrap has different shaped bubbles than what you usually see which is why I wanted to use it. I’ll be ordering some new finger paints in different colors so we will probably try this activity again later.

    0 comments

    Rubber Ducky Painting

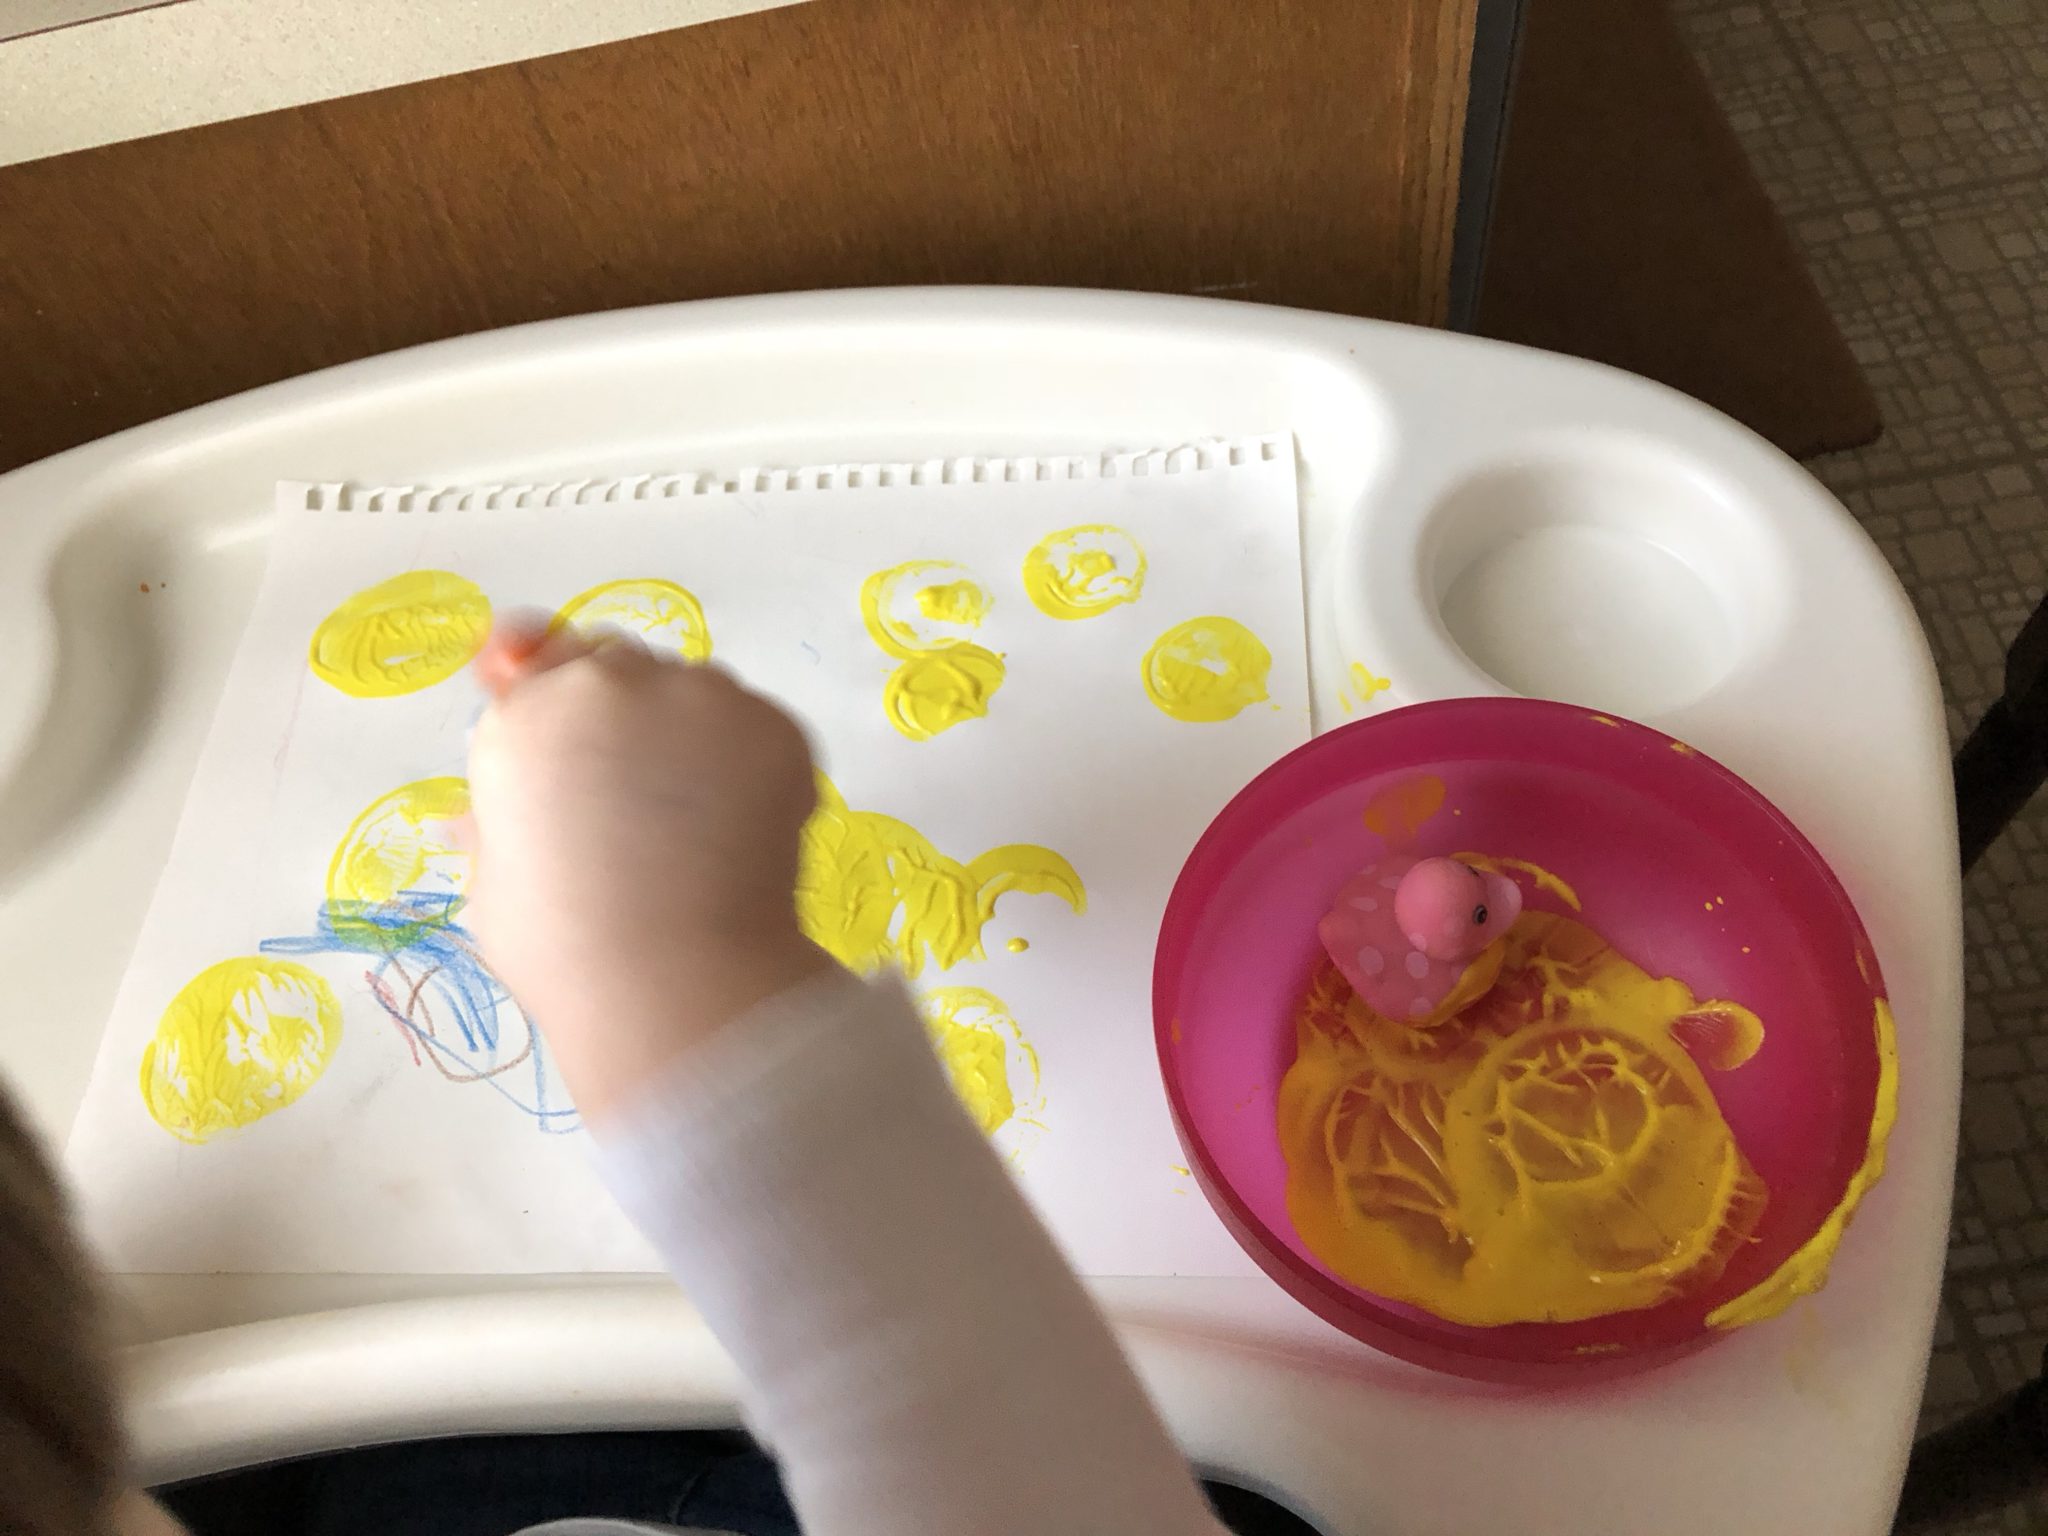
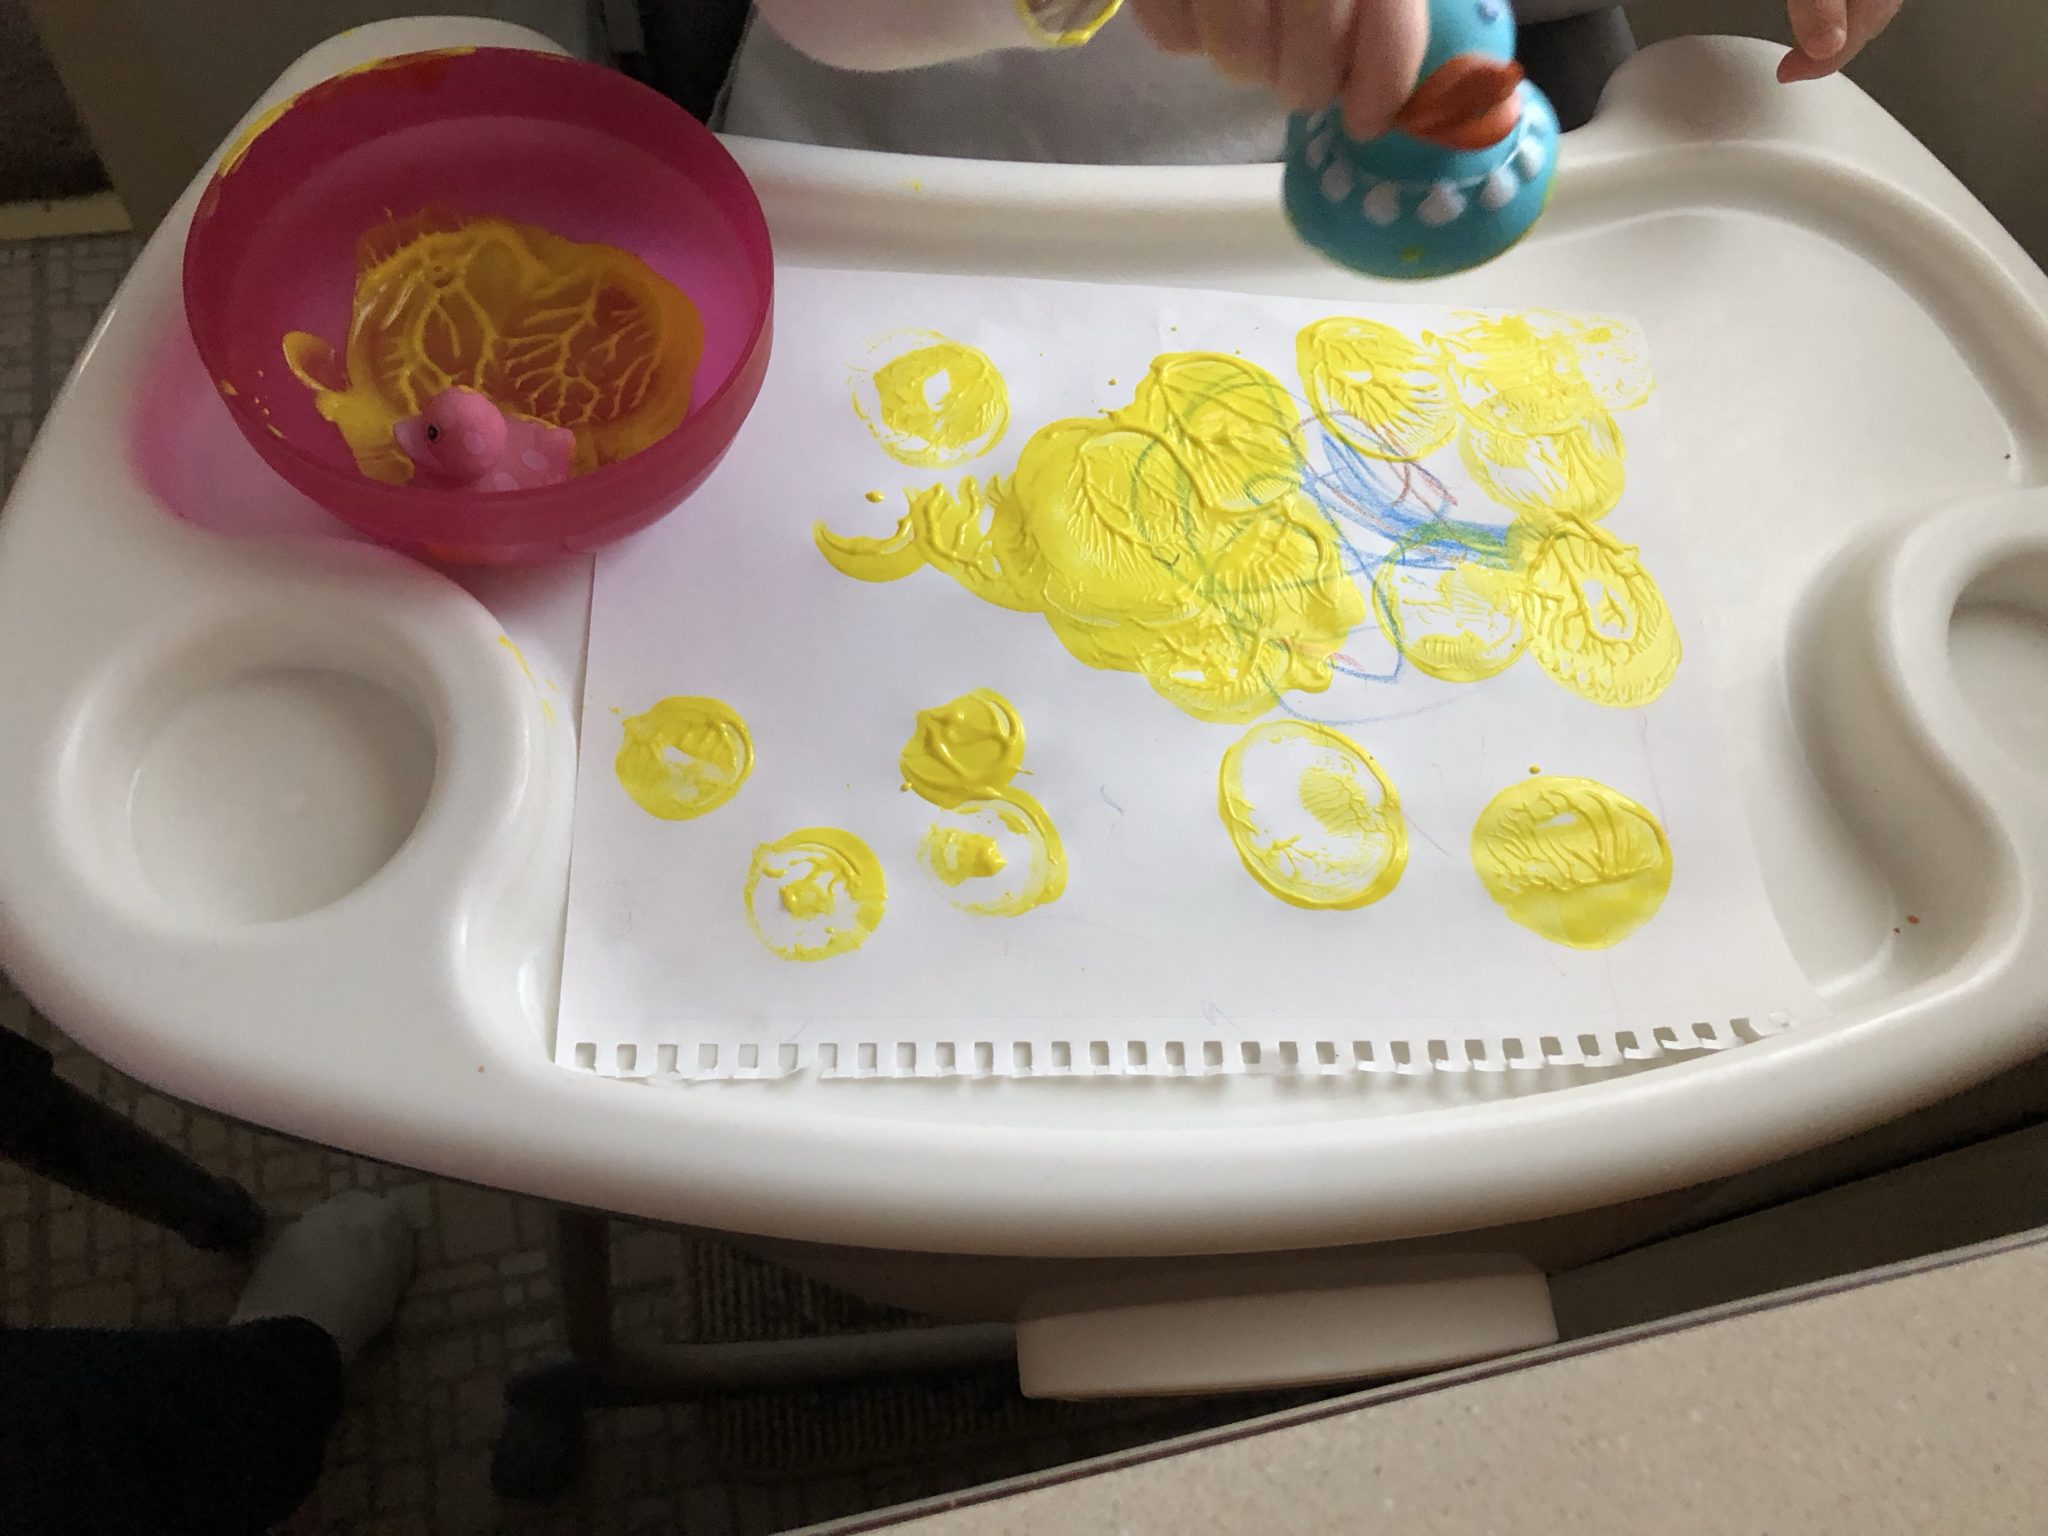
    Here is another simple art activity. Lately, we've been using rubber duckies for a lot of our activities. It's a way of transitioning out of Easter themed activities into spring. I keep hoping that if I act like spring is here, then it will show up. My plan hasn't worked yet, but there must be warmer weather in our future.

    This was simple to set up. I chose one color at a time. I put a little of paint into a bowl and then showed Rosebud how to stamp using the rubber duckies.

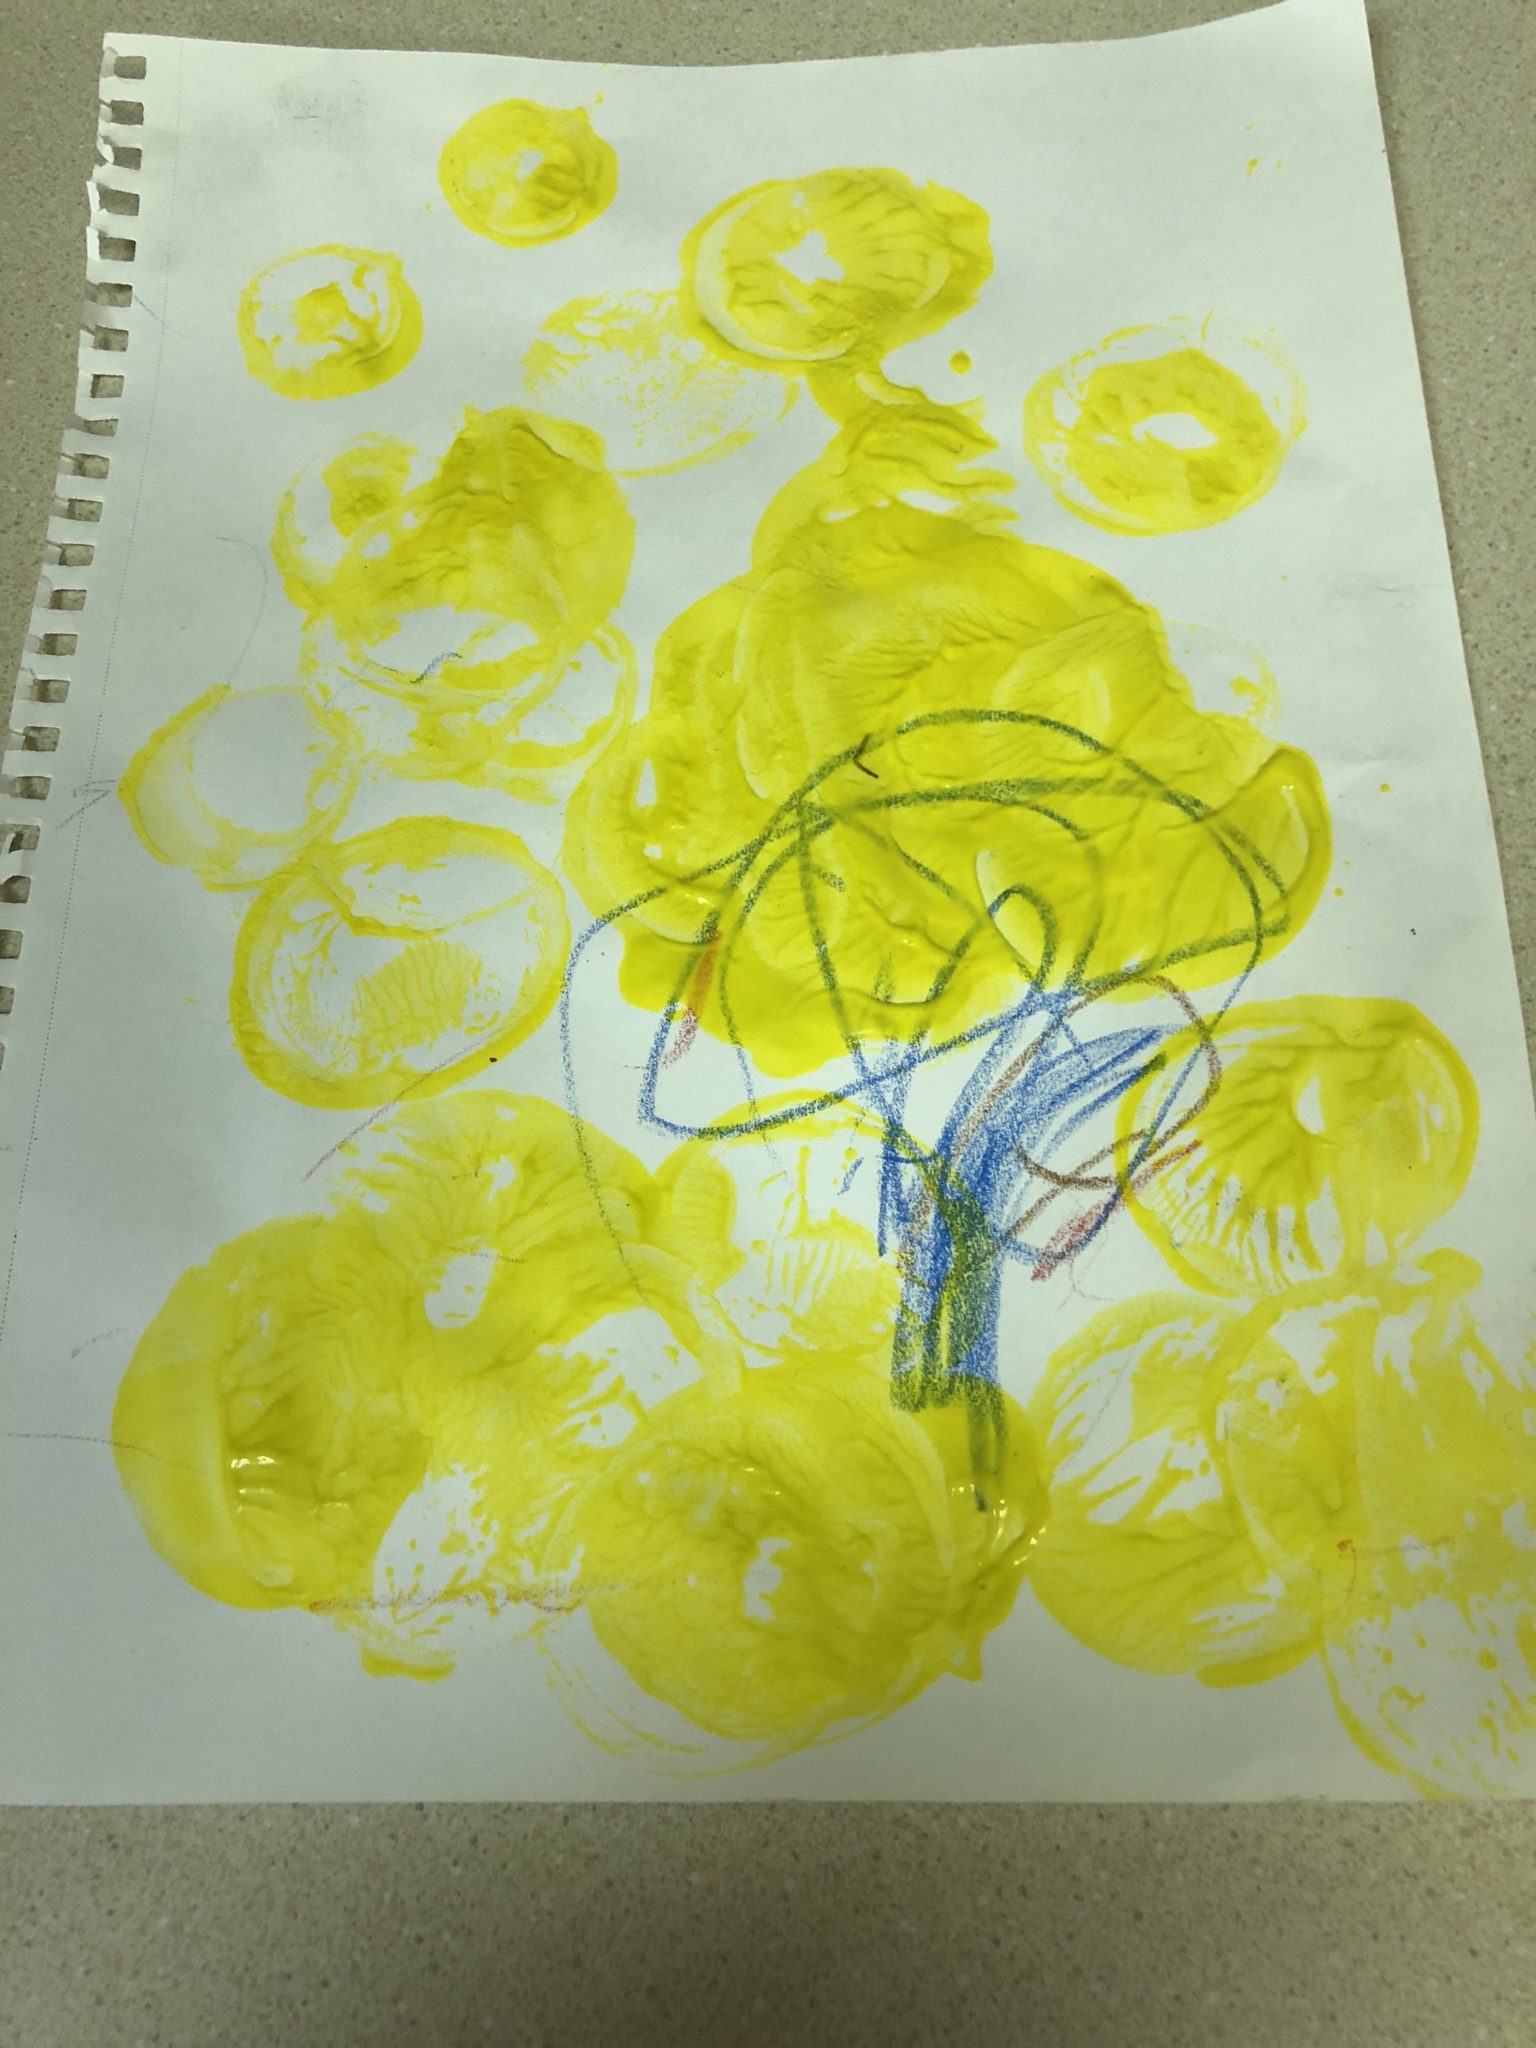
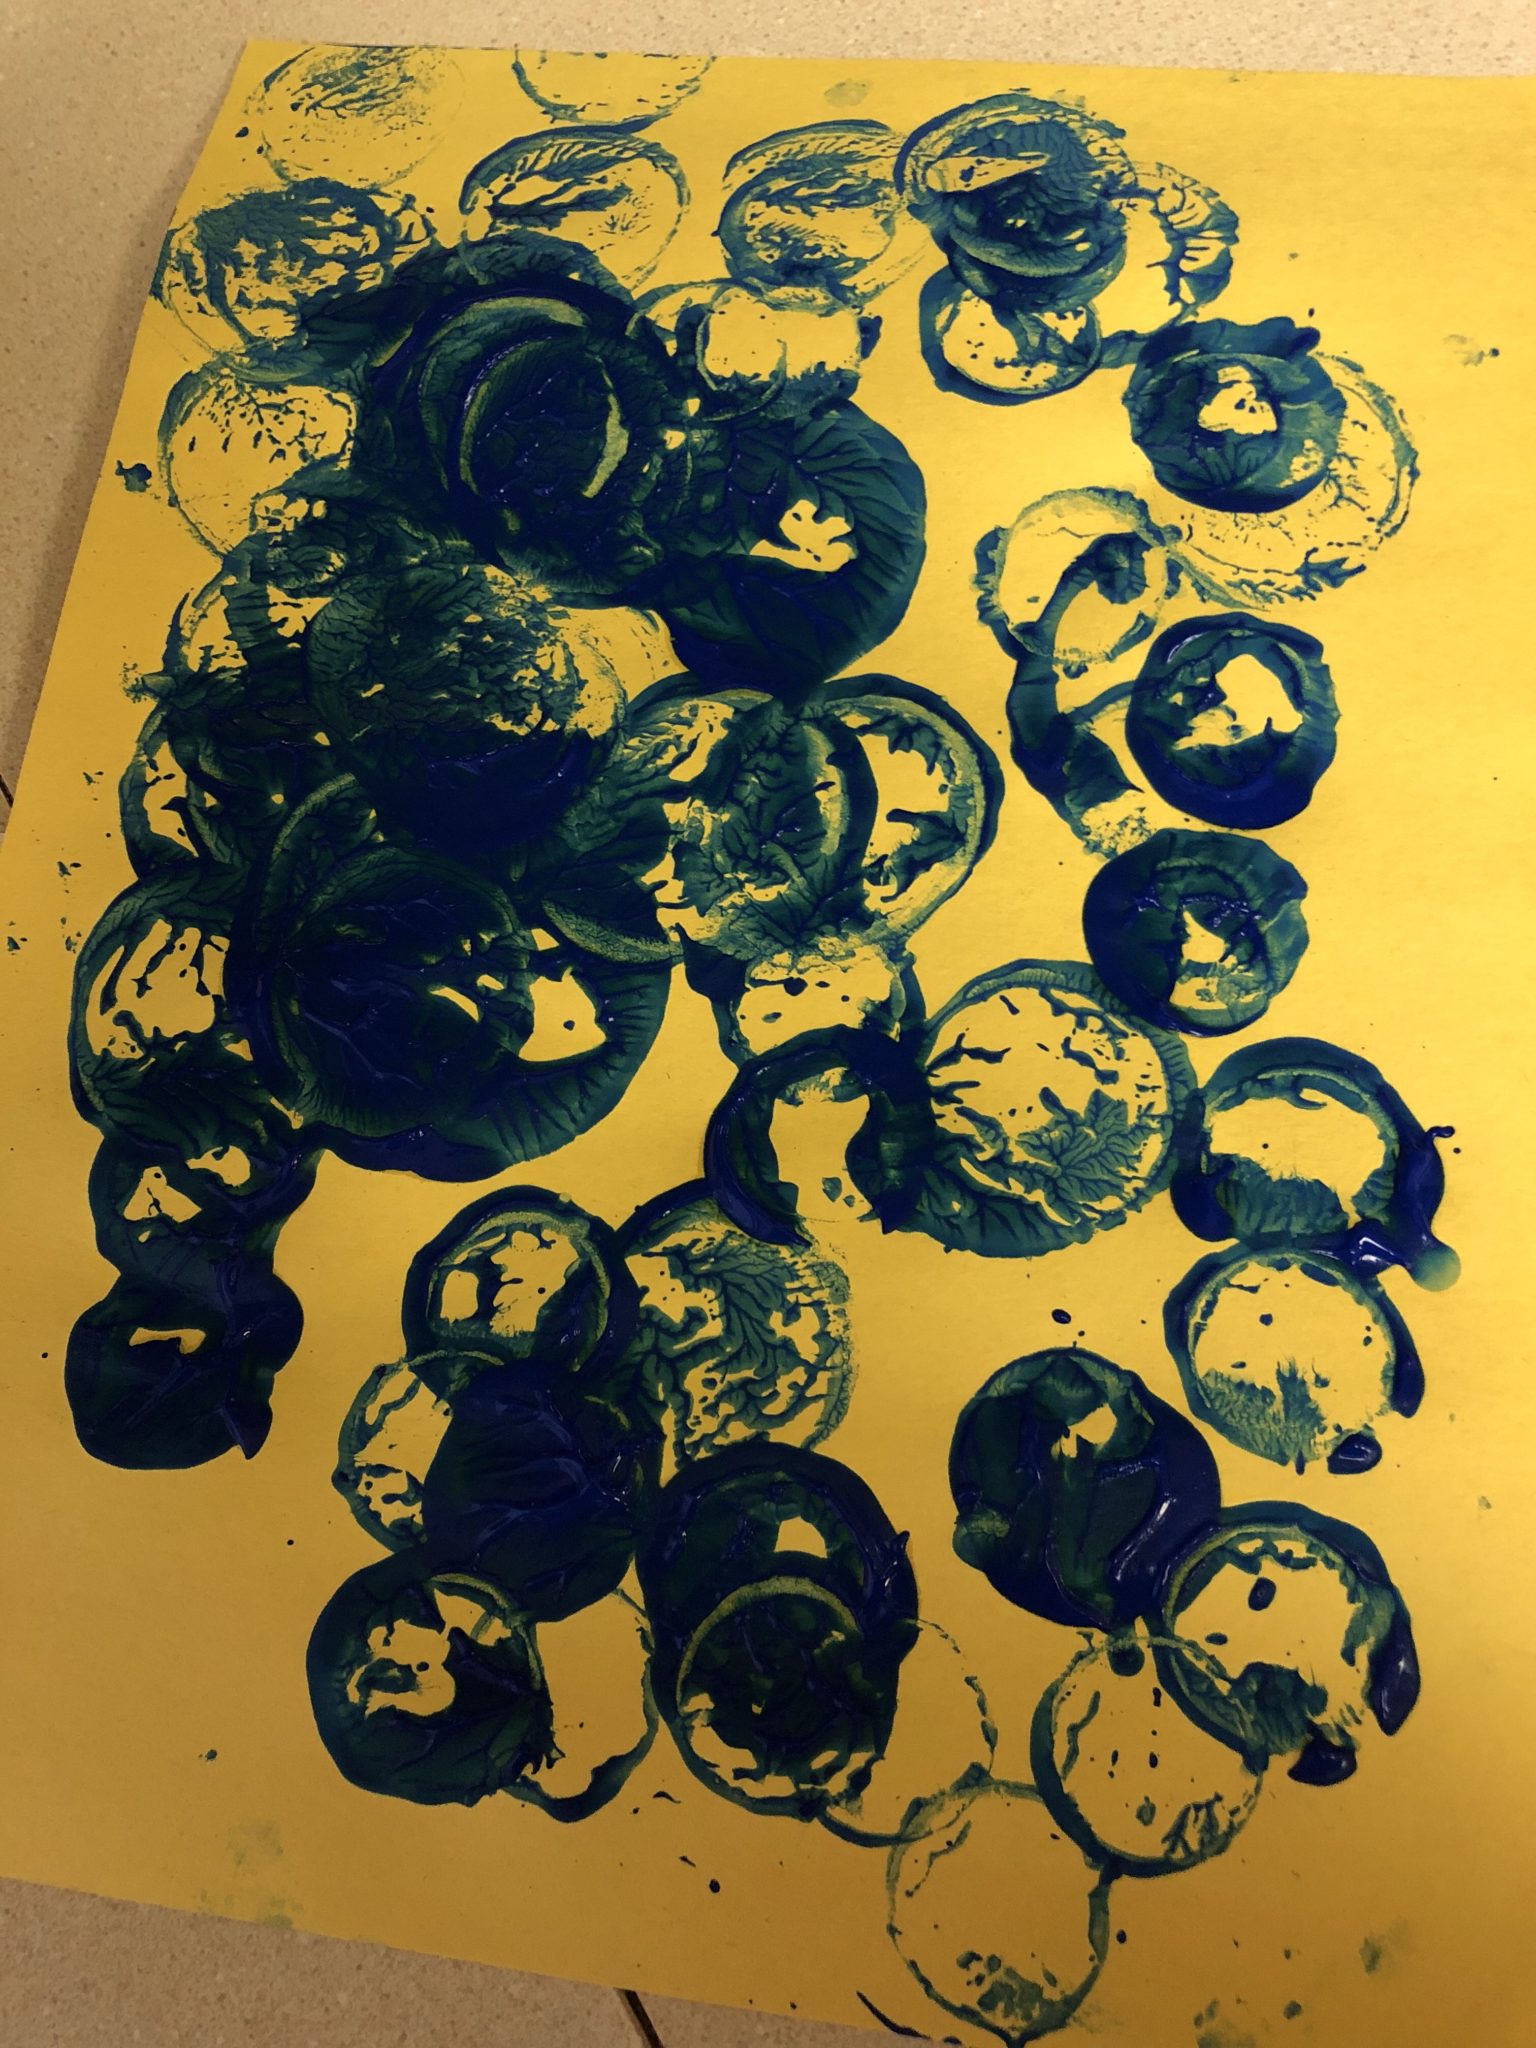
    We had two sizes of duckies so we could make different designs. Rosebud enjoyed this activity and did some paintings.

    What you will need:

    Finger paints,

    Rubber duckies,

    Paper.

    Then let your child explore and make designs. You could set out multiple colors to see how they mix, but I'm not brave enough to give Rosebud anymore than one or two paints at a time.


    0 comments